- Author: Passion
- Date: October 9, 2023
- Updated: October 10, 2023
- Expansion: WotLK Classic


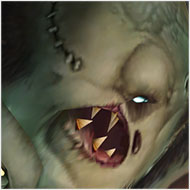


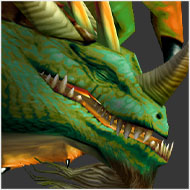
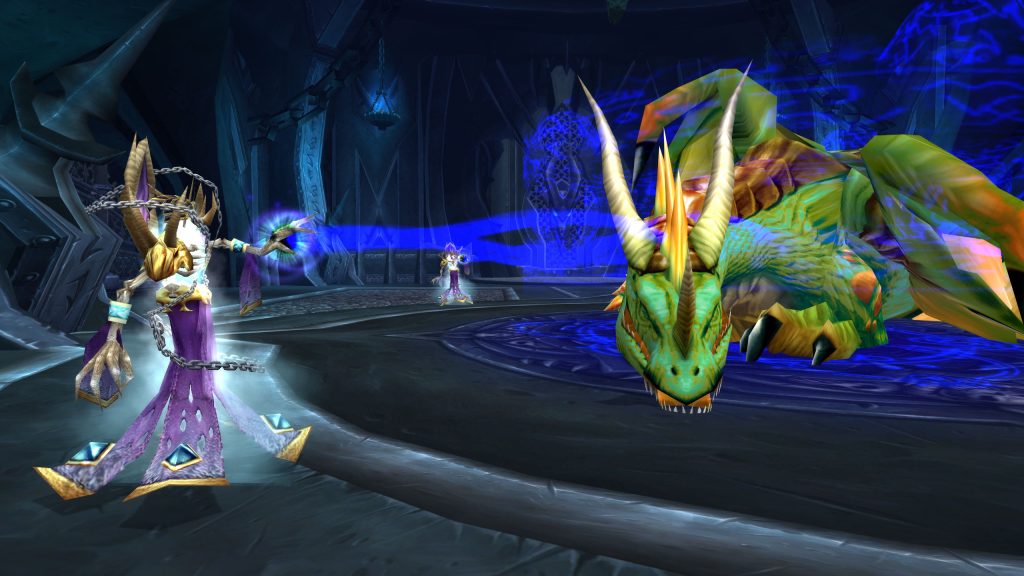
Captured during an assault on the Emerald Dream, Valithria is in the process of being converted into another Frost Wyrm. We arrive just in time to put a stop to this and return Valithria to her former self.
This guide will offer a detailed, step-by-step tutorial on how to aid Valithria and return her to the Emerald Dream.
Role Summaries
- Make sure to avoid Mana Void and Column of Frost.
- Be ready to swap to high-priority targets, like Blazing Skeletons.
- Make sure to kite Blistering Zombies if you have aggro on them.
- Don’t let everyone enter the Emerald Dream.
- Be mindful of your stacks so you don’t die from Twisted Nightmares.
- Face Gluttonous Abominations away from the raid.
- Assist with kiting Blistering Zombies as needed.
- Call out important add spawns.
- Call out portal spawns.
Abilities
Valithria
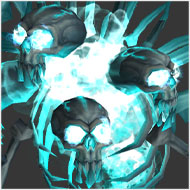
Blazing Skeleton
Blistering Zombie
Risen Archmage
Gluttonous Abomination
Suppresser
Raid Composition & Preparation
Heroic vs Normal
On Heroic, Emerald Vigor is replaced by Twisted Nightmares. This adds a stacking damage-per-second component. This makes it very important for your healers to heal each other as well as the boss. Paladins are especially good at this, able to place Beacon of Light on Valithria while using Holy Light with Glyph of Holy Light on other healers.
The Fight
This is a unique fight, focused on healing Valithria to full health while handling waves of adds. These adds will spawn progressively faster as the encounter goes on, and will consistently try to sabotage your attempts to heal Valithria.
As the fight is very focused on healing, bringing additional healers can make the fight both smoother and faster. Balance Druids, Shadow Priests, and Elemental Shamans can easily swap to a healing spec for the fight without worrying much about their gear.
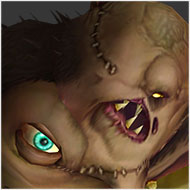
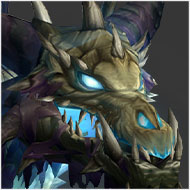
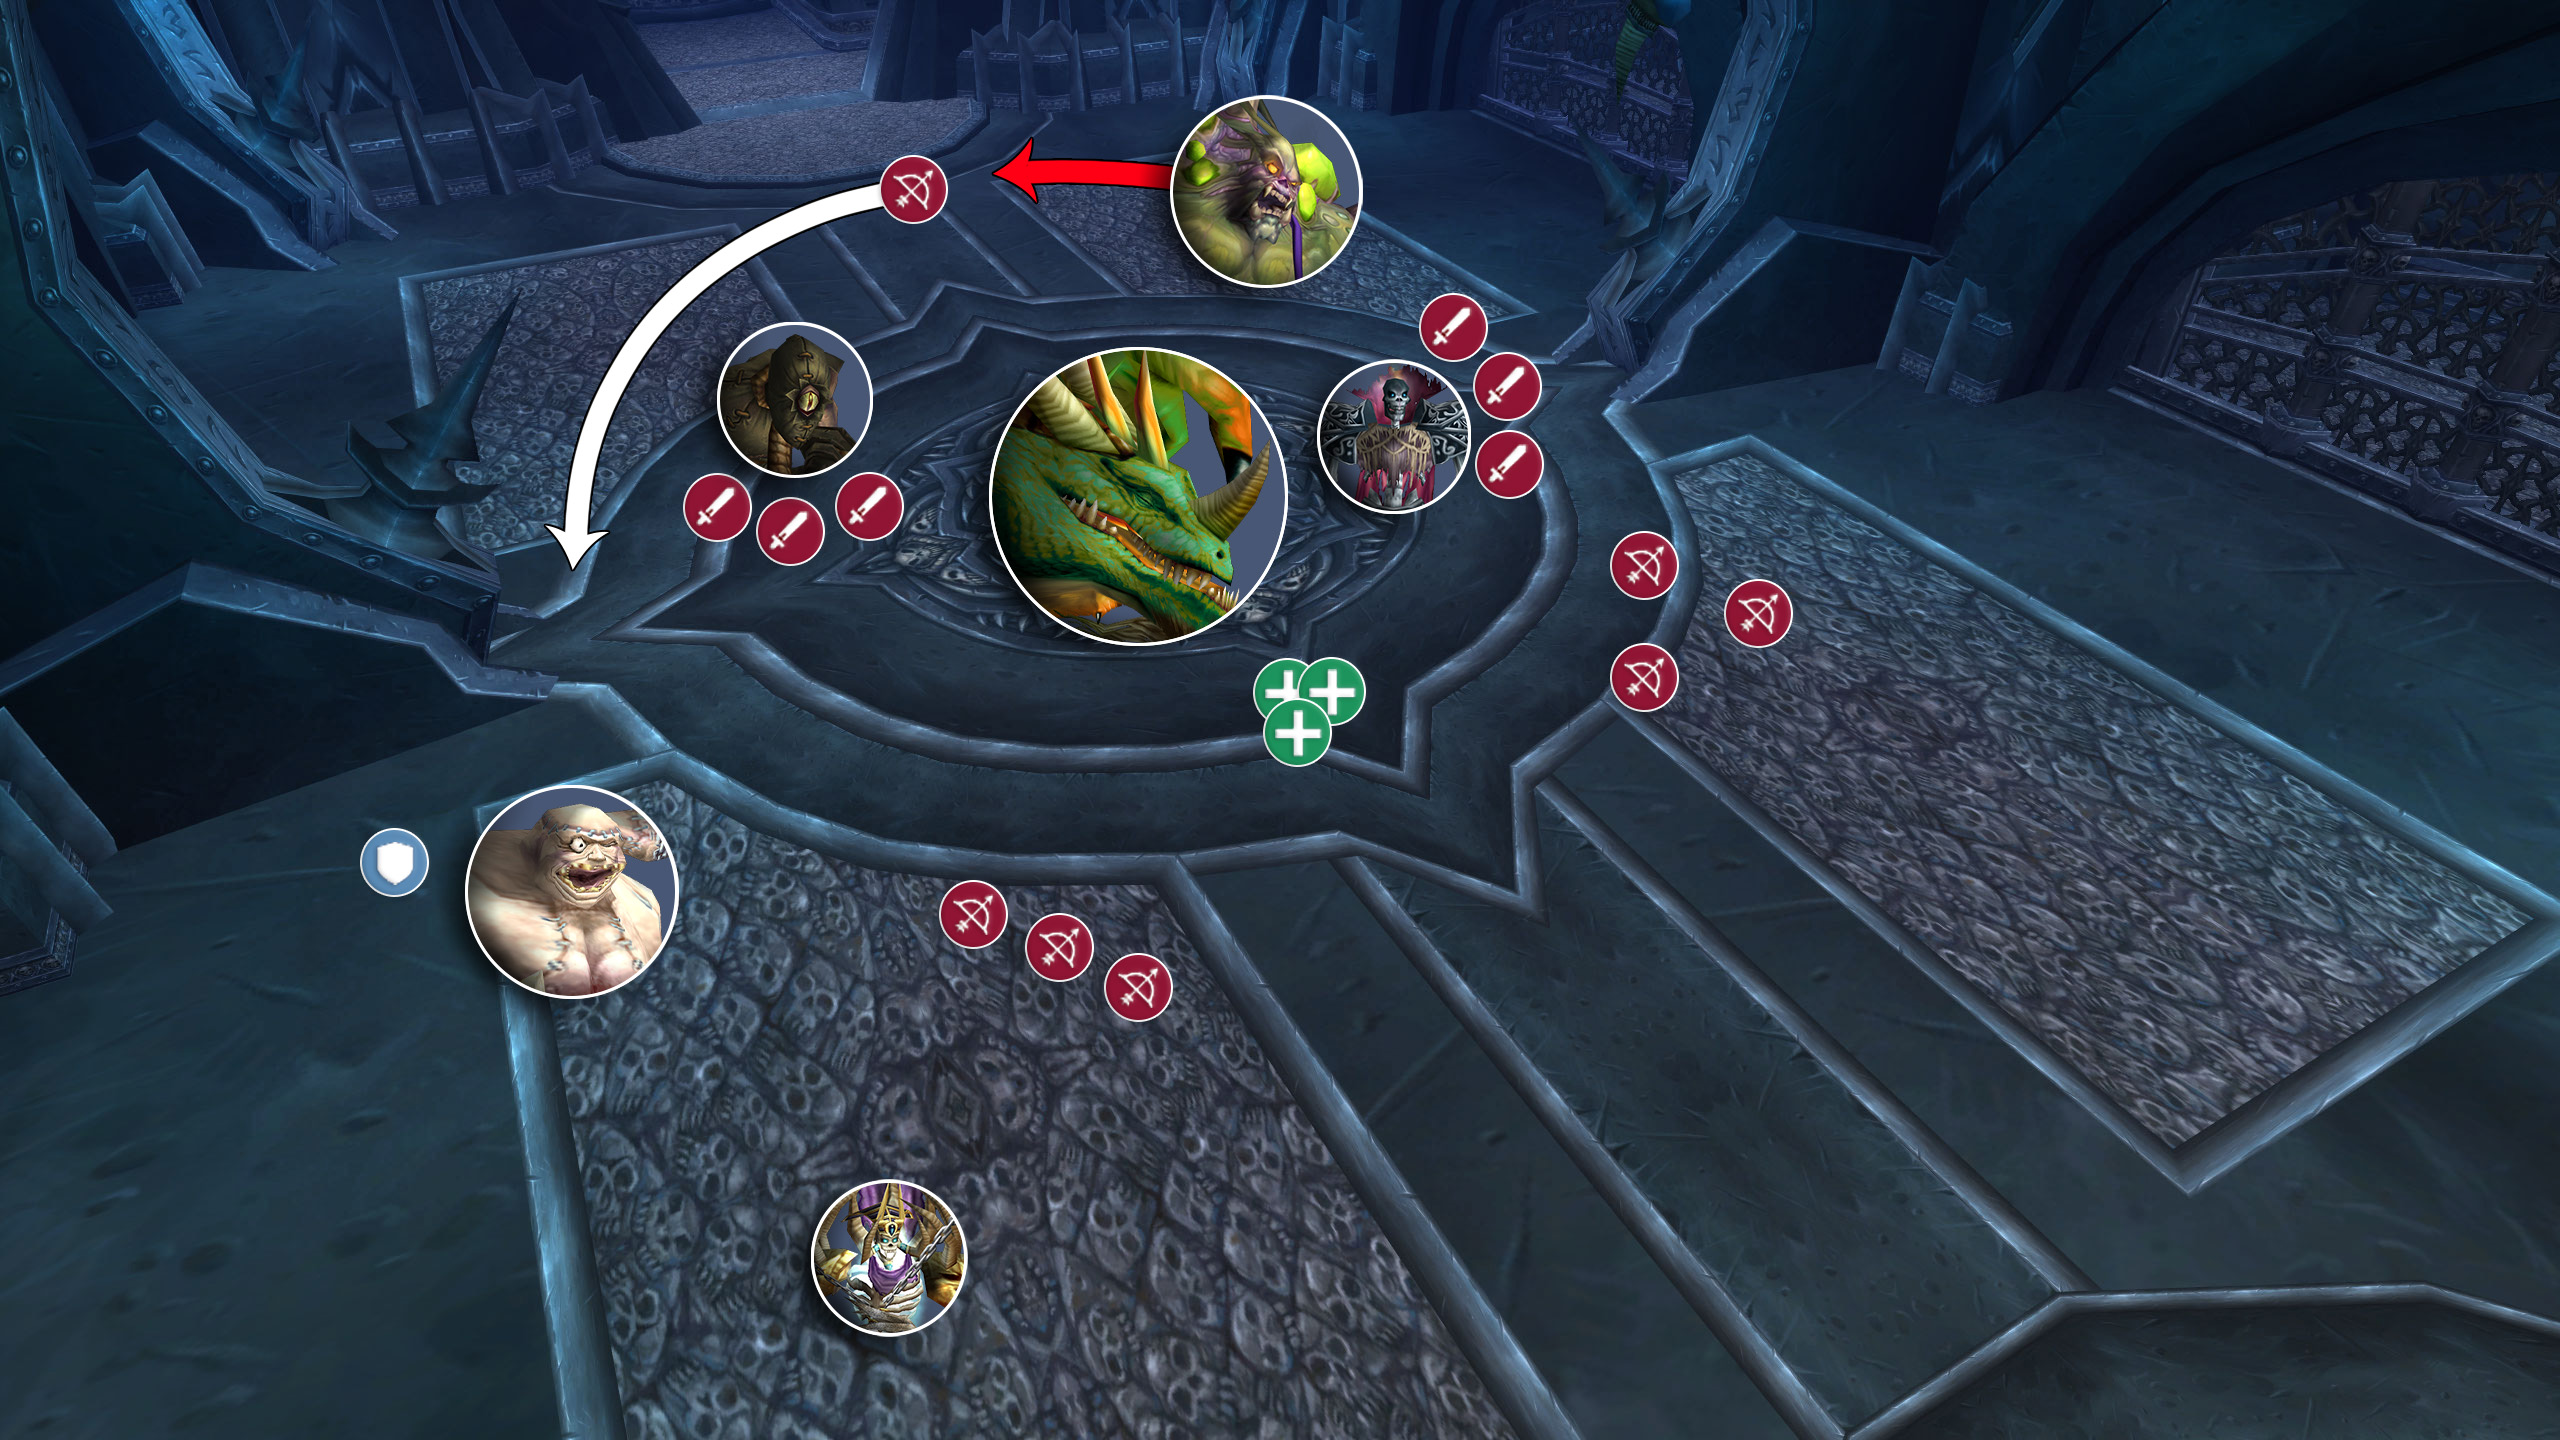
There are five variants of adds to worry about in this raid, though most of them are fairly harmless. These adds will likely aggro onto your healers immediately, making it important that they are quickly picked up by tanks, or in the case of Blistering Zombies, by ranged DPS. These vary in importance, but most raids will want to prioritize Blazing Skeletons & Risen Archmages first, as they deal the most damage to the raid. Suppressers and Rot Worms are also a high priority as they impact your healer’s ability to heal the boss, extending the fight.
Blazing Skeleton – Top Priority
These will cast Lay Waste, dealing Fire damage to everyone, including Valithria. This is channeled for as long as the Blazing Skeleton is alive, making killing them a high priority. As this damage is raid-wide, it will pull your healers away from Valithria, extending the fight unnecessarily if not handled. Blazing Skeletons can also cast Fireball, though they do so rarely. This deals a small chunk of Fire damage to one target.
Risen Archmage – Top Priority
Archmages use Frostboly Volley, dealing a small amount of Frost damage to everyone within 60 yards, as well as slowing them for 8 seconds. This can and should be interrupted where possible. In addition to this, Archmages will cast Mana Void and Column of Frost. Both of these abilities are telegraphed by a marking on the floor. Mana Void will constantly drain mana from anyone standing in it, while Column of Frost will erupt after a brief delay, dealing heavy Frost damage and knocking players toward the ceiling. Both of these need to be moved out of.
Rot Worm – Second Priority
Whenever an Abomination dies, Rot Worms will spawn from its corpse. As your healers are constantly casting, these worms are very likely to swarm them, making it vital that these are quickly AoE’d down.
Suppresser – Second Priority
These gheists spawn in groups, bee-lining towards Valithria, channeling Suppression once they reach her. This reduces Valithria’s healing received by 10% for each Suppresser channeling.
Suppressers do not attack, and have the lowest health out of all adds except Rot Worms, making it easy to quickly burn them down as soon as they join the fight.
Blistering Zombie – Third Priority
Zombies deal massive damage with every swing, as well as stacking Corrosion up to 5 times. For this reason, Blistering Zombies are kited more often than not. Keeping them permanently slowed with abilities like Chains of Ice while ranged DPS kite them makes these adds significantly less risky. On death, zombies will cast Acid Burst, dealing heavy Nature damage to everyone within 15 yards, followed by damage-over-time for 20 seconds. Make sure no one is close when they die!
Gluttonous Abomination – Third Priority
Abominations are damage sponges. These should be picked up by a tank and faced away from the raid to avoid Gut Spray hitting anyone but tanks. Gut Spray is a cone aimed at the Abominations target, dealing Nature damage every second, and increasing Physical damage taken for 12 seconds. This is a disease and should be immediately dispelled.
Healers
Healers in this fight will have a very different experience from DPS and tanks. Most of your healers will be focusing on pumping heals into Valithria. Along with this, every 45 seconds, Valithria will spawn portals around her. Entering one of these portals brings the character into the Emerald Dream, allowing them to fly. Make sure you leave 1 or 2 healers outside to keep the raid alive!
While in the Emerald Dream, your goal is to fly into Nightmare Clouds. Touching these grants a stack of Emerald Vigor to everyone within 10 yards, drastically increasing their mana regeneration and Spell Power for 40 seconds. You will only have 20 seconds to grab as many clouds as possible, so you want to make the most of this time.
Once the portals spawn, your current stacks of Emerald Vigor should be getting close to timing out. This makes it vital that you immediately grab a cloud once in the dream. As there are a limited amount of clouds, after you have refreshed Emerald Vigor, all healers in the dream should gather together. Fly into clouds together to make sure everyone gets the buff from each cloud.
Once Valithria reaches 80% health, and after a Dream Phase, use Bloodlust combined with Guardian Spirit for a massive burst of healing. If you have more than one Holy Priest, cycle Guardian Spirits for massive heals.
Here are some of the main things that can typically go wrong in this fight:
- Blistering Zombies aren’t kited.
- Gluttonous Abominations are faced toward raid members.
- Too many healers enter the Emerald Dream.
- Rot Worms are allowed to scatter.
- Blazing Skeletons or Risen Archmages aren’t killed fast enough.
- Healers received more stacks of Twisted Nightmares than they could handle.
Congratulations on “defeating” Valithria! Proceed down the elevator opposite the entrance and fight your way toward Sindragosa.
About the Author
