Sindragosa – Icecrown Citadel (10)


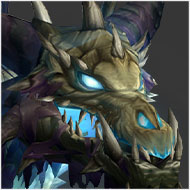


Once a powerful blue dragon and consort to Malygos, Sindragosa was personally chosen by The Lich King as leader of the frost wyrms.
This guide will offer a detailed, step-by-step tutorial on how to deal with Sindragosa and her blistering cold.
Role Summaries
- Be mindful of your stacks of anything that stacks.
- Avoid Ice Tomb AoE.
- Follow standard Dragon-fight protocol, avoiding the tail and face.
- Move away from the group with Unchained Magic.
- Move away from the group with Unchained Magic.
- Avoid any unnecessary healing for the duration.
- Try to cast long-duration spells on players with Frost Beacon.
- Coordinate defensives for Mystic Buffet + Frost Breath.
- Turn off auto-attack when hiding behind an Ice Tomb to make sure you count as out of line of sight.
- Coordinate defensives for Mystic Buffet + Frost Breath.
- Communicate tank swaps during Phase 2.
- Try to keep Sindragosa positioned as close to the center ring as possible, as this gives players a visual cue for distance.
- Call Phase transitions.
Abilities
Sindragosa
Raid Composition & Preparation
Heroic vs Normal
On Normal difficulty, only 2 players will be hit by Frost Beacon instead of 3. Additionally, Instability will not deal its damage in an AoE.
The Fight
Ground Phase
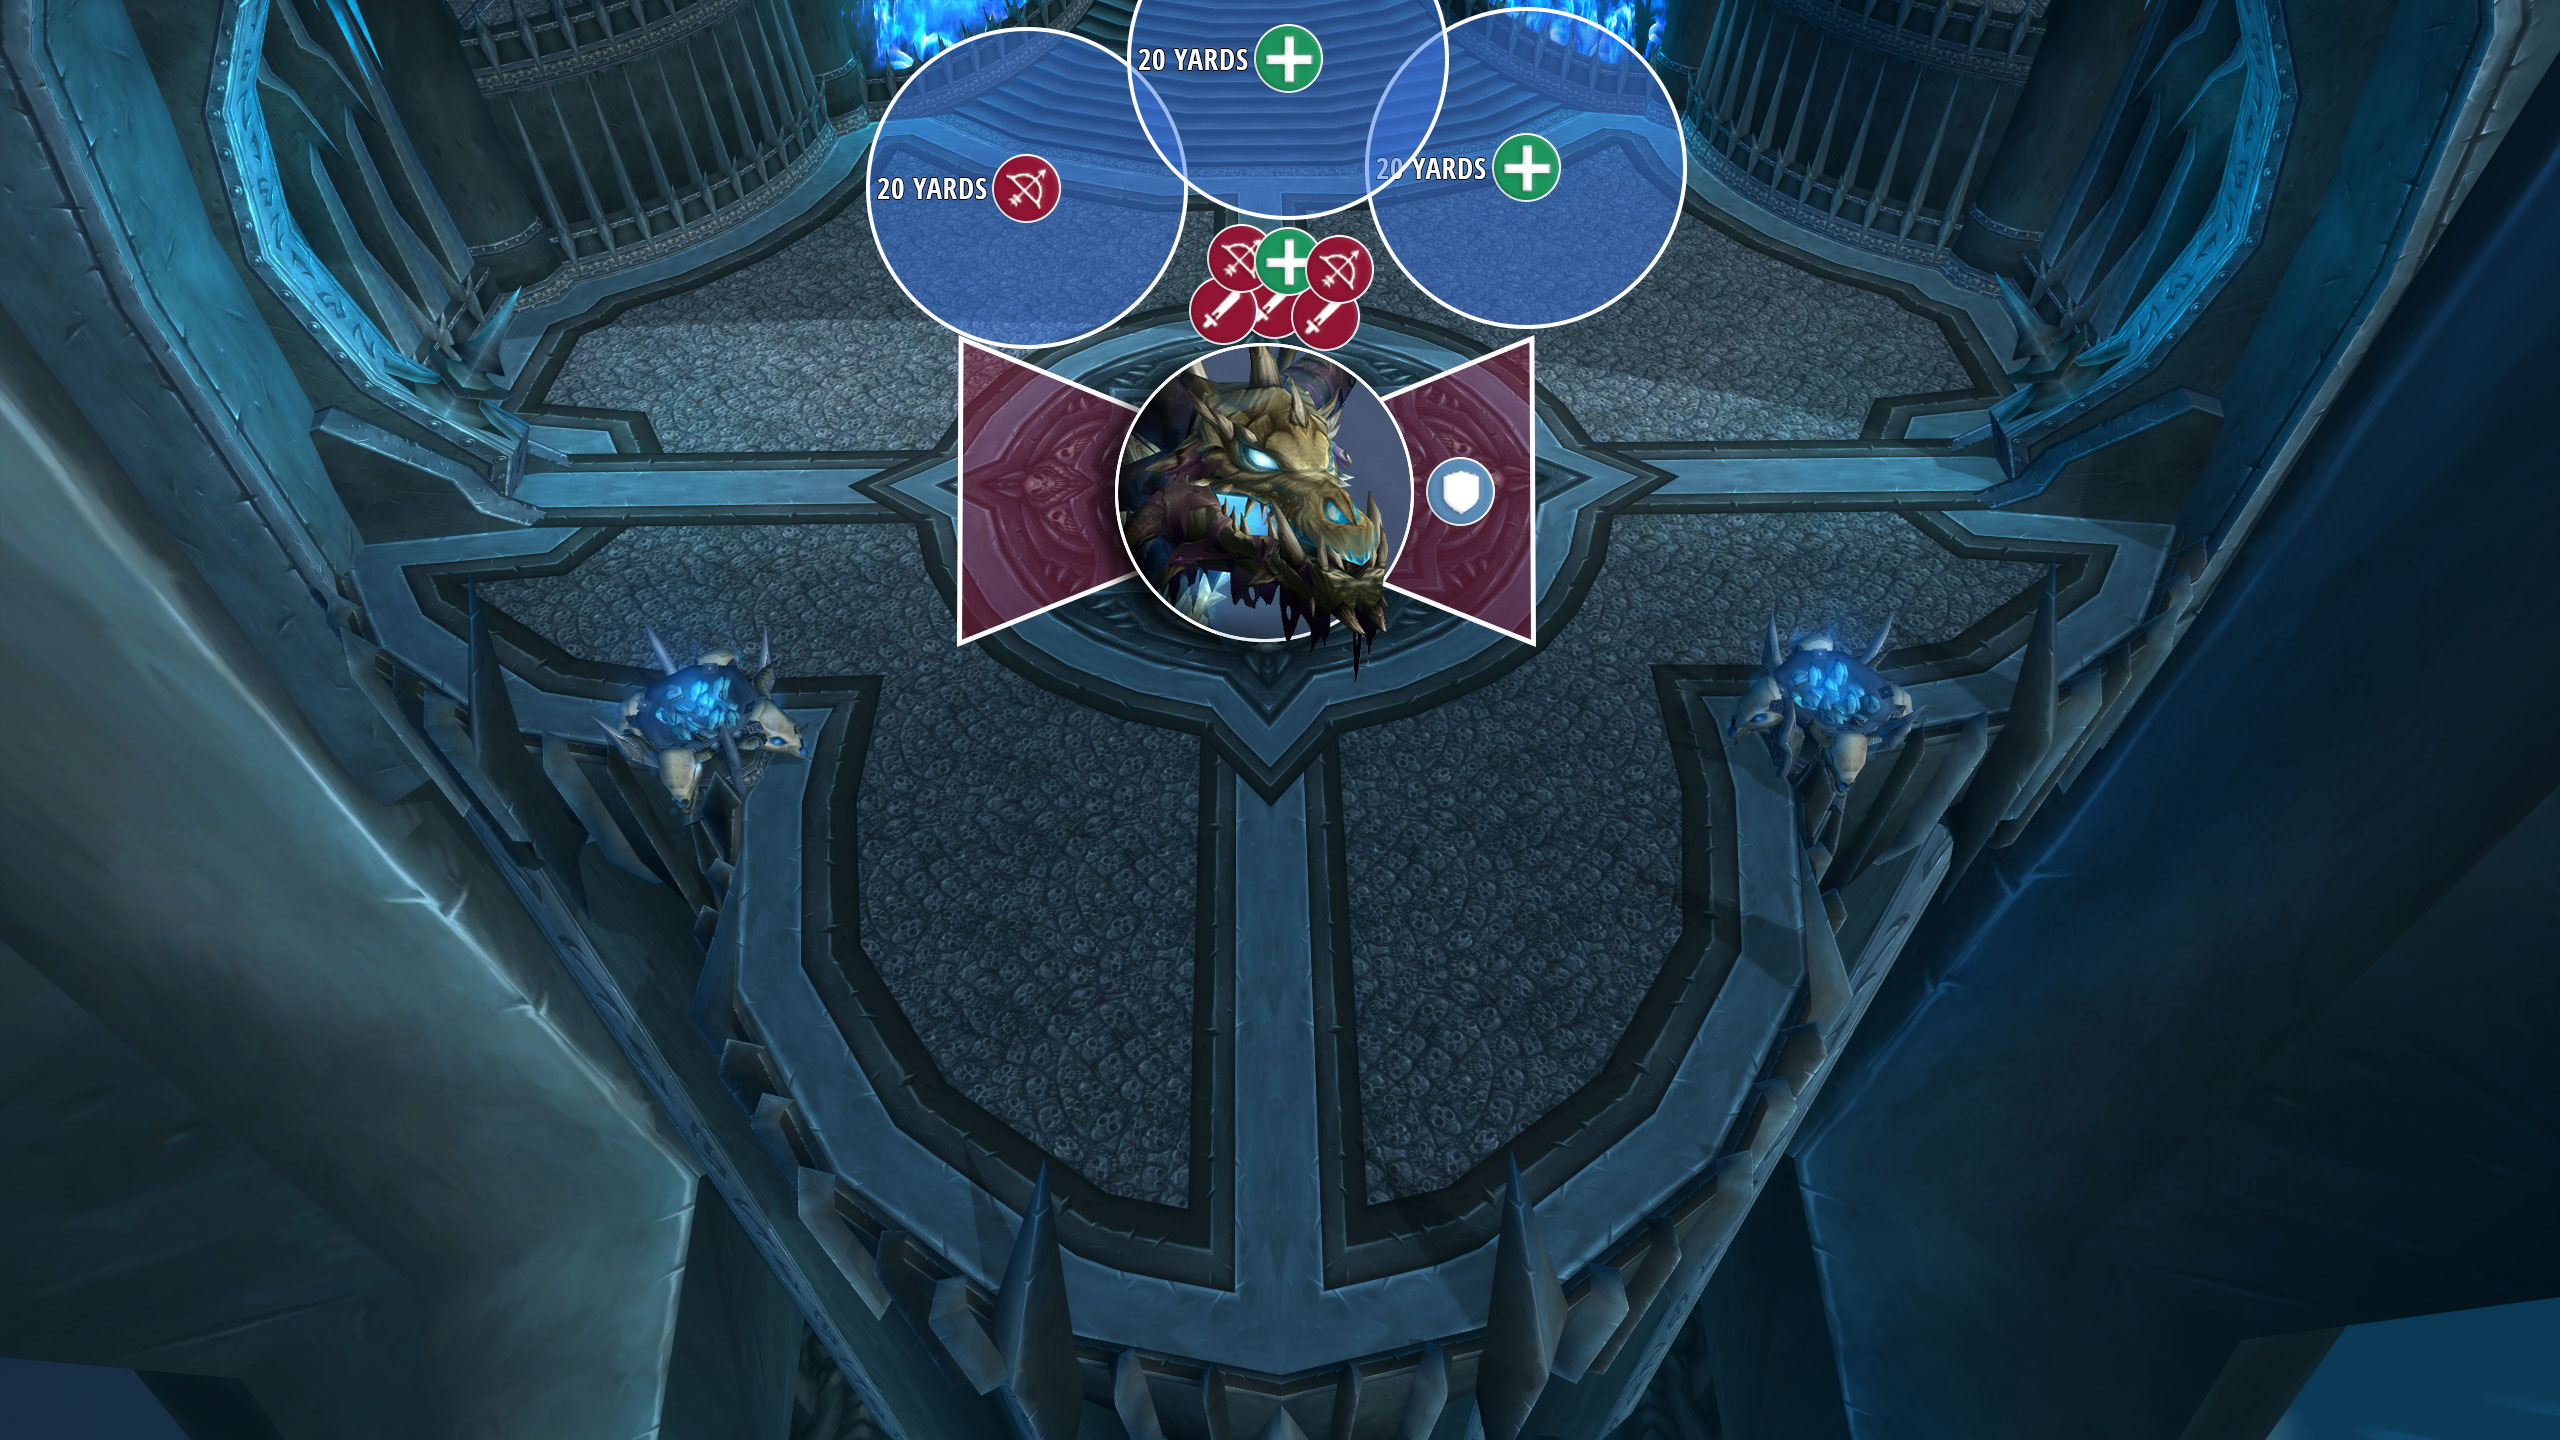
As is tradition for dragons, Sindragosa will Cleave targets in front of her, and Tail Smash targets behind her. Stand to her side to avoid unnecessary damage. Sindragosa hits hard, and your tanks will need to be well-geared and make effective use of their personal cooldowns to mitigate her damage.
For the entire fight, Frost Aura will deal Frost damage every 3 seconds, hitting everyone. This can and should be mitigated with Frost Resistance Aura. In addition, every time a player hits Sindragosa with a Physical attack, they have a chance to receive a stack of Chilled to the Bone from Permeating Chill. This deals constant Frost damage every 2 seconds and lasts for 8 seconds. This forces Physical DPS to stop DPSing regularly, allowing their stacks to fall off. This is usually done somewhere between 5 to 8 stacks, but your mileage may vary.
Casters don’t get a free ride! Once early in the fight, and again every 30 seconds, Sindragosa will cast Unchained Magic on 3 random casters and 3 healers. Whenever a debuffed player casts a spell, they will gain a stack of Instability, dealing a bit of Arcane damage to everyone within 20 yards upon expiration. High stacks of this can easily kill a player, and poor positioning alongside that can easily wipe a raid. For most raids, you should avoid going above 2-3 stacks at a time. Unchained Magic lasts for 30 seconds, and is typically recast almost immediately after it falls off.
Roughly every 20 seconds, Sindragosa will cast Frost Breath, a frontal cone dealing heavy Frost damage to the tank. This may require defensive cooldowns or even Frost resistance gear. Each hit of Frost Breath will also slow the attack and movement speed of anyone hit for 90 seconds. This effect can stack on the tank but will fall off by itself in the next Phase.
Roughly 30 seconds into the fight, and 30 seconds after each Air Phase, Sindragosa will pull the raid into her with Icy Grip. This is followed by a 5-second cast of Blistering Cold, dealing massive Frost damage to everyone within 25 yards of the boss. This requires everyone in the raid to quickly get away from the boss, staying away until the cast finishes.
Air Phase
After spending a minute on the ground, Sindragosa will enter her Air Phase for 45 seconds. This is marked by 3 players being marked with Frost Beacon, and after 7 seconds, these players will be frozen solid in an Ice Tomb, dealing Frost damage to everyone within 10 yards, as well as freezing anyone else hit. Frozen players can and should be broken out, however, similar to Sapphiron, frozen players will be used as shields. This makes it important to not destroy them too quickly. After being frozen for 20 seconds, players will receive Asphyxiation, losing 8% health every second. You cannot target frozen players, but some longer-lasting spells like Power Word: Fortitude can last long enough to have some use.
Sindragosa will launch a total of 4 Frost Bombs, with one coming every ~7 seconds. These bombs will almost certainly one-shot anyone not hiding behind an Ice Tomb. Because you won’t be DPSing Sindragosa during this Phase, it is usually a good idea to create a perimeter using Ice Tombs, creating a safe zone with plenty of protection from every direction. This is usually done by positioning each Ice Tomb 10 feet away from each other, in a triangle.
Phase 2
At 35% Health, Sindragosa will enter Phase 2. This removes her ability to fly, replacing it with Mystic Buffet. All other Ground Phase mechanics remain in place. Every 6 seconds, Sindragosa will apply a stack of Mystic Buffet to everyone within line-of-sight. This increases their Magic damage taken by 20% for 8 seconds and stacks infinitely. This will massively boost the damage raid damage taken for the entire raid, making this a scramble to quickly kill her before you are overwhelmed.
During this Phase, Sindragosa will cast Frost Beacon on a single player every 15 seconds. This will create more Ice Tombs that will need to be killed to free the players within, but players will also need to hide behind the Ice Tombs to avoid further stacks of Mystic Buffet. Players will want to avoid going above 3 stacks of Mystic Buffet, meaning they will need to regularly reset their stacks. Similar to the issue players had on Sapphiron, you will need to manually deactivate your auto attack for the game to register you as out of line of sight.
This of course creates a problem for tanks, as they are unable to reset their stacks as easily. For most groups the easiest way to handle this will be to rotate 2 tanks, switching in a Mystic Buffet-free tank before every cast of Frost Breath. Tanks with very high Frost Resistance may also be able to last significantly longer, but you may still find yourself having issues surviving more than 4-5 Frost Breaths.
Here are some of the main things that can typically go wrong in this fight:
- Failed to follow basic Dragon-fight etiquette.
- Didn’t run fast enough after Icy Grip.
- Asphyxiation.
- Getting greedy on any of the various stacking mechanics.
- Hit by Ice Tomes.
- Failing to disable auto attack to break line-of-sight.
Congratulations on defeating Sindragosa! There is a teleporter up the stairs, allowing you to return to the Upper Spire.
Author

I love MMOs of all shades, especially the nitty gritty numbers parts of them. You might recognize me from the Shadow Priest discord, otherwise I play a little bit of everything, especially games with support roles available.