- Author: Passion
- Date: January 6, 2023
- Updated: January 7, 2023
- Expansion: WotLK Classic

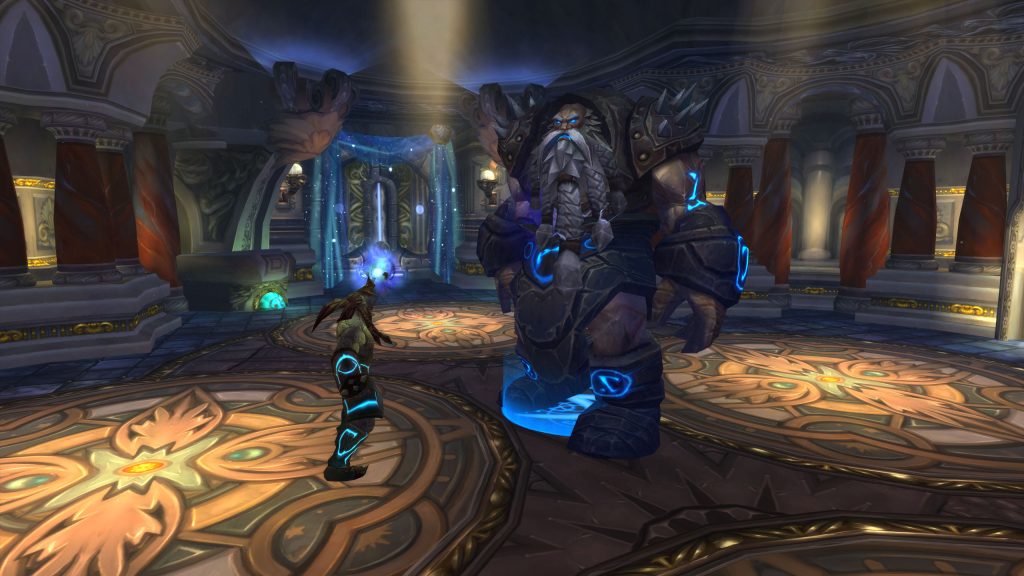
The Assembly of Iron consists of the three generals of the iron armies of Ulduar. Stormcaller Brundir represents the Iron Dwarves. Runemaster Molgeim represents the Iron Vrykul. Steelbreaker represents the Iron Giants.
This guide will offer a detailed, step-by-step tutorial on how to deal with this powerful trio’s overwhelming presence, leaving the iron armies without leadership.
Role Summaries
Three Bosses Alive
- Focus on killing Steelbreaker first
- Make sure chain-lightning is interrupted by anyone able, typically tanks
- Move out of Overload‘s 30-yard range
Two Bosses Alive
- Focus on killing Runemaster Molgeim
- Spellsteal or Purge Shield of Runes
- Move out of rune-of-death immediately
- Make sure lightning-whirl and chain-lightning are interrupted by anyone able, typically tanks
- Move out of Overload‘s 30-yard range
One Boss Alive
- Spread to minimize damage by lightning-tendrils
- Move away from the path lightning-tendrils will take
- Kite the boss if targeted by lightning-tendrils
- Make sure lightning-whirl and chain-lightning are interrupted by anyone able, typically tanks
- Move out of Overload‘s 30-yard range
- Try to stay in rune-of-power as much as you can
- Prioritize leaving rune-of-death over staying in rune-of-power
- Step away from Steelbreaker if you are low health
- Try to stay in range of all tanks
- Be ready for heavy tank damage while Steelbreaker is alive
- Make sure to dispel fusion-punch as soon as possible
- Keep up with AoE healing, if you fall behind you might struggle to recover
- The Steelbreaker tank should be ready to use defensives as needed
- Make sure the Brundir tank interrupts chain-lightning and lightning-whirl, or calls out when they can’t
- Move out of Overload‘s 30-yard range
- Drag bosses out of any rune as quickly as possible
- Position the boss so that DPS can stand in rune-of-power while DPSing the boss
Three Bosses Alive
- Call Fusion-Punch to make sure Healers keep up
- Call rune-of-power positions
- Call out when Overload starts casting
Two Bosses Alive
- Call out casts of Shield of Runes for dispels
- Call rune-of-power and rune-of-death positions, preferably by name for rune-of-death
- Call out when Overload starts casting
One Boss Alive
- Call for lightning-whirl and chain-lightning interrupts
- Call out when Overload starts casting
- Call out lightning-tendril targets by name
Three Bosses Alive
- Focus on killing Steelbreaker first
- Make sure Chain Lightning is interrupted by anyone able, typically tanks
- Move out of Overload‘s 30-yard range
Two Bosses Alive
- Focus on killing Stormcaller Brundir
- Move out of Rune of Death immediately
- Make sure Lightning Whirl and Chain Lightning are interrupted by anyone able, typically tanks
- Move out of Overload‘s 30-yard range
One Boss Alive
- Spellsteal or Purge Shield of Runes
- Move out of Rune of Death immediately
- Move away from rune-of-summoning
- Try to move in the same directions
- Crowd-control or kill the lightning elementals
- Try to stay in Rune of Power as much as you can
- Prioritize leaving Rune of Death over staying in Rune of Power
- Step away from Steelbreaker if you are low health
- Ranged DPS should make sure Lightning Elementals in Phase 3 are either killed or slowed
- Try to stay in range of all tanks
- Be ready for heavy tank damage while Steelbreaker is alive
- Make sure to dispel Fusion Punch as soon as possible
- Keep up with AoE healing, if you fall behind you might struggle to recover
- The Steelbreaker tank should be ready to use defensives as needed
- Make sure the Brundir tank interrupts Chain Lightning and Lightning Whirl, or calls out when they can’t
- Move out of Overload‘s 30-yard range
- Drag bosses out of any rune as quickly as possible
- Position the boss so that DPS can stand in Rune of Power while DPSing the boss
Three Bosses Alive
- Call Fusion Punch to make sure Healers keep up
- Call Rune of Power positions
- Call out when Overload starts casting
Two Bosses Alive
- Call Rune of Power and Rune of Death positions, preferably by name for Rune of Death
- Call out when Overload starts casting
- Remind people to be loosely spread for static-disruption to minimize damage taken
One Boss Alive
- Call out rune-of-summoning locations
- Call for DPS or crowd control on Lightning Elementals
- Call out casts of Shield of Runes for dispels
- Call Rune of Power and Rune of Death positions, preferably by name for Rune of Death
Three Bosses Alive
- Focus on killing Stormcaller Brundir first
- Make sure Chain Lightning is interrupted by anyone able, typically tanks
- Move out of Overload‘s 30-yard range
Two Bosses Alive
- Focus on killing Runemaster Molgeim
- Spellsteal or Purge Shield of Runes
- Move out of Rune of Death immediately
- Avoid stacking to minimize damage from static-disruption
One Boss Alive
- Avoid stacking to minimize damage from static-disruption
- Do what you can to stay alive, there is a lot of damage everywhere
- I cannot stress this enough, do not die unnecessarily
- Your raid leader and officers will yell at you
- I cannot stress this enough, do not die unnecessarily
- Save any combat resurrections for tanks, do not waste them
- Try to stay in Rune of Power as much as you can
- Prioritize leaving Rune of Death over staying in Rune of Power
- Maintain communication with tanks for defensive use, fusion-punch hits hard and is only going to hit harder as you go
- Make sure to dispel fusion-punch from the tank as soon as possible
- Everyone in melee range of Steelbreaker will be constantly taking damage, keep on top of this damage at all times to avoid being overwhelmed
- The Steelbreaker tank should be ready to use defensives as needed, make sure to maintain communication with your healers for defensives like Pain Suppression
- Make sure the Brundir tank interrupts Chain Lightning and Lightning Whirl, or calls out when they can’t
- Move out of Overload‘s 30-yard range
- Drag bosses out of any rune as quickly as possible
- Position the boss so that DPS can stand in Rune of Power while DPSing the boss
- Utilize as much of overwhelming-power‘s duration as possible
- Make sure to move out before Meltdown!
Three Bosses Alive
- Call fusion-punch to make sure Healers are keeping up
- Call rune-of-power positions
- Call out when overload starts casting
Two Bosses Alive
- Call out casts of shield-of-runes for dispels
- Call rune-of-power and rune-of-death positions, preferably by name for rune-of-death
- Remind people to be loosely spread for static-disruption to minimize damage taken
One Boss Alive
- Call for a tank swap when overwhelming-power is timing out
- Make sure the tank remembers to move out
- Remind people to be loosely spread for static-disruption to minimize damage taken
Abilities
Shared
stormcaller-brundir
runemaster-molgeim
steelbreaker
Raid Composition & Preparation
Hard Mode
Hard Mode for this fight is activated by killing Steelbreaker last, allowing him to reach 2 stacks of Supercharge. Once hard mode is active, tanks will periodically die from meltdown, drastically increasing Steelbreaker’s damage dealt, as well as healing him significantly.
Winning this encounter on hard mode adds the following additional loot to the drop table:
- archivum-data-disc
- This is the beginning of a quest chain eventually unlocking the Algalon the Observer fight and rewarding a choice of one of the following:
- belt-of-the-crystal-tree
- loop-of-the-agile
- perilous-bite
- the-masticator
- watchful-eye-of-fate
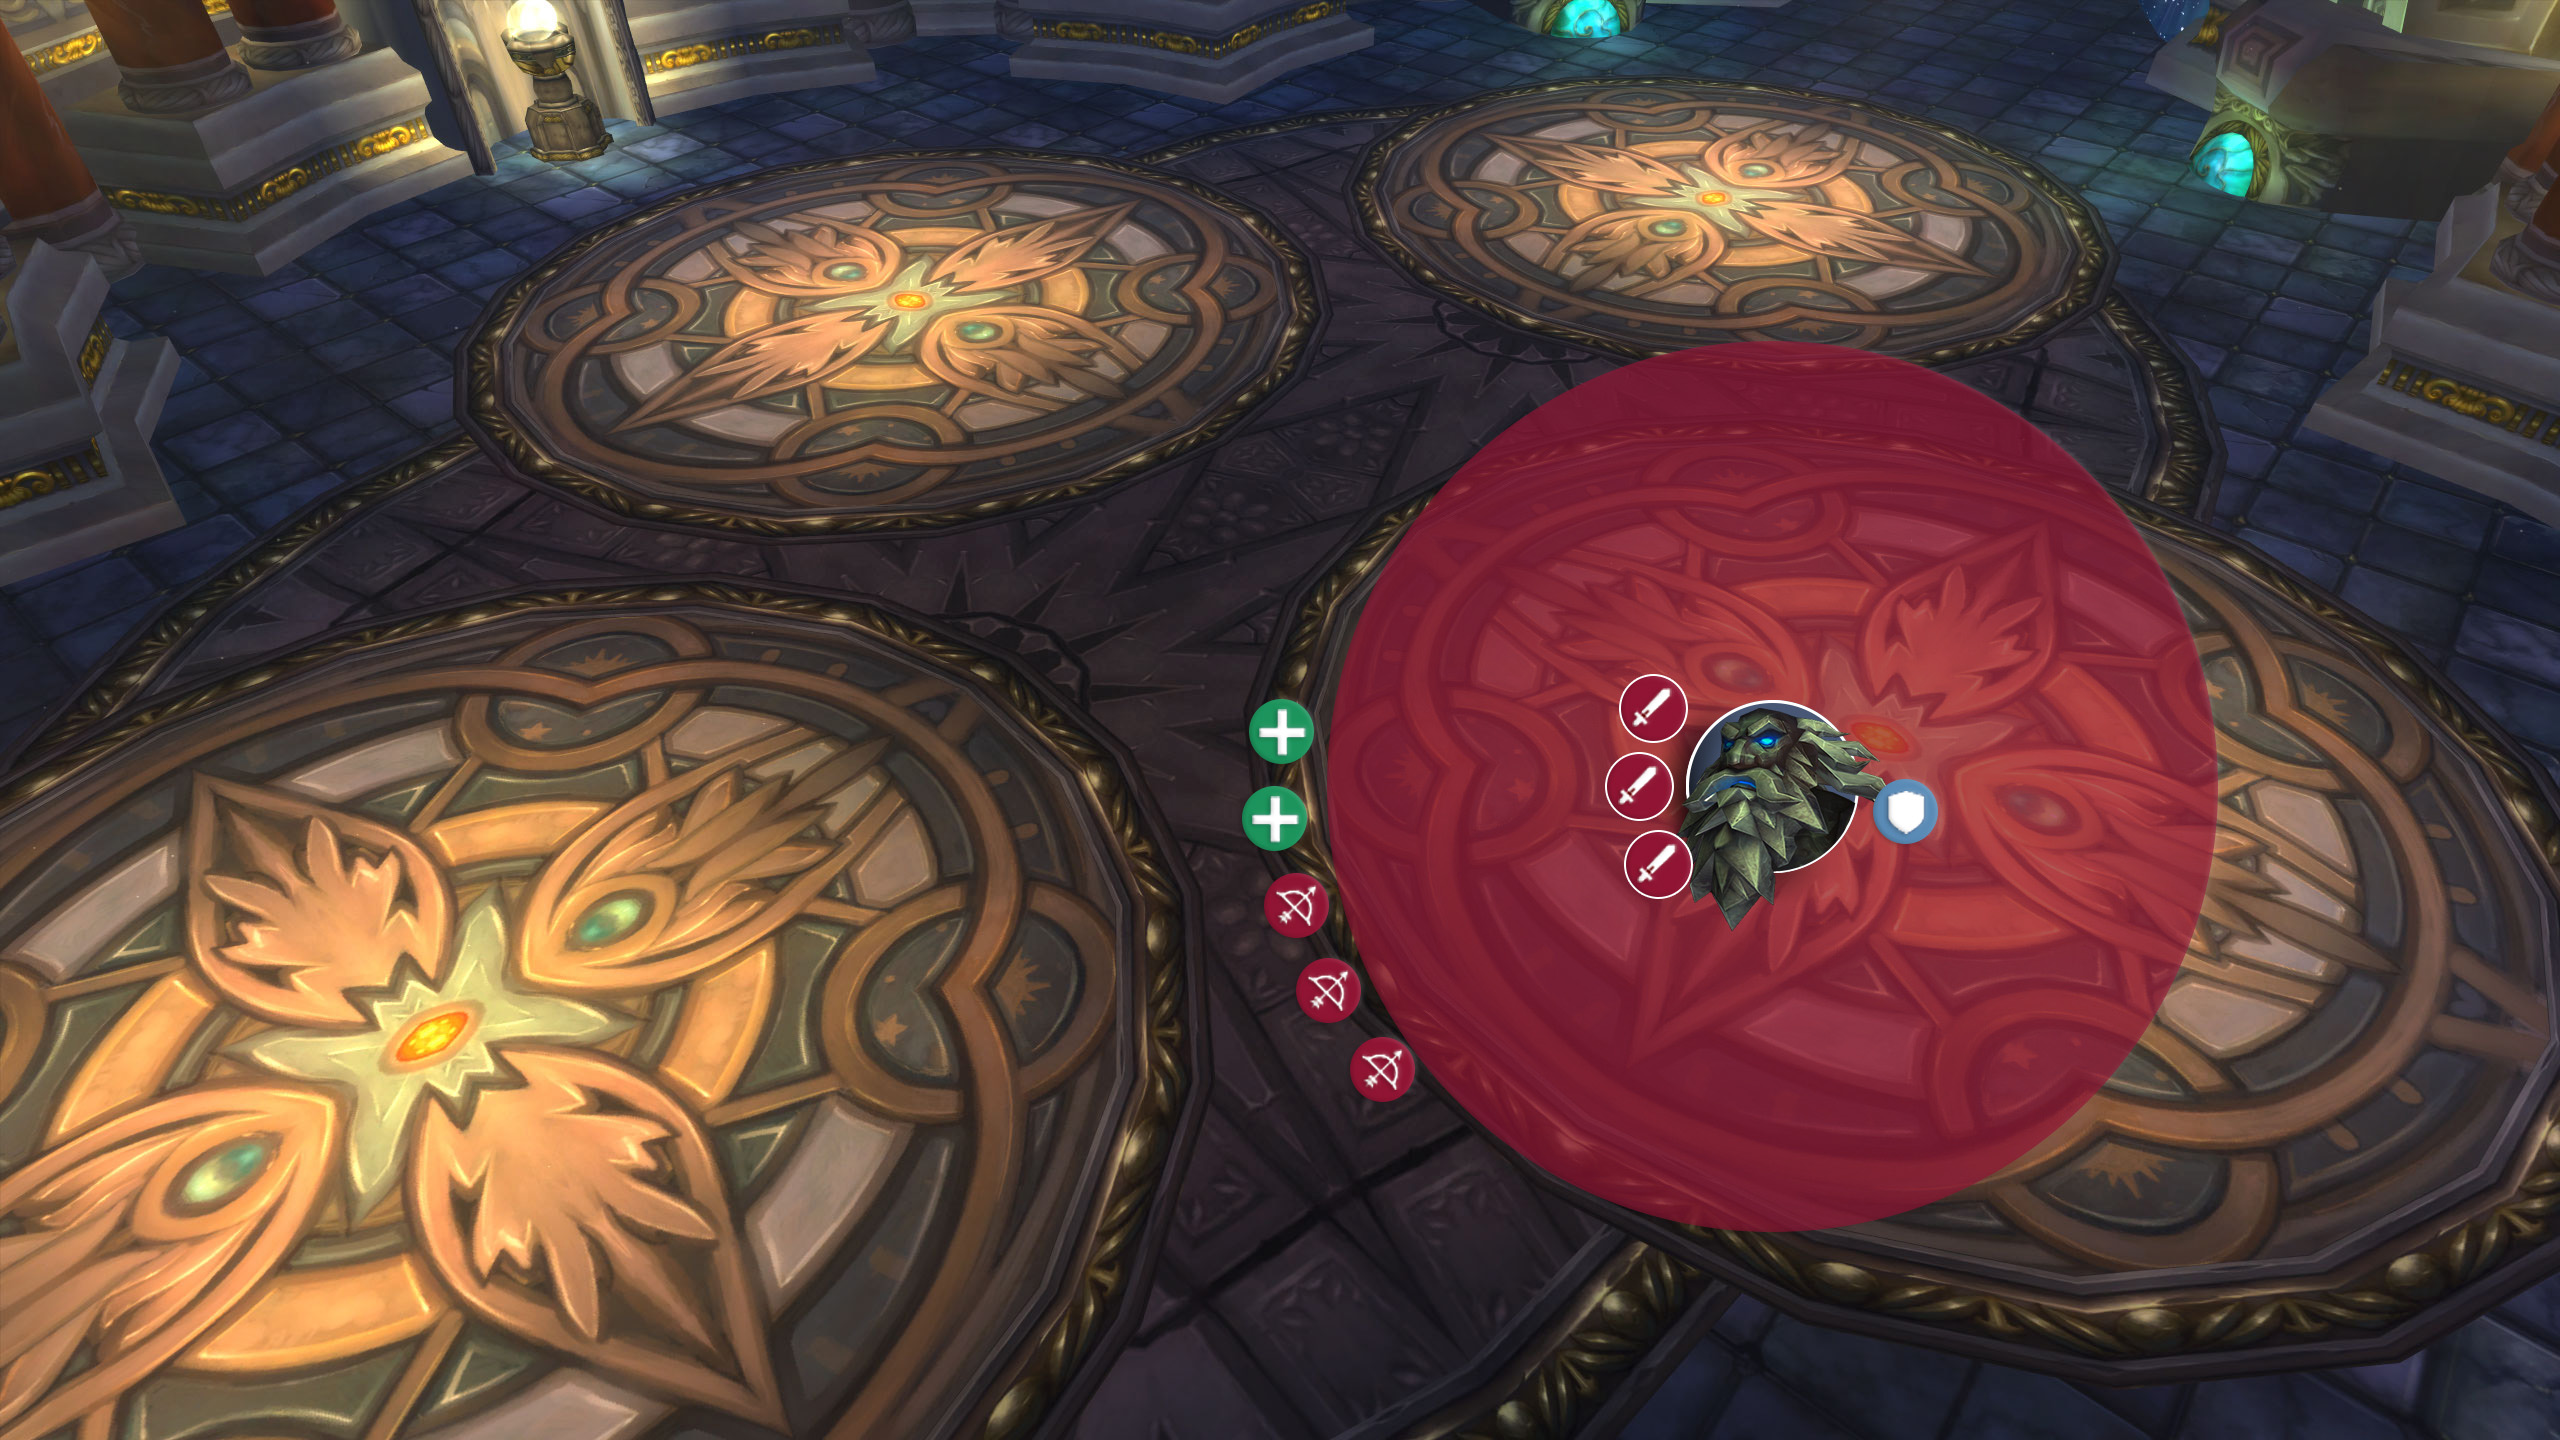
The Pull
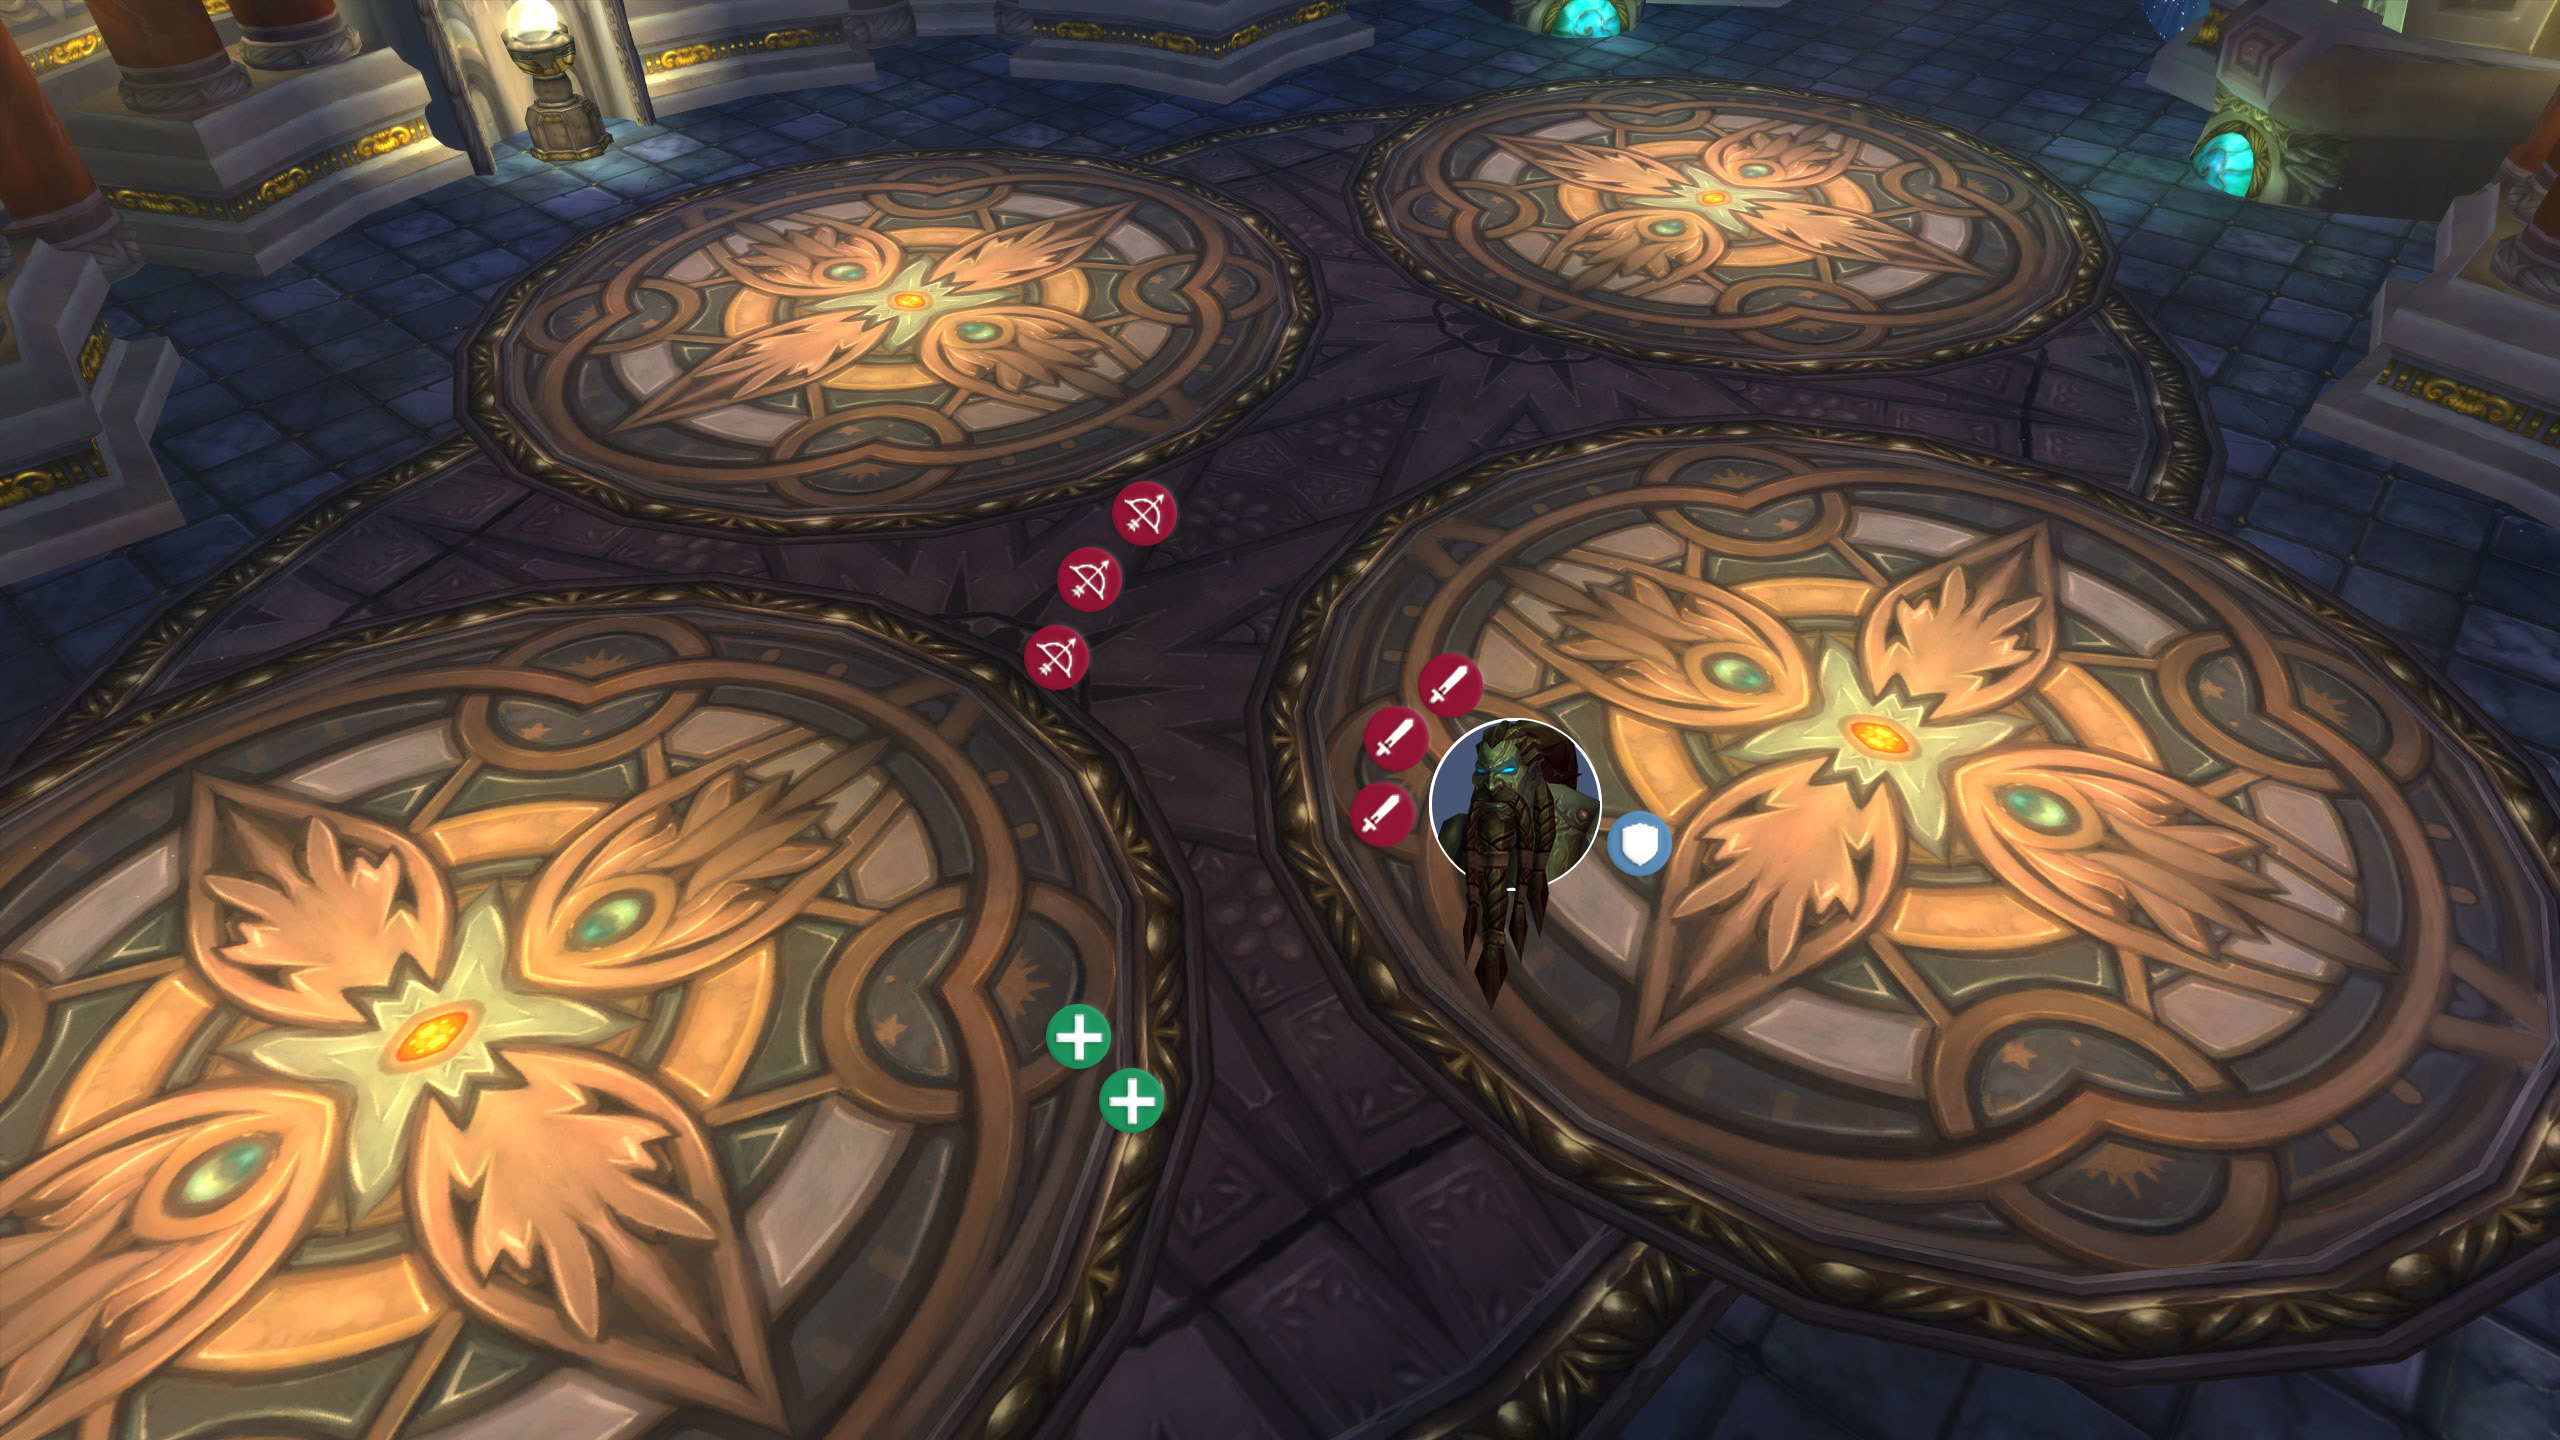
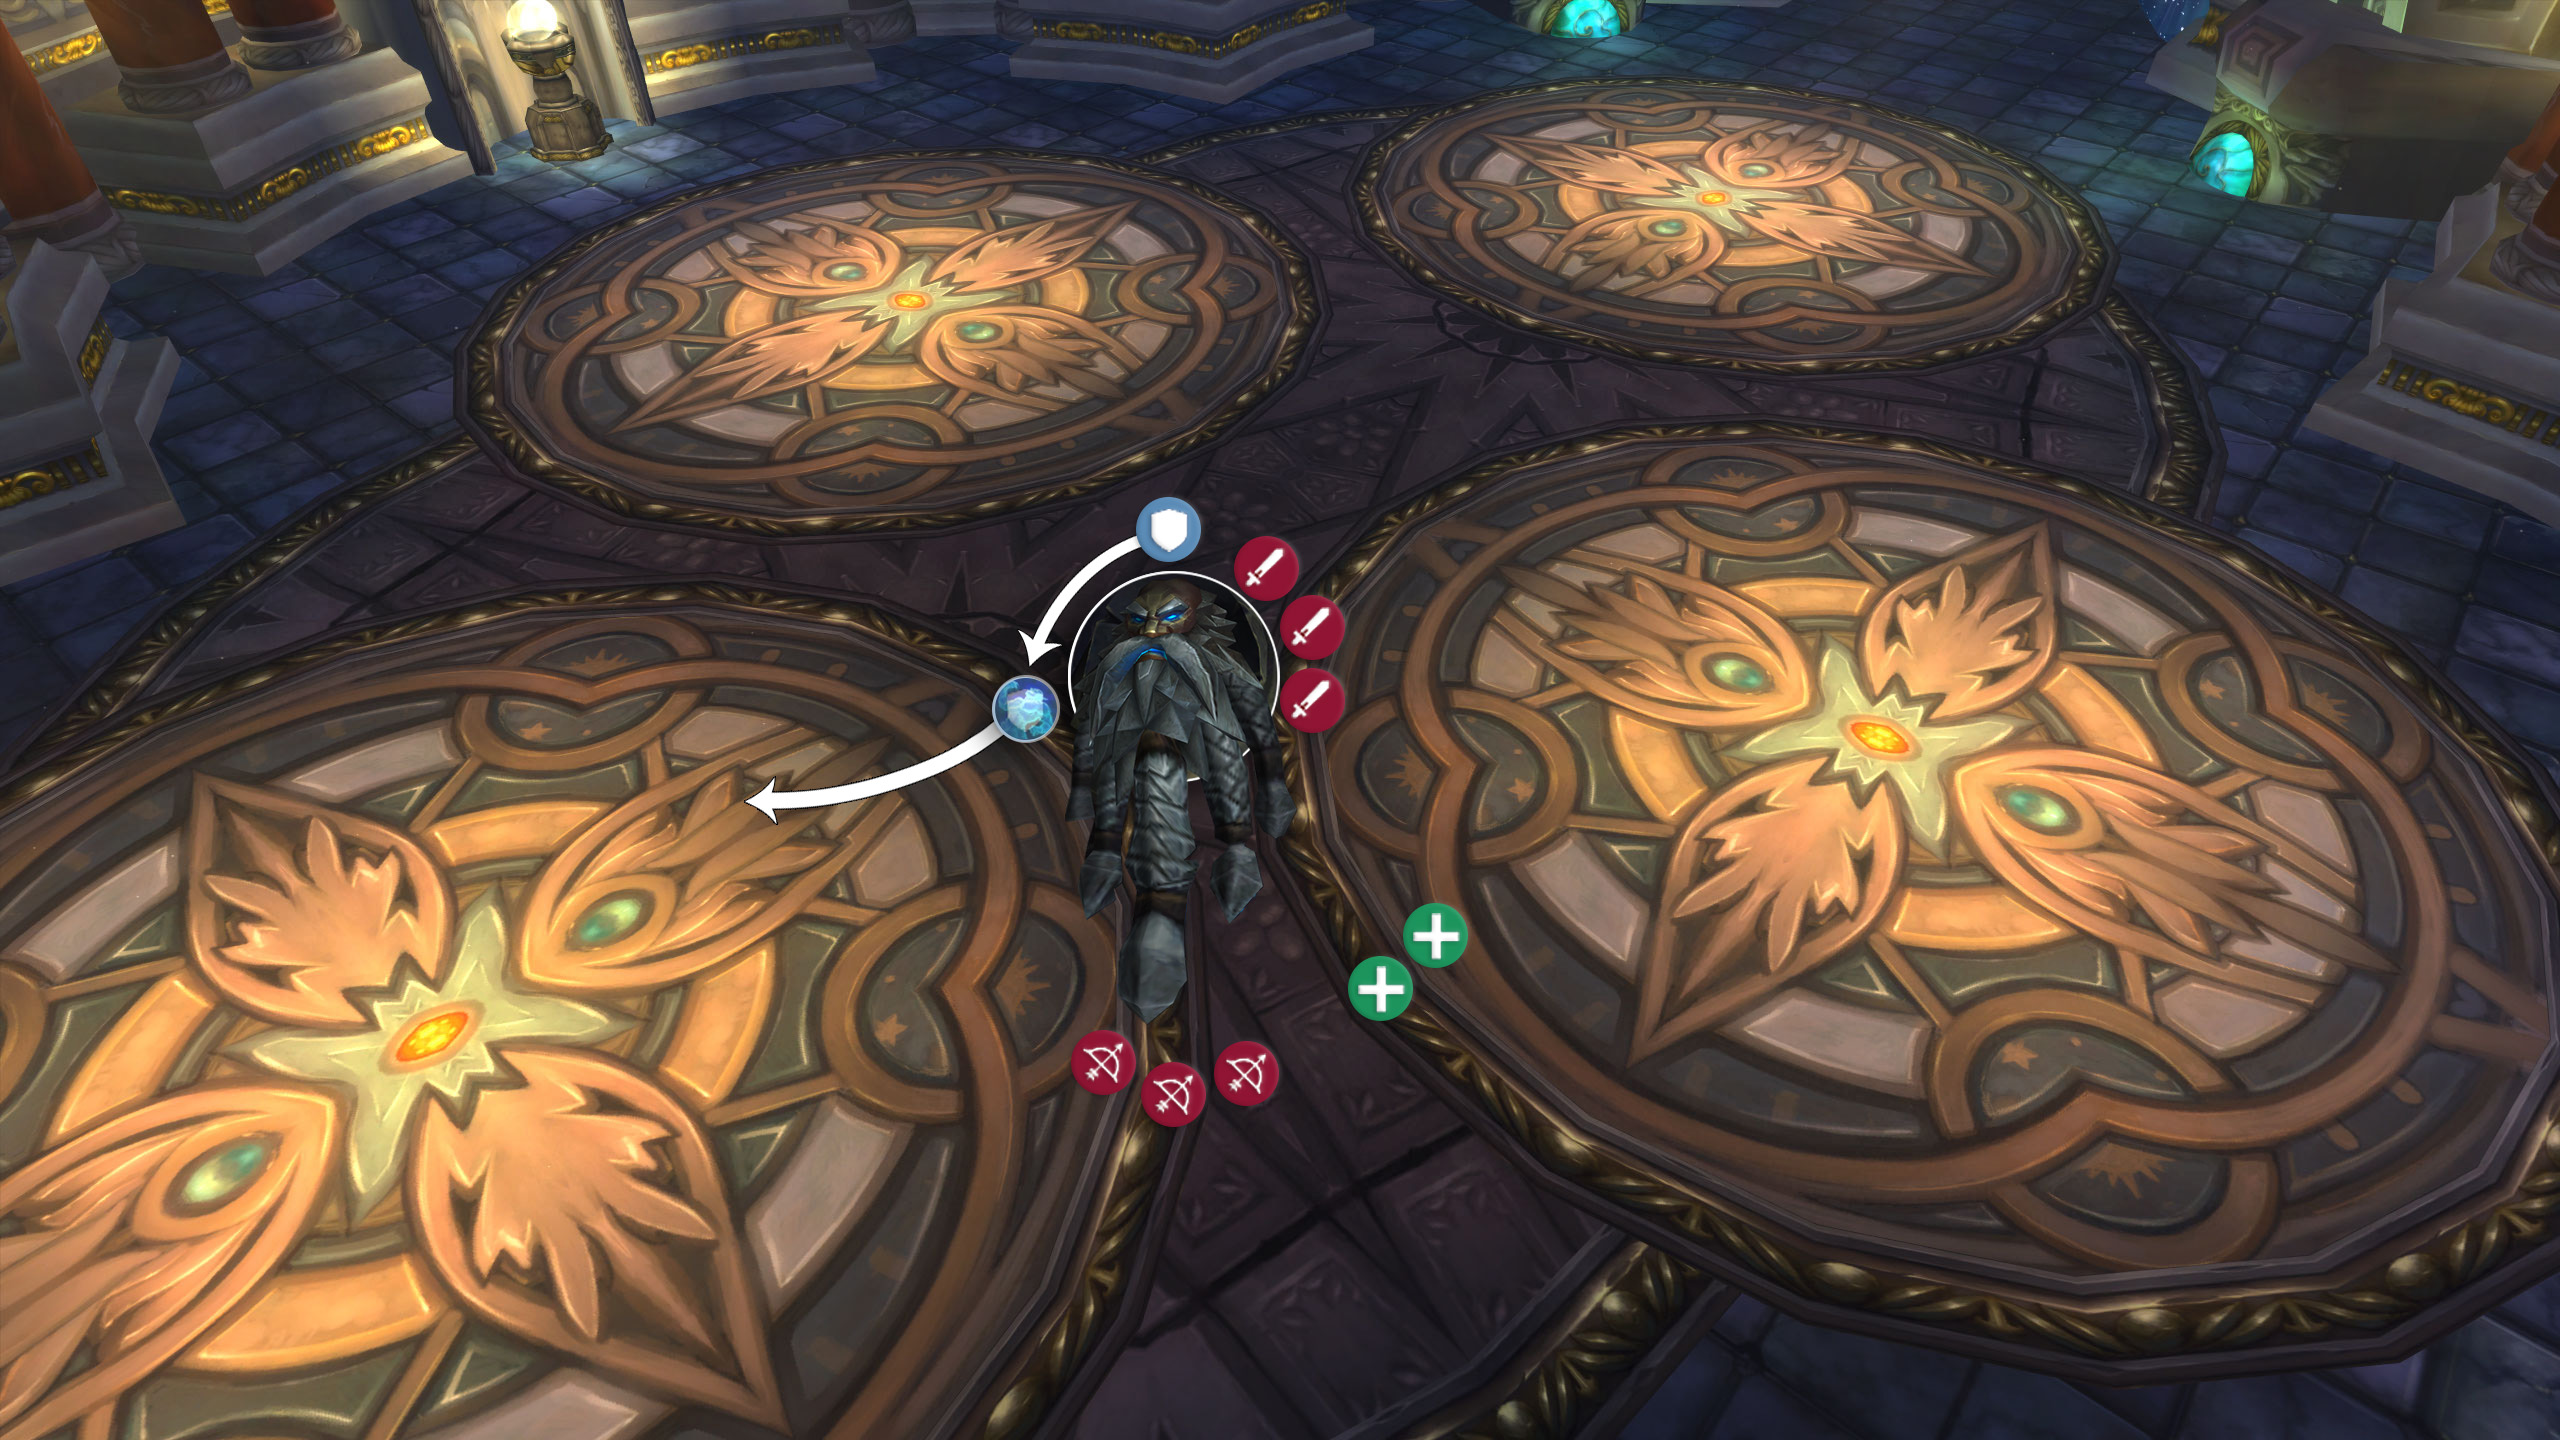
Once this encounter has been started, the gate behind you will be closed. Make sure that all raid members are inside the room before initiating this fight.
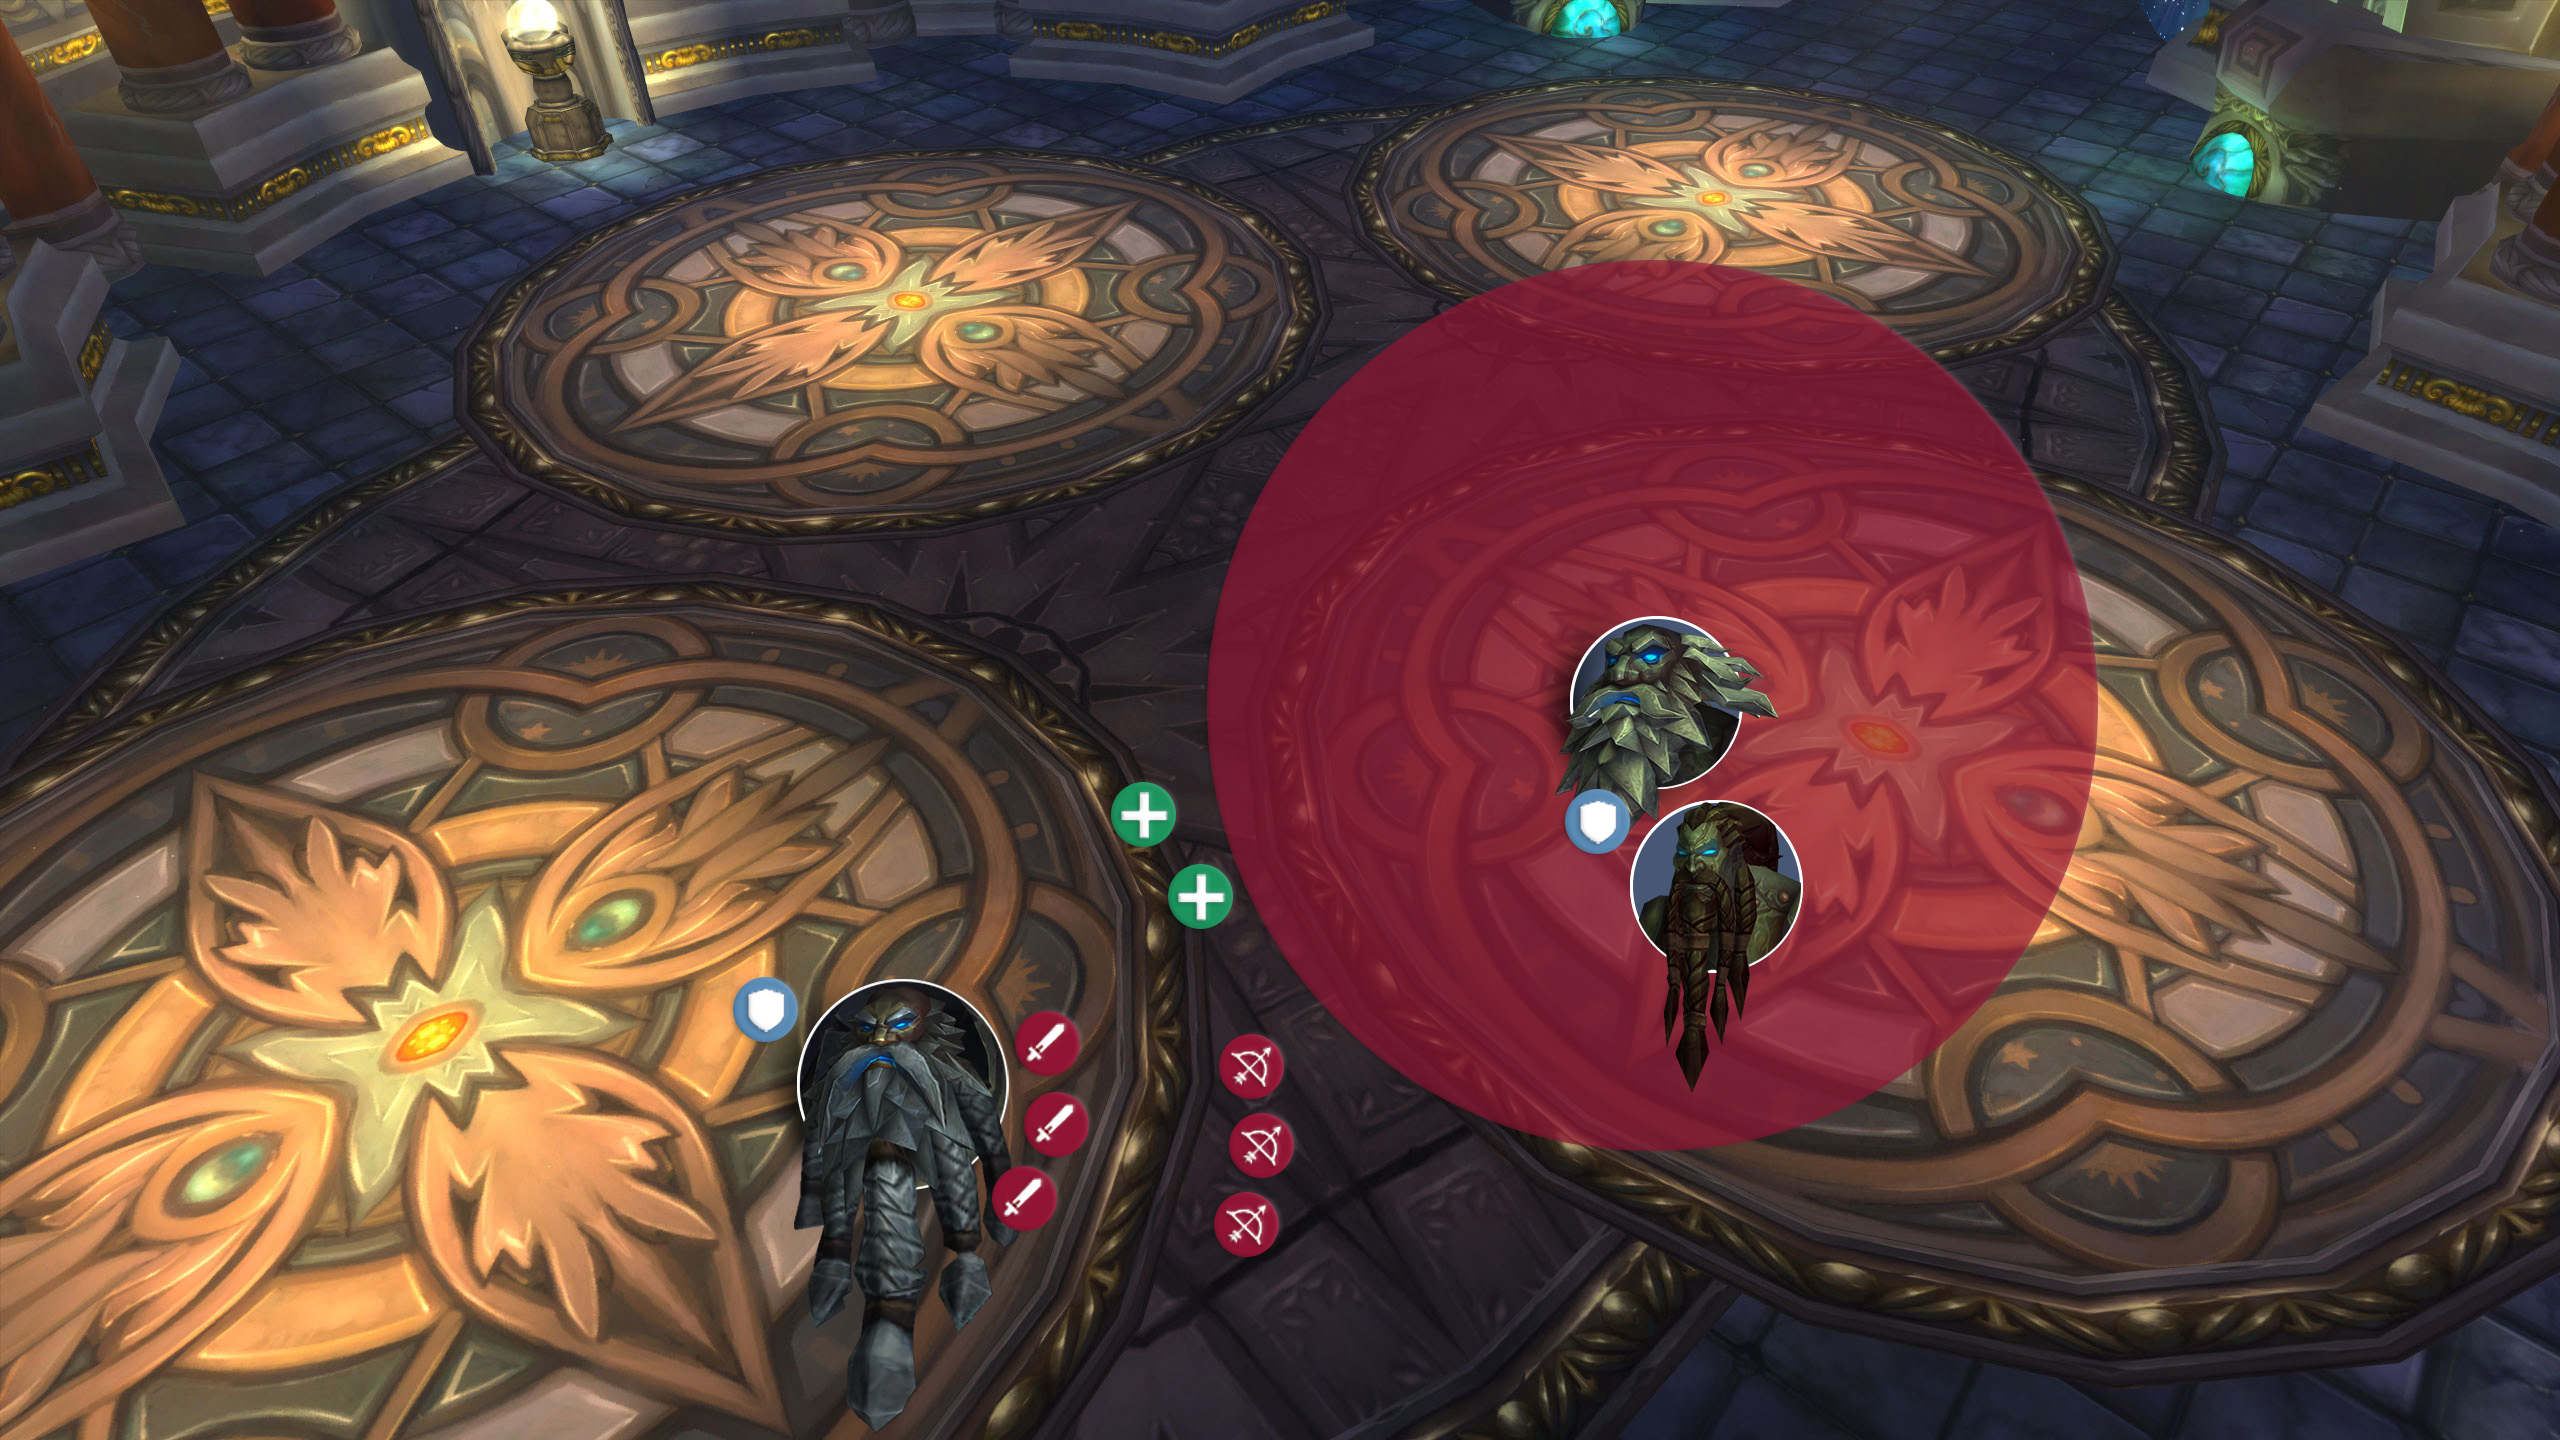
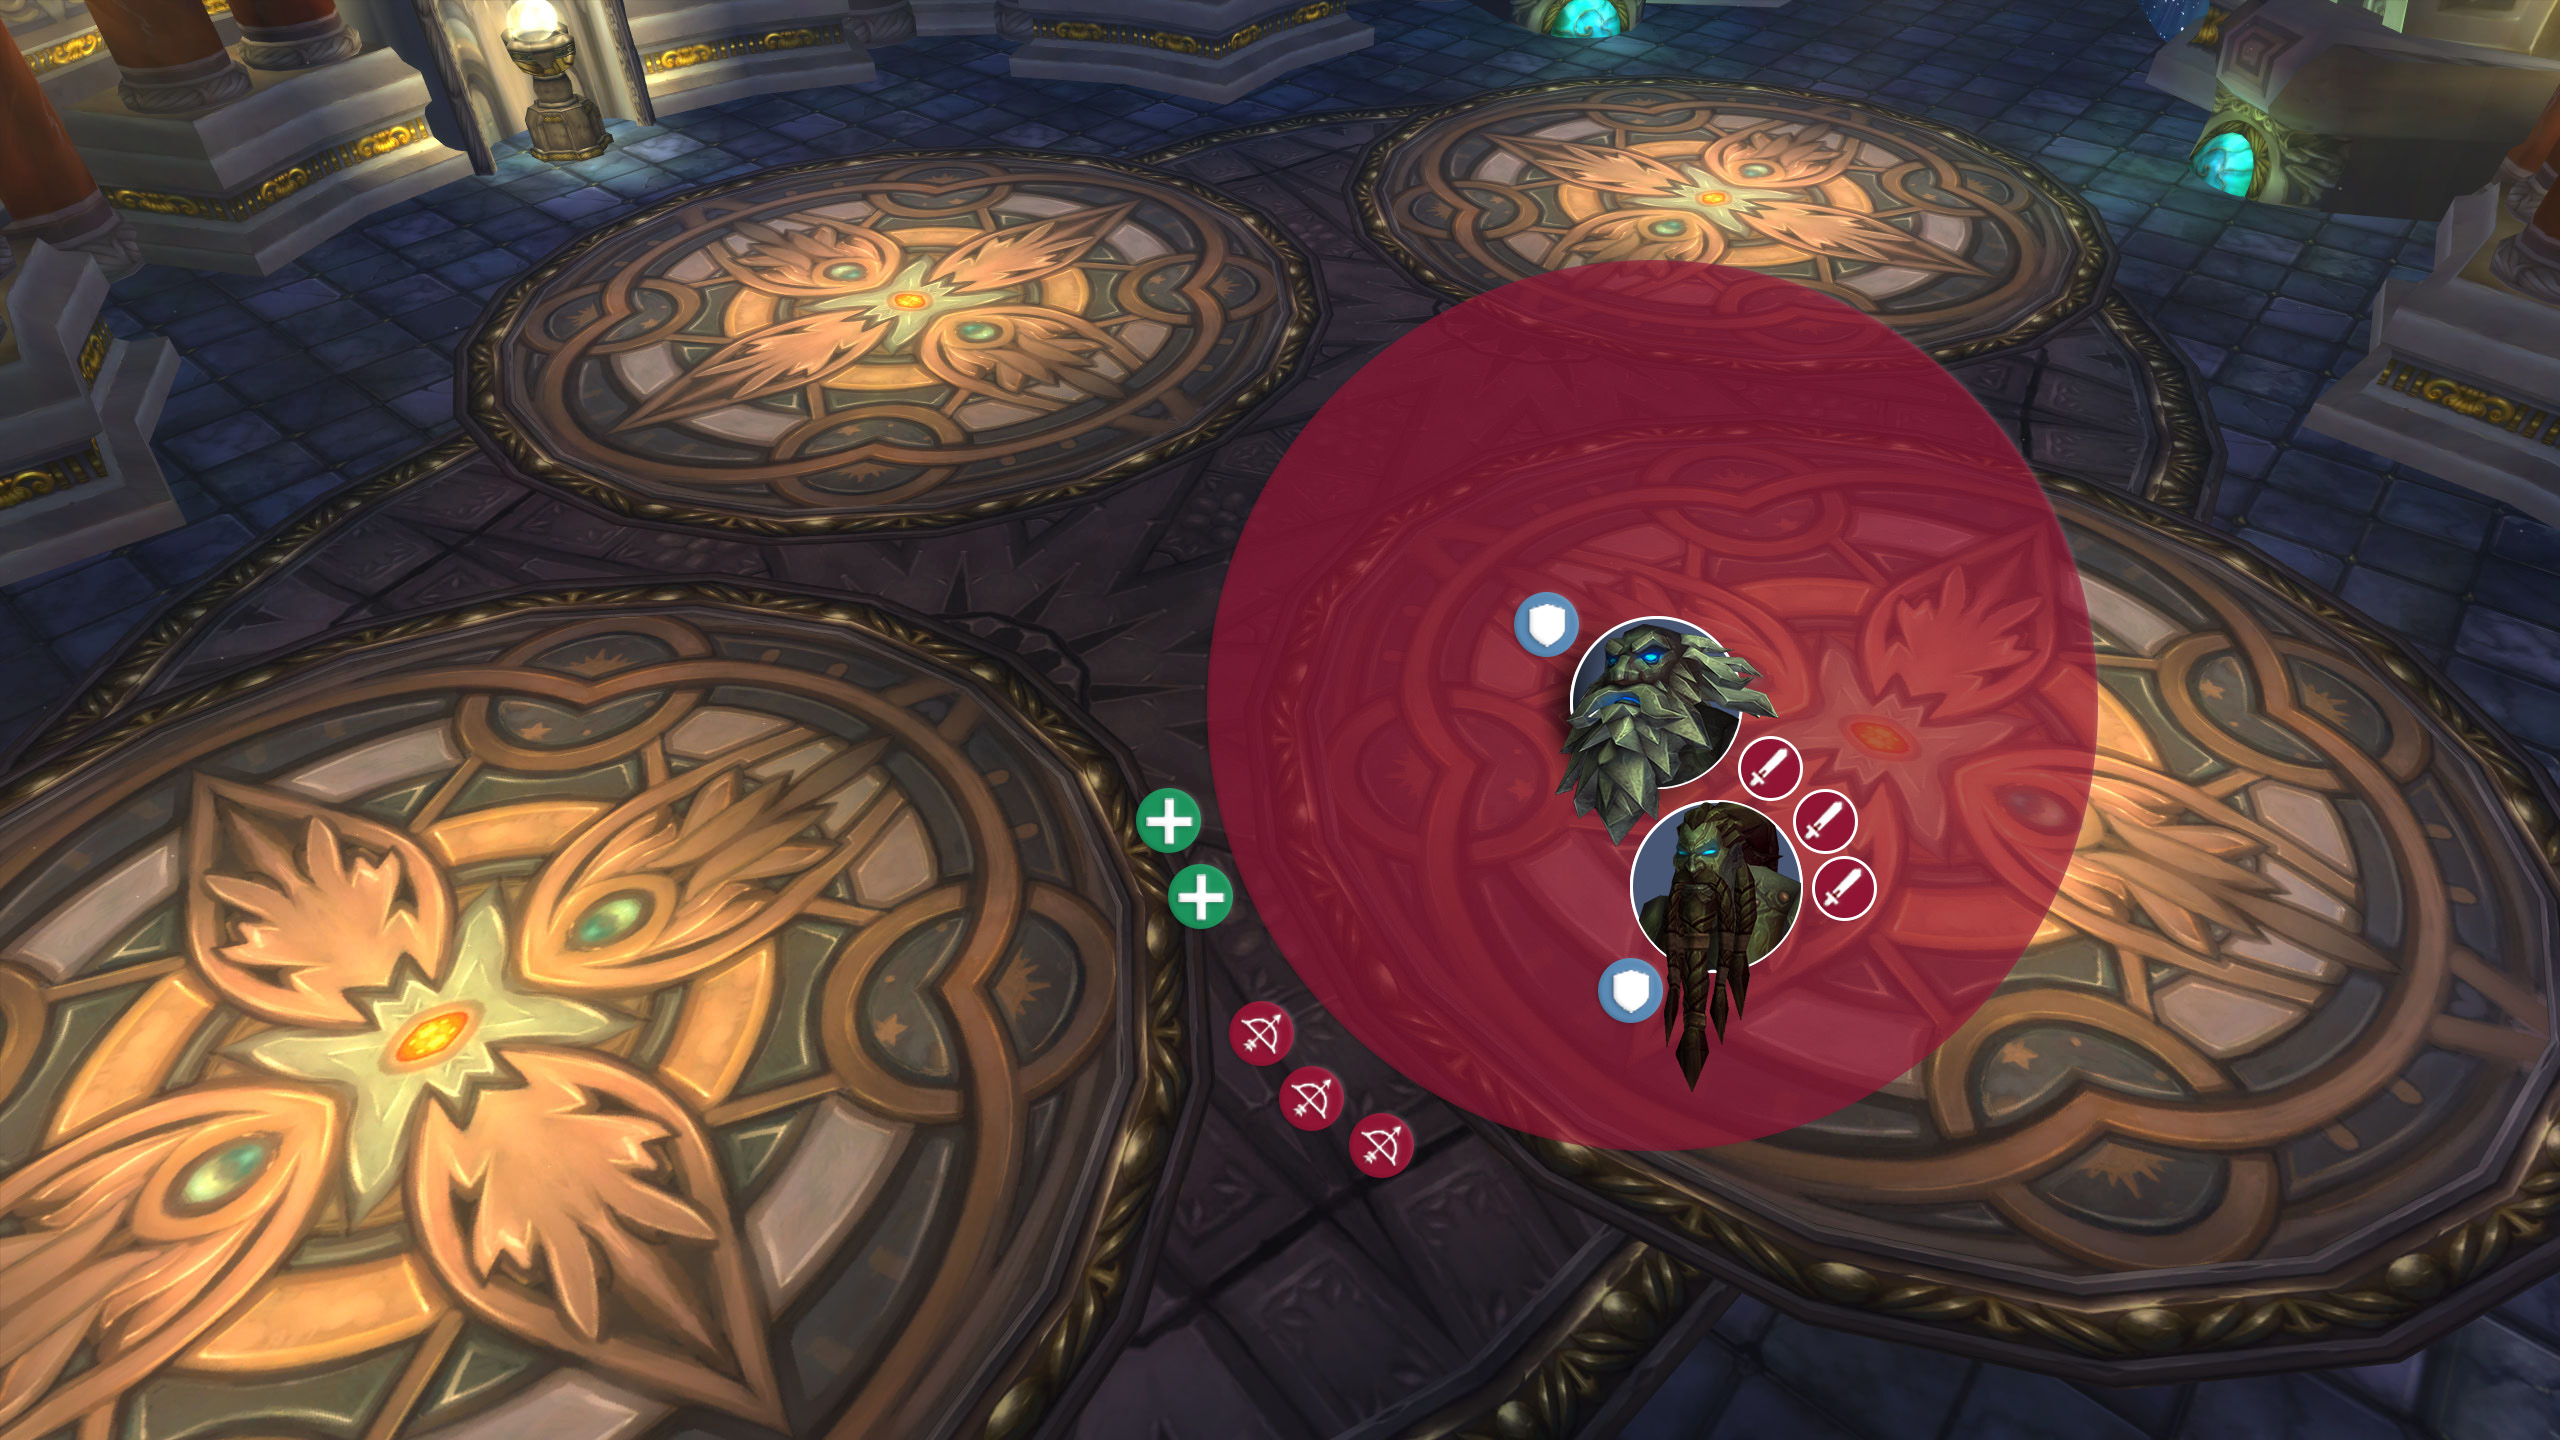
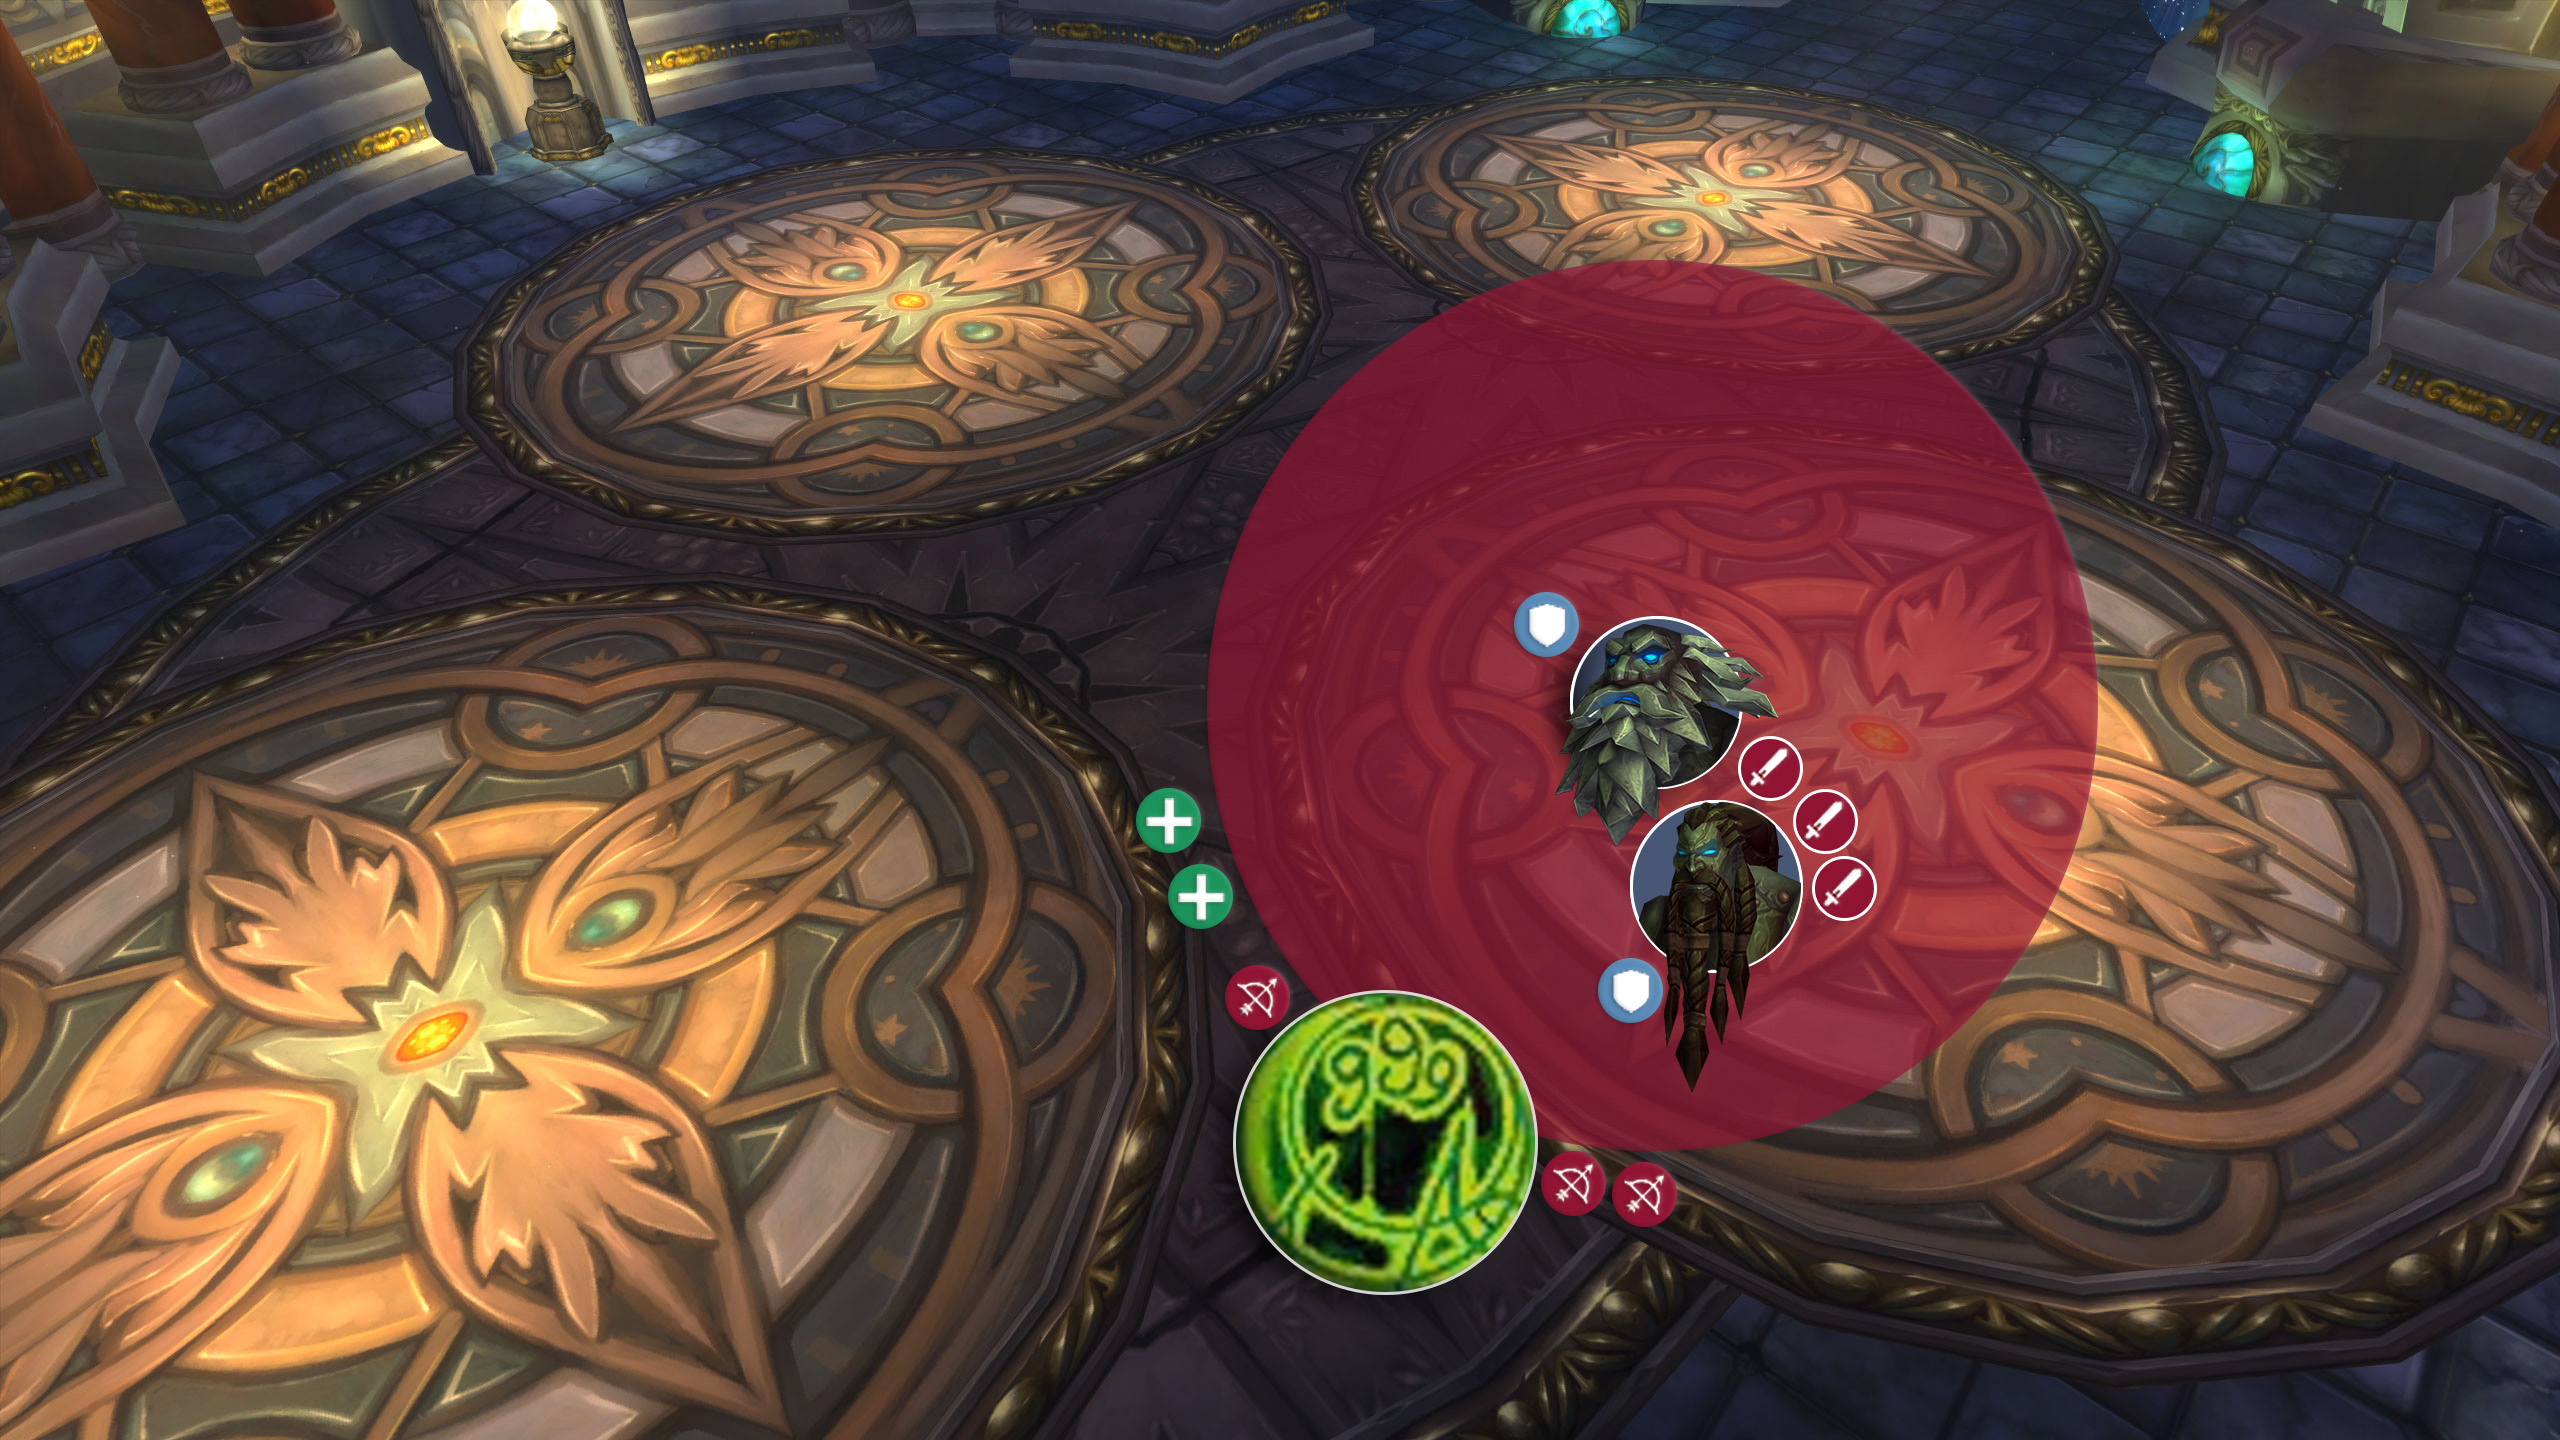
The three bosses will need to be separated. Brundir will need to be 30 yards away from the raid to avoid overload hitting players unnecessarily. Molgeim should ideally be tanked close to the current kill target so that his rune-of-power can benefit your raid. Groups running two tanks will tank Molgeim together with Brundir, while groups running three tanks will want to tank all bosses separately.
The Fight
The order you kill bosses will drastically impact the difficulty of the fight. For the easiest fight, groups will want to kill Steelbreaker first, Molgeim second, and Brundir last. Groups interested in hard mode for the improved loot will need to kill Steelbreaker last. The middle ground is killing Molgeim last, giving the group the Archivum Data Disc but no other hard mode loot.
Normal Mode (Stormcaller Brundir Last)
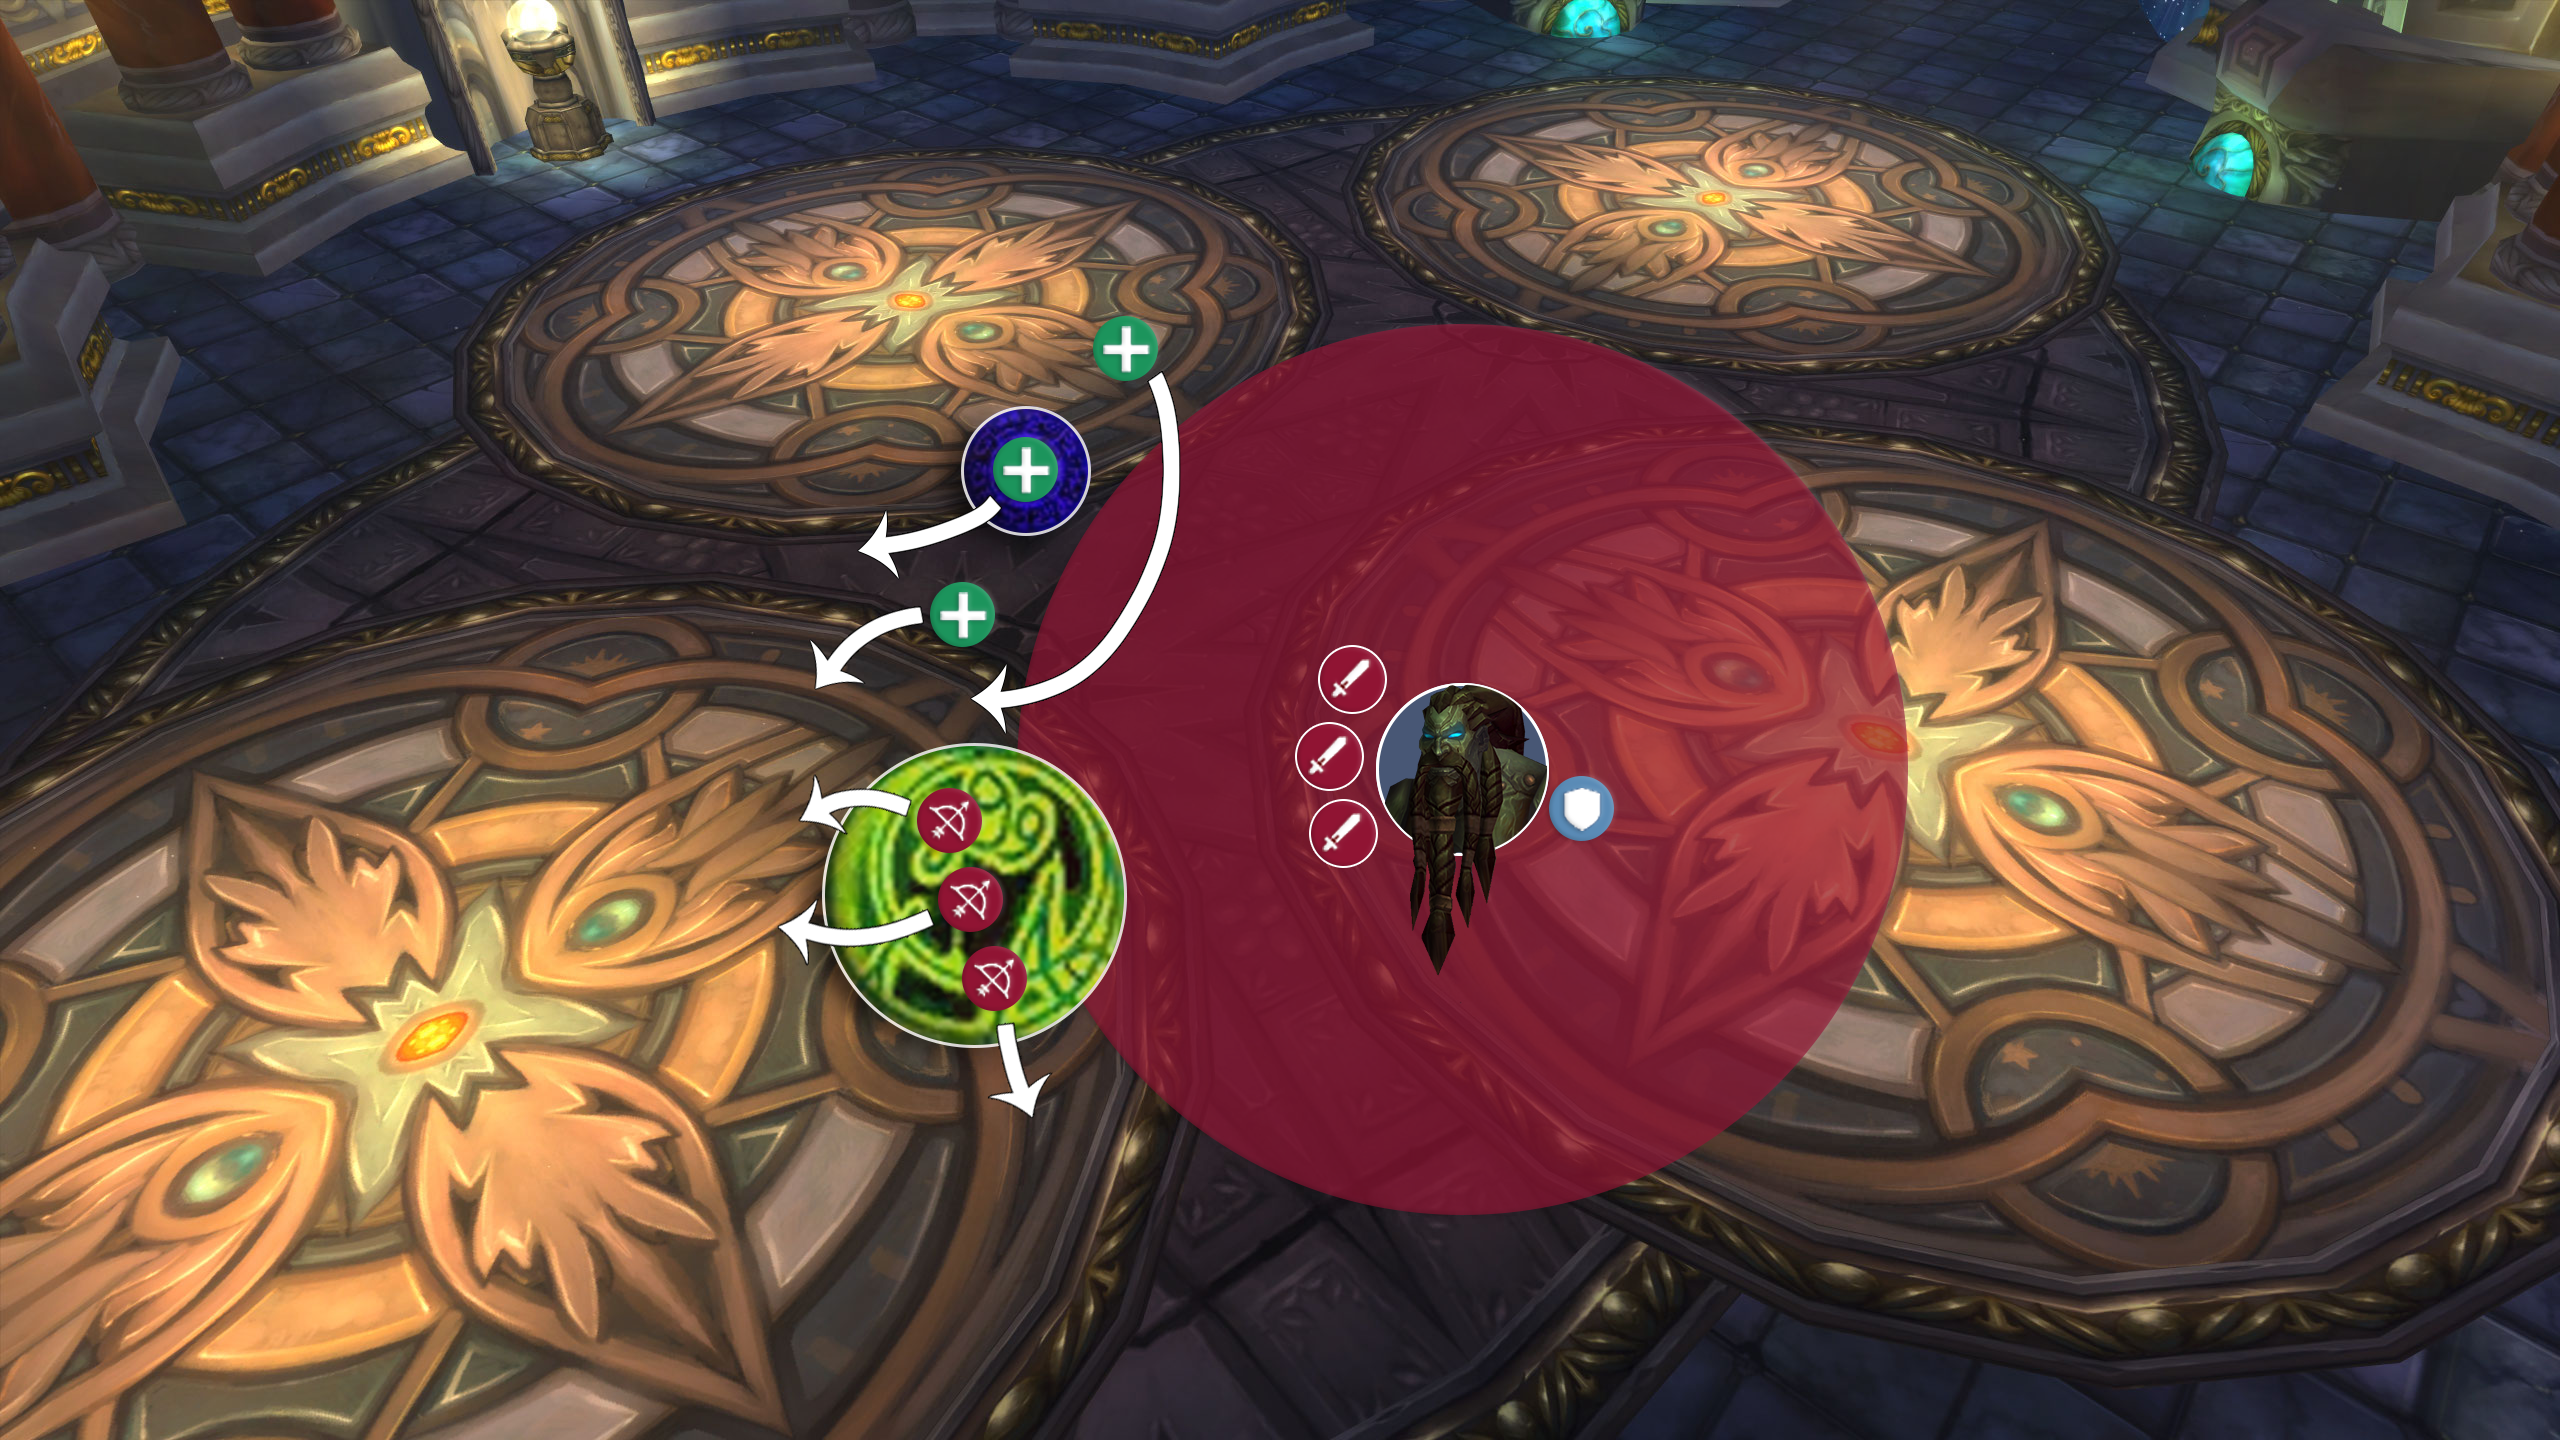
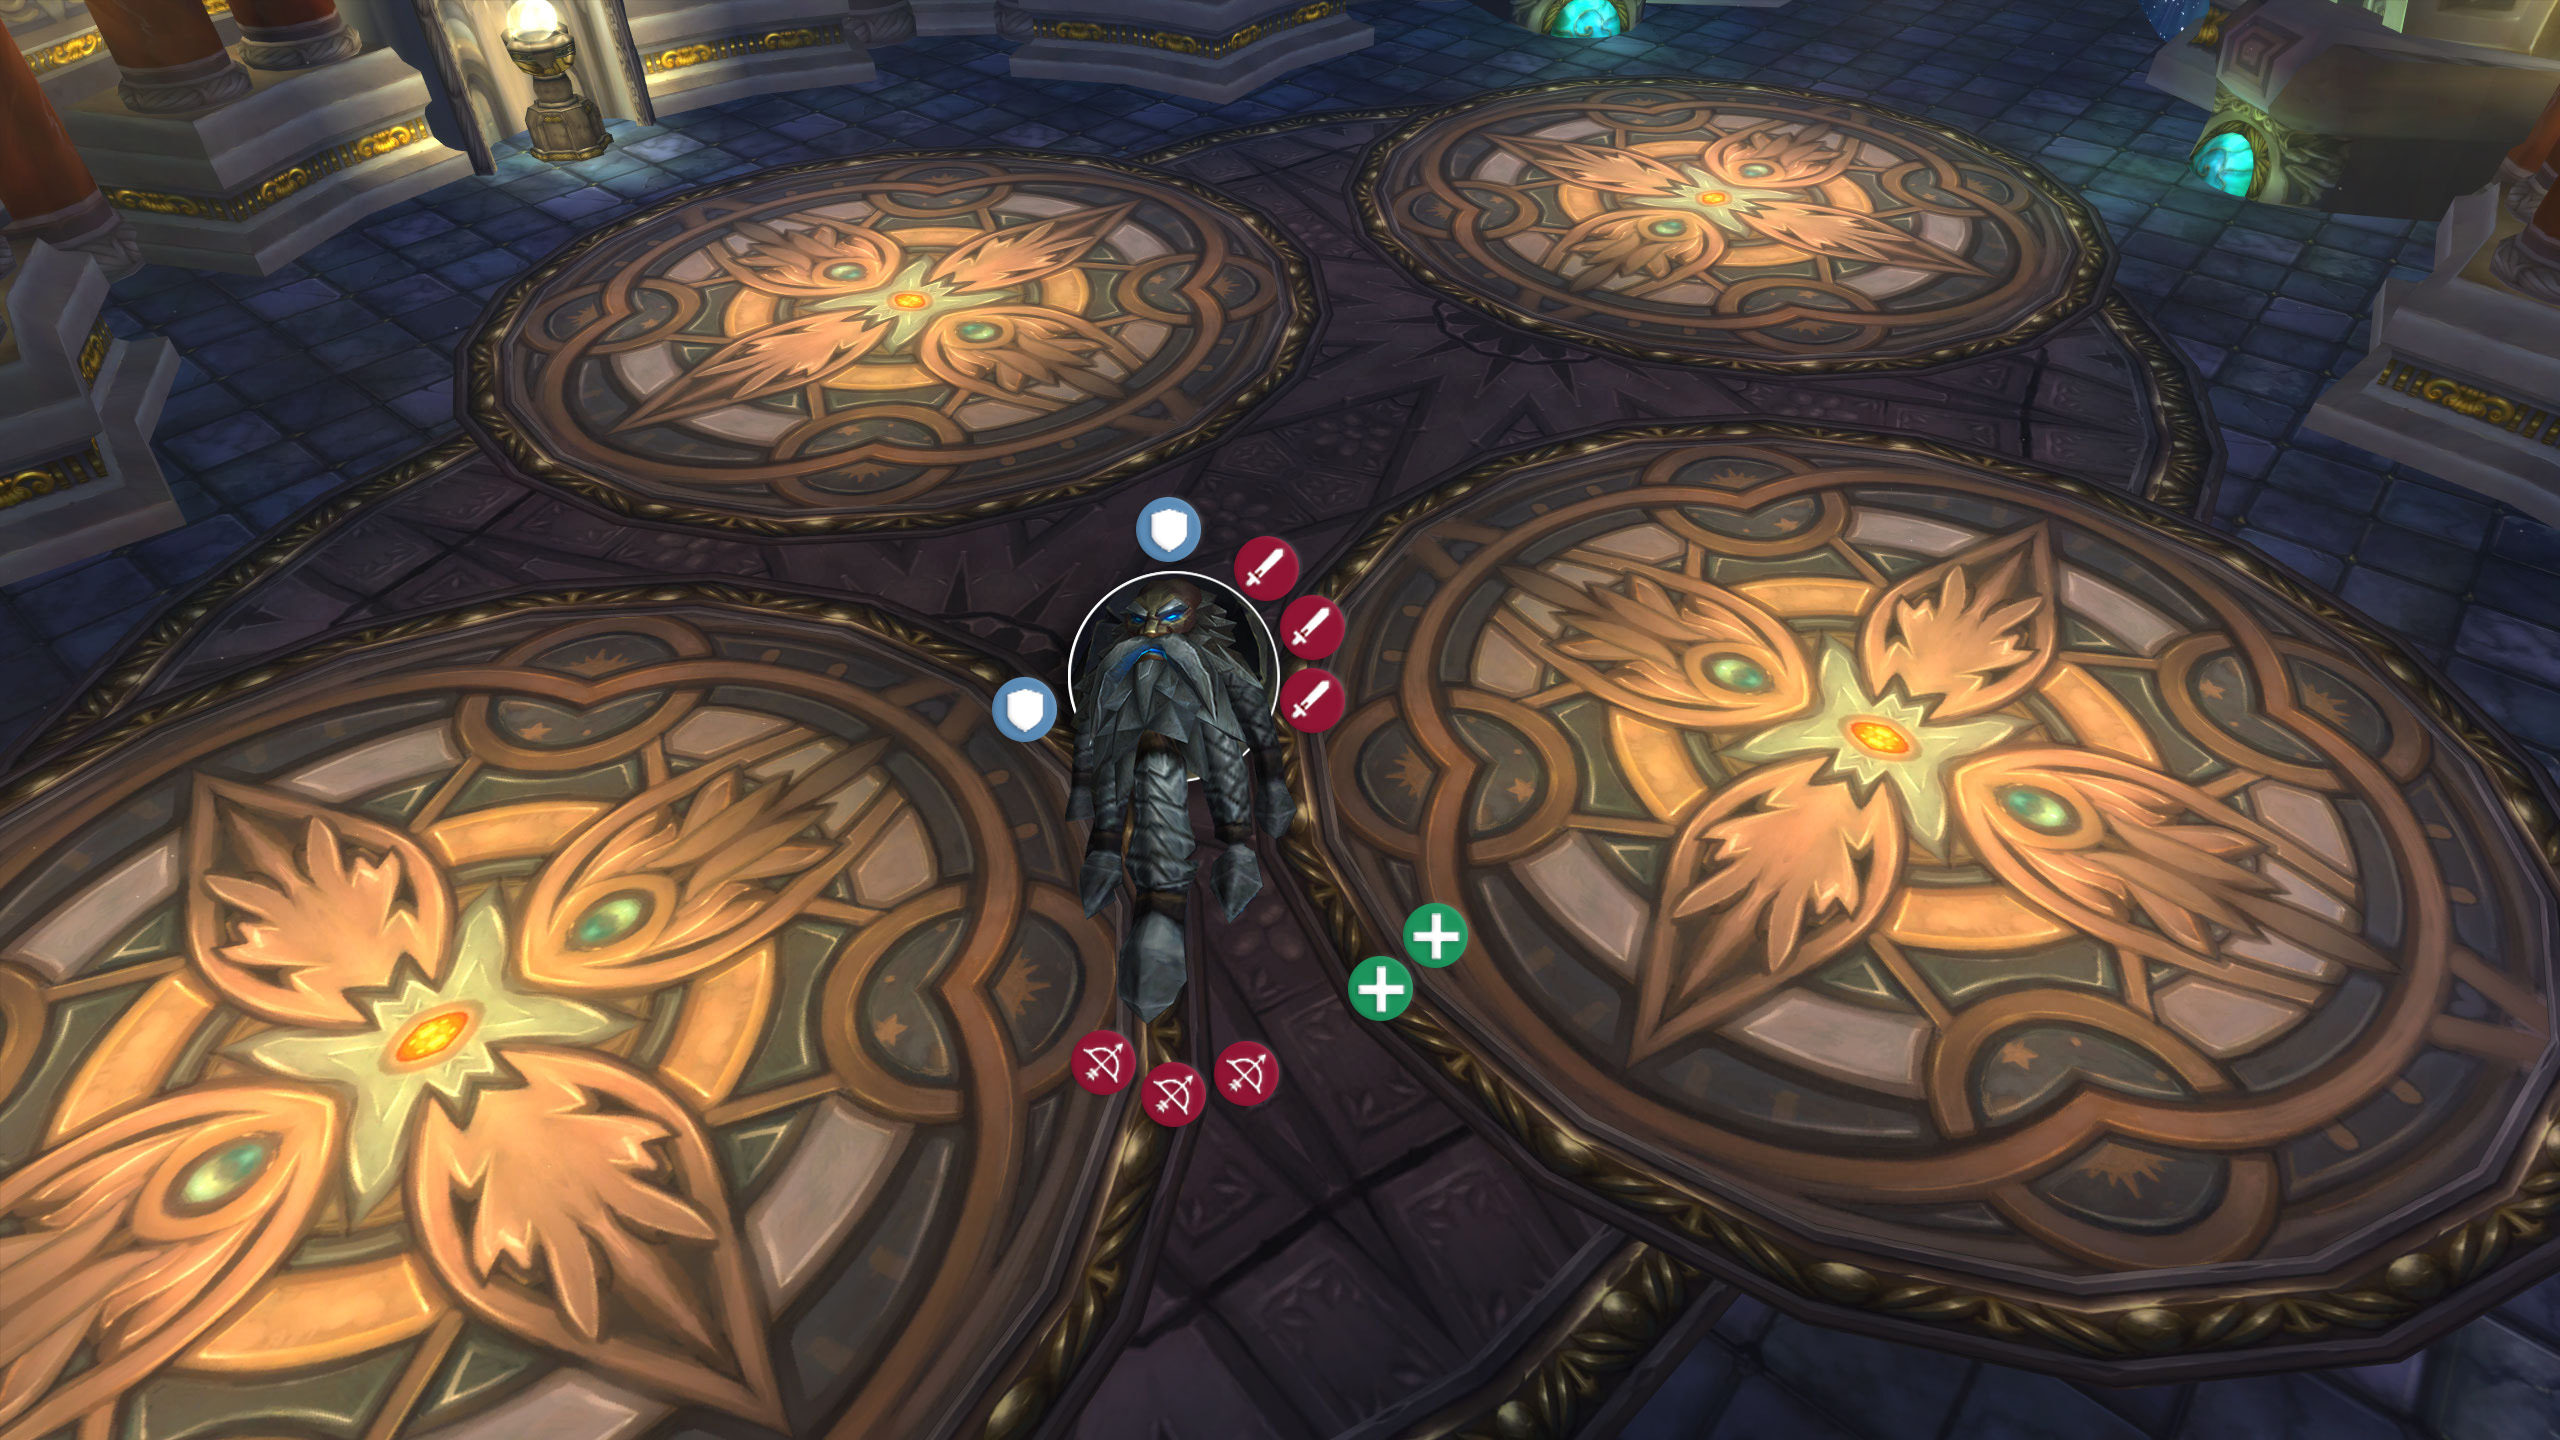
For normal difficulty you will want to start by killing Steelbreaker, as he is the most threatening of the trio if given Supercharge.
Steelbreaker’s high-voltage ability pulses moderate Nature damage to everyone in melee range of him. Your healers will need to stay on top of this to make sure you don’t end up losing any players early. He will also deal massive damage to the tank with Fusion Punch. This attack also leaves a debuff that will need to be cleansed from the tank as soon as possible. This is the biggest source of damage during this stage of the fight and will require the tank to be quickly healed back up to full.

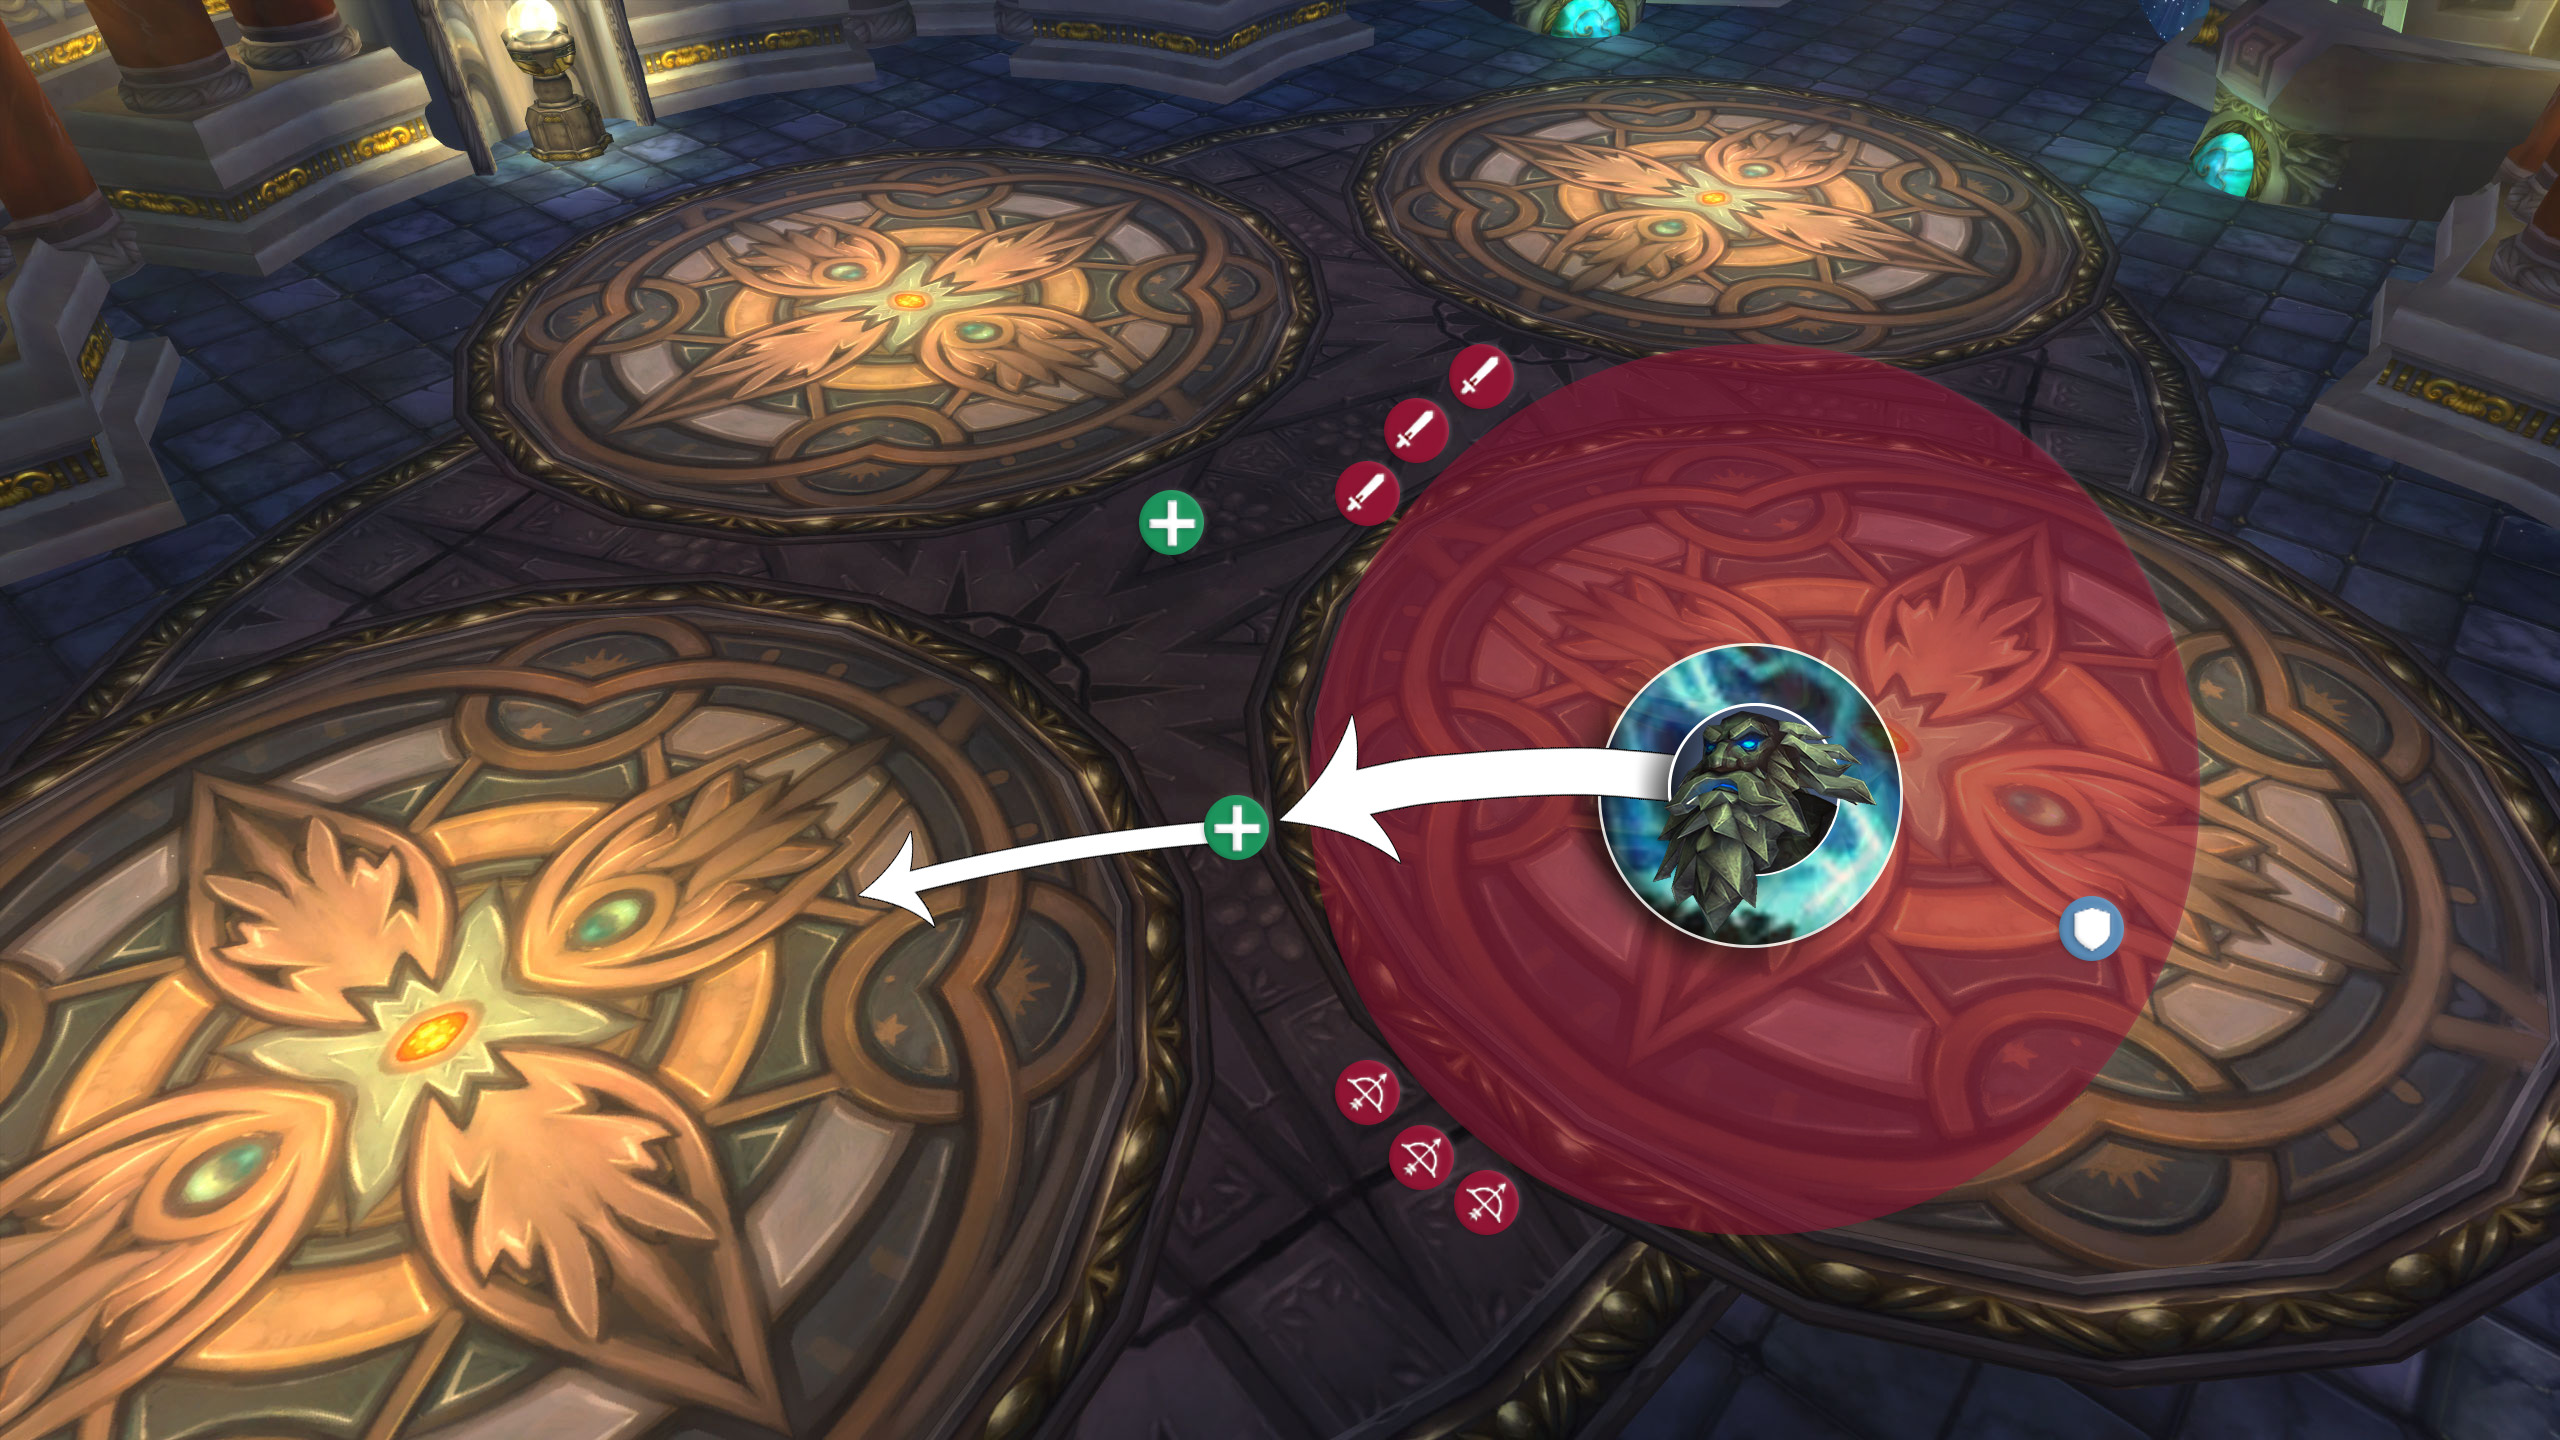
During this time, Molgeim will be dropping Rune of Power on top of one of the other bosses. The tank will need to quickly move their boss out of this Rune, as the damage buff can easily lead to a tank death if not handled correctly. You will want Steelbreaker to be positioned just on the edge of the Rune, allowing melee DPS to stand in the Rune while still hitting the boss. Brundir can simply be moved out of the Rune.
During this, Brundir will be casting chain-lightning and overload. The tank that’s on him should be interrupting every cast of chain-lightning, but should be ready to call out for an extra interrupt from one of the healers or ranged DPS, if needed. The tank should be able to survive overload casts, but if the extra damage is an issue, there is plenty of time to move out of the 30-yard range of the spell before it lands. Using a Warrior is ideal here, as they can Intervene out of overload, as well as easily interrupt most of Brundir’s casts.
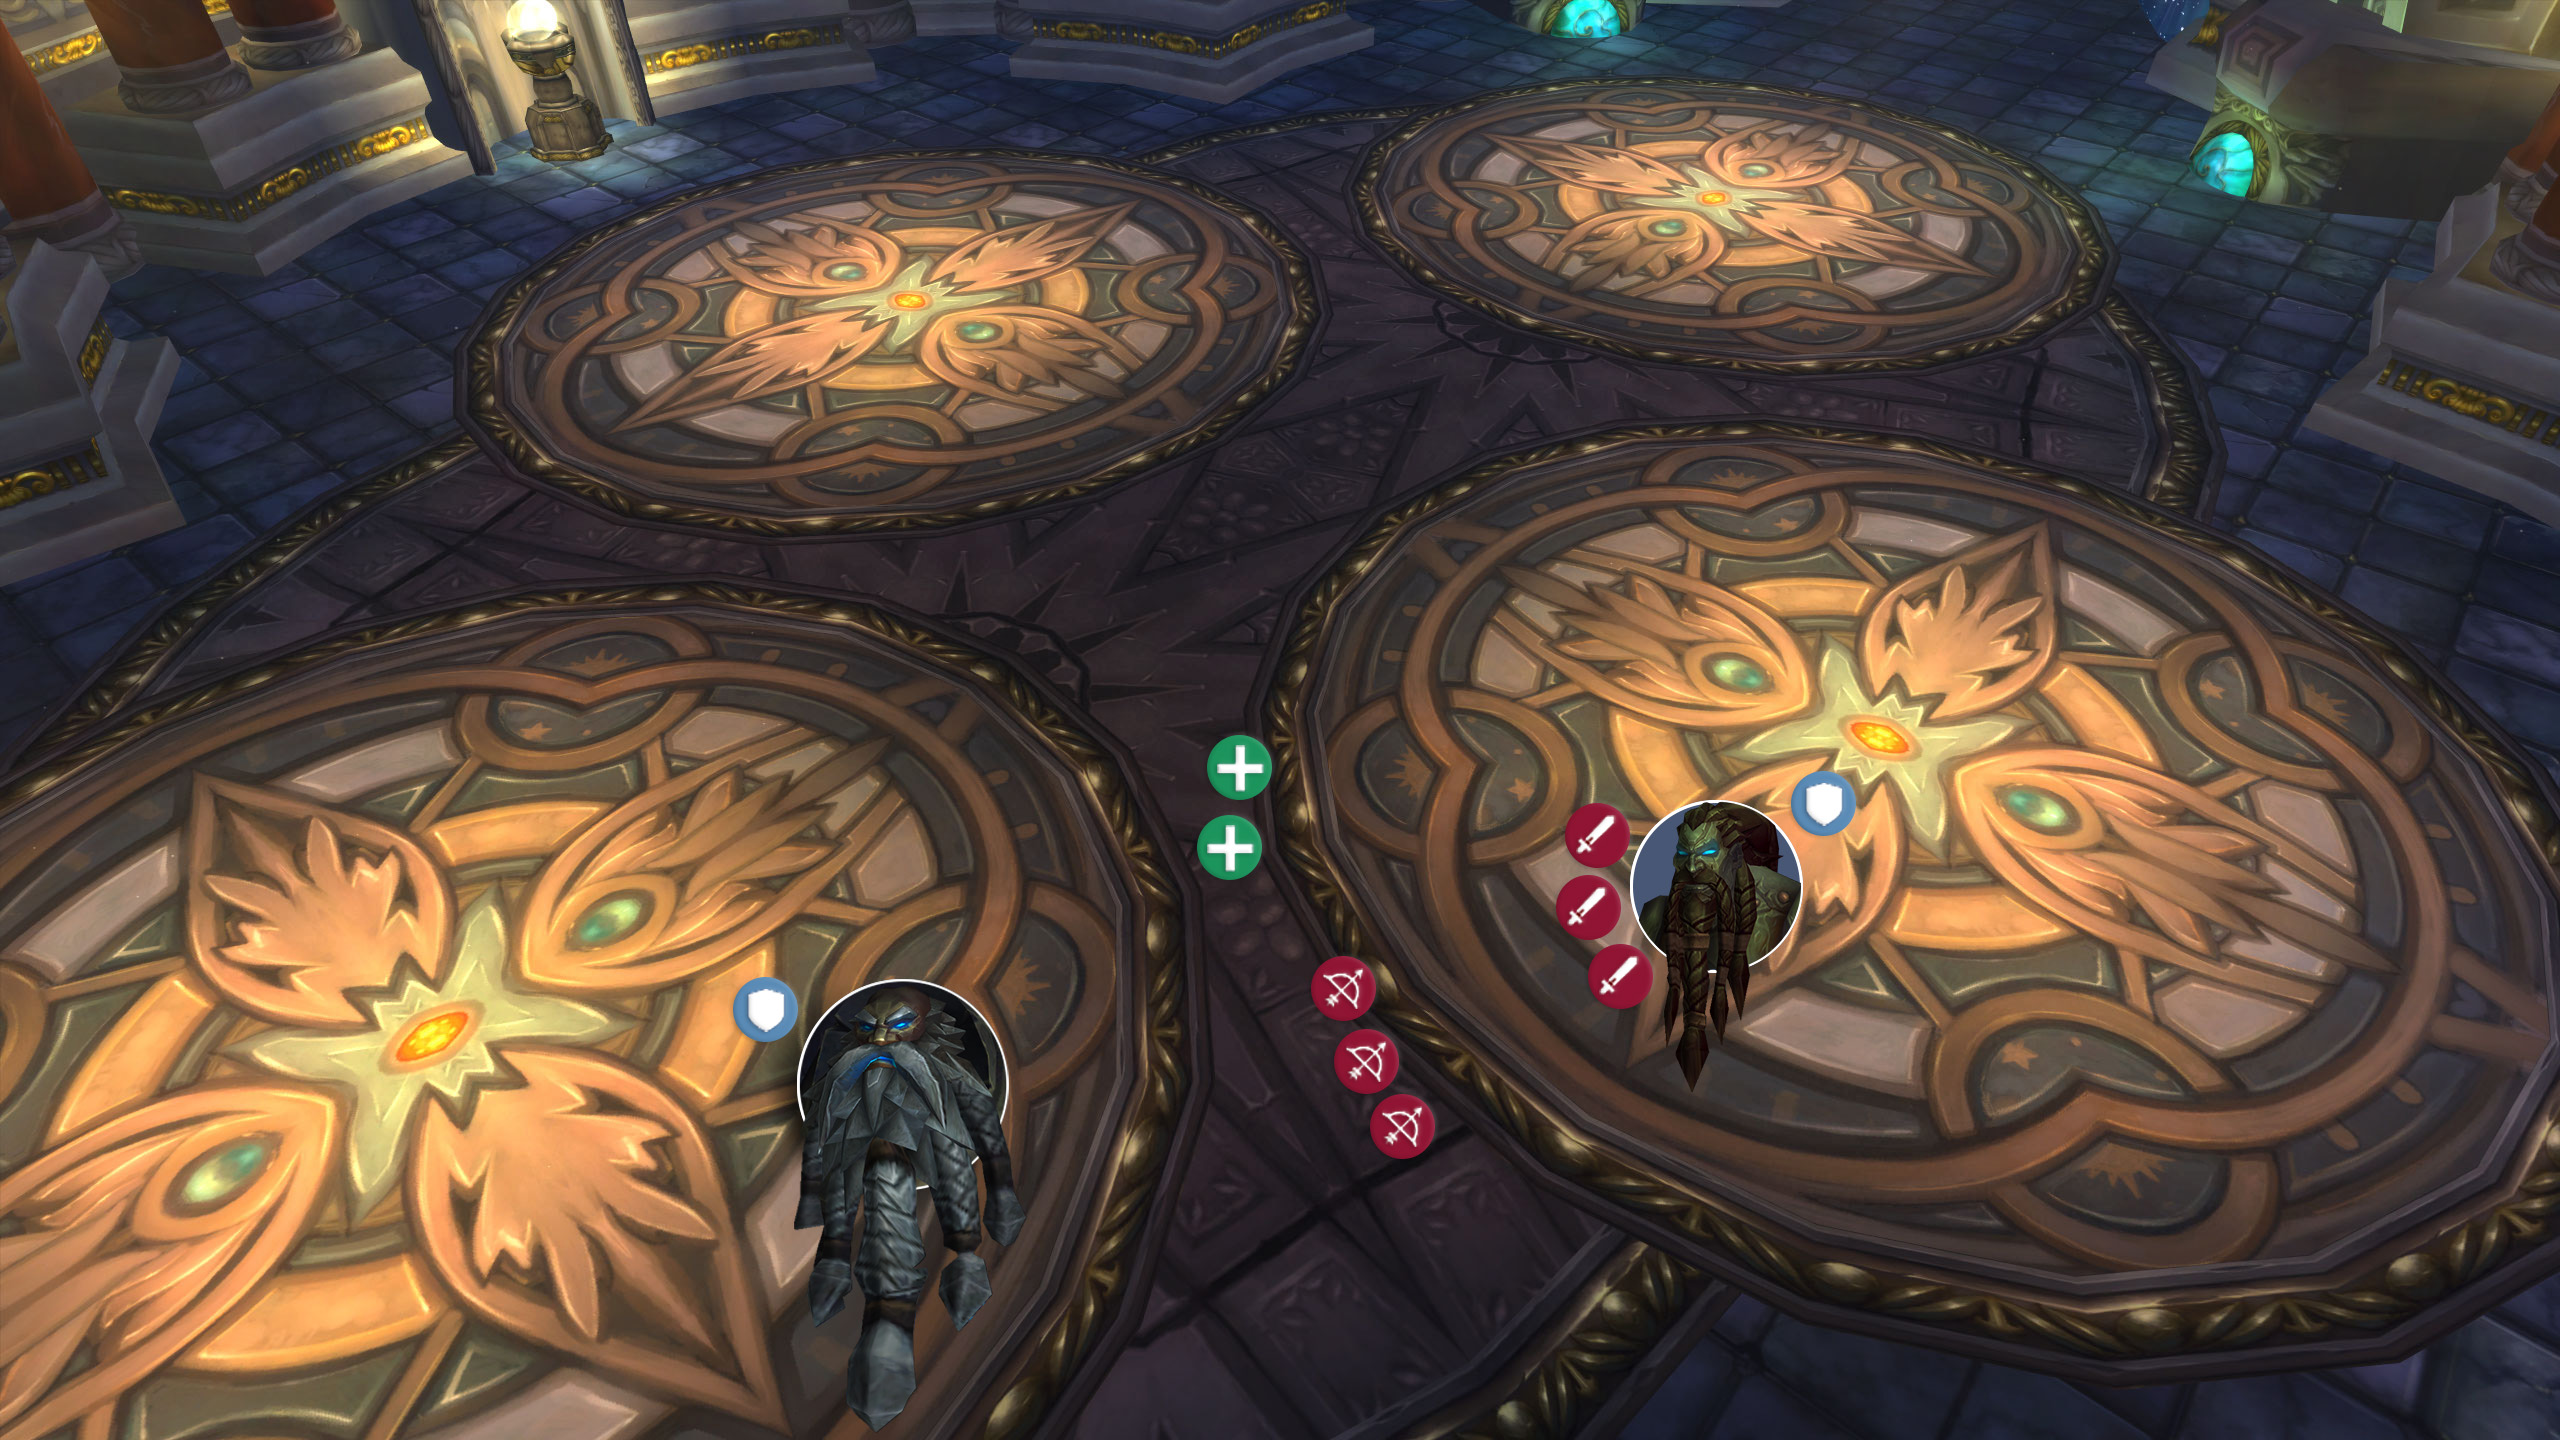
With Steelbreaker dead, the other two bosses will receive their first stack of Supercharge, increasing their damage and giving them new abilities.
The tank that was previously on Steelbreaker will want to take over on Molgeim. Molgeim will be the new kill target, and will have two additional spells to deal with. shield-of-runes is a damage-absorb that, when broken, will give Molgeim a 50% damage increase for a short time. The shield itself is almost certain to break while focusing Molgeim, but the damage buff can be grabbed using Spellsteal, avoiding the damage boost.
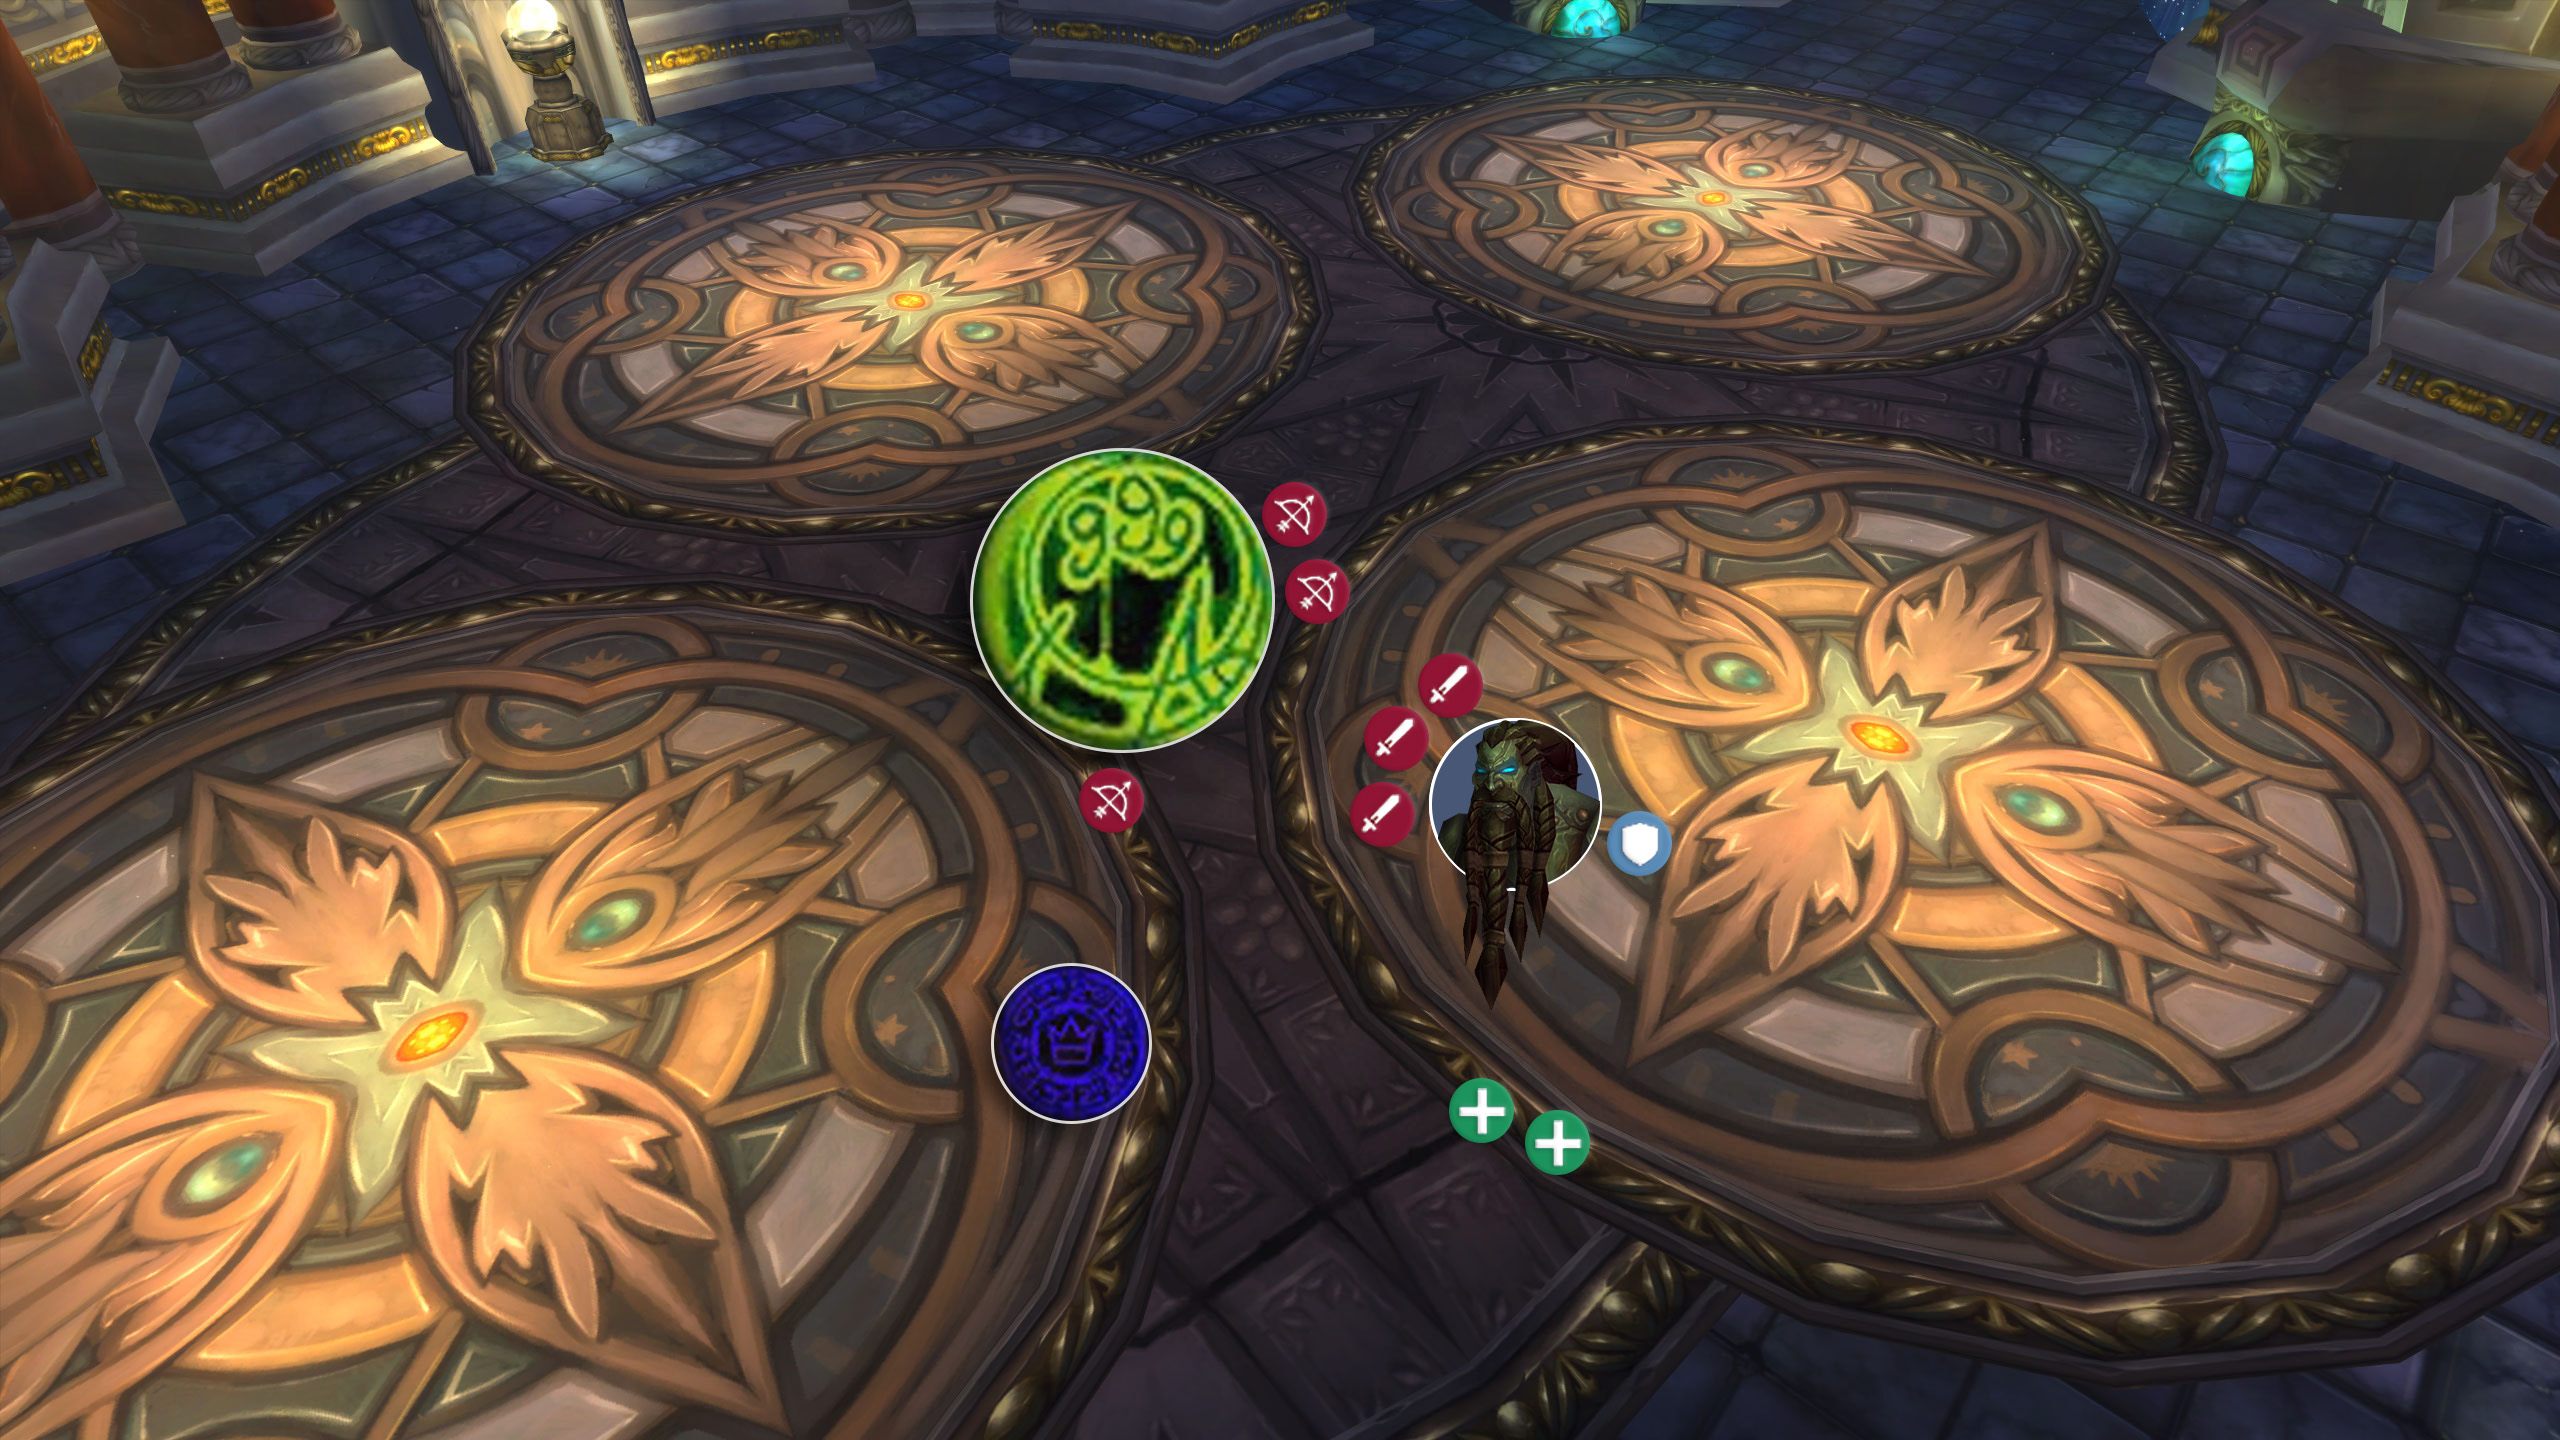
The second new ability is the main concern. rune-of-death will place a large green Rune at the feet of a random player, dealing moderate Shadow damage twice a second to everyone within it. This can easily overwhelm the raid, especially since your raid will still want to stack on rune-of-power. Moving out of rune-of-death should always be the priority, even if that means moving out of rune-of-power.
Brundir’s new spell, Lightning-Whirl, will deal constant damage to random players for 5 seconds, but can also be interrupted. Your tank might struggle to keep up on interrupts with this spell added, so make sure Healers and ranged DPS are ready to interrupt as needed!
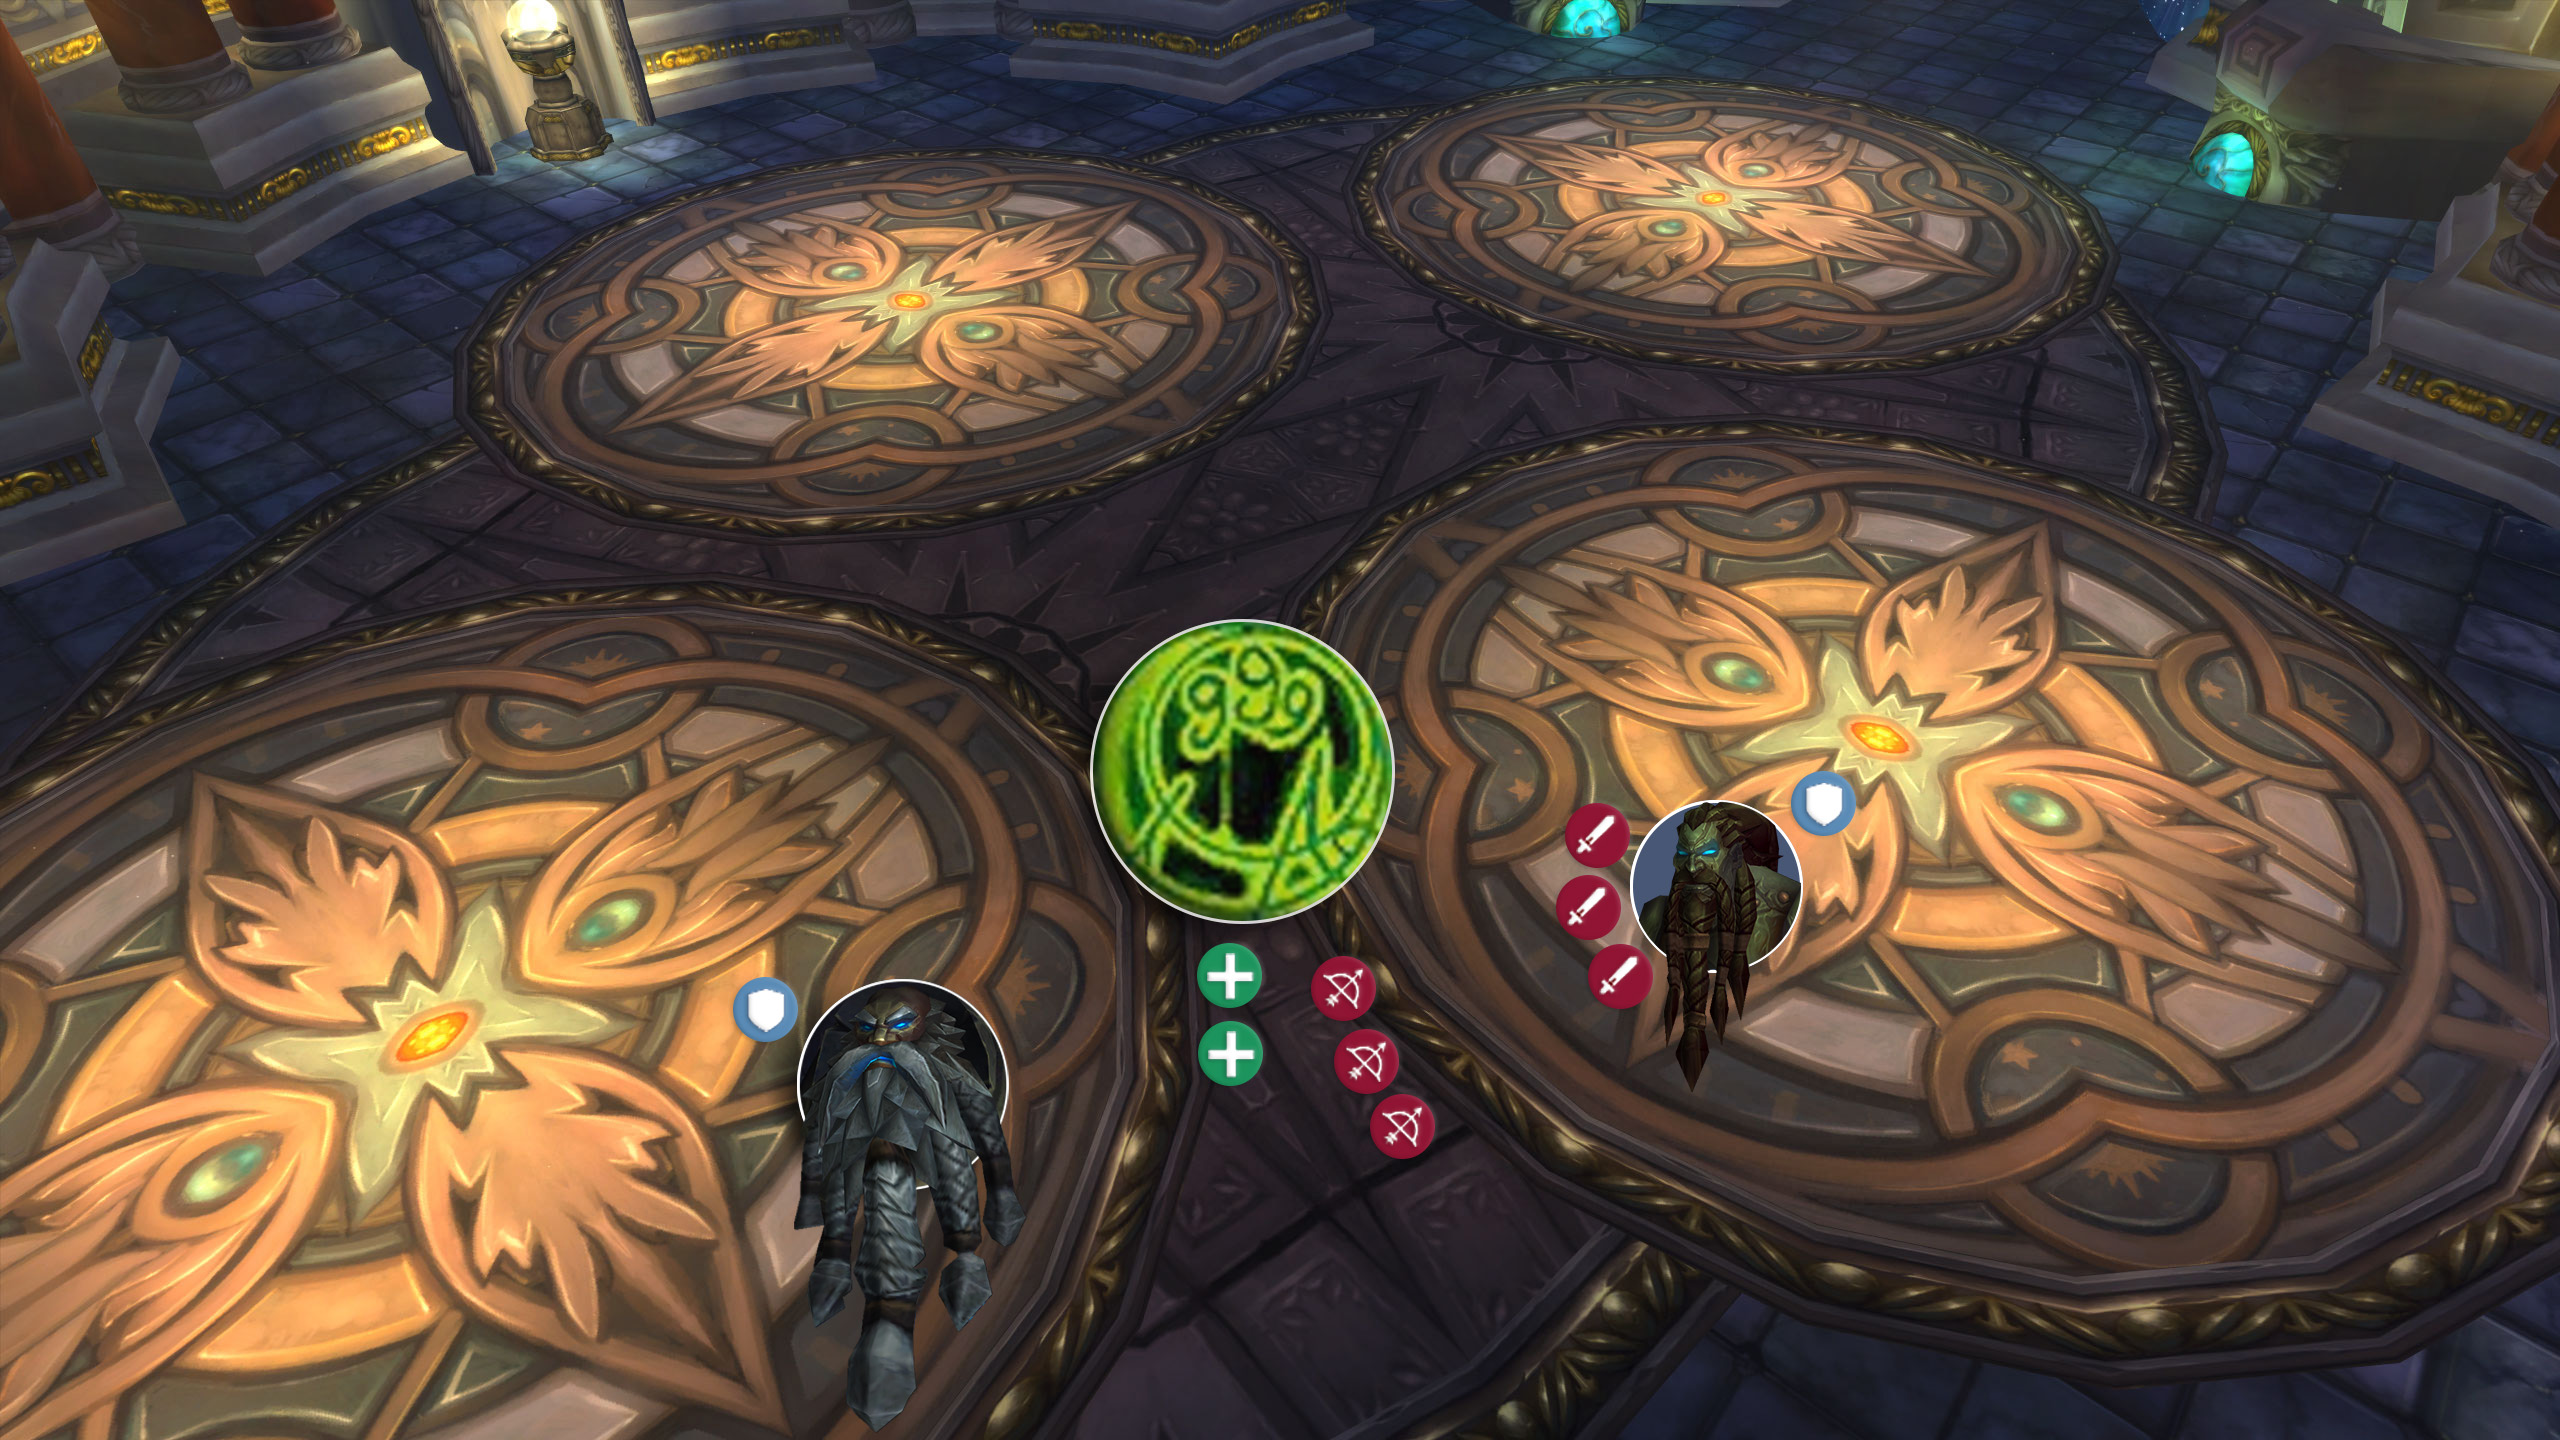
With two out of three bosses dead, Brundir will have 2 stacks of Supercharge, drastically increasing his damage and granting him his final ability.
To make this fight easier, DPS should try to spread out, minimizing the number of players needing to move at once.
Brundir will now cast lightning-tendrils in addition to his other three spells. During this spell, he will lift off the ground and fly towards a random target, dealing massive damage to everyone near him on the way there. Everyone will need to move out of his path, and the targeted player will need to run away without pulling the boss through any more raid members.
In addition, Brundir will still cast his other three spells: chain-lightning, lightning-whirl, and overload. The first two can still be interrupted, and with the damage increase this is more important than ever. Overload will almost certainly one-shot any target hit by it, meaning everyone will need to quickly rush out of range as soon as it begins casting. Ranged DPS and Healers can be safely positioned outside Overload‘s range.
Medium Mode (Runemaster Molgeim Last)
Medium difficulty starts out the same as normal mode, by killing Steelbreaker, as he is the most threatening of the trio if given Supercharge.

Steelbreaker’s High Voltage ability pulses moderate Nature damage to everyone in melee range of him. Your healers will need to stay on top of this to make sure you don’t end up losing any players early. He will also deal massive damage to the tank with Fusion Punch. This attack also leaves a debuff that will need to be cleansed from the tank as soon as possible. This is the biggest source of damage during this stage of the fight and will require the tank to be quickly healed back up to full.
During this time, Molgeim will be dropping Rune of Power on top of one of the other bosses. The tank will need to quickly move their boss out of this Rune, as the damage buff can easily lead to a tank death if not handled correctly. You will want Steelbreaker to be positioned just on the edge of the Rune, allowing melee DPS to stand in the Rune while still hitting the boss. Brundir can simply be moved out of the Rune.
During this, Brundir will be casting Chain Lightning and Overload. The tank that’s on him should be interrupting every cast of Chain Lightning, but should be ready to call out for an extra interrupt from one of the healers or ranged DPS, if needed. The tank should be able to survive Overload casts, but if the extra damage is an issue, there is plenty of time to move out of the 30-yard range of the spell before it lands. Using a Warrior is ideal here, as they can Intervene out of Overload, as well as easily interrupt most of Brundir’s casts.
With Steelbreaker dead, the other two bosses will receive their first stack of Supercharge, increasing their damage and giving them new abilities.
The tank that was previously on Steelbreaker will want to take over on Molgeim. Brundir will be the new kill target. He has a new ability, Lightning-Whirl, which will deal constant damage to random players for 5 seconds, but can also be interrupted. Ideally, all your DPS should be attempting to interrupt all of Brundir’s casts to minimize the damage going out to the raid.

Molgeim will have a new spell in his arsenal, rune-of-death. This will place a green Rune at the feet of a random player, dealing moderate Shadow damage twice a second to everyone within it. This can easily overwhelm the raid, especially since your raid will still want to stack on rune-of-power. Moving out of rune-of-death should always be the priority, even if that means moving out of Rune of Power.
As long as your raid can appropriately move out of rune-of-death, do their best to stay inside of rune-of-power, and interrupt Brundir, this Phase will be a piece of cake.
With two out of three bosses dead, Molgeim will have 2 stacks of supercharge, drastically increasing his damage, granting him his final ability, as well as making rune-of-shields a concern.
Shield of Runes is a damage-absorb that, when broken, will give Molgeim a 50% damage increase for a short time. The shield itself is almost certain to break while focusing Molgeim, but the damage buff can be grabbed using Spellsteal, avoiding the damage boost.
His other new ability, rune-of-summoning, is much more concerning. A purple rune will appear at a random player’s feet every 20-ish seconds. This rune will spawn a stream of lightning elementals that will rush toward random players, exploding and dealing massive area-of-effect damage if they reach a player. Ideally, these adds will need to be quickly killed by ranged DPS, but they can also be slowed and crowd-controlled if your DPS is struggling to keep up.
Alongside these new spells, you will still need to avoid rune-of-death, and, ideally, keep DPS players inside of rune-of-power, while keeping the boss out of it at all times.
When avoiding runes, players should try to stick together to some extent, to minimize confusion when elementals spawn. If one player runs in the opposite direction to the rest of the raid when rune-of-summoning is down, the add spawned may end up out of range for the ranged DPS, leading to unnecessary damage or death.
Hard Mode (Steelbreaker Last)
An early warning, to get it out of the way: killing Steelbreaker last is hard mode. Clearing hard mode with minimal deaths is a task in itself, and there is likely going to be a lot of mess learning this encounter. The end result is better loot and more of it, though, so it’s worth it!
Your group will want to be focused on Brundir, with Healers adequately positioned to be able to heal the tanks of all three bosses. Brundir will be casting Chain Lightning and Overload. The tank on him should be interrupting every cast of Chain Lightning, but should be ready to call out for an extra interrupt from one of the healers or ranged DPS, if needed. The tank should be able to survive Overload casts, but if the extra damage is an issue, there is plenty of time to move out of the 30-yard range of the spell before it lands. Using a Warrior is ideal here as they can Intervene out of Overload, as well as easily interrupt most of Brundir’s casts.
Molgeim will periodically drop rune-of-power on top of one of the trio. Steelbreaker will need to be quickly moved out of the rune to minimize the bonus damage from it and avoid losing a Tank early. If the rune lands on Brundir, try to position the boss appropriately so the DPS can continue DPSing while standing in the rune, but without Brundir receiving the damage boost.
Steelbreaker’s High Voltage ability pulses moderate Nature damage to everyone in melee range of him, which at this point should only be hitting the Tank. He will also deal massive damage with Fusion Punch, leaving a debuff that will need to be cleansed from the tank as soon as possible. This is the biggest source of damage during this stage of the fight and will require the tank to be quickly healed back up to full.
With Brundir dead, the remaining two bosses will receive their first stack of Supercharge, increasing their damage and giving them new abilities.
Molgeim will have two additional spells to deal with, shield-of-runes and rune-of-death. Shield of Runes is a damage-absorb that, when broken, will give Molgeim a 50% damage increase for a short time. The shield itself is almost certain to break while focusing Molgeim, but the damage buff can be grabbed using Spellsteal, avoiding the damage boost.
The second new ability is the main concern. Rune of Death will place a green Rune at the feet of a random player, dealing moderate Shadow damage twice a second to everyone within it. This can easily overwhelm the raid, especially if your raid still wants to stack on Rune of Power. Moving out of Rune of Death should always be the priority, even if that means moving out of Rune of Power.
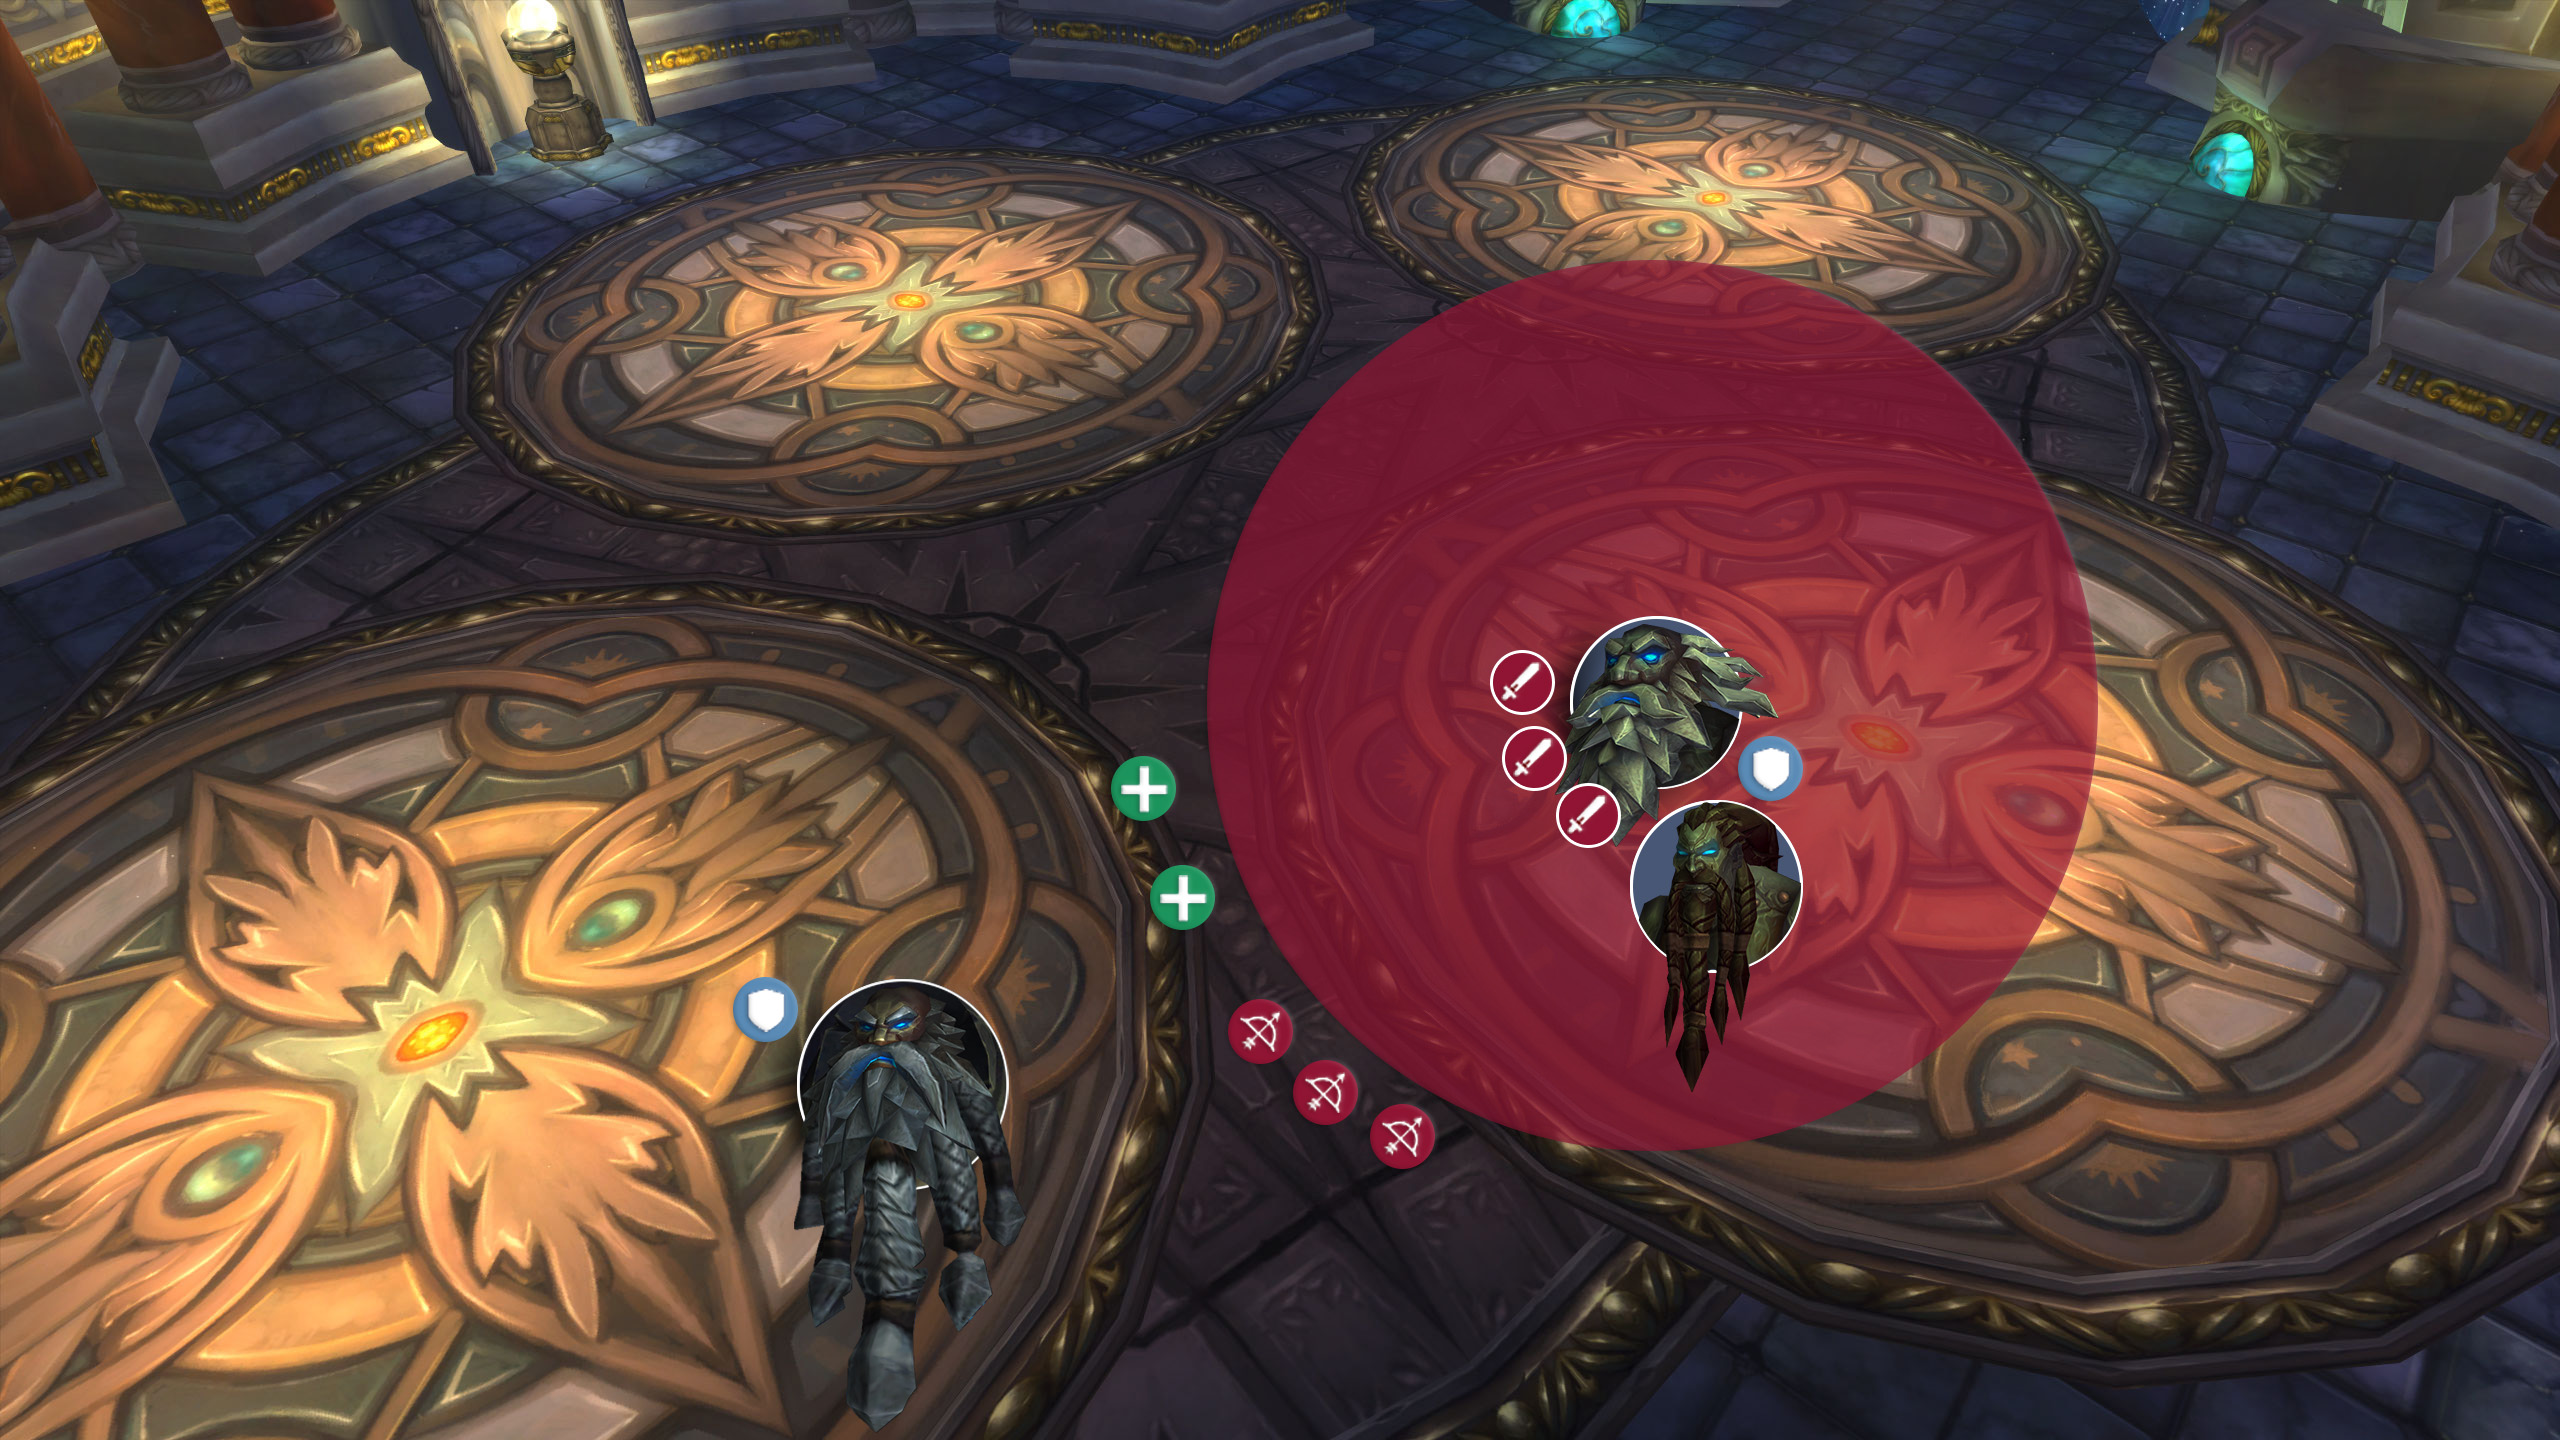
In addition to Steelbreaker’s already massive damage from fusion-punch, and the boost from Supercharge, he has another ability to make things even worse. static-disruption will be cast on a random target and deals damage to everyone within melee range of that player, as well as making them more vulnerable to Nature damage. This is best handled by having the raid stay spread out, with 8 yards between each ranged player. Unfortunately, this usually means sacrificing rune-of-power, but it is the safer method for a hard fight.
Here it is. With Steelbreaker being the only one left standing, he will have 2 stacks of Supercharge, drastically increasing his damage dealt, as well as giving him two new deadly abilities.
overwhelming-power buffs the current main-tank, increasing their damage dealt by 200% and their size to match. After 35 seconds, this transitions into meltdown. Meltdown immediately kills its target and deals massive AoE damage to everyone within 15 yards of them.
This combo guarantees that your tank will die. There isn’t much of a way around it — you will need to switch in a new tank and ideally resurrect the old one. To keep everyone safe, your off-tank should taunt the boss around 10 seconds before Meltdown occurs, while the old main-tank splits away from the group to avoid exploding on top of the raid.
On top of all of this, every time a player dies, Steelbreaker will be healed for a chunk of his health and be given a nice damage buff just to be sure. This makes it integral that no one suffers unnecessary deaths, but you also cannot avoid this mechanic entirely, because your tanks will die.
This effectively creates a DPS race, killing the boss before you simply run out of tanks and ways to get them back. Alongside the deaths from Meltdown, it is incredibly easy for a tank to die to fusion-punch thanks to all the damage buffs floating around. If your raid is lacking in DPS, you will not be able to beat this fight.
Groups may even need more than 2 tanks for this, but with Rebirth from Druids you can easily reuse the same tank multiple times. Soulstone is also an option, but the tanks will need to be healed for close to 30,000 Health before they can go back to tanking if you’re using Soulstones.
Here are some of the main things that can typically go wrong in this fight:
- Bosses get buffed by rune-of-power, adding significant unnecessary damage
- Steelbreaker kills the tank with fusion-punch
- Brundir is not interrupted and is allowed to freely cast
- Players fail to move out of rune-of-death
- Your raid runs out of tanks on hard mode
Achievements
- but-im-on-your-side-10
- Defeat the Assembly of Iron while under the effect of Iron Boot Flask. This is simple: just drink an Iron Boot Flask before starting the encounter. These can be purchased for 10 Relic of Ulduar in Stormpeaks.
- cant-do-that-while-stunned-10
- Complete the encounter without anyone being damaged by Stormcaller Brundir’s Chain Lightning or Lightning Whirl abilities. This requires players to successfully interrupt every cast of these spells until Brundir is dead.
- i-choose-you-runemaster-molgeim-10
- i-choose-you-stormcaller-brundir-10
- i-choose-you-steelbreaker-10
- These three achievements are each awarded for killing a specific council member last. Because of this you will only be able to receive one of these each week, and you will eventually have to beat this encounter on both normal mode and hard mode to get all three.
Congratulations on defeating the Iron Assembly, crippling the Iron Armies of Ulduar, and getting access to Brann Bronzebeard in the next room!
About the Author
