- Author: Passion
- Date: September 7, 2022
- Updated: September 19, 2022
- Expansion: WotLK Classic


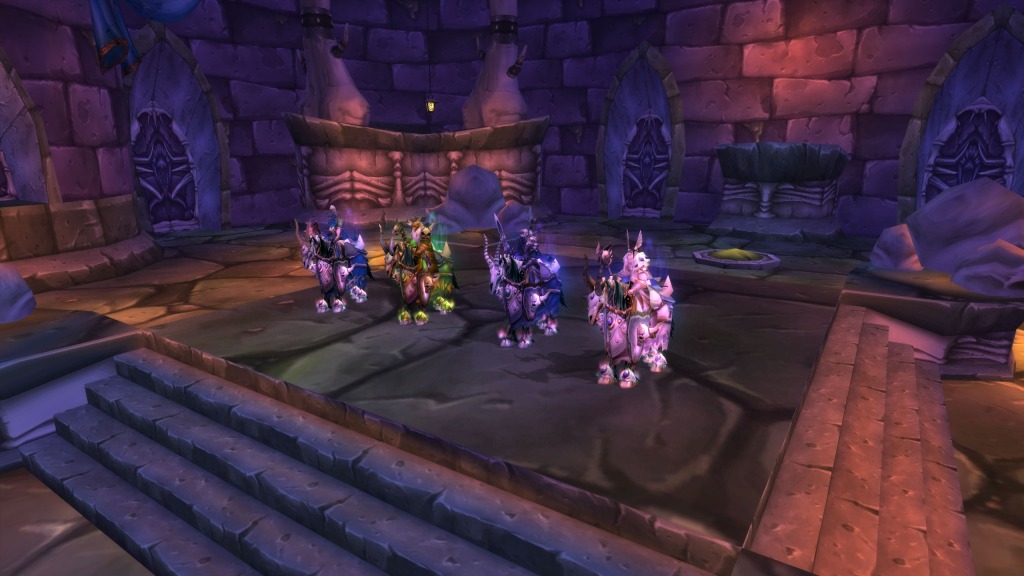
The Four Horsemen of Naxxramas are the third and final boss of the Military Wing. They are one of the hardest encounters in the entire raid and will test many different facets of your team.
This fight will have players constantly rotating between the four bosses, unable to stay in one place for too long without being overwhelmed by the stacking debuffs placed on them.
The most powerful death knights within Naxxramas are the four horsemen. They represent the pinnacle of Kel’Thuzad’s guard. The first, Thane Korth’azz, holds the power of flame. The next, Lady Blaumeux, calls forth the power of shadows, drawing the souls of the living into the voracious embrace. Sir Zeliek, a paladin in life, so strong in his faith, that even in undeath, the power of the light still heeds his call, smiting his foes in battle. Sir Zeliek still tries to make players run so he does not have to kill another person. The final death knight, Lord Mograine, was the finest warrior that the death knights had ever seen. However, after the events of Azeroth, he vanished without a trace. Kel’Thuzad has appointed Baron Rivendare in his place. –Commander Eligor Dawnbringer
This guide will offer a detailed, step-by-step tutorial on how to deal with Kel’Thuzad’s personal guard and their deadly marks.
Role Summaries
The Fight
- Always keep an eye on your Mark stacks, no matter how you go about this fight. If you end up too high you will have to swap your boss, even if that wasn’t the original plan.
- Use cooldowns early, potentially getting two uses out of them.
- Positioning matters for all the Horsemen, watch your feet on all of them!
The Fight
- Be very mindful of your positioning against Blaumeux and Zeliek, in melee range you can easily wipe the raid.
The Fight
- Stay with the melee DPS for the melee Horsemen, both for soaking Meteor and for ease of AoE healing.
The Fight
- You can potentially avoid Marks entirely by staying in range of friendlies but out of range of the boss. Use this to your advantage.
- Cover multiple bosses if possible, don’t limit yourself to one tank unless positioning is rough.
The Fight
- Be ready to tank swap even before your Mark stacks are too high, you don’t want to take an extra stack while moving.
- Make sure to be the closest player to the ranged Horsemen.
Abilities
Each individual Horseman has their own set of abilities alongside an almost identical Mark, such as Mark of Rivendare and Mark of Blaumeux. These Marks stack individually, consistently ramping up and forcing players to swap to a different Horseman to survive.
These Marks will hit everyone within 45-yards of the boss, and if no one is within range the Horseman will AoE everyone in the raid using Unyielding Pain and Condemnation
The individual spells of each Horseman such as Meteor and Void Zone all need to be handled in their own unique ways, meaning that everyone will need to know the abilities of each Horseman.
Baron Rivendare
Lady Blaumeux
Sir Zeliek
Thane Korth’azz
Raid Composition & Preparation
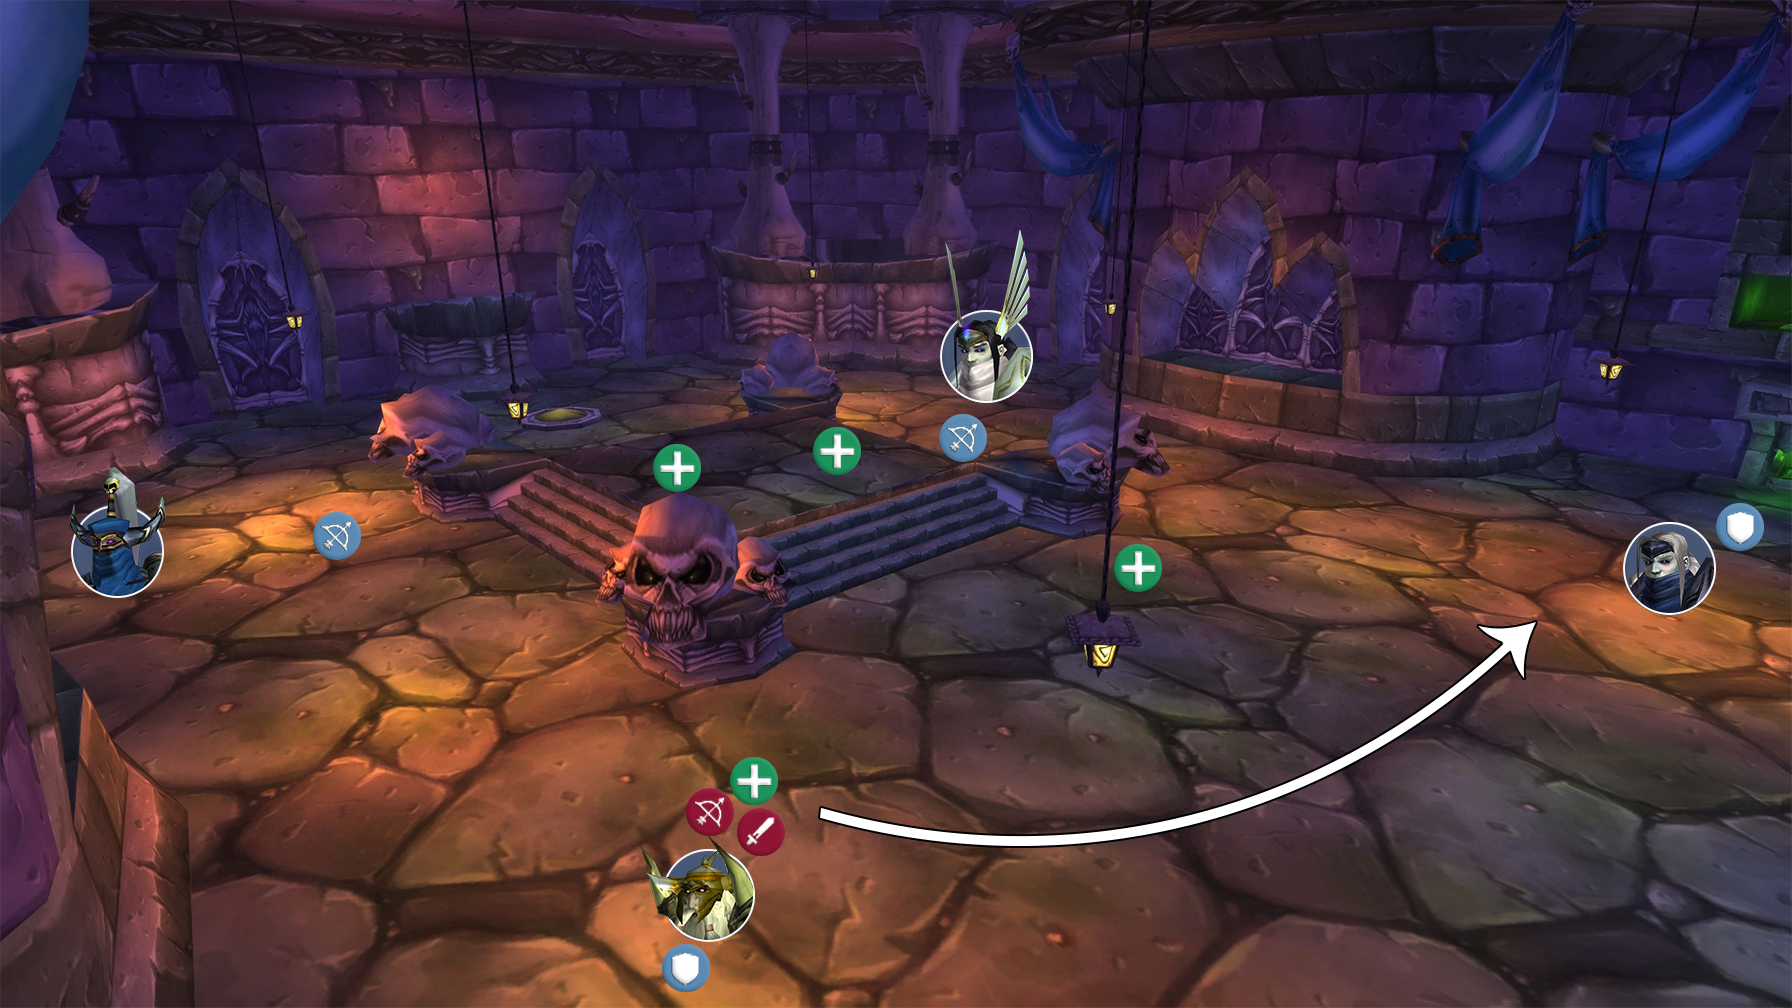
The Pull
As soon as any of the Horsemen are engaged, they will all scatter into one of the corners of the room, with Baron Rivendare and Thane Korth’azz running towards the entrance. Lady Blaumeux and Sir Zeliek will run towards the back wall.
All of the Horsemen need a tank, but Lady Blaumeux and Sir Zeliek don’t attack based on threat, so you can easily use a high health caster or healer to tank these temporarily. If you do have 3 tanks, one of them can tank either of the ranged Horsemen to reduce the healing needed.
Lady Blaumeux and Sir Zeliek will need at least 1 Healer assigned to their tanks, but some classes such as Holy Paladins can both tank and heal themselves to tank one of the ranged Horsemen. The tanks for these do not need to be actual tanks, something like a Balance Druid or Shadow Priest make solid tanks as they both have fairly high survivability, as well as the ability to heal themselves in a pinch.
The Fight
The majority of your raid will run towards the melee Horsemen. You can do one of two things here, either focus all of your damage onto Thane Korth’azz, burning him down quickly, and then moving over to Baron Rivendare. This works fantastically if your raid has high damage, but if your DPS is on the lower side, you will end up needing to swap between them before they die.
If you don’t have the damage to kill Thane Korth’azz before his Mark of Korth’azz stacks too high, you should split your group between Baron Rivendare and Thane Korth’azz. When you reach 3-4 Marks, these two stacks should swap places, tanks included. The tanks will meet each other in the middle and taunt off each other, running back to their new target’s corner.
No matter which strategy you go for, the people fighting Thane Korth’azz must be stacked at all times. Every 15-seconds he will call down a Meteor, dealing massive damage in an 8-yard range split between everyone hit. Because of this, you also want to make sure that everyone is standing as close to the boss as possible so that the tank is within 8-yards of everyone else. If your group is killing Thane Korth’azz first, you will have a significantly easier time dealing with the Meteor simply because you have more players in position to split the damage.
When Thane Korth’azz is dead, focus all your DPS onto Baron Rivendare. When he is dead you will need to move towards the ranged Horsemen.
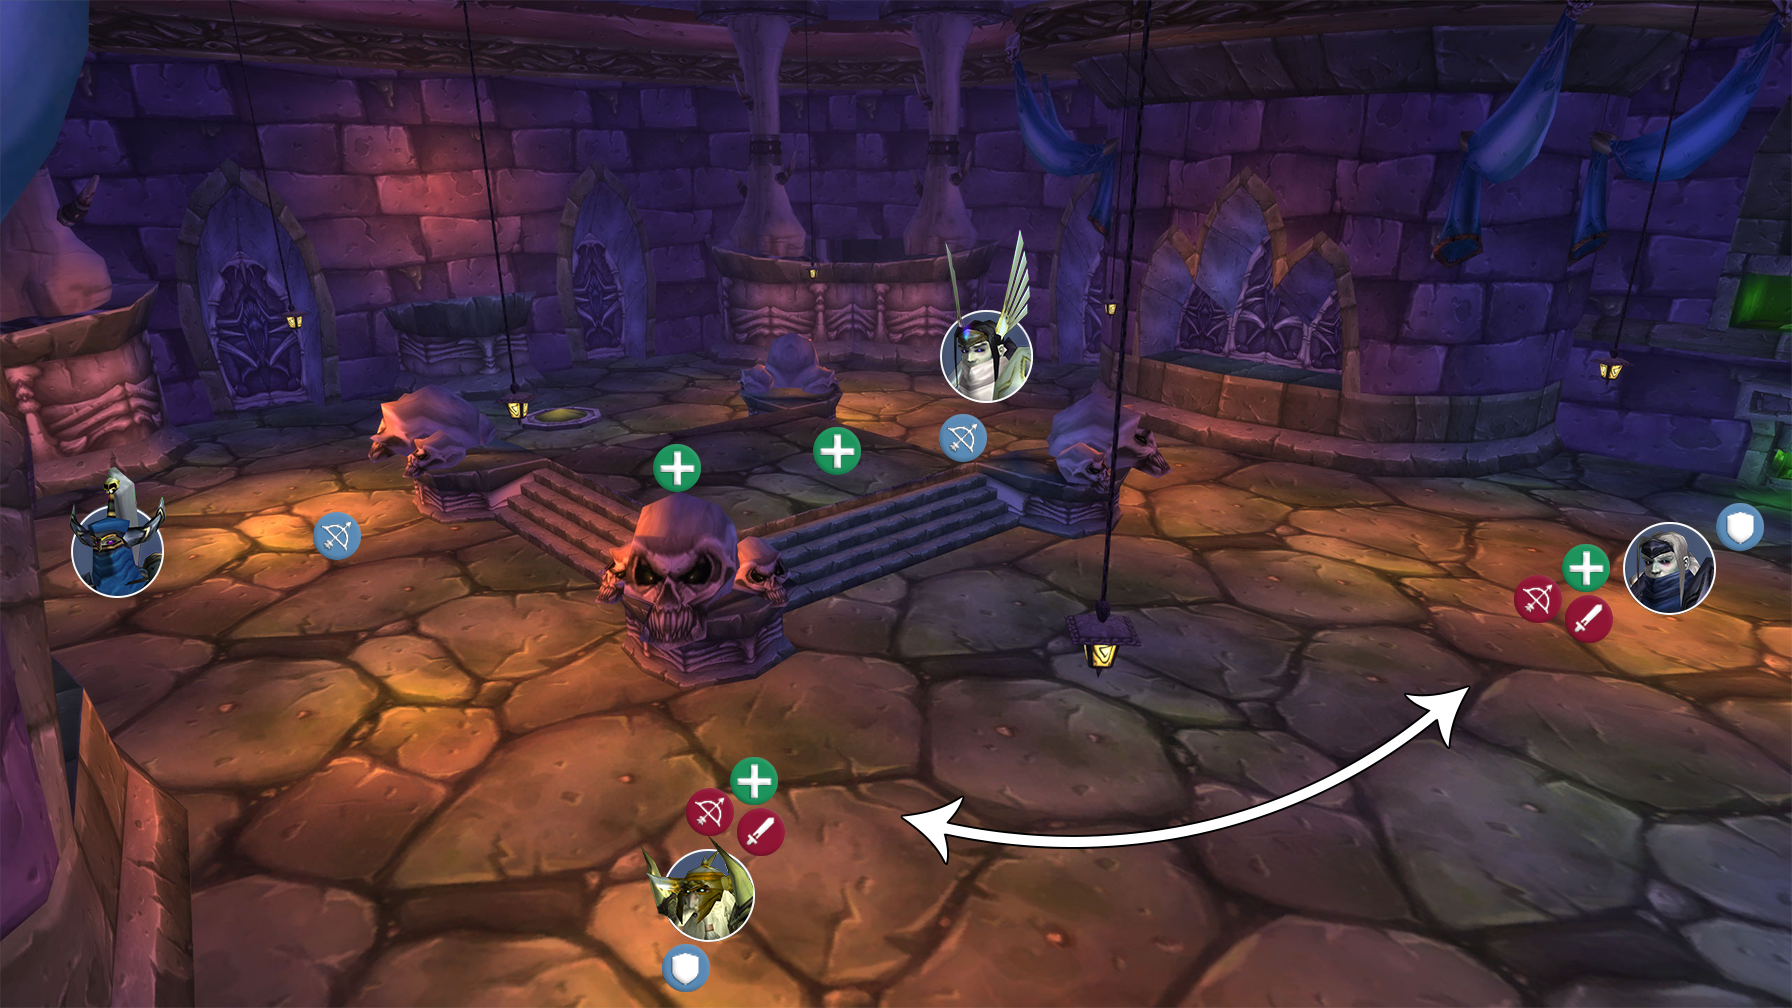
Just like for Thane Korth’azz and Baron Rivendare, you can either all focus one of the ranged Horsemen and attempt to burn it down ASAP, or split the raid between the two and swap when stacks are too high. No matter what you do, remember that the person closest to Sir Zeliek and Lady Blaumeux will always be their tanks.
Both of these Horsemen can be rough for melee DPS. Sir Zeliek will periodically cast Holy Wrath, hitting a player with Holy damage and bouncing to another player within 10-yards. If your melee group is stacked on the boss, this will simply bounce between them all and quickly kill them. Lady Blaumeux instead places down Void Zones on players fighting her. These are easily handled by moving out when you see them, but for melee DPS it can be hard to avoid Void Zones and still be in range to actually deal damage.
At 3-4 stacks players fighting Sir Zeliek will want to swap to Lady Blaumeux, and vice versa.
Here are some of the main things that can typically go wrong in this phase:
- Players get tunnel vision and ignore their Mark stacks, dying to the growing damage.
- Players don’t stack for Thane Korth’azz‘s Meteor.
- Players accidentally get too close to Sir Zeliek or Lady Blaumeux, getting aggro.
- The tanks for Sir Zeliek or Lady Blaumeux accidentally get too far away, wiping the raid.
- Players on Sir Zeliek stack too tightly, chaining Holy Wrath.
- Thane Korth’azz‘s Meteor isn’t soaked by enough players.
Once you have the rhythm of the fight down, this fight can feel very simple and is in my opinion one of the most enjoyable in the entire raid!
Congratulations on defeating the Four Horsemen and clearing the Military Quarter! One step closer to the Frostwyrms Lair, and to Kel’Thuzad himself.
About the Author
