- Author: Passion
- Date: October 9, 2023
- Updated: October 10, 2023
- Expansion: WotLK Classic


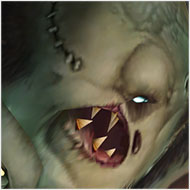


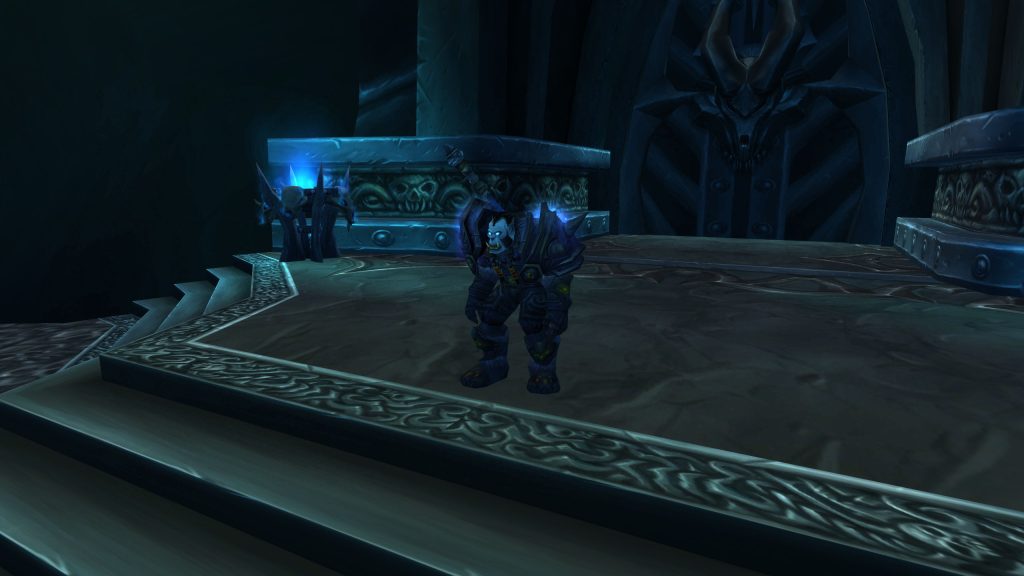
Formerly Dranosh Saurfang, son of High Overlord Saurfang. Dranosh fell at the Wrathgate, eventually being revived by the Lich King. Reborn as Deathbringer Saurfang, he awaits the players as they disembark their gunships.
This guide will offer a detailed, step-by-step tutorial on how to deal with Deathbringer Saurfang and the Lich King’s corruption.
Role Summaries
- Always stay 12 yards away from each other unless in melee range.
- Never root Blood Beasts, but make sure to CC them.
- Mitigate damage where possible.
- Prioritize Blood Beasts over everything else.
- Focus on your assigned Mark of the Fallen Champion.
- Rotate defensive cooldowns at high Blood Power, or during Frenzy.
- Avoid aggroing Blood Beasts
- Make sure you CC them though!
- Focus fire Blood Beasts that are within range.
- Avoid aggroing Blood Beasts
- Make sure you CC them though!
- Mitigate damage as much as possible, even if it is non-lethal.
- Make sure you never miss a taunt swap.
- Call Blood Beast spawns.
- Call high Blood Power.
- Call Mark of the Fallen Champion targets and healers.
Abilities
Deathbringer Saurfang
Raid Composition & Preparation
Normal vs Heroic
On Normal difficulty, Blood Beasts will no longer generate Blood Power when attacking. Additionally, players dying to Mark of the Fallen Champion will only heal Saurfang for 5% of his maximum health instead of 20%.
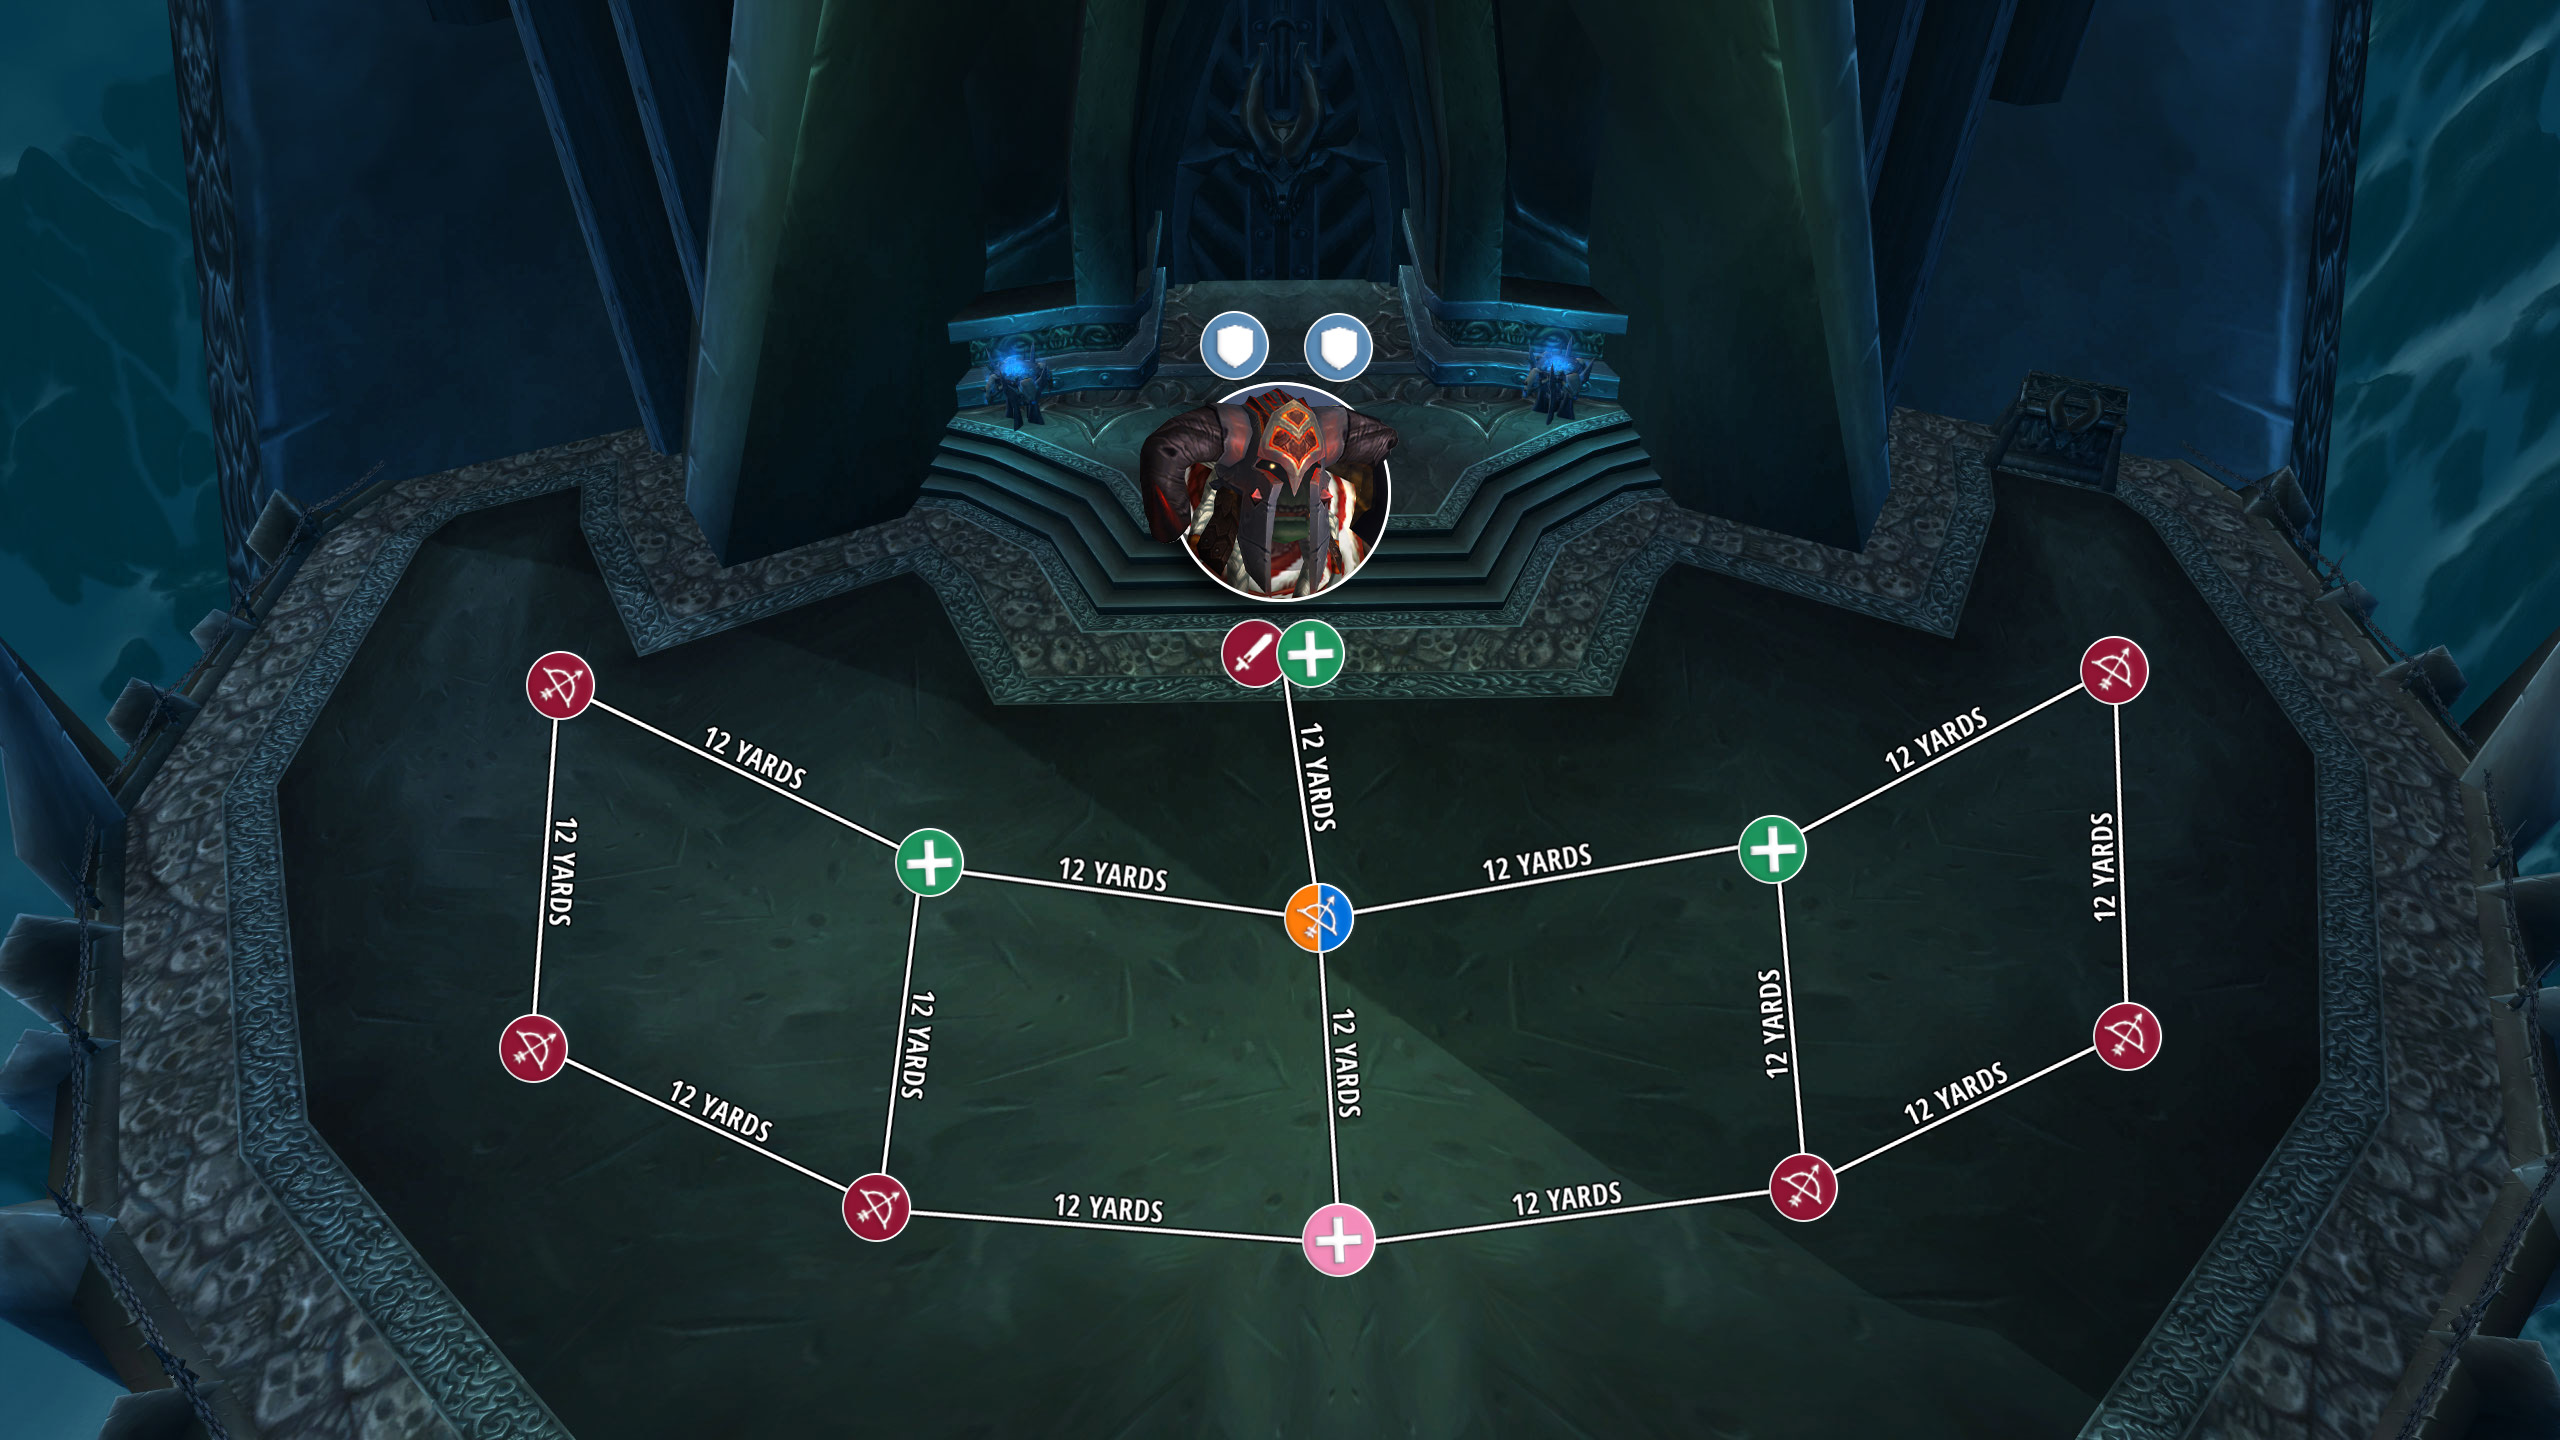
The Pull
Positioning is key for this fight. The raid will need to be spread out, ensuring that Blood Nova only ever hits one target at a time. As is now standard for mechanics like these, a portion of the raid will need to be outside of melee range to avoid this hitting the melee stack.
The Fight
Saurfang deals massive amounts of damage with every swing, constantly increasing as his Blood Power increases. Blood Power is increased when Saurfang deals damage, and mitigating his damage will cause him to generate less Blood Power, making for an easier fight. Saurfang will also cast Rune of Blood on the current tank every 20 seconds, necessitating consistent tank swaps to avoid Saurfang healing or generating too much Blood Power.
Every 15 seconds, Saurfang will debuff 3 random non-tanks with Boiling Blood, dealing damage every 3 seconds. This scales with his Blood Power, and generates more. Using cooldowns to reduce or negate this damage can go a long way.
Once he has reached 100% increased damage, he will spend his Blood Power to cast Mark of the Fallen Champion on a random player. This causes all of Saurfang’s hits to splash a portion of damage to that target, healing him for 20% Health if they die. This damage will need to be constantly healed, with Beacon of Light from a Holy Paladin being especially useful. Ideally, every Mark of the Fallen Champion should have a designated healer, with that player being their priority.
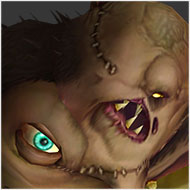
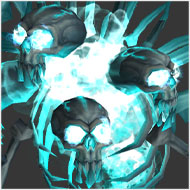
Finally, every 40 seconds Saurfang will summon 5 Blood Beasts on top of him. These will immediately run towards whoever draws aggro on them, usually healers. Blood Beasts do very high damage, as well as filling Saurfang’s Blood Power. To handle these effectively, make sure there are slows such as Frost Traps and Earthbind Totems on top of Saurfang whenever they spawn.
A common method of with Blood Beasts is to park a Holy Paladin at max range with Righteous Fury active, with a knockback class such as Elemental Shaman or Balance Druid between. This should cause all Blood Beasts to immediately aggro the Holy Paladin, being slowed on the boss, and then knocked back into the slow before they ever have a chance to reach their target. Blood Beasts are also susceptible to other crowd control, but make sure not to root them. If rooted, they will attack the nearest enemy, ignoring threat.
Blood Beasts should be immediately focused down by all ranged DPS. Melee will generally ignore Blood Beasts unless you are able to keep one chain-stunned in the melee stack. You will need to hard swap to them in either situation, as their buff Resistant Skin renders them virtually immune to AoE damage. If a Blood Beast is not killed within 10 seconds, it will cast Scent of Blood, massively increasing its damage and slowing the raid.
It is also important that Death Knights do not cast Army of the Dead during the fight. The ghouls will taunt the Blood Beasts, giving Saurfang easy Blood Power.
Finally, once Saurfang reaches 30% Health, he will use Frenzy, increasing his Attack Speed by 30%. This puts a lot more pressure on the raid, especially as a handful of Mark of the Fallen Champion casts are guaranteed to have happened by now. Cast Bloodlust and burn the boss hard without neglecting Blood Beasts. If a Marked player dies now, it could heal Saurfang past 30%, leaving you with a very long Frenzy Phase.
Here are some of the main things that can typically go wrong in this fight:
- Tanking Blood Beasts.
- Stacking for Blood Nova.
- Splash damage from Mark of the Fallen Champion.
- Basic swings from Saurfang.
Congratulations on defeating Deathbringer Saurfang! Continue past him to leave the linear section of the raid, next boss is up to you.
About the Author
