- Author: lettara
- Date: January 9, 2024
- Updated: January 10, 2024
- Expansion: WotLK Classic

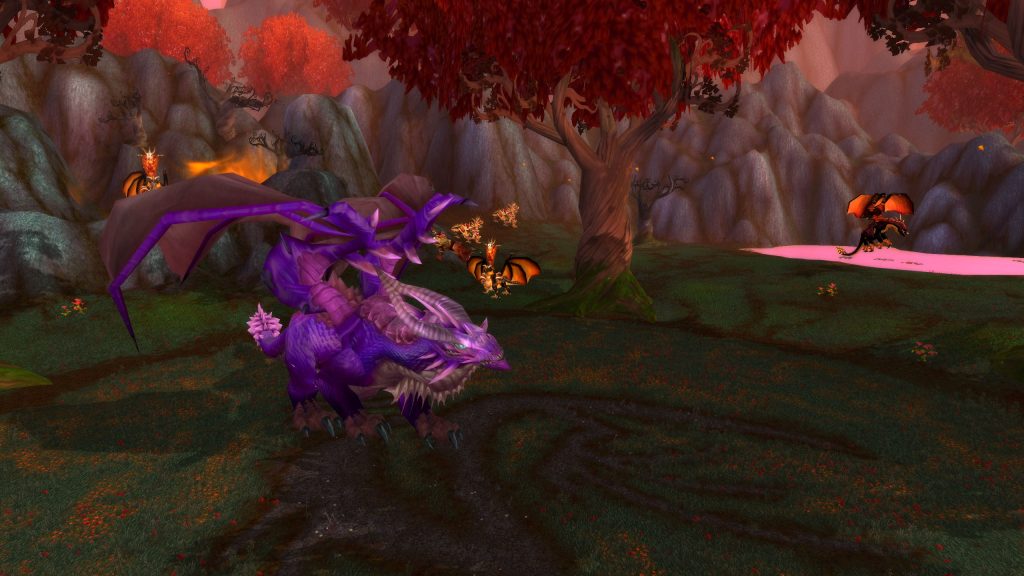
Halion is the only boss encounter in the Ruby Sanctum raid. Alongside him are three formidable lieutenants: Saviana Ragefire, Baltharus the Warborn, and General Zarithrian—all of whom must be vanquished before the ultimate confrontation with Halion unfolds. Each drake lieutenant offers their own mini-boss encounter, with their own abilities and mechanics.
This guide will offer a detailed, step-by-step tutorial on how to defeat Halion as well as the three mini bosses that precede him.
Abilities
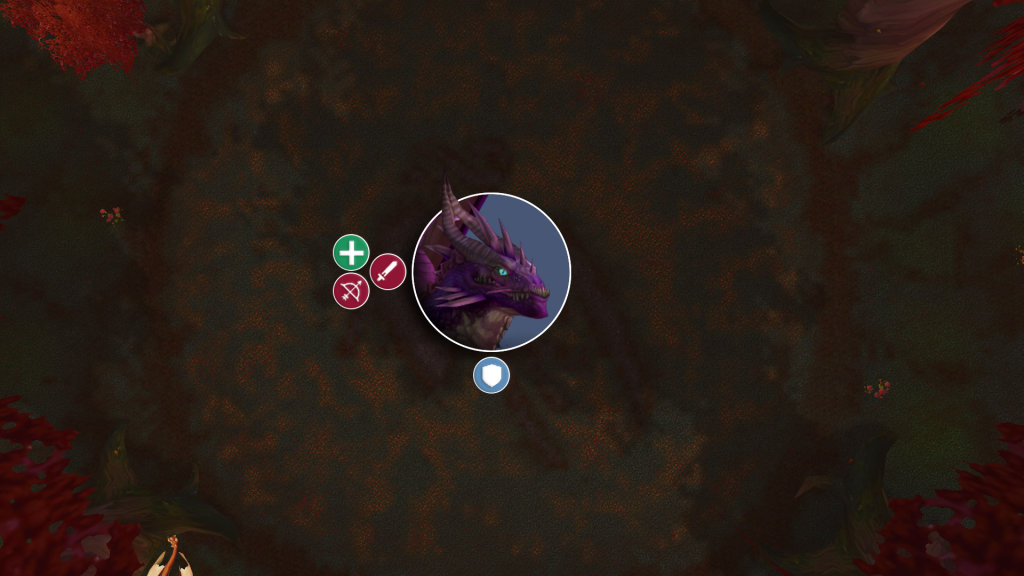
Halion
Phase 1
Phase 2
Saviana Ragefire
Baltharus the Warborn
General Zarithrian
Raid Composition & Preparation
The Fight
Phase 1: Physical Realm
A few seconds after the pull, a circle of flames engulfs the perimeter of the arena. Ensure that all players move in simultaneously to prevent anyone being left behind. The boss should be tanked in the center of the room, with the entire raid loosely stacked on her side.
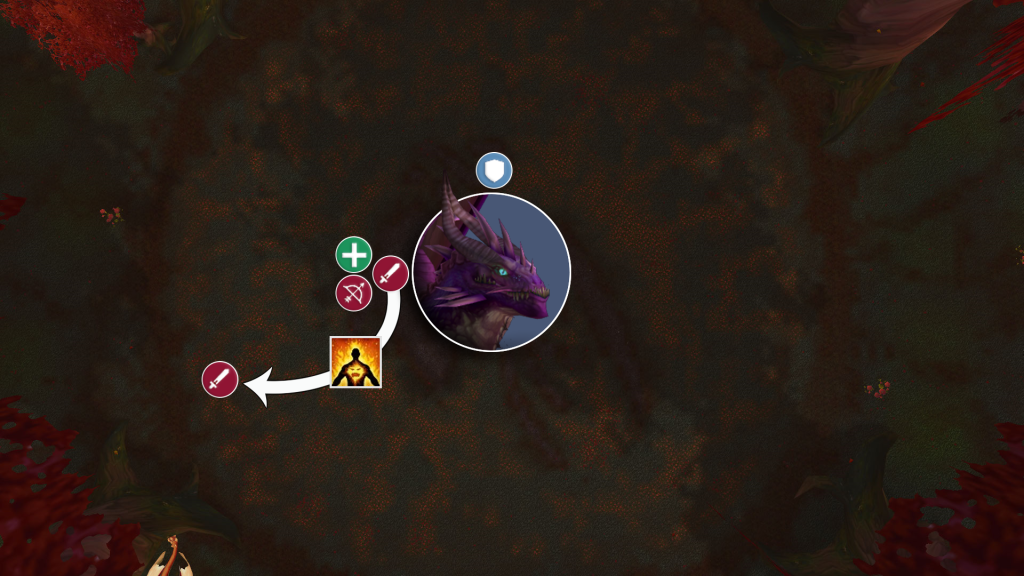
Fiery Combustion will periodically be placed on a random player. That player will very quickly need to run to the edge of the room closest to them and be dispelled. When dispelled, a circular fiery void zone will be left at the players feet; the diameter of which is determined by how long this process takes. To prevent running out of playable space, this process should happen as quickly as possible. Movement increasing abilities such as Nitro Boosts or Blink should be saved for this mechanic.
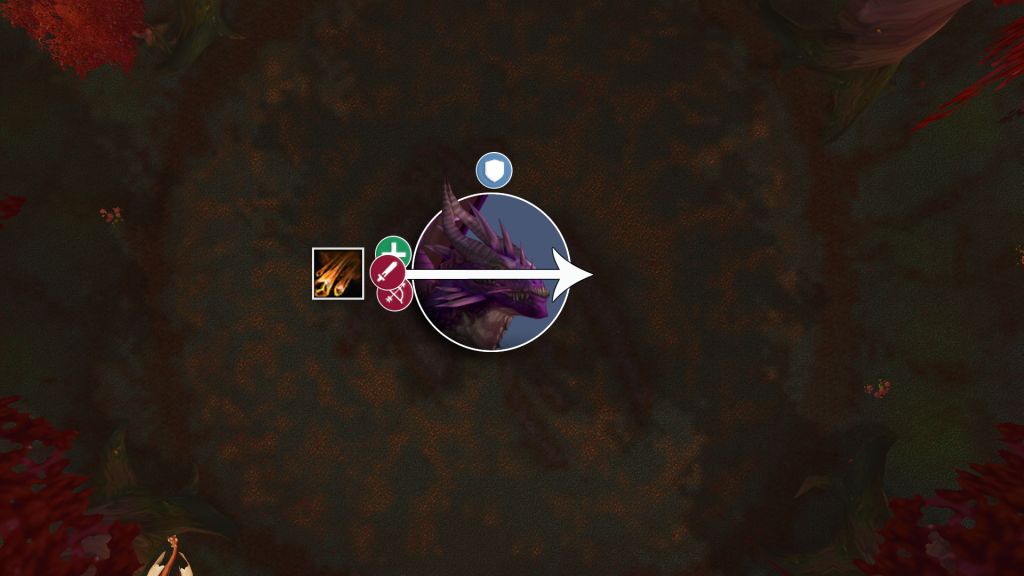
The only other notable ability in the Physical Realm is Meteor Strike, which targets a random player and explodes in a massive area around them. It also shoots fire in a 4-way cross formation around them. To counter this, all players should be stacked up on one side of Halion and move to the opposite side after Meteor Strike has selected its target, but before it hits the ground. Note that Meteor Strike can target the tank, in which case the tank will need to run through the dragon, quickly spinning him around. This presents an extremely small chance of Tail Lashing or Flame Breathing the raid, but it is essentially unavoidable.
Phase 2: Twilight Realm
At 75% health, Halion will phase out from the Physical Realm (becoming unattackable) and open a portal to the Twilight Realm. It is of critical importance that the tank enters the portal first, with healers and the rest of the raid entering quickly afterwards. The tank should use his biggest defensive cooldown upon entering the portal to help bridge the gap in healing while the healers make their way down.
In this phase, Fiery Combustion is replaced with Soul Consumption, which behaves the exact same way, but pulls players into its AoE instead of knocking them back.
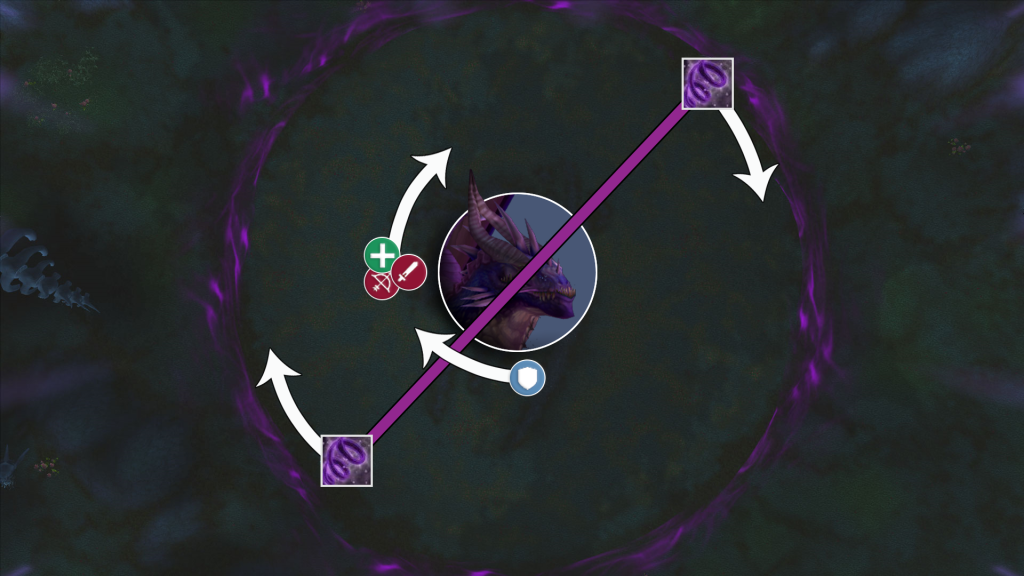
The primary mechanic of the Twilight Phase are the Twilight Cutters. Two orbs (four in heroic) zip around the room, creating a purple death beam every now and then. If you touch that beam, you’re pretty much toast. The trick is to stick to one side of Halion, but don’t go spinning around too fast or too slow, or you might catch a nasty cleave or tail swipe. The tank’s job is to keep things steady by rotating consistently.
Phase 3: Twilight Realm & Physical Realm
In Phase 3, Halion will be active in both realms simultaneously. To combat this, you’ll need to split your raid into two somewhat even forces. Melee DPS are heavily favored in the Twilight Realm, since they will be less affected by the constant movement needed to maneuver around the Twilight Cutters.
This phase is all about keeping the boss’s health as even as possible in the physical phase and the twilight phase, to manage her stacks of Corporeality. Corporeality is a buff placed on the boss that rises or falls as the boss’s health in one realm gains a disparity over the boss’s health in another. The higher the stacks of Corporeality, the less damage the boss will take and the more damage the boss will deal. If left unchecked, half of your raid will be unable to do any DPS and the tanks damage taken will quickly become unmanageable.
The two teams will need to coordinate their respective boss percentages and move between the two realms if one team is too far ahead. If someone dies in one realm and is unable to be resurrected, a DPS from the opposing realm will need to quickly takes their place. Be sure to call for DPS stops if one team is out-damaging another significantly.
Heroic Mode Changes
In Phase 1, each Meteor Strike will spawn a Living Inferno and several Living Embers. These will need to be picked up (ideally with misdirection and/or tricks of the trade onto a tank. From there they can be cleaved down and pose little threat.
In the Twilight Realm, there are 4 cutters instead of 2, forming a cross formation whenever Twilight Cutter are cast. This narrows the area that players have to stand in during this phase and makes it significantly harder to make it in and out with Soul Consumption.
To make matters even worse, on heroic mode, Soul Consumption continually reapplies its slow effect, making it difficult to escape without the help of Dispel Magic or Hand of Freedom. Players will need to be sure that they drop their Soul Consumption at the edge of the cutter moving away from them to give themselves enough time to escape the oncoming cutter.
The most difficult change that you’ll notice on heroic difficulty is that the void zones from both Fiery Combustion and Soul Consumption appear in and affect both the Twilight and Physical Realms, not just one. The two teams will need to coordinate throughout Phase 3 to determine where the best place to drop a void zone is as to not limit the opposing teams movement.
About the Author