Yogg-Saron Strategy Guide – Ulduar (25)

The Old God of nightmares, Yogg-Saron lies at the very bottom of Ulduar. Plotting and scheming for untold years, the Fiend of a Thousand Faces gets closer every day to escape from its eternal prison. After centuries of corrupting Loken, Yogg-Saron has been able to influence many things throughout Azeroth, potentially even setting in motion the Cataclysm yet to come.
This guide will offer a detailed, step-by-step tutorial on how to overcome Yogg-Sarons endless whispers, and overcome the waking nightmare you find yourself in.
Role Summaries
Phase 1
- Avoid the floating clouds
- Make sure dark-volley is interrupted
- Avoid killing adds away from Sara
Phase 2
- Keep an eye on your sanity at all times
- Stay at least 10 yards away from players feared by malady-of-the-mind
- Players connected by brain-link will need to stay within 20 yards of each other
- Avoid the death-rays swirling around the room
- Don’t stare at the skulls, they’re shy
- Make sure you escape the illusion within 60 seconds
- Focus Constrictor Tentacles whenever a player is grabbed
Phase 3
- Don’t look directly at Yogg-Saron during lunatic-gaze-yogg, you might fall in love
Phase 1
- Try to avoid shadow-nova damage when possible
- Interrupt dark-volley
Phase 2
- Run a circle around the illusion, briefly attacking everything on the way
- Someone will need to interrupt diminish-power with a melee swing
- Make sure you do not hit Crusher Tentacles except to interrupt diminish-power
- Focus down Corruptor Tentacles if no one is grabbed by Constrictor Tentacles
Phase 3
- DPS Immortal Guardians to remove stacks of empowered
Phase 1
- Always stay at least 15 yards away from adds to avoid shadow-nova
- Interrupt dark-volley when possible
Phase 2
- Position yourself in the middle of the illusion, attacking any enemies you can see
- Focus down Crusher Tentacles if no one is grabbed by Constrictor Tentacles
Phase 3
- DPS Immortal Guardians to remove stacks of empowered
Phase 1
- Always stay at least 15 yards away from adds to avoid shadow-nova
- Pay attention to Sara, all 3 of her abilities will cause the target to need more healing
Phase 2
- One healer may want to follow players into the illusion, but this will not be required for all raids
- Make sure to dispel the various debuffs from Corruptor Tentacles
Phase 3
- Face away from Yogg-Saron at all times to avoid lunatic-gaze-yogg
Phase 1
- Make sure Guardians are killed underneath Sara
Phase 2
- Pick up Tentacles whenever possible
Phase 3
- Pull Immortal Guardians with shadow-beacon away from all other enemies
Phase 1
- Call dark-volley interrupts as needed
Phase 2
- Call the target of malady-of-the-mind by name
- Remind players to move away from them
- Call brain-link targets
- Call out when Portals are available
- Call out when players are running out of time in the illusion
- Call for DPS to focus on the Constrictor Tentacle whenever it grabs a player
- Remind players to dispel debuffs from Corruptor Tentacles
Phase 3
- Call casts of lunatic-gaze-yogg, reminding players to face away
- Call casts of deafening-roar, reminding Paladins to cast aura-mastery
- Call for Immortal Guardians to be moved out when targeted by shadow-beacon
Abilities
Keepers of Ulduar
Hodir
Thorim
Freya
Having Freya assist you during the fight will grant the entire raid 10% increased damage done and 20% increased healing done.
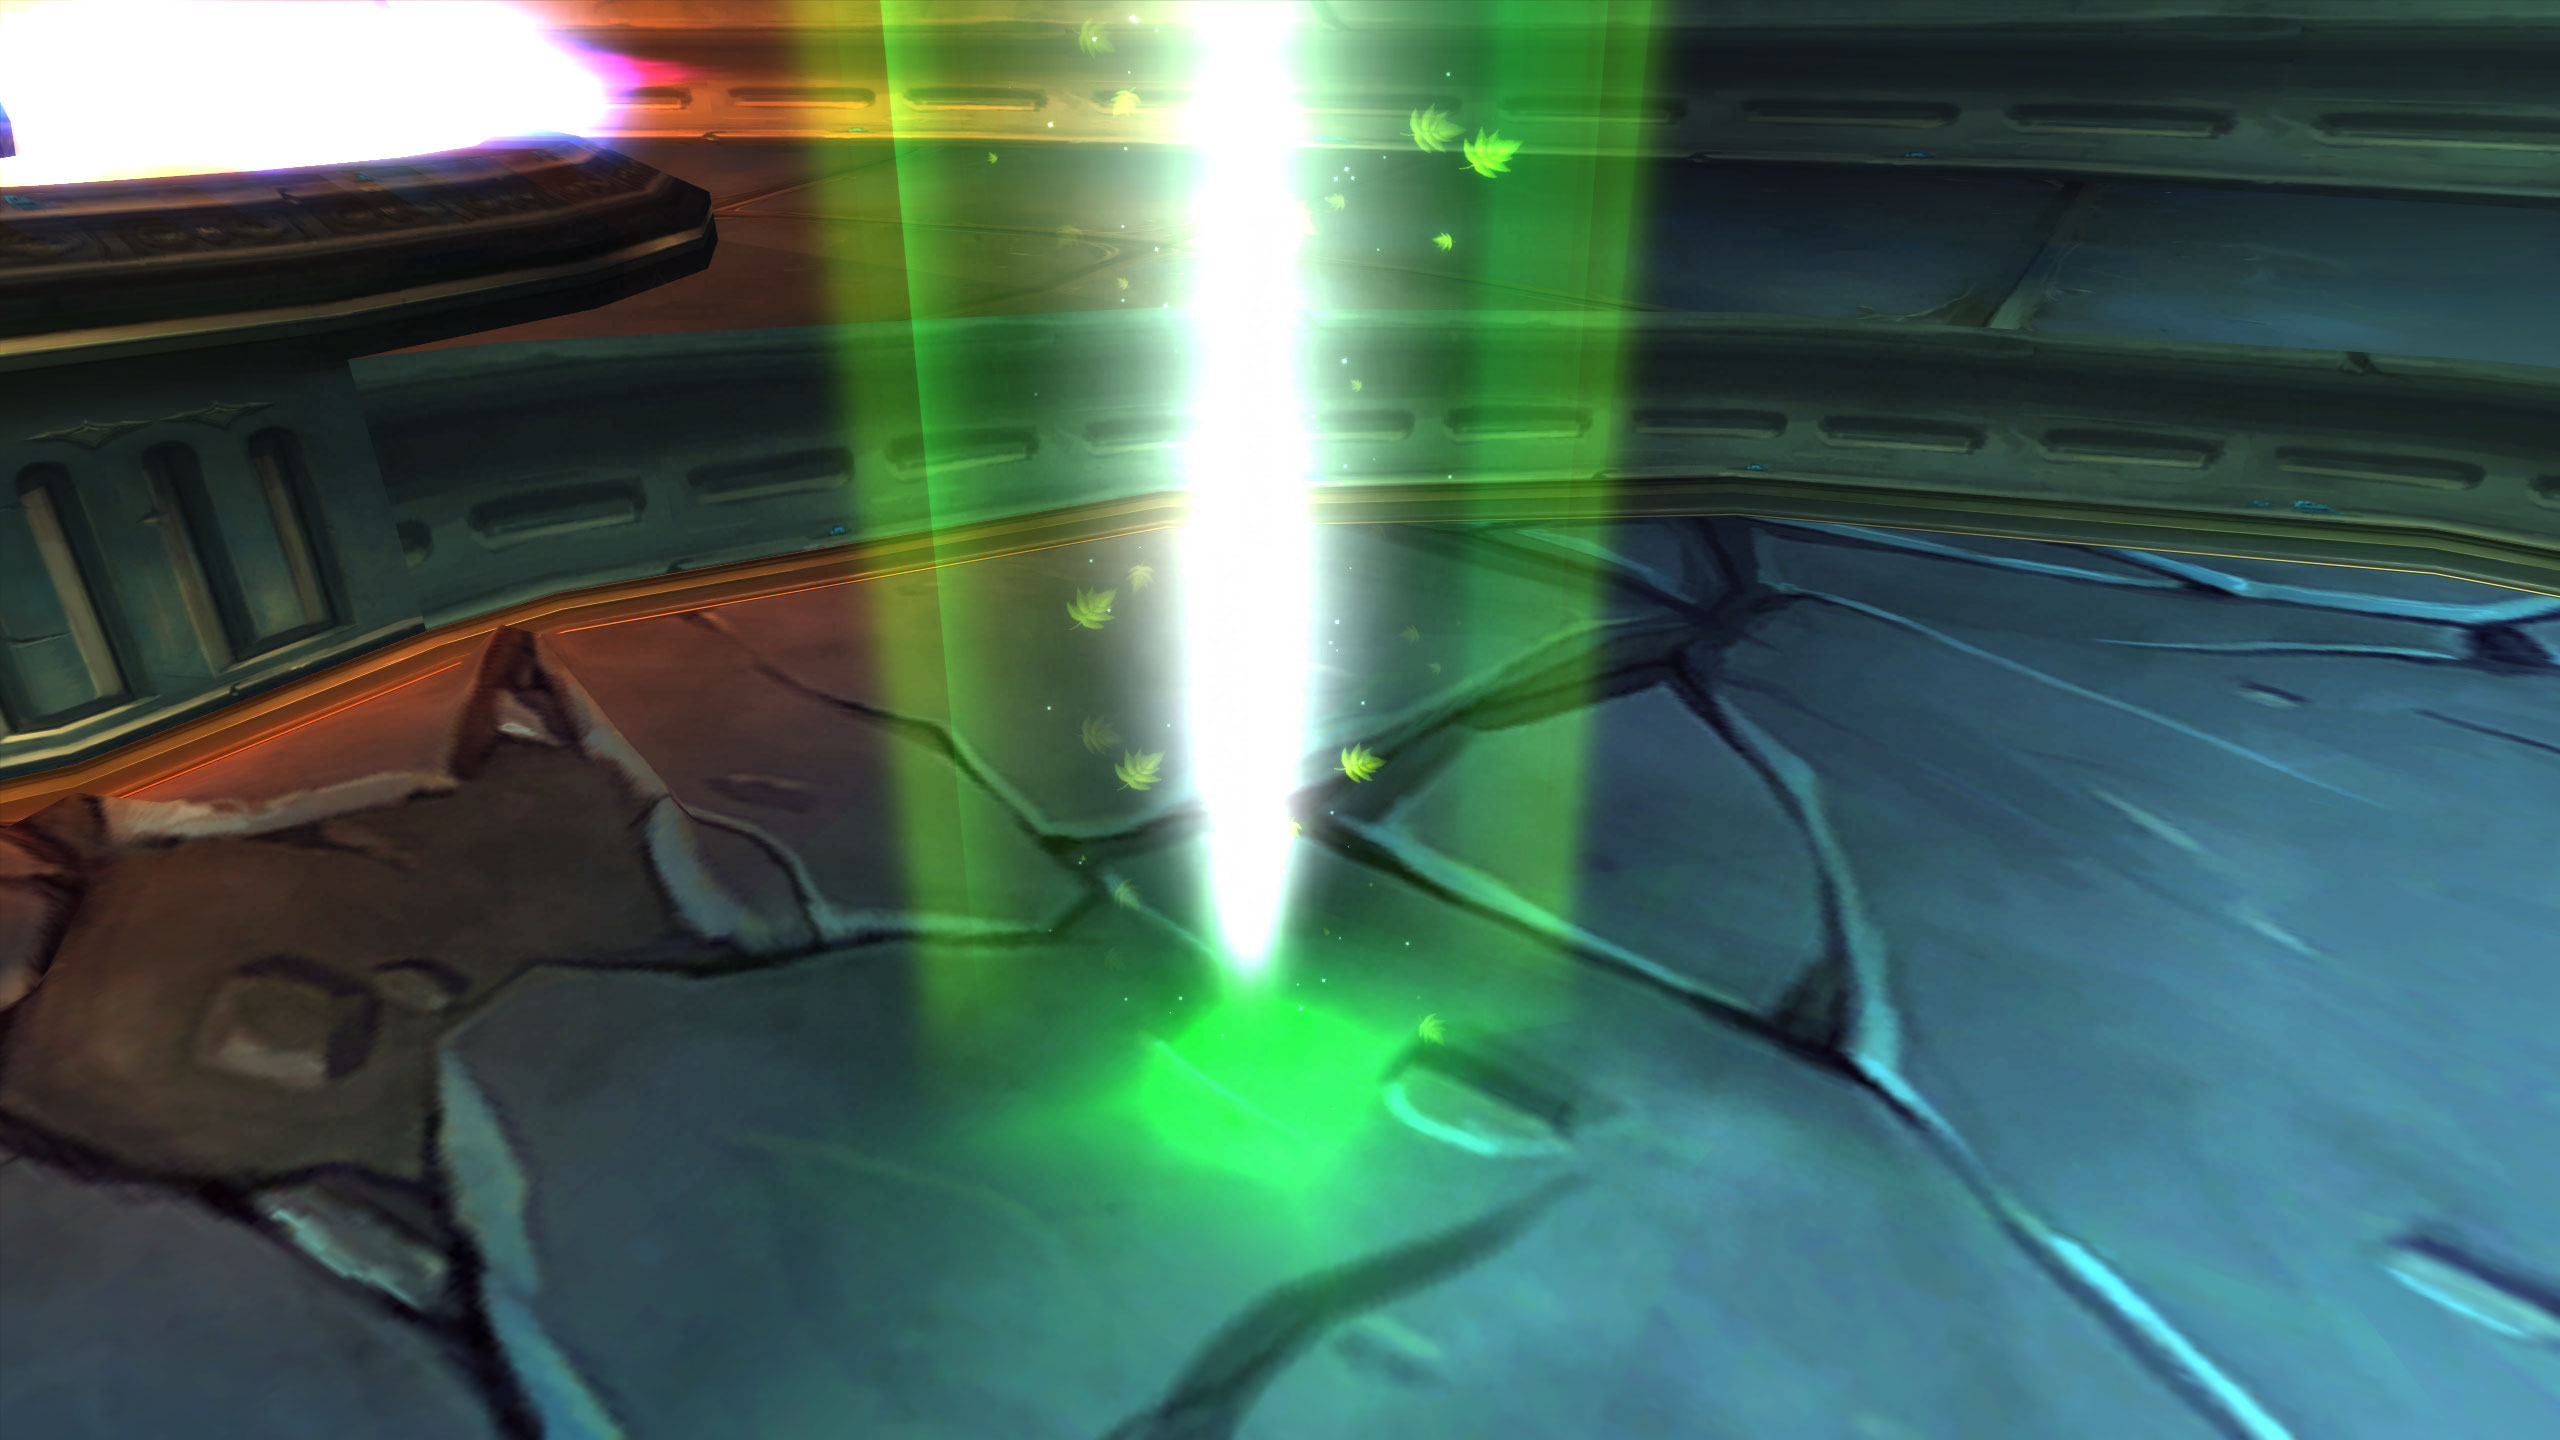
Freya will periodically spawn sanity-wells during the fight. These are green beams of light found at the edges of the arena. Standing in these restores your sanity rapidly, as well as reduces damage taken. This is the only way to restore lost sanity.
Mimiron
Phase 1
sara
guardian-of-yogg-saron
Phase 2
sara-phase2
Descent Into Madness
crusher-tentacle
corruptor-tentacle
constrictor-tentacle
Phase 3
Yogg-Saron
Raid Composition & Preparation
Hard Mode
Instead of the opt-in Hard Modes we have had so far, you will need to opt out of Hard Mode instead. This is done by talking to the Keepers in the conservatory, after completing their encounters. Asking them for their help allows them to provide 2 unique abilities to the encounter, making your fight easier. Receiving help from all four of them would be the Normal Mode for this fight, and receiving help from only one will give you access to the Hard Mode loot table.
Opting instead for going at this fight “alone” (with 24 other people by your side of course), gives you access to both the Hard Mode loot table, and a small chance at receiving mimirons-head, a one-of-a-kind mount head.
Completing the fight with 0-1 Keepers will give you access to the following loot:
- dark-edge-of-depravity
- legguards-of-cunning-deception
- seal-of-the-betrayed-king
- show-of-faith
- treads-of-the-false-oracle
The Pull
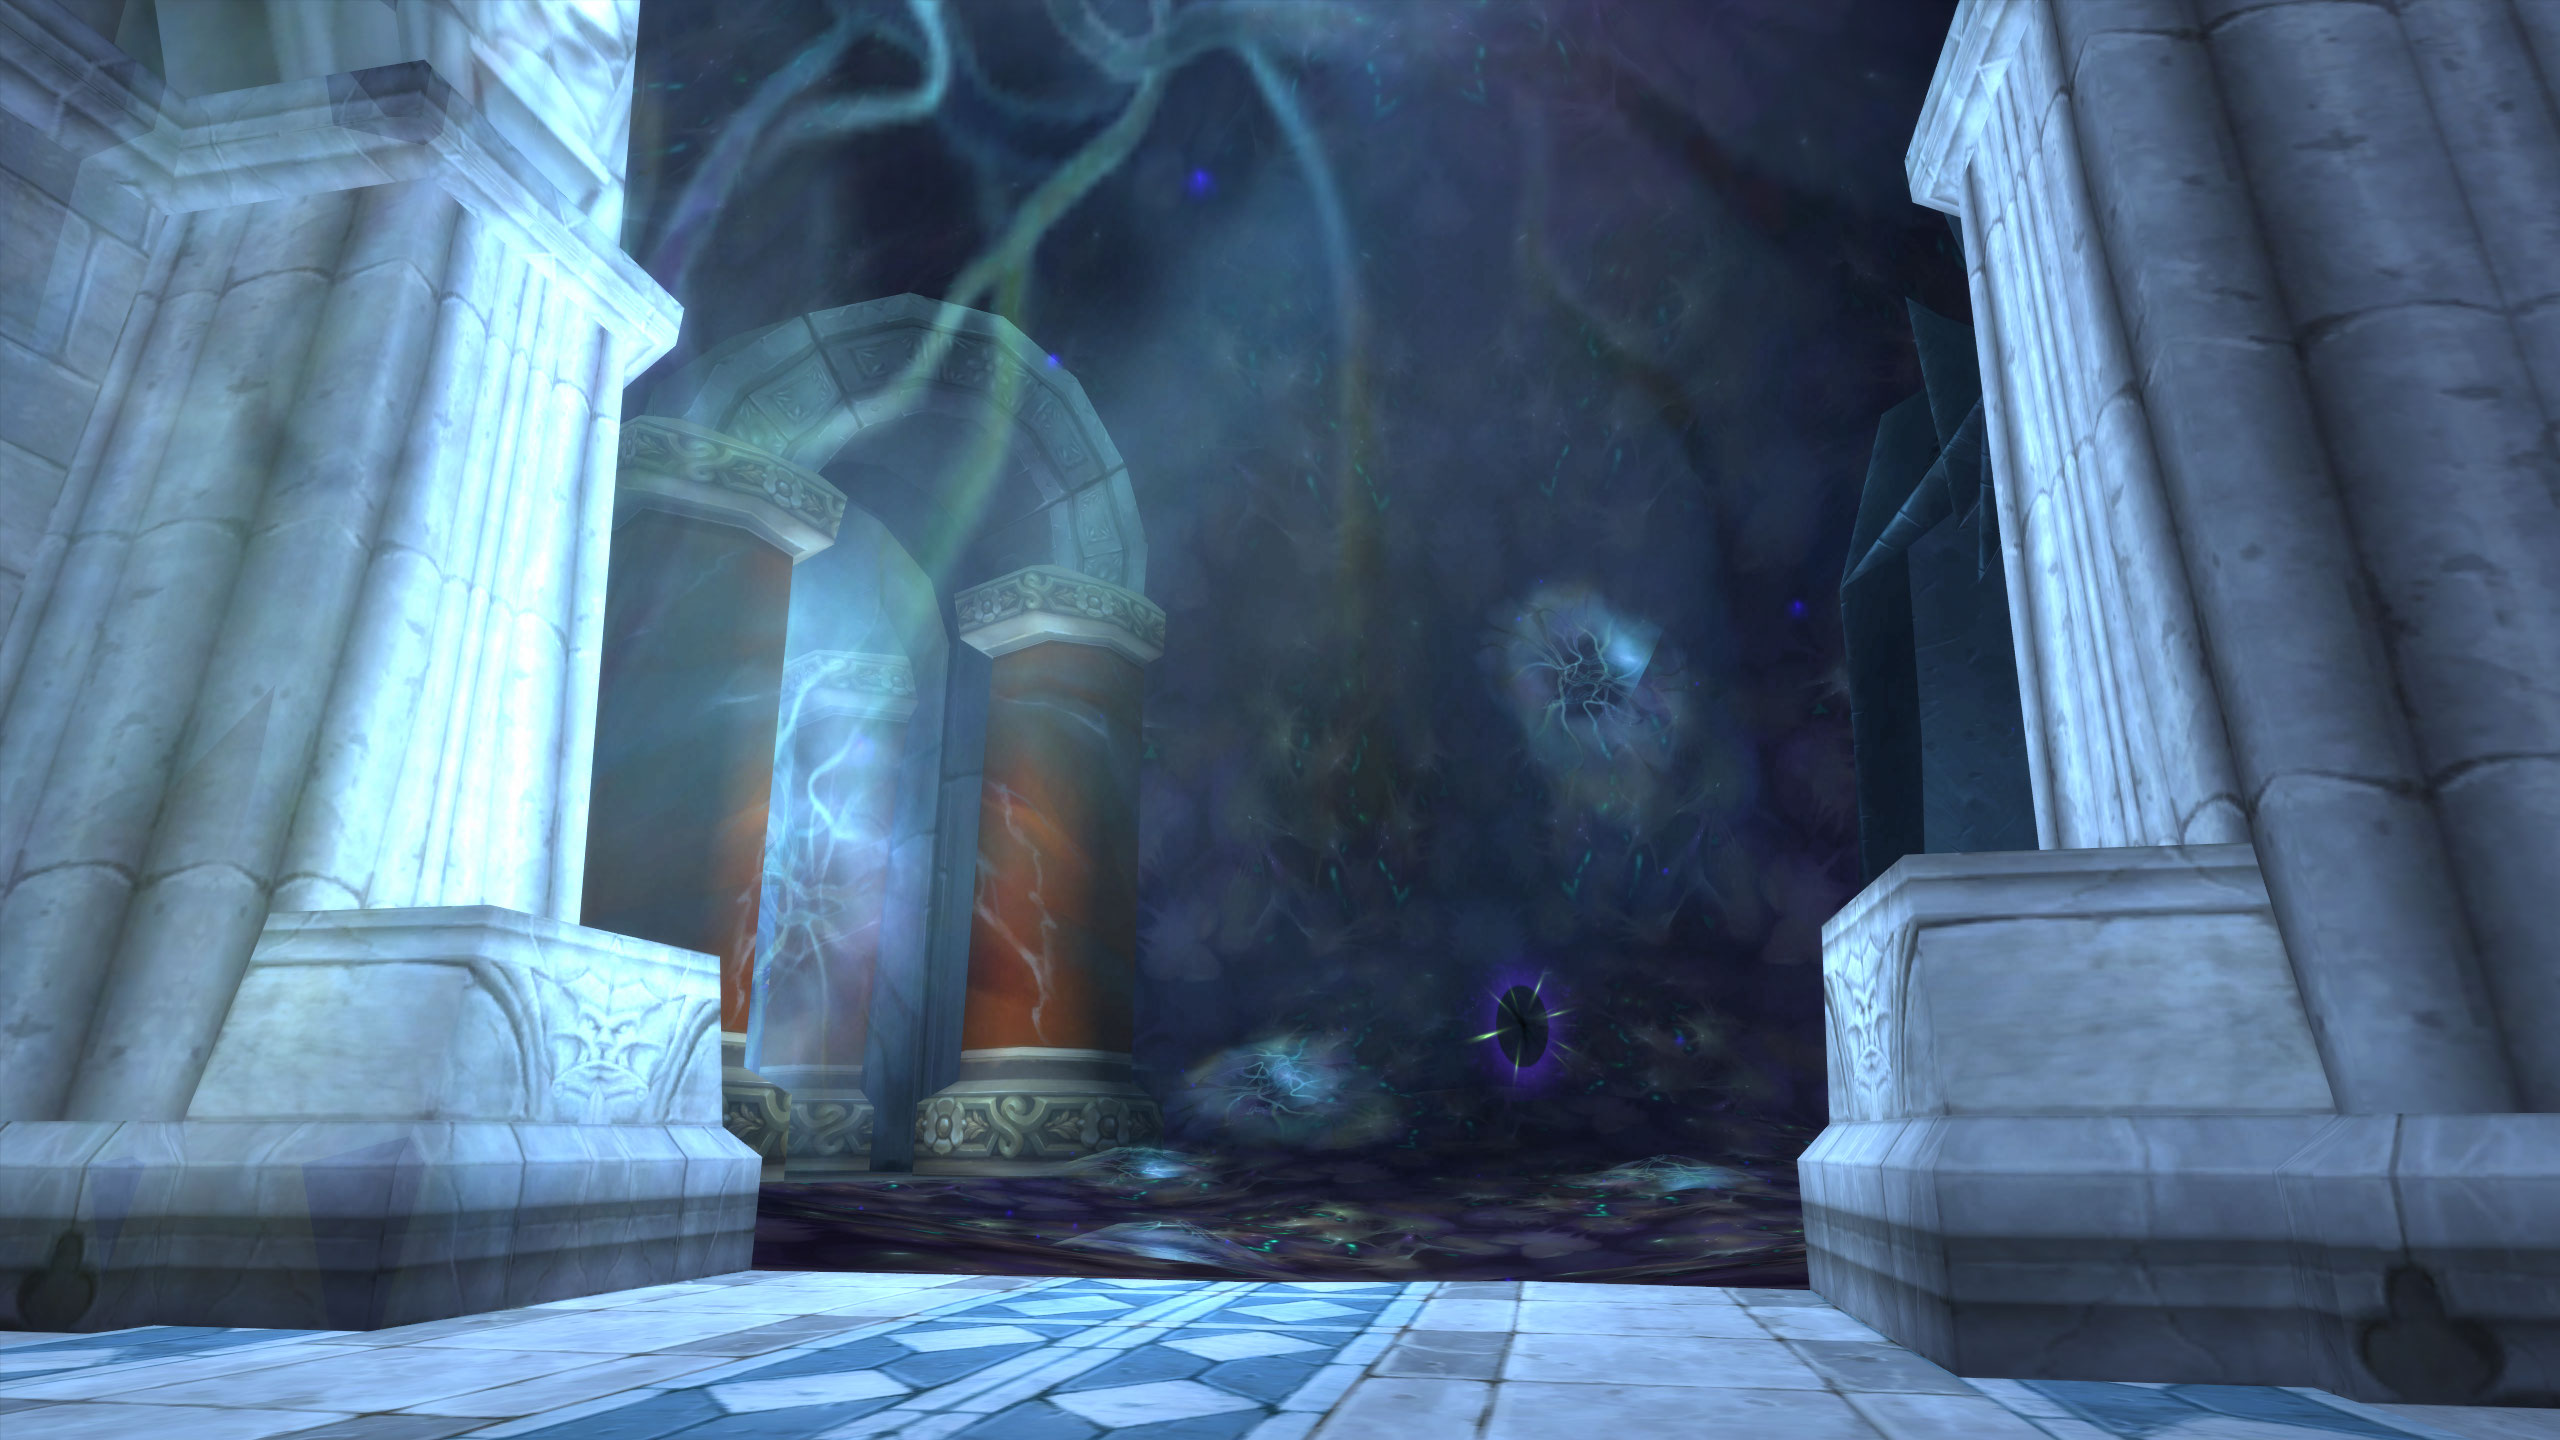
The encounter will begin as soon as players enter Yogg-Sarons prison. Make sure that everyone moves in together, most of the fight will take place towards the center of the room.
The Fight
Phase 1
The beginning of the fight will have the raid dealing with Faceless Ones, assisted by the avatar of Yogg-Saron, Sara. Sara will cast various spells that both benefit and hinder the raid at the same time. Your goal for this Phase is to kill Sara, but as she is friendly to the raid, you have to be creative.
Adds will spawn from the clouds floating around the room, starting slowly and spawning faster and faster over the duration of the Phase. Killing one of these will cause an explosion, dealing heavy Shadow damage to everyone within 15 yards of it. This damage can be used to hit Sara and is the only way to damage her during this Phase.

In addition to the adds spawning on a timer, anytime a player touches one of the clouds, another add will instantly spawn. This can be utilized to get through Phase 1 faster, but it also adds additional risk to the fight, and can potentially leave groups in a situation where they have multiple adds alive when Phase 2 begins.
There are many ways to position this Phase, but there are two primary methods. The first method is stacking in the middle, with melee DPS and tanks underneath Sara, and ranged DPS at least 20 yards away from Sara. This requires ranged DPS to actively avoid the clouds for the entire Phase, but if done correctly will provide the quickest add kills.
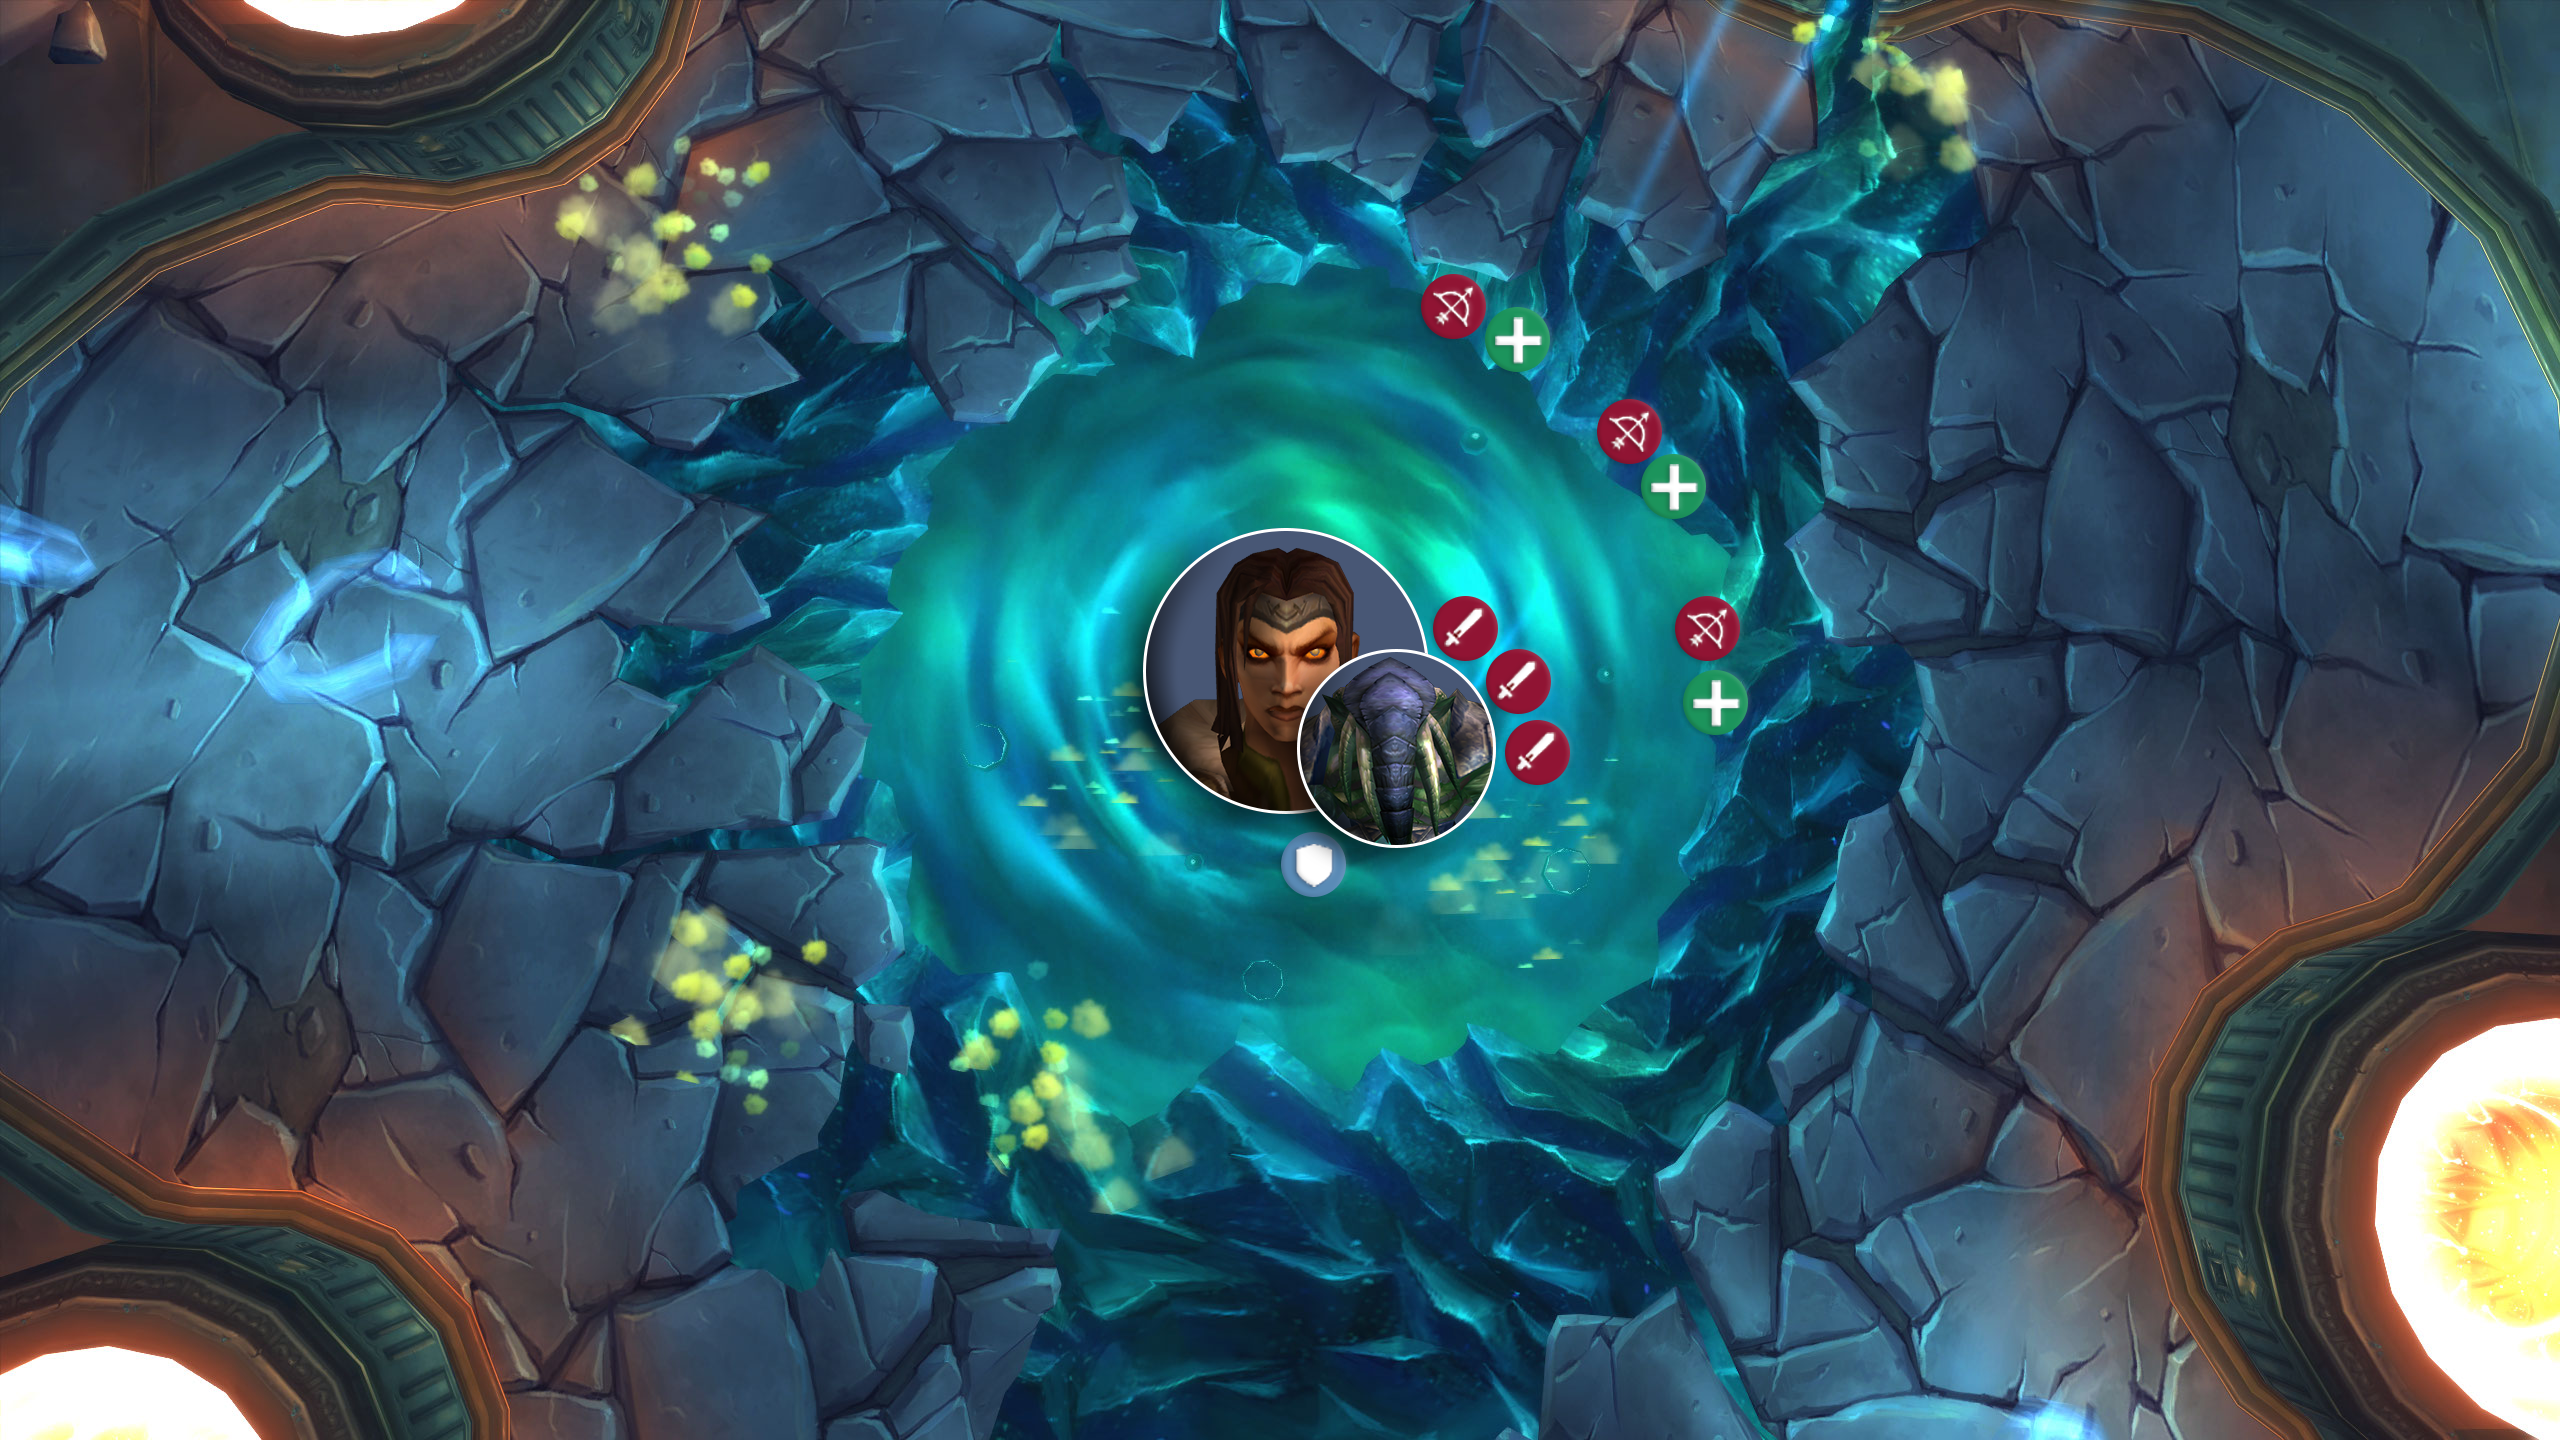
The other common method is to have most of the raid stack towards the outskirts of the room. A small ranged DPS group will want to be close to the middle. A tank grabs an add, pulls it to the raid who DPSes it almost all the way down, then another tank taunts it and runs it to the middle, where the smaller squad deals the rest of the damage.
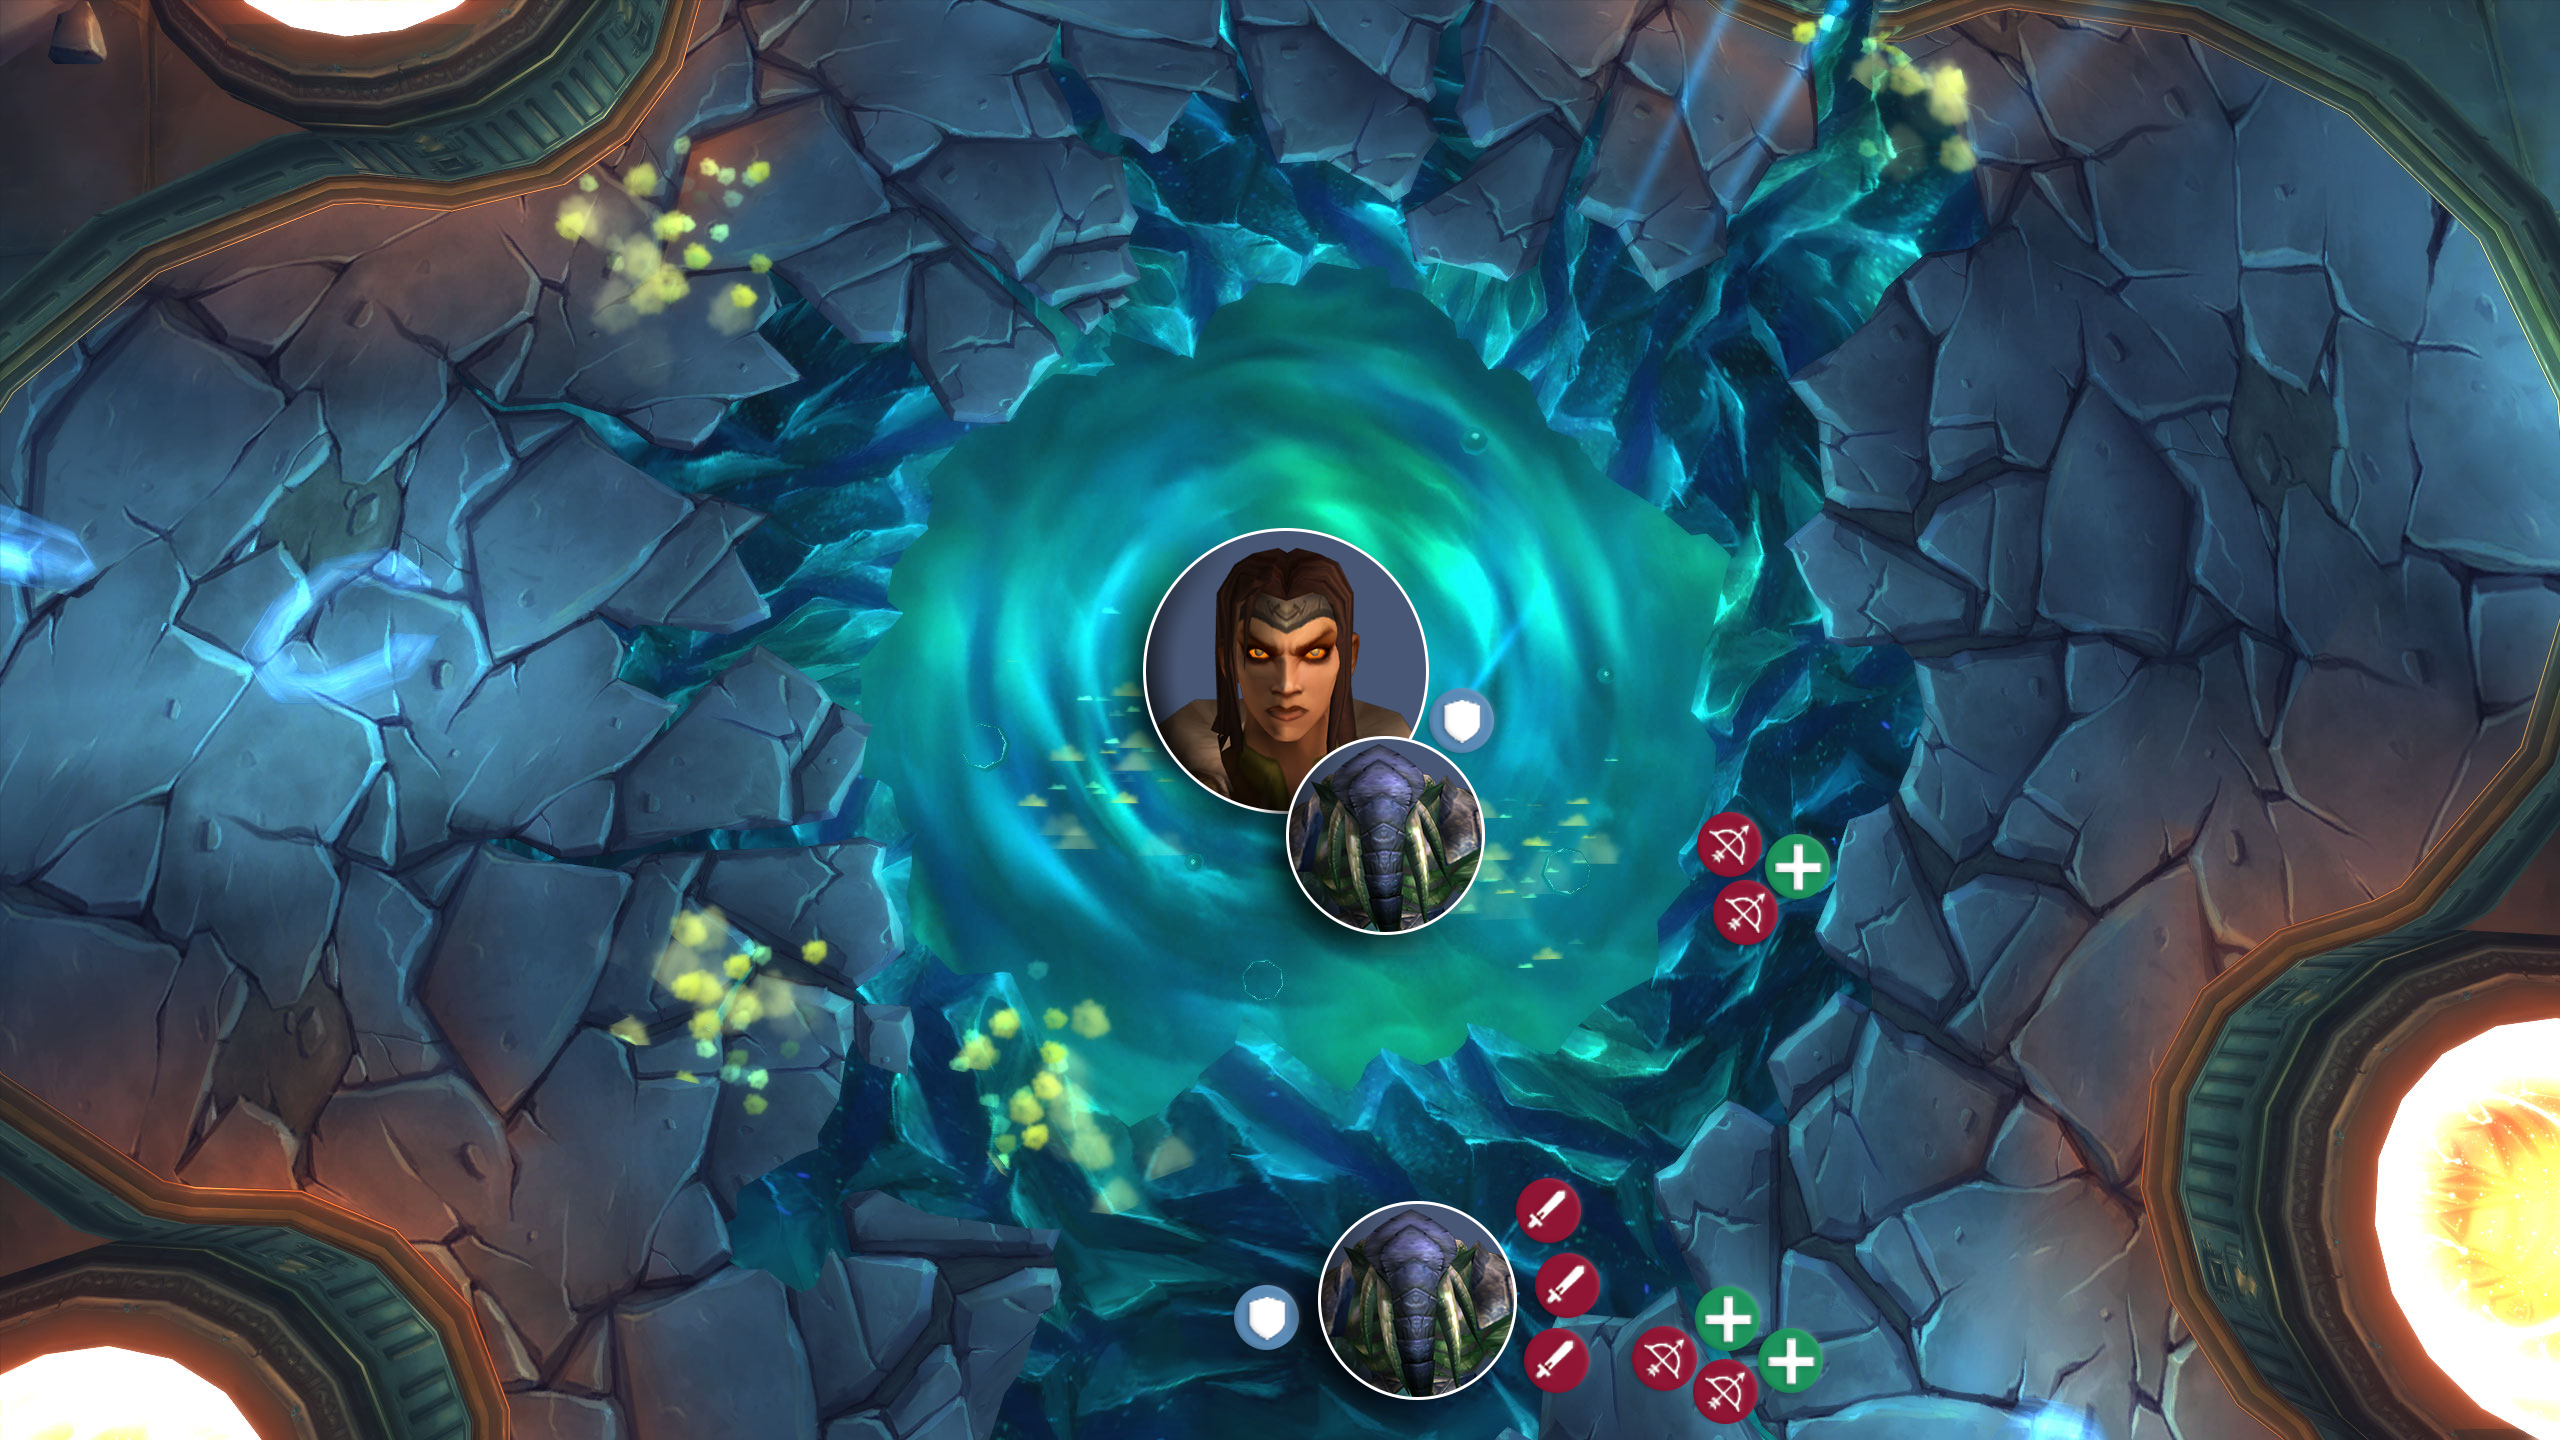
This second method is generally safer, as the raid can completely avoid the clouds, as well as almost ensuring that only the tank in the middle will be hit by shadow-novas.
Once enough Faceless Ones have been killed under Sara, Phase 2 will begin.
Here are some of the main things that can typically go wrong in this Phase:
- Players get caught by clouds, overwhelming the raid with adds
- Guardians are not killed under Sara, wasting a lot of time and effort
- The Phase takes too long, spawning adds rapidly
- Too many adds are still alive when entering Phase 2
- Players are too close to dying Guardians, causing AoE damage to the raid.
Phase 2
When Sara dies and Phase 2 starts, make sure you kill any remaining adds as soon as possible.
This is where the sanity mechanic comes into play. Each player has their own sanity count, starting at 100 and being reduced by various spells cast by Sara. If your sanity ever reaches 0, you will go insane, being mind controlled for the rest of the fight. If you asked Freya for help before the fight, sanity can be replenished at sanity-wells found around the room. These are green beams of light and are the only way to regenerate lost sanity.
The more effective players are at handling Sara’s abilities, the less sanity they will lose. brain-link will connect two players with a colored beam. As long as the connected players are more than 20 yards away from each other, they will take Shadow damage and lose sanity every second. Anyone targeted by this will need to make sure they immediately run toward their new life partner.
Sara will also cast malady-of-the-mind on random players, fearing them for 4 seconds and draining their sanity. This will jump to any player within 10 yards, so make sure everyone gets away from the feared player!
In addition to Sara, players will have to deal with various Tentacles spawned by Yogg-Saron. These come in three distinct flavors, Crusher, Corruptor, and Constrictor.
Constrictor Tentacles will grab a random player, squeezing them for high Physical damage every second until the Tentacle is killed. These should be quickly focused down whenever they grab a player.
Crusher Tentacles will channel diminish-power, reducing the damage of everyone in the room. Any melee hit will interrupt this cast, but will also give the Tentacle a stack of focused-anger. Each stack of focused-anger increases its damage and attack speed, stacking up to 99 times. This buff only lasts for one second but is refreshed by melee hits. This makes it important that a melee player hits the Tentacle once every so often to interrupt diminish-power, but then immediately stops attacking until the buff has fallen off. Ranged DPS can freely kill these Tentacles without worrying about focused-anger, but their attacks will not stop diminish-power.
Corruptor Tentacles will cast 4 different debuffs, all of which can be dispelled by players. curse-of-doom is a Curse that will deal heavy Shadow damage after 12 seconds. apathy is a Magic effect that reduces attack speed, cast speed, and movement speed for 20 seconds. black-plague is a Disease that lasts for 24 seconds, occasionally stunning the recipient for 2 seconds. draining-poison is a Poison effect that drains Mana and deals low Nature damage every 3 seconds. Because all of these can be dispelled, these adds are generally not much of a concern or threat. Melee players will want to focus on these.
But wait, there’s more! Phase 2 is the Phase that keeps on giving, so in addition to Sara and our slimy friends, we also have portals to Yogg-Sarons brain. 10 of these will spawn every 60 seconds into the fight, and then again every 90~ seconds. Each portal can be used by one player to enter Yogg-Saron’s mind.
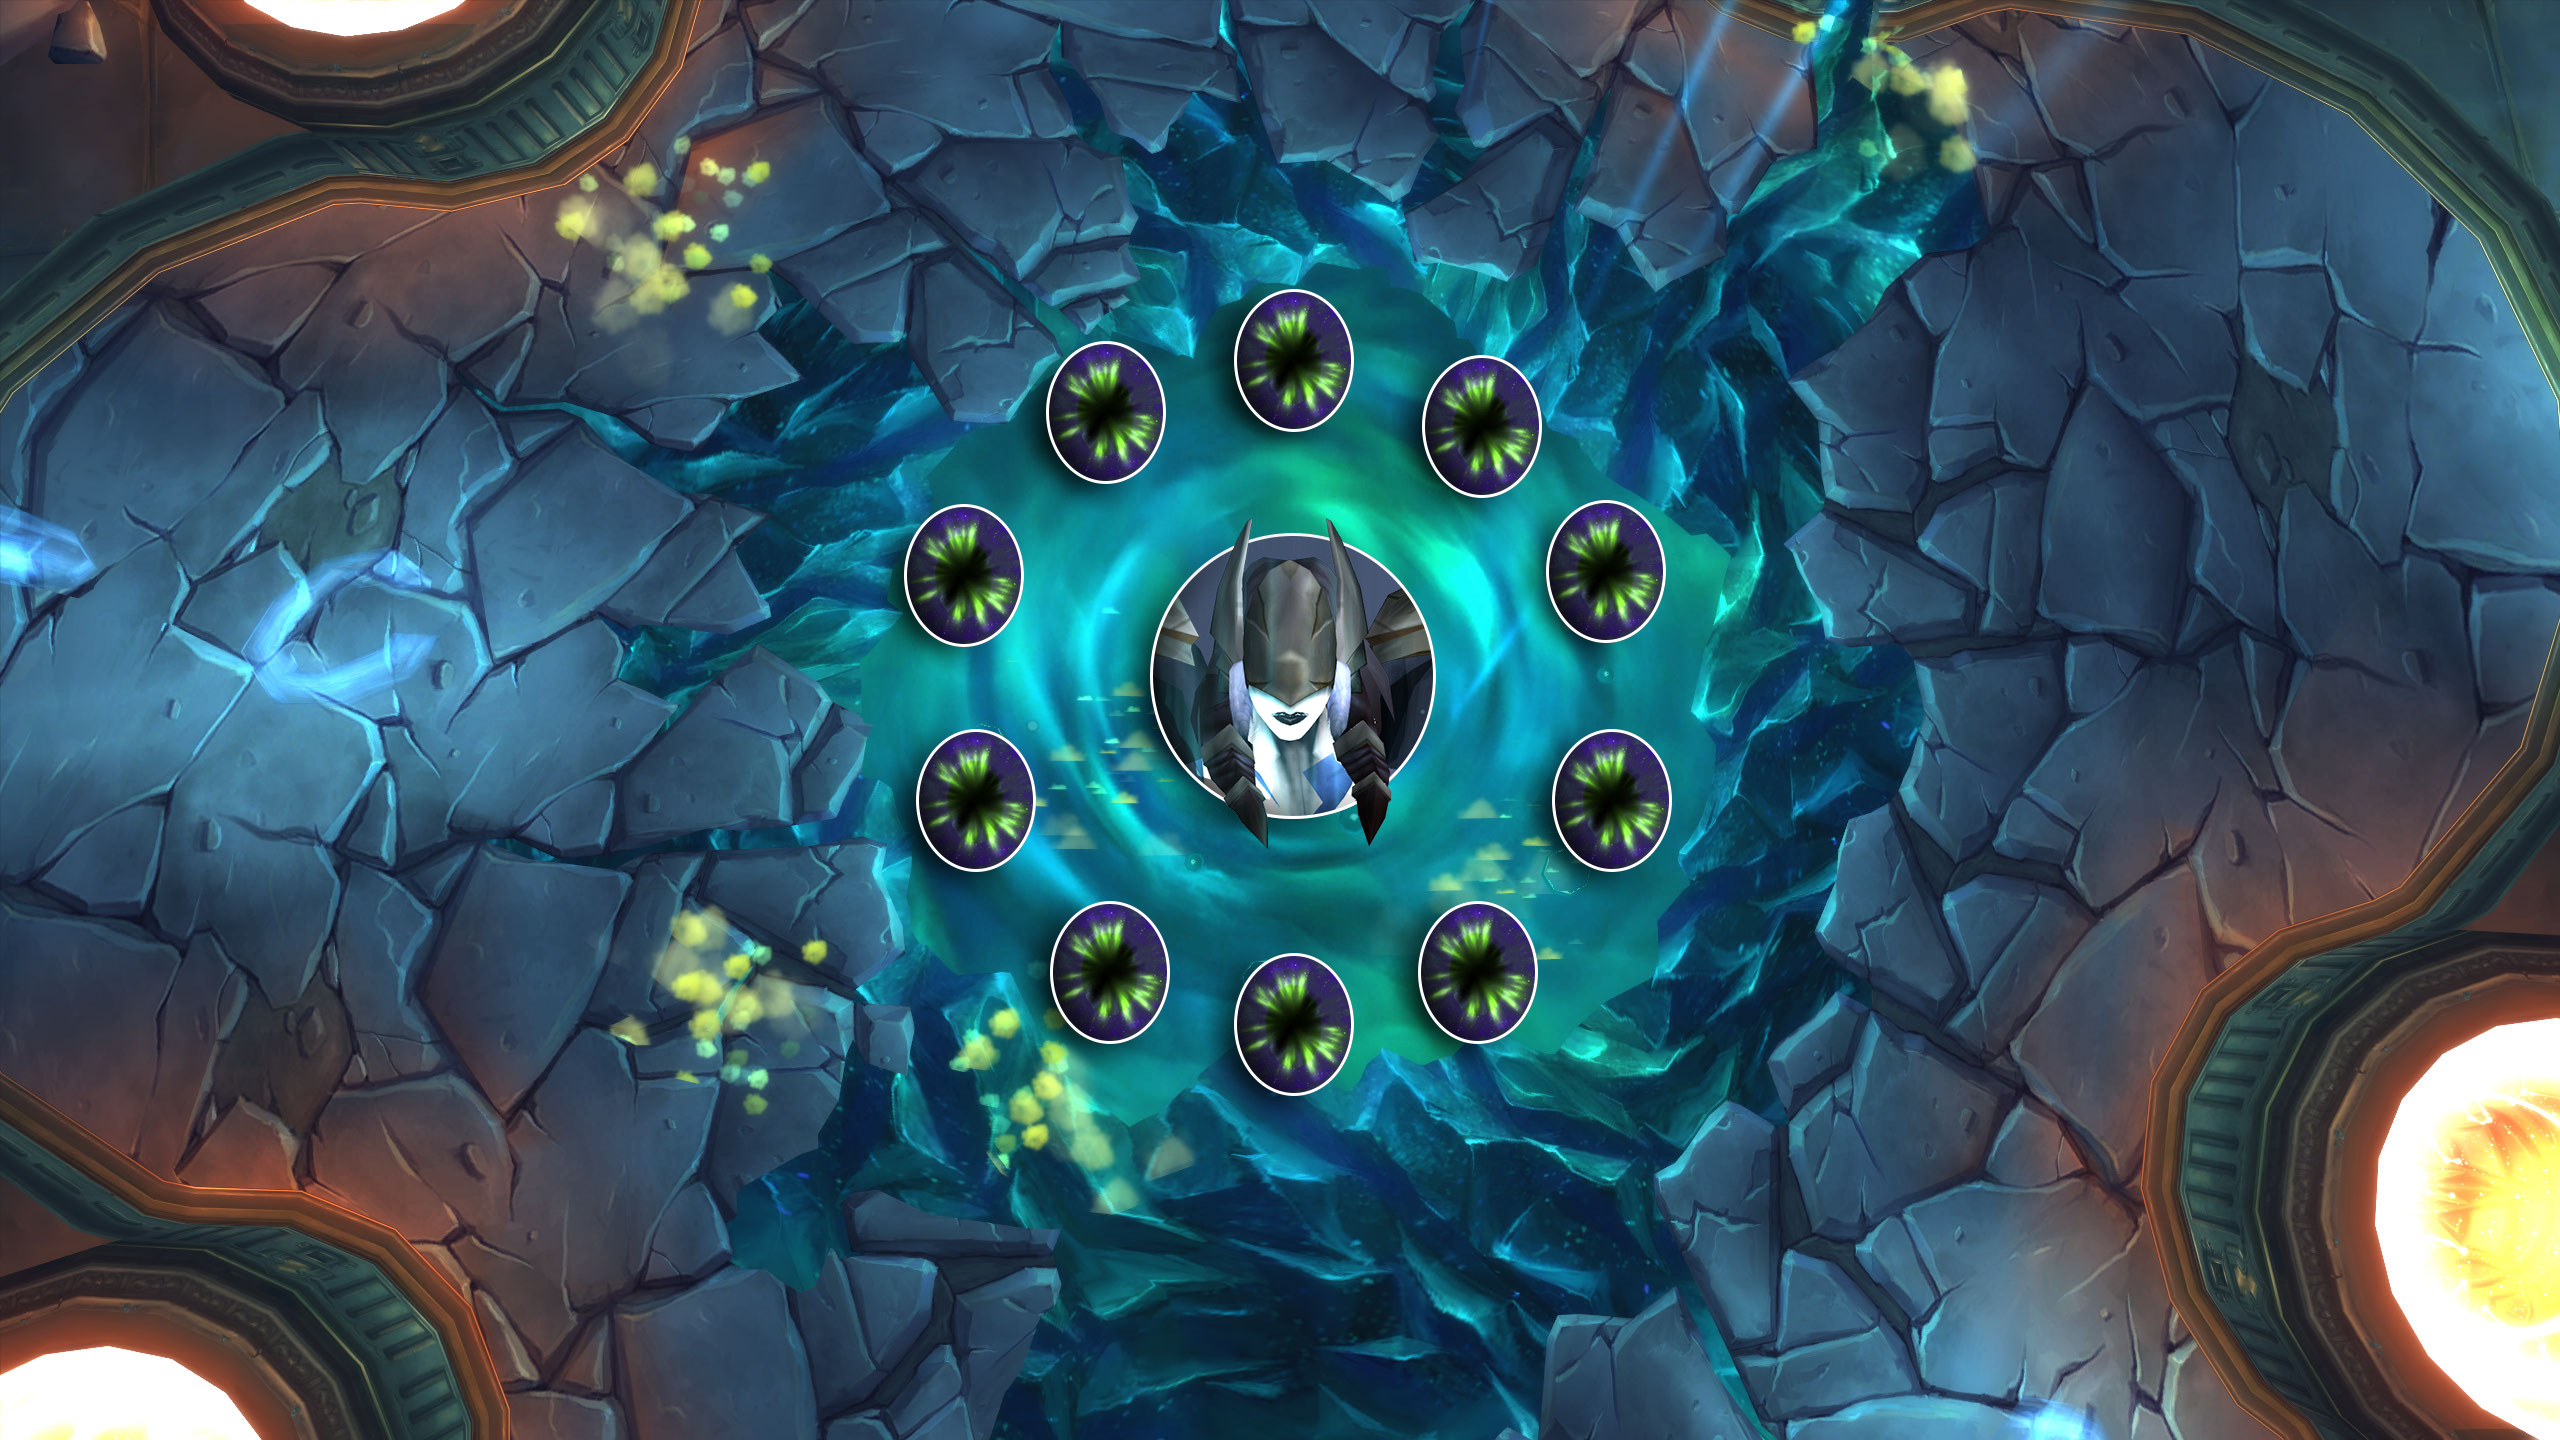
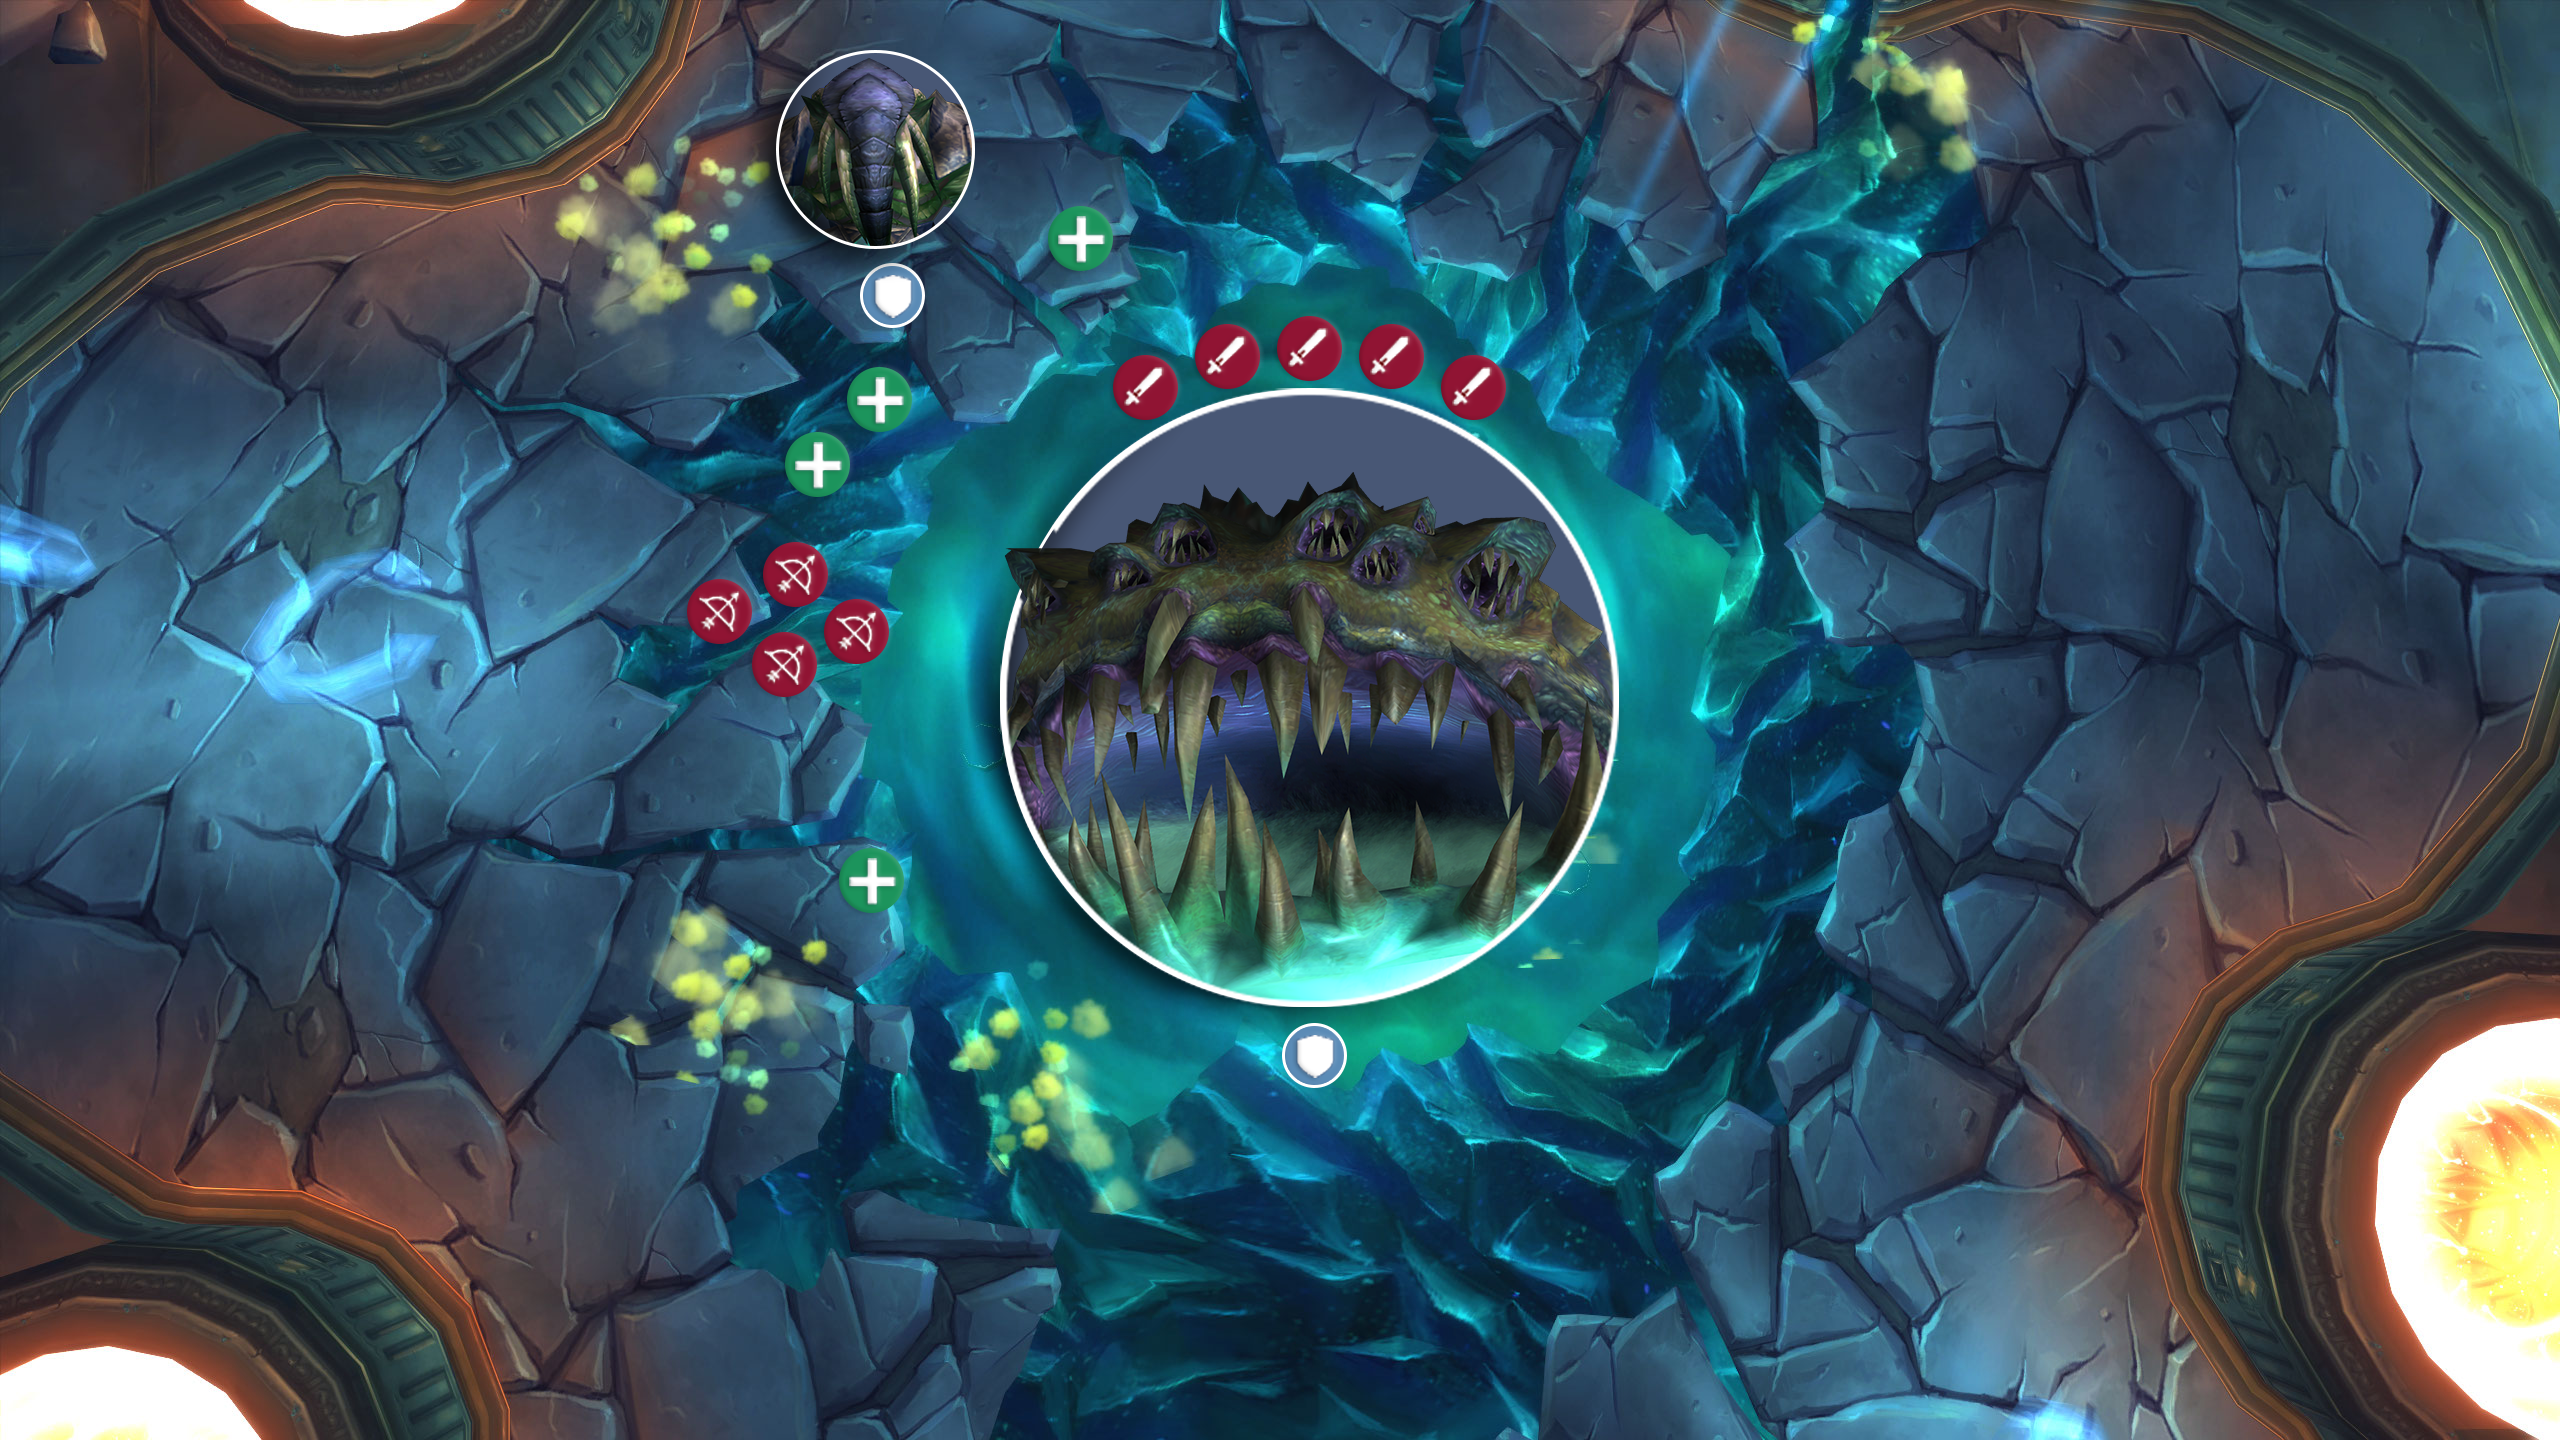
Inside Yogg-Saron’s mind, players will find themselves in a circular room full of illusions. Around the outer rim of the room, you will find various attackable targets. Attacking any of these once will reveal them as illusions, and killing all of the illusions will break down the barrier into the brain-of-yogg-saron.
The easiest method to handle this is to simply have everyone run a circle around the edges of the room, attacking all illusions quickly before moving on. Ideally, they will all be dead by the time players have completed a full lap, allowing you to simply walk back out where you came from and attack the brain.
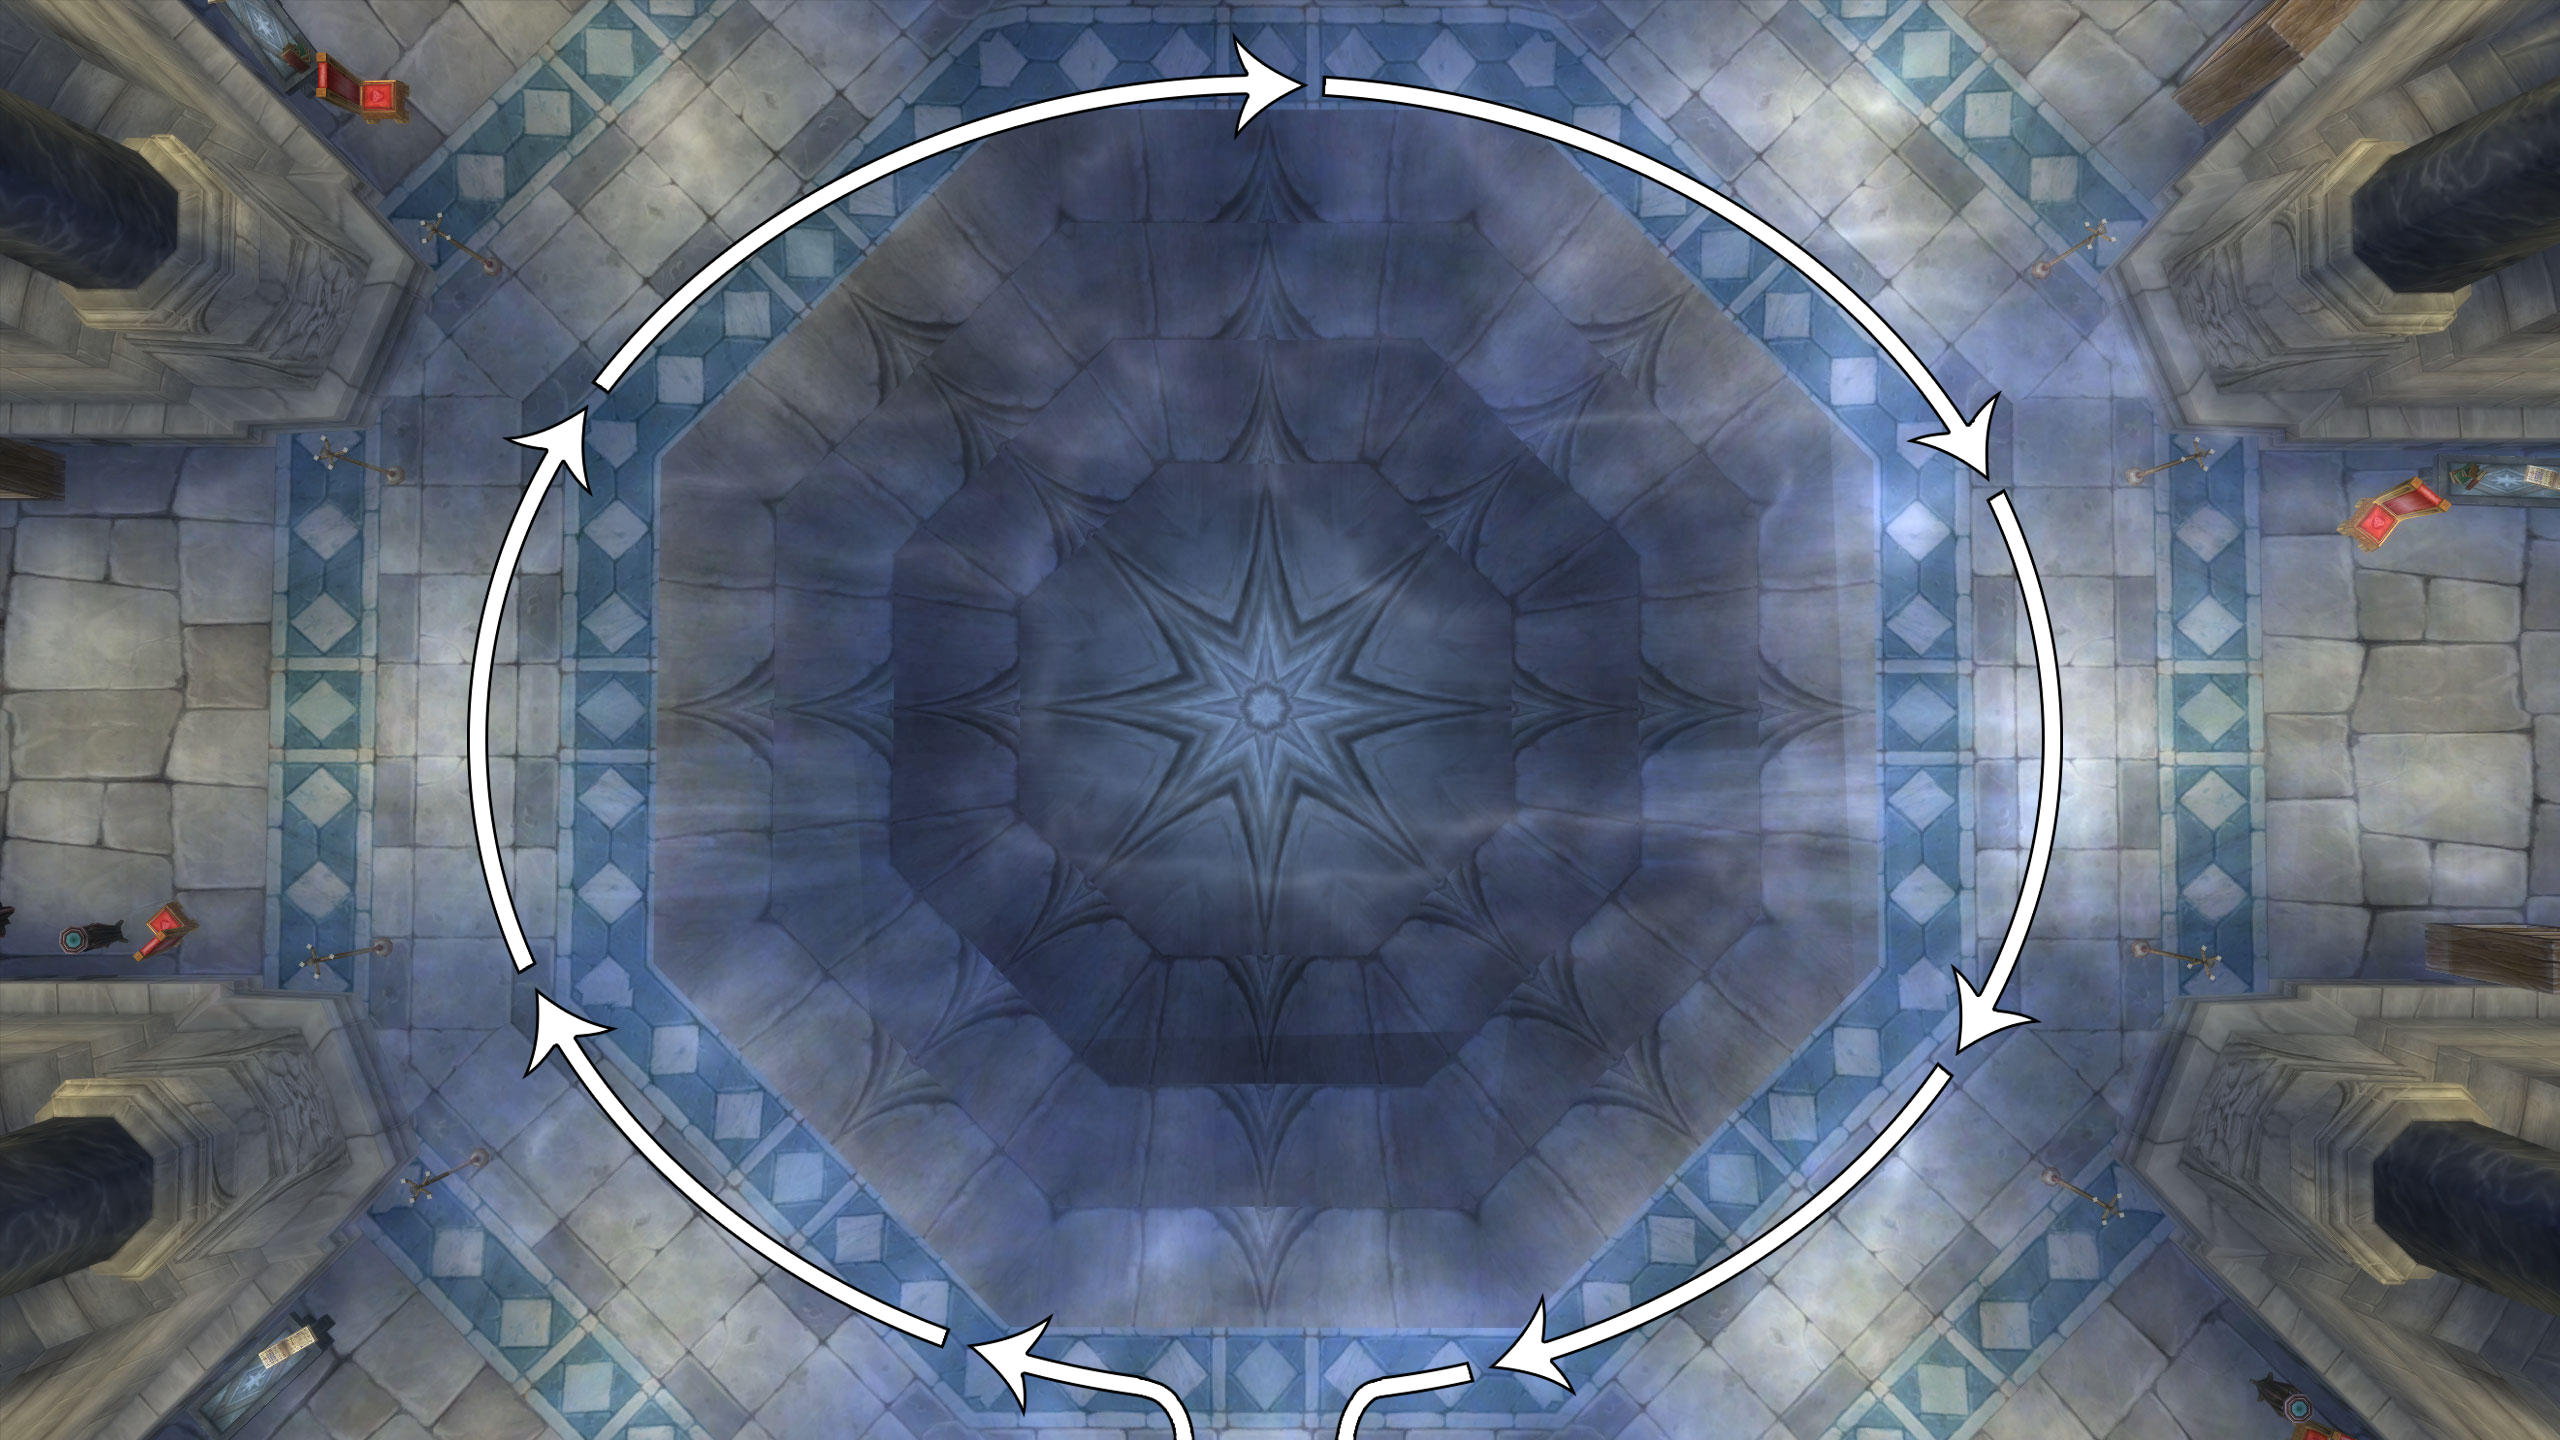
There are also floating skulls inside the illusion, and looking directly at one of these will debuff players with lunatic-gaze-skull, rapidly draining their sanity. Players will have 60 seconds to kill all the tentacles and do what they can to Yogg-Sarons brain. Inside the brain room, there are portals that can be used to return to Yogg-Sarons prison. Anyone remaining inside the illusion after 60 seconds will be hit by induce-madness, instantly reducing their sanity to 0 and mind controlling them.
Once Yogg-Sarons brain has been reduced to 30% health, Phase 2 will end and Phase 3 will begin.
Here are some of the main things that can typically go wrong in this Phase:
- Melee players auto attack Crusher Tentacles, stacking focused-anger
- Corruptor Tentacles debuffs are not dispelled
- Constrictor Tentacles are ignored, killing the squeezed player
- Sanity is mismanaged, causing insane
- Players remain inside the illusion for too long, causing Mind Controls
- Players remain inside Yogg-Sarons illusion for too long, causing insane
Phase 3
Make sure you kill all remaining Tentacles, especially Crusher Tentacles. You’ve gotten past the worst, but the Old God still has some tricks up its sleeve.
The primary mechanic here is lunatic-gaze-yogg. This functions almost identically to the skulls inside the illusion, dealing Shadow damage and draining sanity every second you look at Yogg-Saron. This is channeled over 4 seconds and requires players to simply face away from the boss while it is being cast. This is cast very often, and Healers will likely find it simplest to always be facing away, instead of turning as required.
Immortal Guardians will also spawn periodically during this Phase. These start the fight with 9 stacks of empowered, losing a stack every time they lose 10% of their health. They cannot be reduced below 1% health by players, but if you have Thorim assisting you, he can use titanic-storm to kill low-health Guardians. Despite them not dying, it is very important that they are quickly DPSed to lower their damage.
Yogg-Saron will also mark Guardians with shadow-beacon, and after a 10-second delay will follow up with empowering-shadows on all marked targets, massively healing all enemies within 20 yards. It is very important that the marked Guardians are quickly moved at least 20 yards away from Yogg-Saron and all non-marked Guardians.
On Hard Mode, Yogg-Saron will also cast deafening-roar, dealing moderate Physical damage to the raid and silencing them for 4 seconds. This can be mitigated using concentration-aura together with aura-mastery.
Outside of these abilities, this Phase is very simple, kill Yogg-Saron!
Here are some of the main things that can typically go wrong in this Phase:
- Guardians with shadow-beacon are tanked close to the boss, negating raid damage.
- Players awkwardly lock eyes with Yogg-Saron during lunatic-gaze-yogg. Phone numbers are exchanged.
- Immortal Guardians are not handled quickly enough, killing tanks.
Achievements
- The Descent into Madness
- Achieved by beating General Vezax and Yogg-Saron.
- Kiss and Make Up
- Use the /kiss emote on Sara during Phase 2. Easy!
- Drive Me Crazy
- Defeat Yogg-Saron without any players reaching 0 sanity and being mind controlled. This is fairly simple with all 4 Keepers, but is significantly more difficult on Hard Mode.
- He’s Not Getting Any Older
- Defeat Yogg-Saron within 7 minutes. This is a fairly strict timer and will likely require your raid to perform as well as be geared appropriately.
- They’re Coming Out of The Walls
- Kill 9 Guardians of Yogg-Saron within 12 seconds. This will require your raid to either wait for many of them to spawn, or to actively stand in clouds to force more to spawn. You can utilize their shadow-nova ability to chain kills once they are low enough health.
- In His House He Waits Dreaming
- Experience all three of Yogg-Sarons illusion rooms. You will need to personally enter the portals to achieve this, and which illusion you get is entirely random.
- Three Lights in the Darkness
- Complete the encounter with the assistance of 3 Keepers.
- Two Lights in the Darkness
- Complete the encounter with the assistance of 2 Keepers.
- One Light in the Darkness
- Complete the encounter with the assistance of 1 Keeper.
- Alone in the Darkness
- Complete the encounter without any Keepers assisting.
- Alone in the Darkness
- Complete the encounter with the assistance of 1 Keeper.
- One Light in the Darkness
- Complete the encounter with the assistance of 2 Keepers.
- Two Lights in the Darkness
- Complete the encounter with the assistance of 3 Keepers.
Congratulations on defeating Yogg-Saron! Claim your spoils and enjoy the well needed rest.
Author

I love MMOs of all shades, especially the nitty gritty numbers parts of them. You might recognize me from the Shadow Priest discord, otherwise I play a little bit of everything, especially games with support roles available.