- Author: Passion
- Date: January 6, 2023
- Updated: January 7, 2023
- Expansion: WotLK Classic

The Keeper of the Terrace of the Makers, and watcher of the Temple of Storms, Thorim finds himself imprisoned inside of Ulduar. Lured away from his throne by his brother Loken. Together with his loyal proto-drake Veranus, the once proud duo has been corrupted by Yogg-Sarons influence.
This guide will offer a detailed, step-by-step tutorial on how to deal with Thorim’s gauntlet of Dark Iron dwarves, and dastardly traps.
Role Summaries
- Focus down Acolytes and Evokers
- Don’t let them heal!
- Avoid whirlwind by moving away from Rune Champions, or moving Rune Champions away from everyone else
- Avoid the Charged Orbs around the edges of the arena
- Pay attention to the Runic Colossus’s hands, avoid being on the side that glows
- Avoid the Ancient Rune Giants’ stomps
- Do not step on the circles on the floor before Thorim!
- Tank swap after unbalancing-strike
- Avoid being too stacked for chain-lightning
- Pay attention to lightning-charge-source, move away from its area
- Stay out of blizzard and frost-nova on hard mode
Phase 1
- Call which side smash will hit
- Call whirlwind positioning
- Call charge-orb positions if not stacking in the center
- Sync the gauntlet and arena groups to avoid having adds up when Thorim is activated
Phase 2
- Call lightning-charge-source area
- Call tank swaps during unbalancing-strike
- Call frost-nova positions on hard mode
Abilities
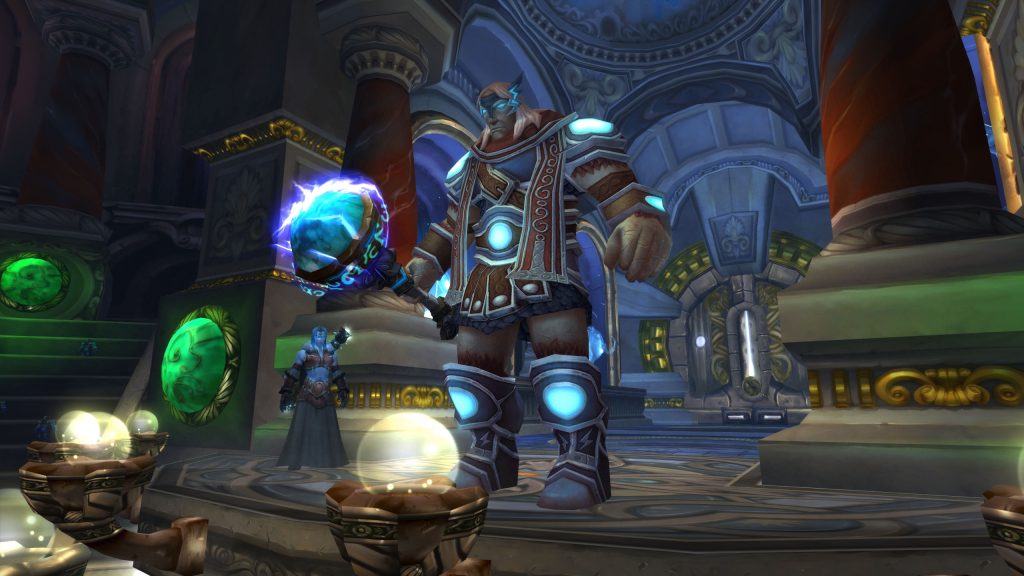
Thorim
Phase 1
Thorim is fought over two phases. During the first phase, he will be perched above the arena, looking down on the arena. His abilities during this first phase are more passive interference than anything else, and he cannot be killed during phase 1.
Thorim takes massively reduced damage while this is active, preventing raids from killing him before he enters the arena.
Thorim throws a hammer at a player, dealing a small amount of Physical damage and stunning them for 2 seconds. The impact of this spell causes deafening-thunder to all nearby players.
Players hit by this will take moderate Nature damage and have their casting speed drastically reduced for 8 seconds. Instant cast spells are not effected by this debuff.
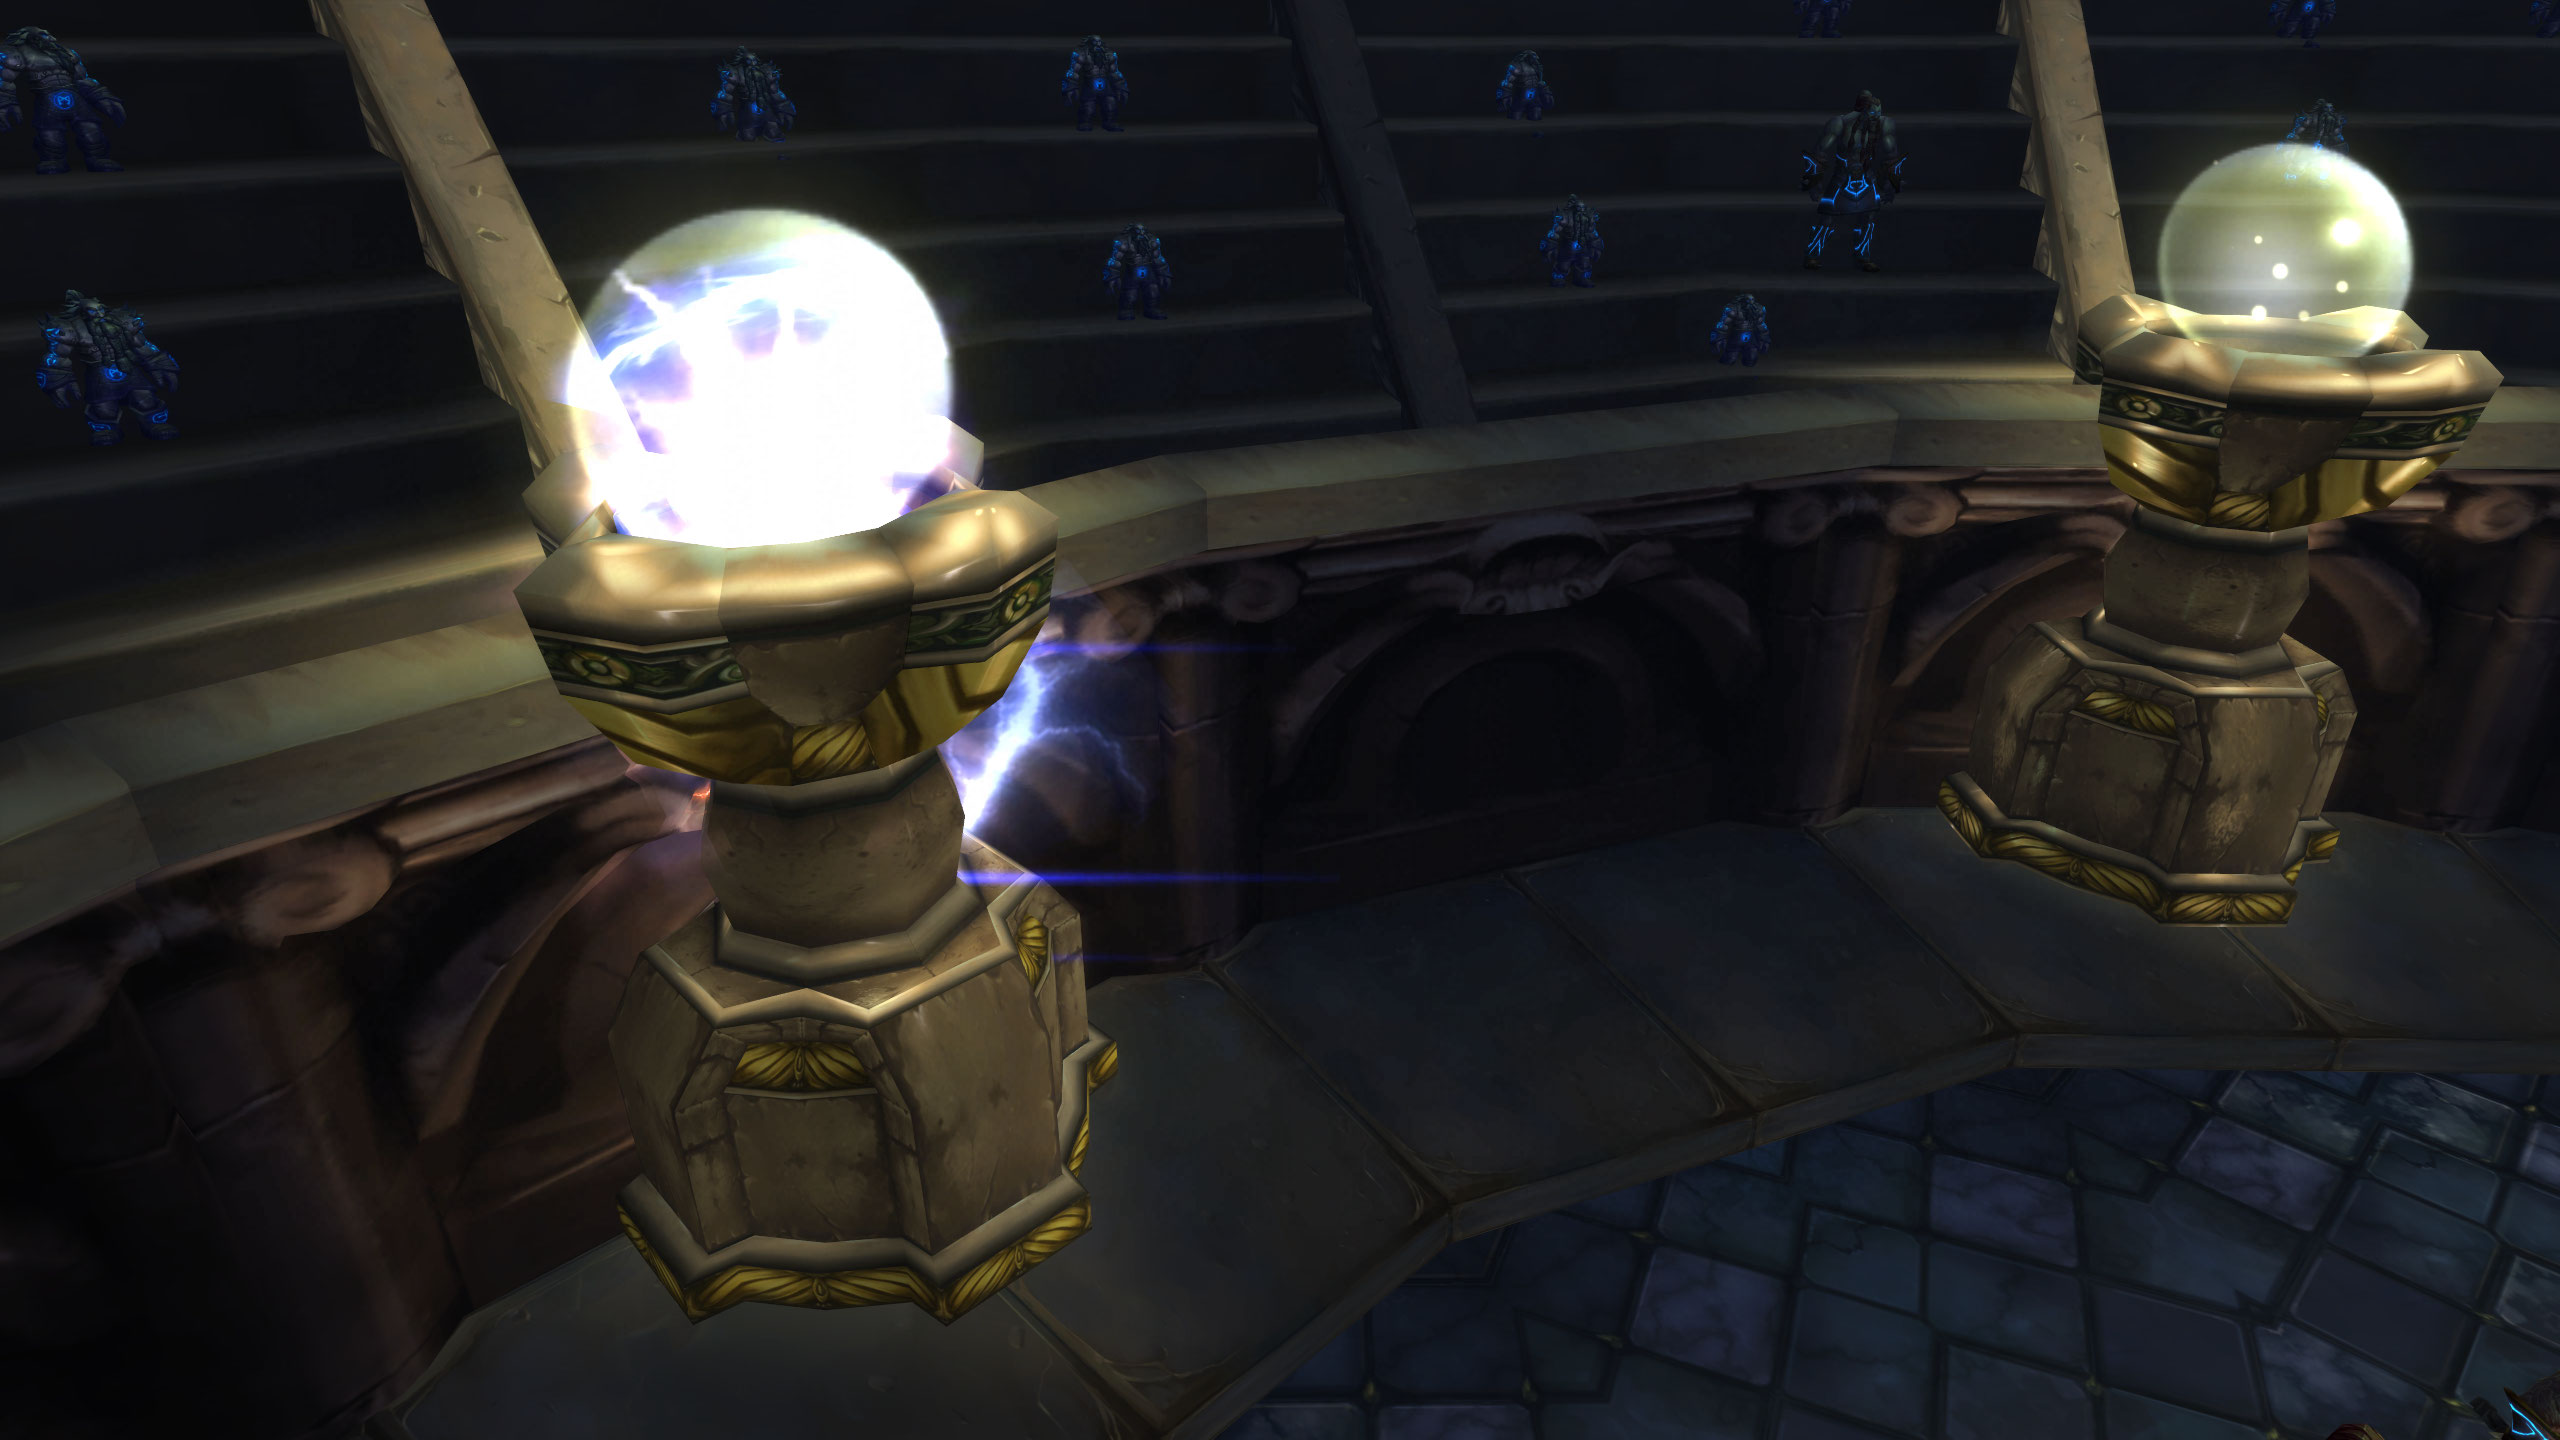
Thorim will charge one of the orbs found around the arena, causing it to periodically cast lightning-shock on any nearby players.
A set time after players have first emptied the arena, Thorim will buff all adds still alive, causing them to be effectively unkillable. Alongside this, he will use summon-lightning-orb through the gauntlet hallway, killing everyone still inside.
Phase 2
During Phase 2, Thorim will jump down into the arena, using significantly more aggressive spells and abilities. He is now the focus of the fight.
Adds
sif (Hard Mode)
Raid Composition & Preparation
Hard Mode
Once again we have a hard mode that is activated by going fast. Unlike Hodirs hard mode which is based on your kill speed, this is instead based on how long it takes your gauntlet team to reach Thorim and force him into the arena. Doing this fast enough will lead to Sif staying around and contributing to the fight. Along with this, touch-of-dominion will be removed from Thorim, causing him to have more health and deal more damage.
While Sif doesn’t change the fact too drastically, groups may want to consider bringing some Frost Resistance gear if they find themselves struggling to deal with her frostbolt-volleys.
As a reward for beating Thorim on hard mode, several exclusive items are added to his drop table.
- thorims-sigil
- combatants-bootblade
- gauntlets-of-the-thunder-god
- mjolnir-runestone
- pendant-of-the-shallow-grave
- sifs-remembrance
The Pull
Thorim’s fight has a small pre-fight that raids will have to deal with before the real fight begins. This involves fighting and beating the Jormungar and the mercenaries currently fending it off. After dealing with that, your group will have to split up. One half will pull the lever on the north side of the room, proceeding into the gauntlet. The other group will stay in the arena and fight waves of enemies.
Ideally, the group in the arena should be AoE focused, as they will be dealing with a lot of smaller enemies in comparison to the gauntlet group which has to deal with small groups and mini-bosses.
The gauntlet team should ideally be mobile, with ranged classes being preferred as you will want to almost always be moving, making positioning for melee a bit worse.
The Fight
Phase 1
The Arena
Thorim will progressively send more enemies into the arena, initially aggroing the players closest to Thorim. As the enemies always spawn in groups, it can be very worthwhile stacking together to guarantee that all enemies are grouped and that AoE healing is as effective as possible.
The downside to stacking for AoE is that stormhammer and deafening-thunder will hit many more targets than necessary. Because of this, stacking groups may want to consider keeping relatively few casters in the arena, focusing instead on classes without cast times to debuff. This also makes it very important for groups to avoid unnecessary damage from the Dark Rune Champion’s whirlwind. It can be worth having an off-tank pull these away from the raid or disarm them.
If you are stacking, make sure you do so in the middle of the room as the orbs lining the outer rim of the arena won’t be able to reach you with Charged Orb.
Most enemies in the arena will die very quickly, negating almost everything they can do. The two casters, Evokers, and Acolytes will generally be your focus, either to kill or interrupt. Evokers have a heal and a powerful shield ability, and Acolytes have a heal-over-time as well as greater-heal.
The Gauntlet
Most of the regular enemies are not very concerning, but the Runic Colossus at the end of the first hallway is going to be a bit more concerning. This colossus will smash the ground, dealing damage to one side of the gauntlet.
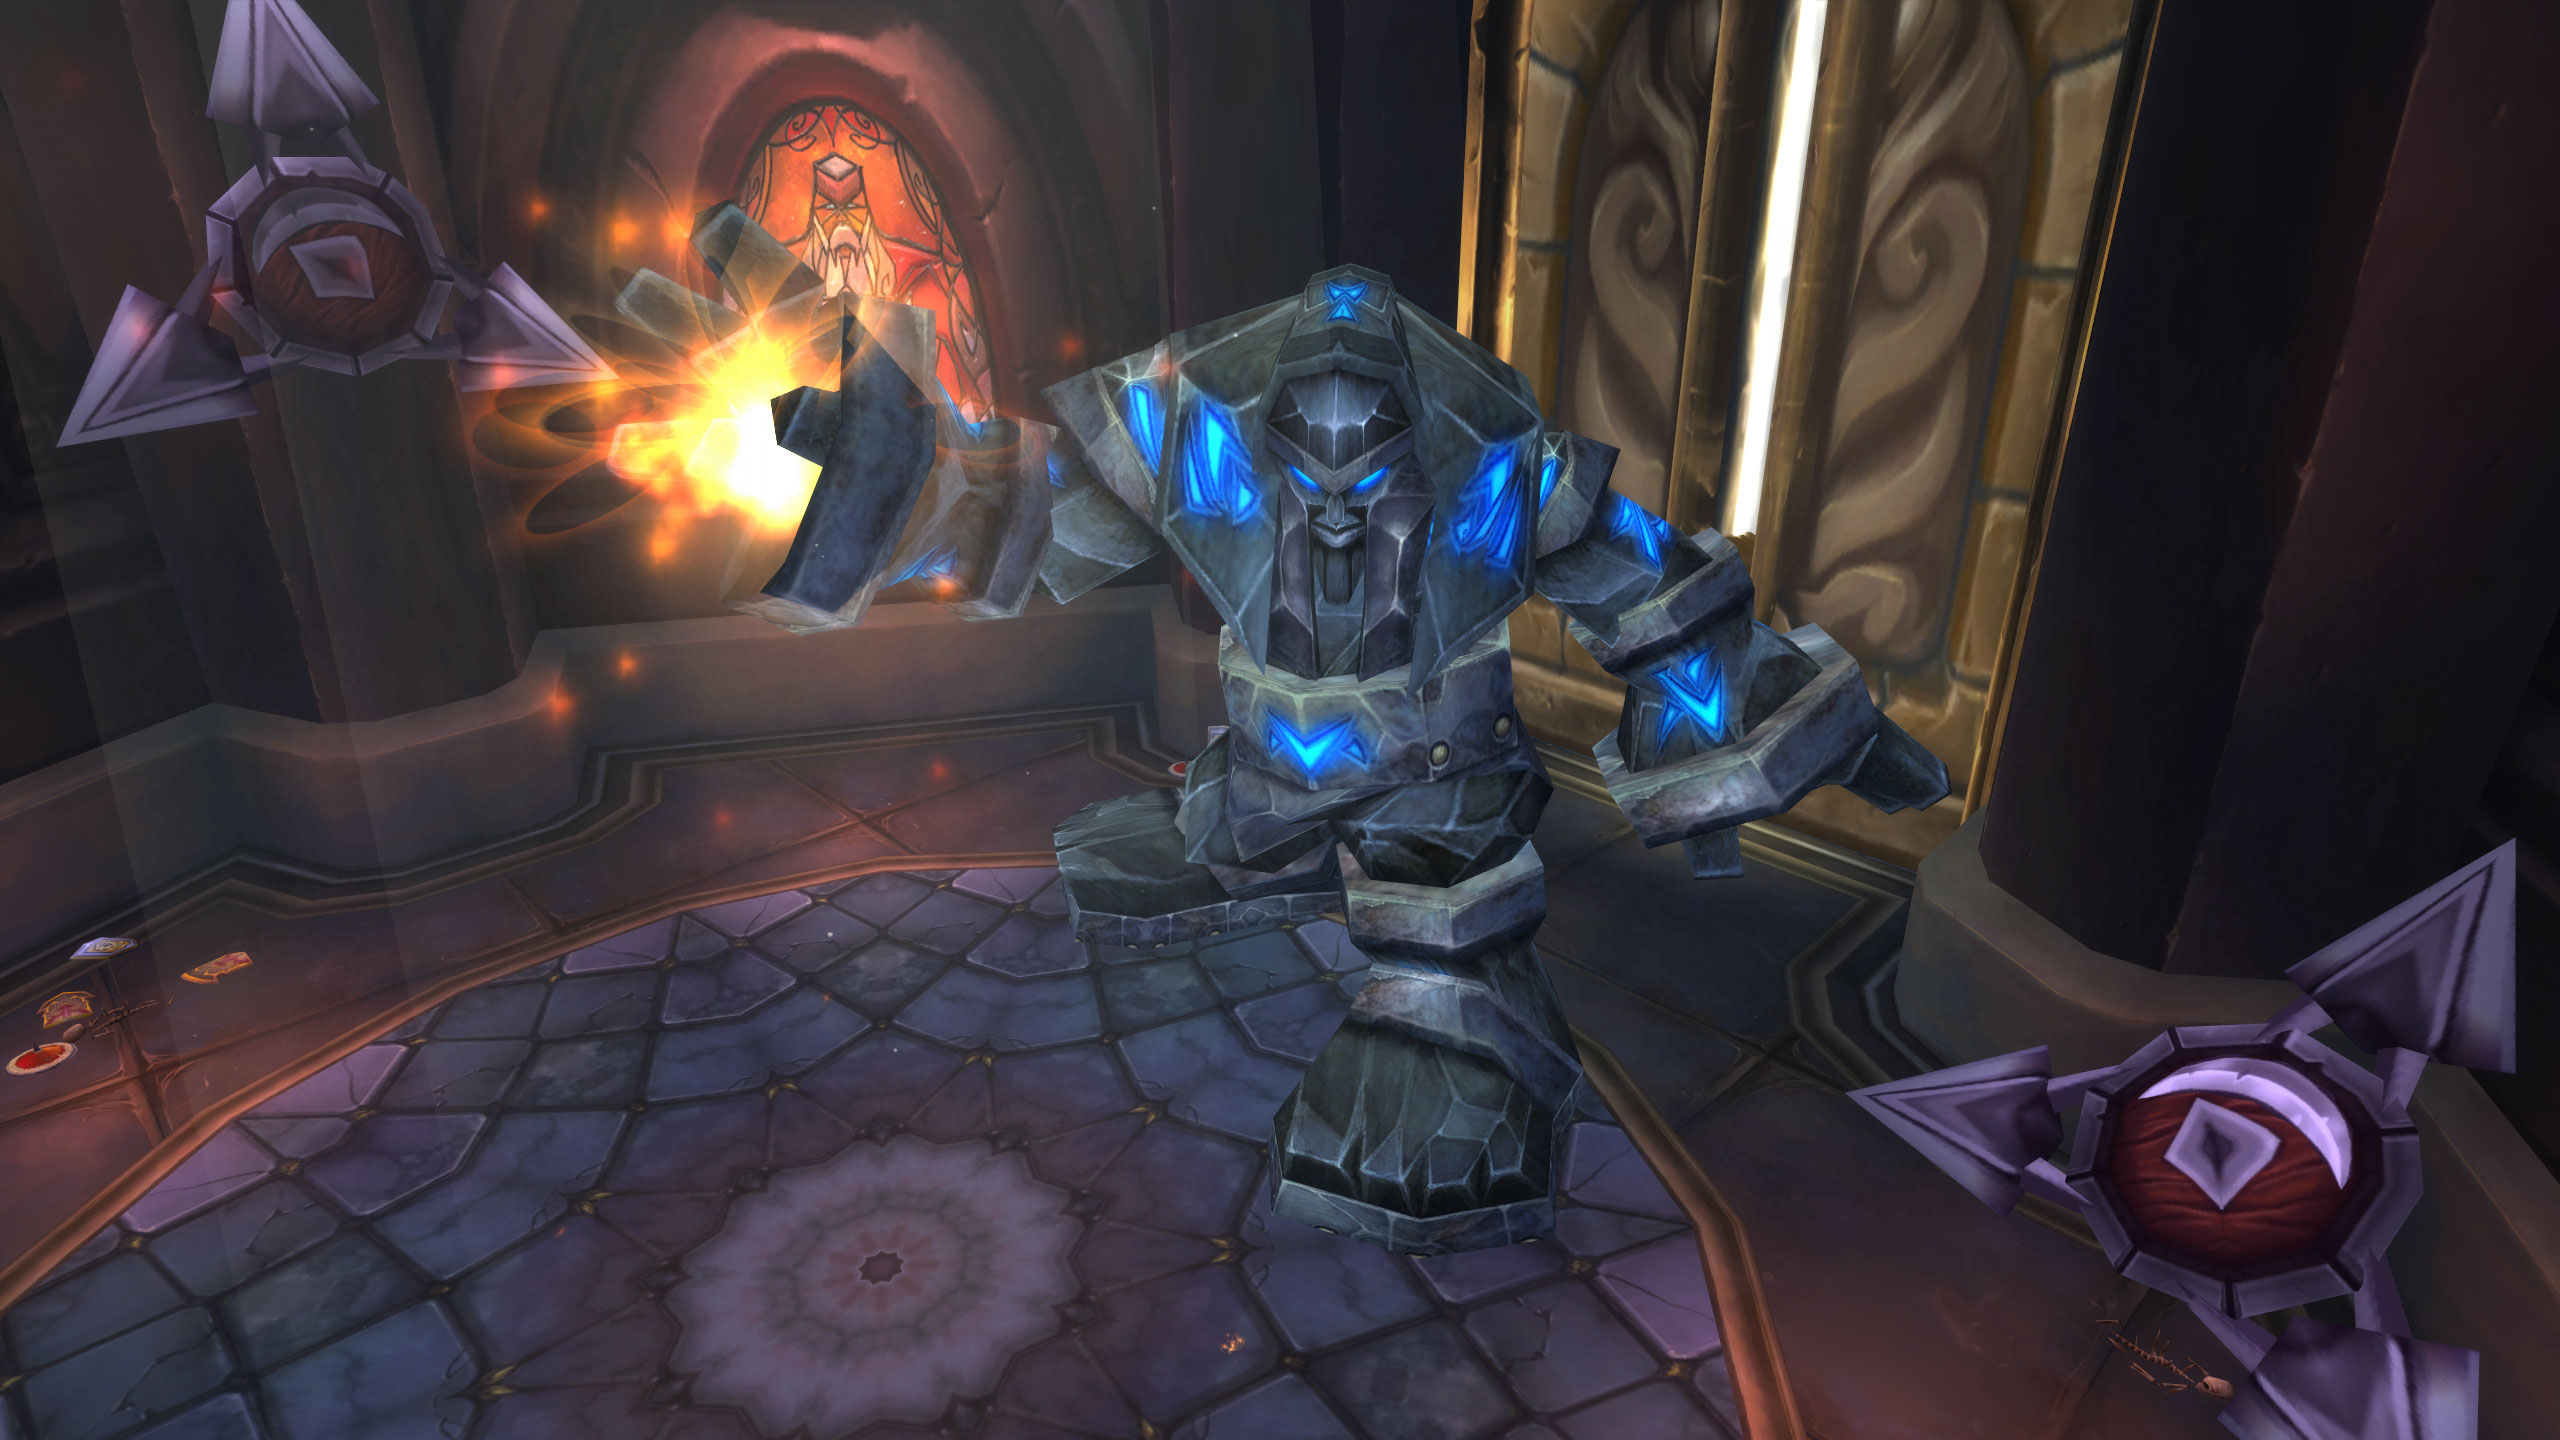
The Runic Colossus’s hands will glow according to which side is being smashed, making it easy enough to see ahead of time. Once you’ve dealt with him, you have a few more groups of regular enemies to deal with before reaching another mini-boss.
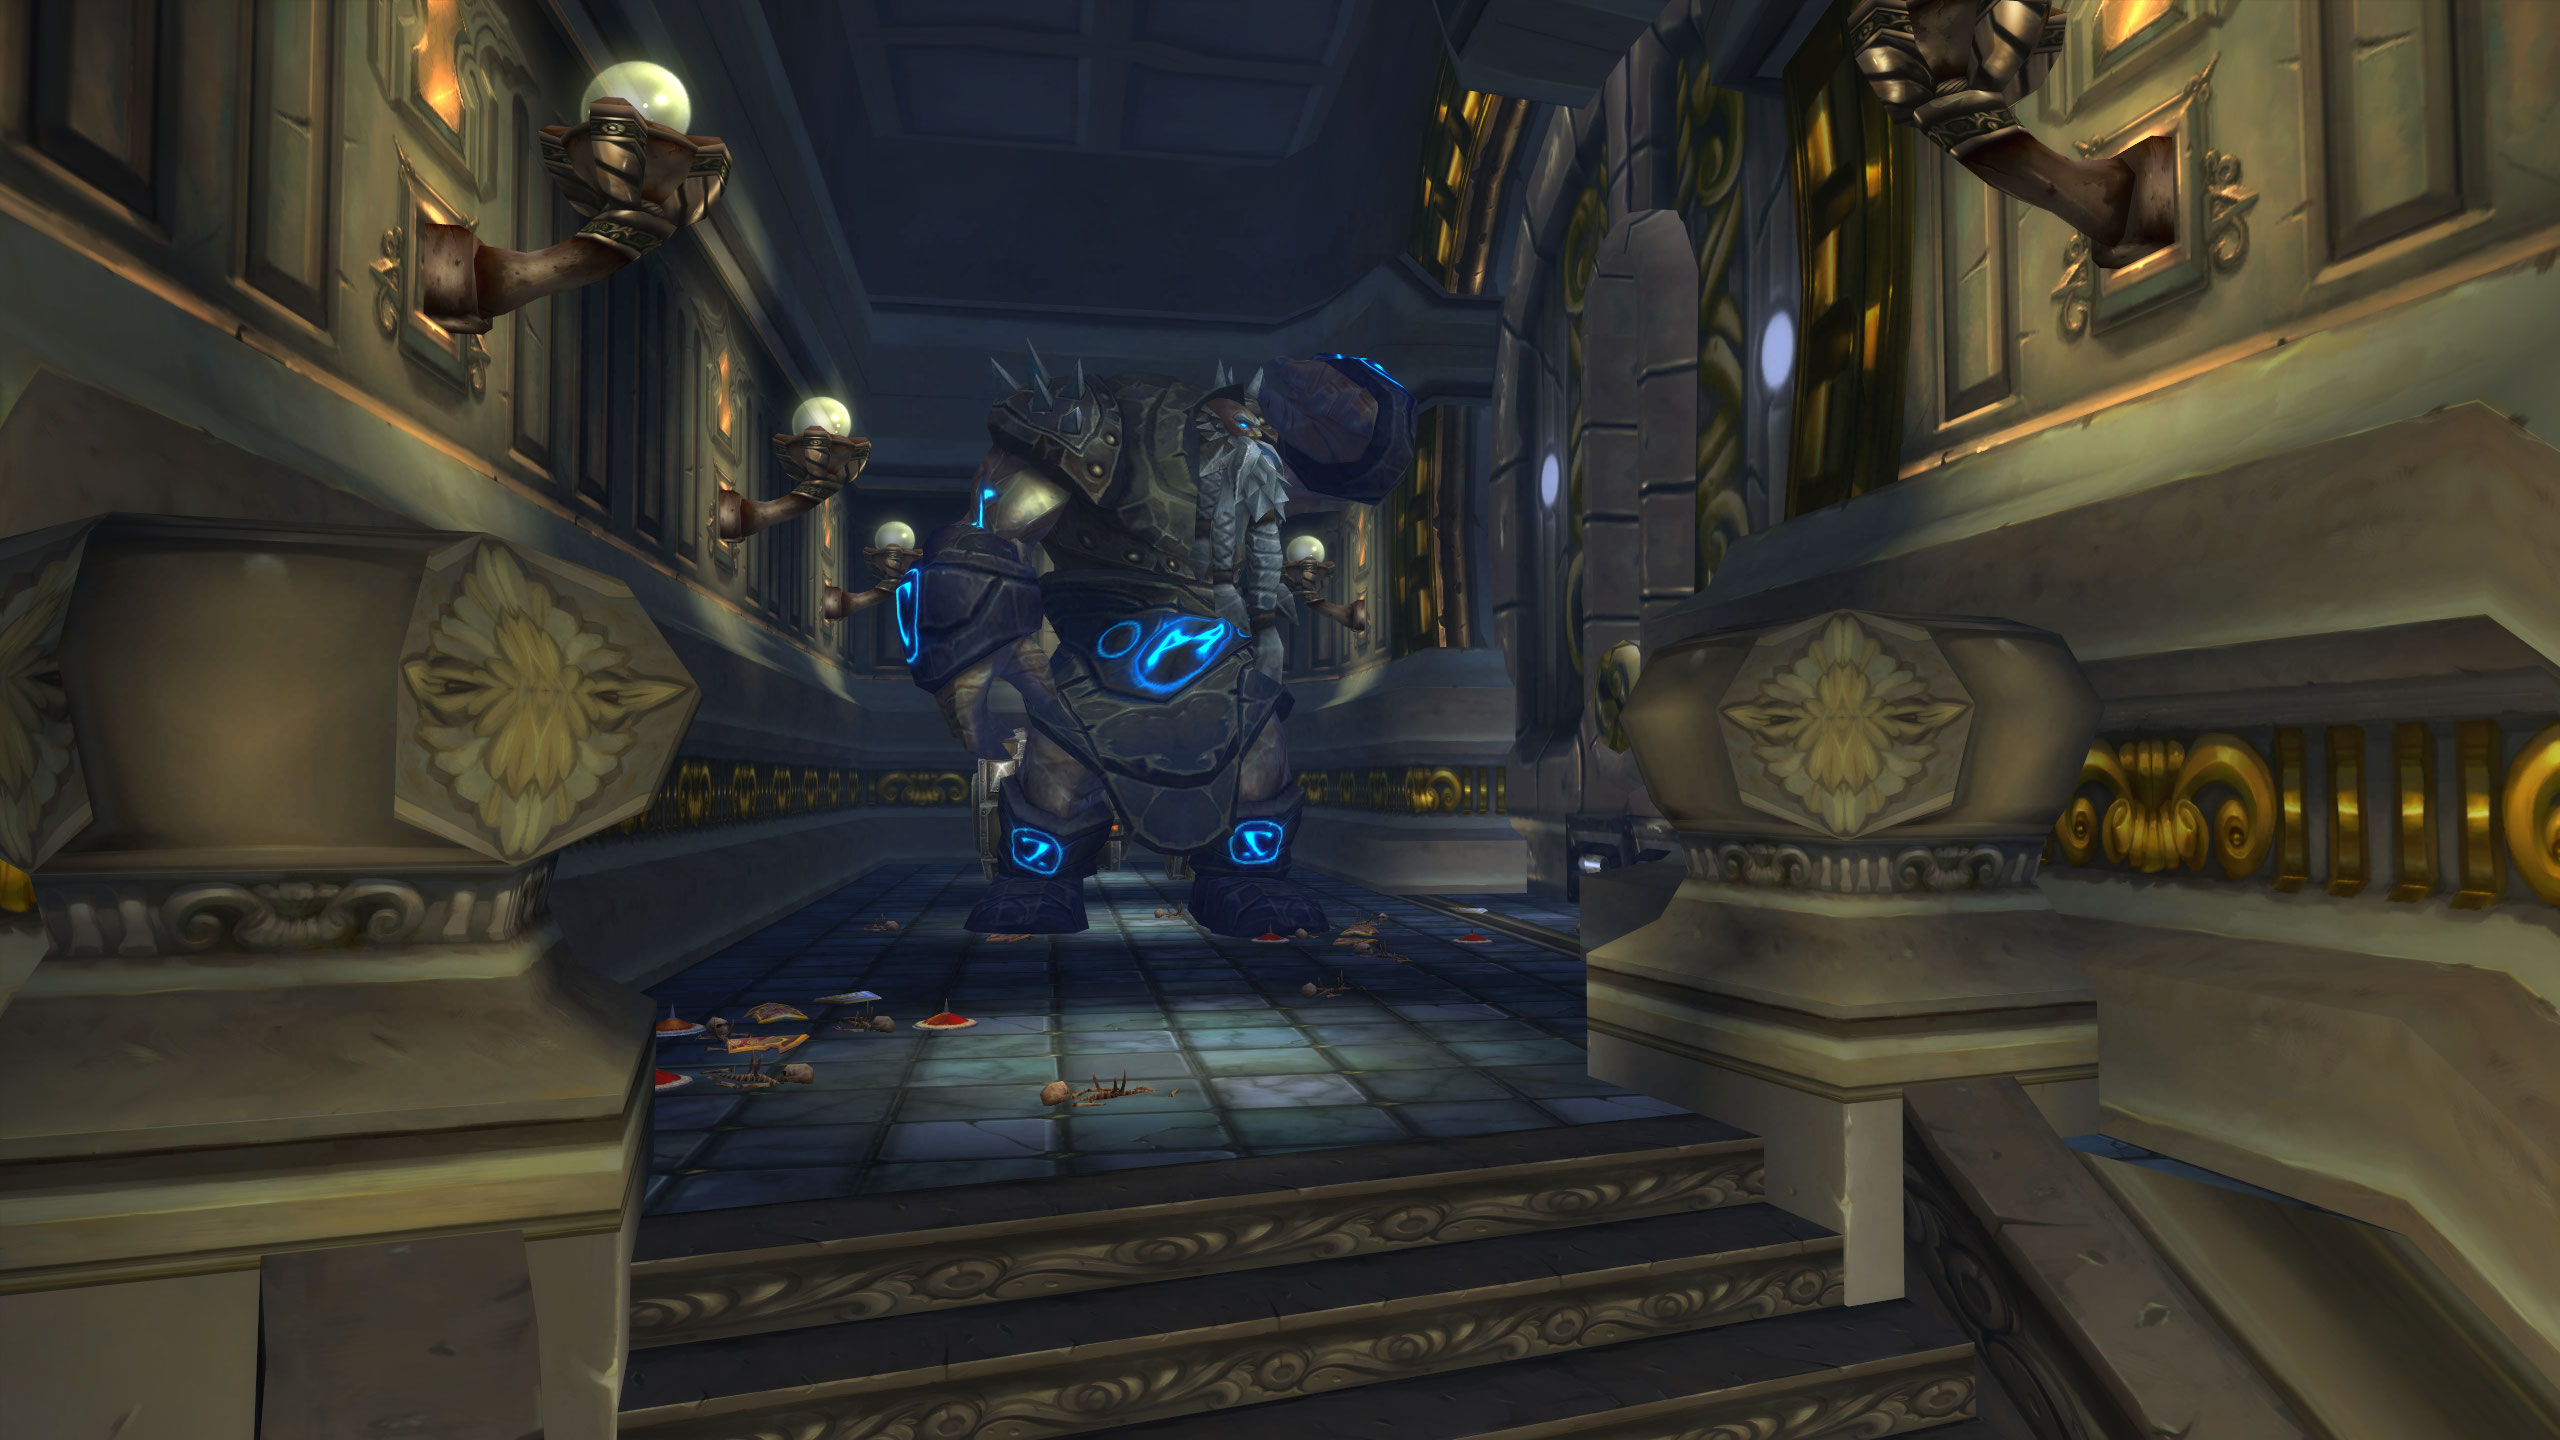
The next mini-boss is the Ancient Rune Giant. His primary ability is stomp, which will knock players back. This can easily be outraged, while any melee players should position themselves to be knocked into the wall. After beating this giant you will have a straight run to Thorim.
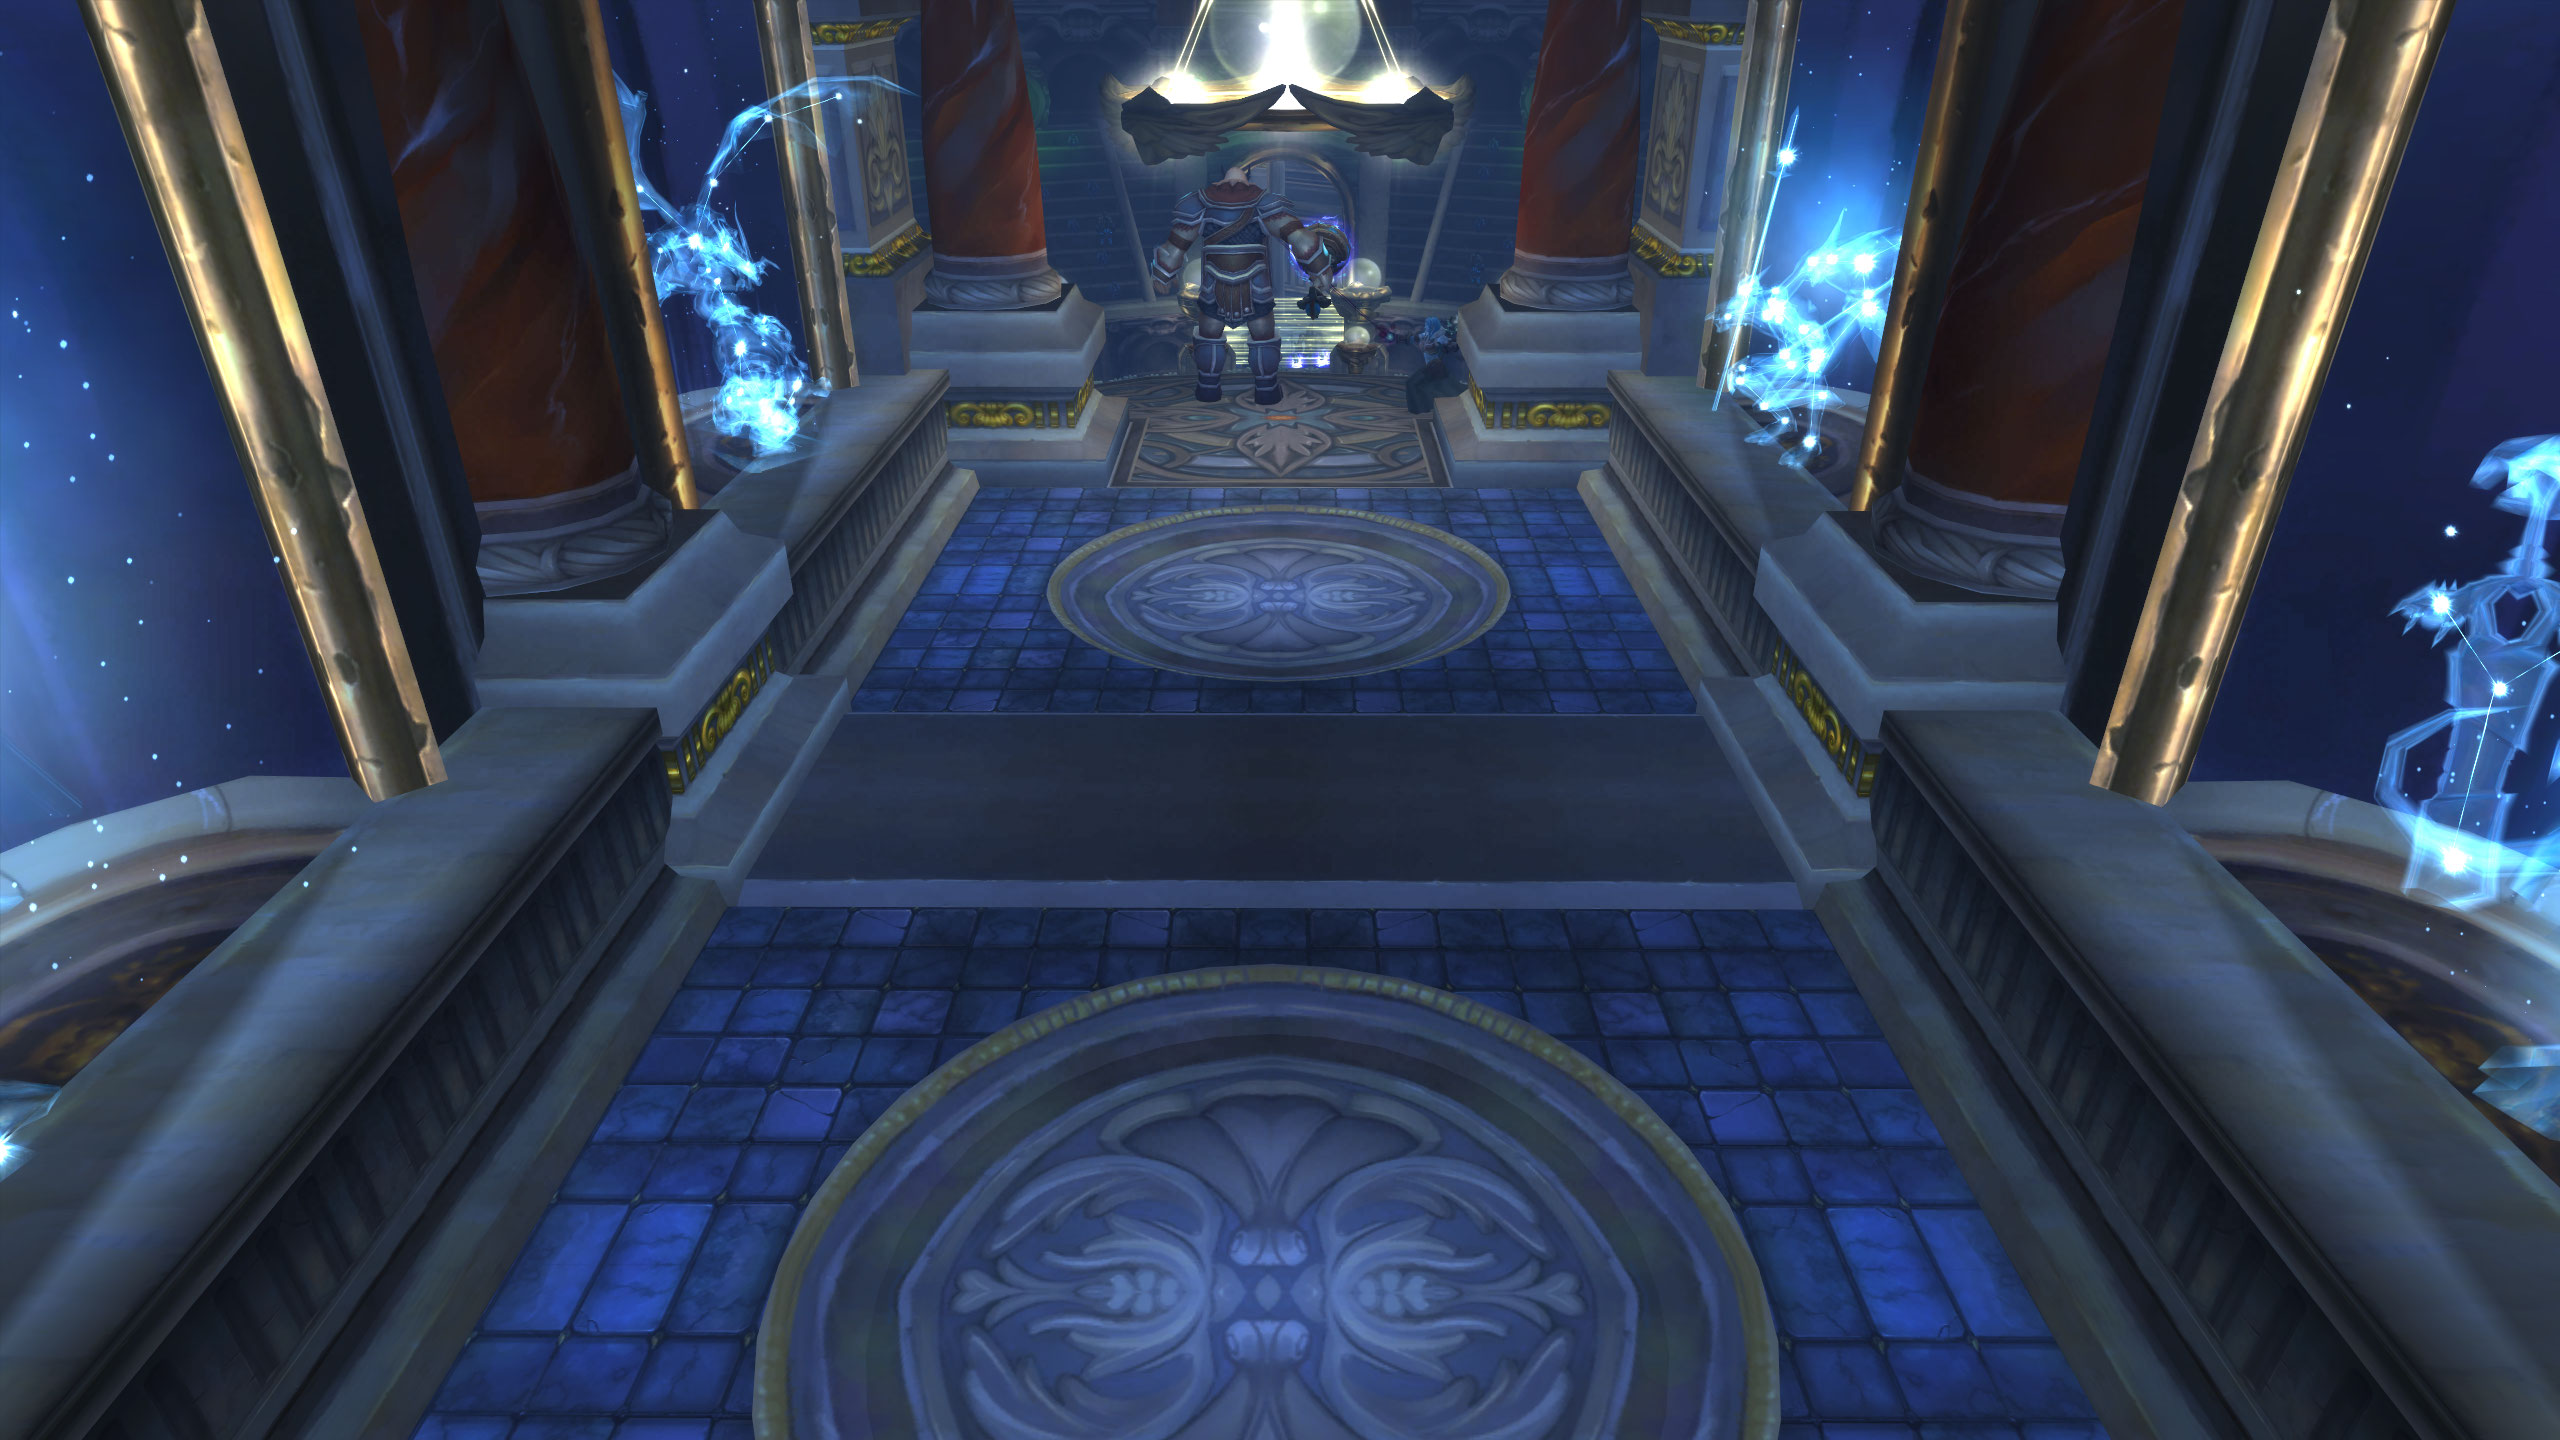
Well, that’s what it appears anyway. In the hallway leading up to Thorim there are two large circles on the floor. Stepping on these will activate Thorim’s trap card, paralyzing players and thoroughly mocking them in the debuffs tooltip. Once everyone except that one player gets through the hallway, attack Thorim and jump down to start Phase 2.
Phase 2
Once the gauntlet team has reached and activated Thorim, Phase 2 begins. New adds will no longer spawn, but any that remain will need to be dealt with. Your main tank will want to grab Thorim as quickly as possible, while the raid spreads out to avoid being stacked during chain-lightning. Whenever a tank is debuffed with unbalancing-strike, your off-tank will need to taunt swap until the debuff falls off.
Melee players will want to spread into four stacks, with the tank alone in front of Thorim, and all other melee DPS evenly split into the other sides, keeping 8 yards between each stack, similar to the Kel’Thuzad fight.
The most important mechanic during this phase is lightning-charge-source. Thorim will charge one of the pillars on the edge of the arena, indicated by sparks flying between him and the pillar. After a delay he will fire a cone, dealing heavy Nature damage to everyone caught within it. Each time this is cast, Thorim will build a stack of lightning-charge-source, increasing his damage with every stack. This effectively puts a timer on the fight, as eventually, you will be unable to keep up with his damage.

Raids that beat the gauntlet fast enough will also have to deal with Sif during this fight. She doesn’t change too much for the actual fight, but her presence does make Thorim significantly stronger. Her main two mechanics are frost-nova and blizzard. frost-nova requires players to move away from Sif before she finishes the cast, and blizzard effectively locks the outer rim of the arena, rotating around the outside of the arena.
Here are some of the main things that can typically go wrong in this fight:
- Players take too many hits from whirlwind
- The gauntlet group has unnecessary deaths, leaving their corpses inaccessible for any combat resurrections
- Gauntlet players get complacent and stand in traps
- Players stack during Phase 2, causing chain-lightning to bounce and kill multiple players
- frost-nova isn’t appropriately avoided
Achievements
- dont-stand-in-the-lightning-10
- Beat Thorim without anyone in the raid being hit by lightning-charge-source. Ideally this should be every fight!
- ill-take-you-all-on-10
- Beat Thorim after having survived the gauntlet section, killing the Runic Colossus and Ancient Rune Giant.
- who-needs-bloodlust-10
- Defeat Thorim while buffed by aura-of-celerity. This requires the Mind Controlling Priest to be in your group, meaning only 5 players per Priest can get this each run.
- siffed-10
- Activate hard mode. This does not require you to beat the encounter.
- lose-your-illusion-10
- Successfully finish the encounter on hard mode.
Congratulations on defeating Thorim! Make your way back to the Observation Ring, you’ve got a train to catch!
About the Author
