- Author: Passion
- Date: September 15, 2022
- Updated: September 19, 2022
- Expansion: WotLK Classic


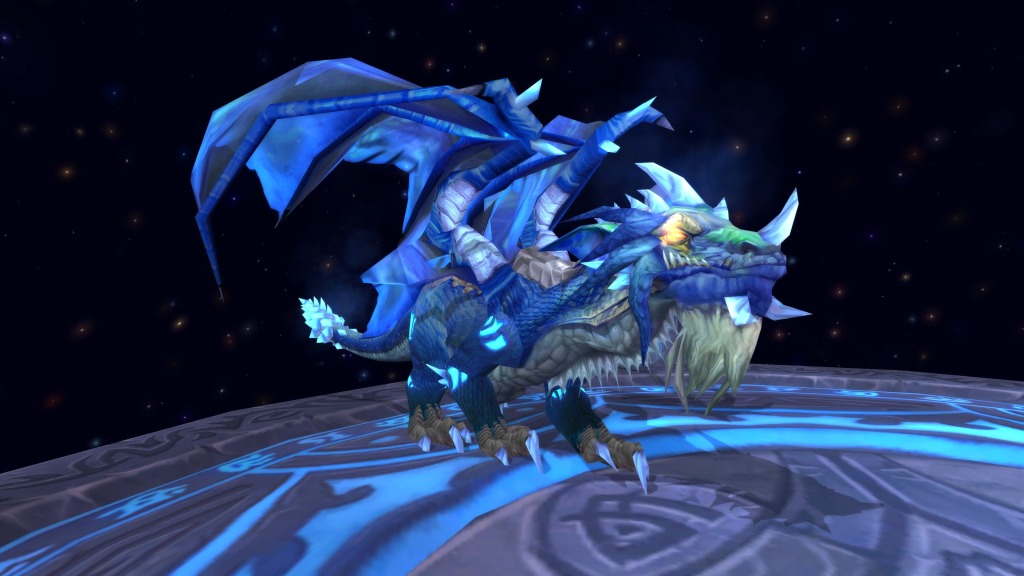
Malygos is the boss of the The Eye of Eternity, located in Coldarra, Borean Tundra. The ancient aspect of the Blue Dragonflight, Malygos has declared war against the magic users of Azeroth, and specifically against the Kirin Tor of Dalaran.
“The sinuous dragon rises from the water, a seemingly endless serpentine beast covered with crystalline scales of purest azure. The wings, looking too small to carry such a massive creature, are slick, and they shimmer as they reflect the light.“ -Warcraft Shadow & Light
This guide will offer a detailed, step-by-step tutorial on how to quell the genocidal aspect of magic and protect the citizens of Dalaran.
Role Summaries
- Phase 1
- Don’t be in front of the boss if you aren’t a tank
- Make sure Power Sparks never reach Malygos
- Phase 2
- Don’t take discs from melee DPS
- Dispel Haste if you can
- Stay in anti-magic zones as much as possible
- Phase 3
- Avoid Static Field
- Keep Flame Shield active for Surge of Power
- Stack Engulf in Flames as much as you can if you are a DPS dragon
- Cast Life Burst at 5 combo points if you are a Healer dragon
- Phase 2
- Try to take a disc as soon as possible to kill Scion of Eternity
- Phase 1
- Stand in the electric pool left by Power Sparks whenever possible
- Phase 1
- Make sure to be ready to heal whoever gets targeted by Arcane Storm, telegraphed by Malygos swapping targets
- Keep healing using instant cast spells during Vortex
- Phase 2
- Make sure to be ready to heal whoever gets targeted by Arcane Storm, telegraphed by Malygos swapping targets
- Phase 1
- Keep Malygos faced away from the raid at all times
- Keep Malygos faced away from the raid at all times
- Phase 2
- Tank Nexus Lords in a single stack
- You can’t tank Scion of Eternity
- DPS Dragons
- Use Flame Spike twice, followed by Engulf in Flames as your main rotation
- Try to avoid letting Engulf in Flames fall off if you need to cast Flame Shield
- Healer Dragons
- Generate combo points either by stacking Revivify on players, or by casting Flame Spike on Malygos
- Use Life Burst at 5 combo points
- Remember, your combo points are on your target, not on you! If you swap target to someone with 0 combo points on them, Life Burst will not work
Abilities
Phase 1
Malygos will enrage after 10 minutes, no matter what Phase you are in, massively increasing his damage and easily wiping the raid.
Phase 2
Malygos
Malygos will fly up at 50% health, beginning Phase 2 and giving him access to different abilities. At the beginning of this Phase, Malygos will summon Nexus Lords & Scion of Eternitys that have their own abilities and must be killed to progress into Phase 3.
Nexus Lord & Scion of Eternity
Nexus Lords come towards the ground, standing on floating discs. When killed players can take these discs and use them to fly towards the Scion of Eternity that are floating in the air.
Phase 3
This Phase begins when all the Nexus Lords and Scions of Eternity are dead. Malygos will smash the arena, dropping the raid into the void. Luckily, we have backup, and the Red Dragonflight is here to catch us! Phase 3 is done on the backs of red dragons.
These dragons have their own moveset and players are unable to use any of their normal abilities during this Phase.
Malygos
Red Dragon
Our red dragon companions are an odd take on the Rogue class, using Energy and Combo Points together. They have 6 abilities total, 2 offensive, 2 healing, and 2 defensive.
Both Flame Spike and Revivify generate combo points, which can then be used on Engulf in Flames, Life Burst, or Flame Shield. Remember, your combo points are saved on your target, not on you!
In case you do find yourself struggling with your red dragons abilities, you can do the daily quest Aces High!, which is specifically intended to be a way to practice using your red dragon for this fight.
Raid Composition & Preparation
The Pull
To summon Malygos, at least one player must have a Key to the Focusing Iris. This is dropped by Sapphiron in Naxxramas 25, but it is only required to spawn Malygos, not to enter the raid.
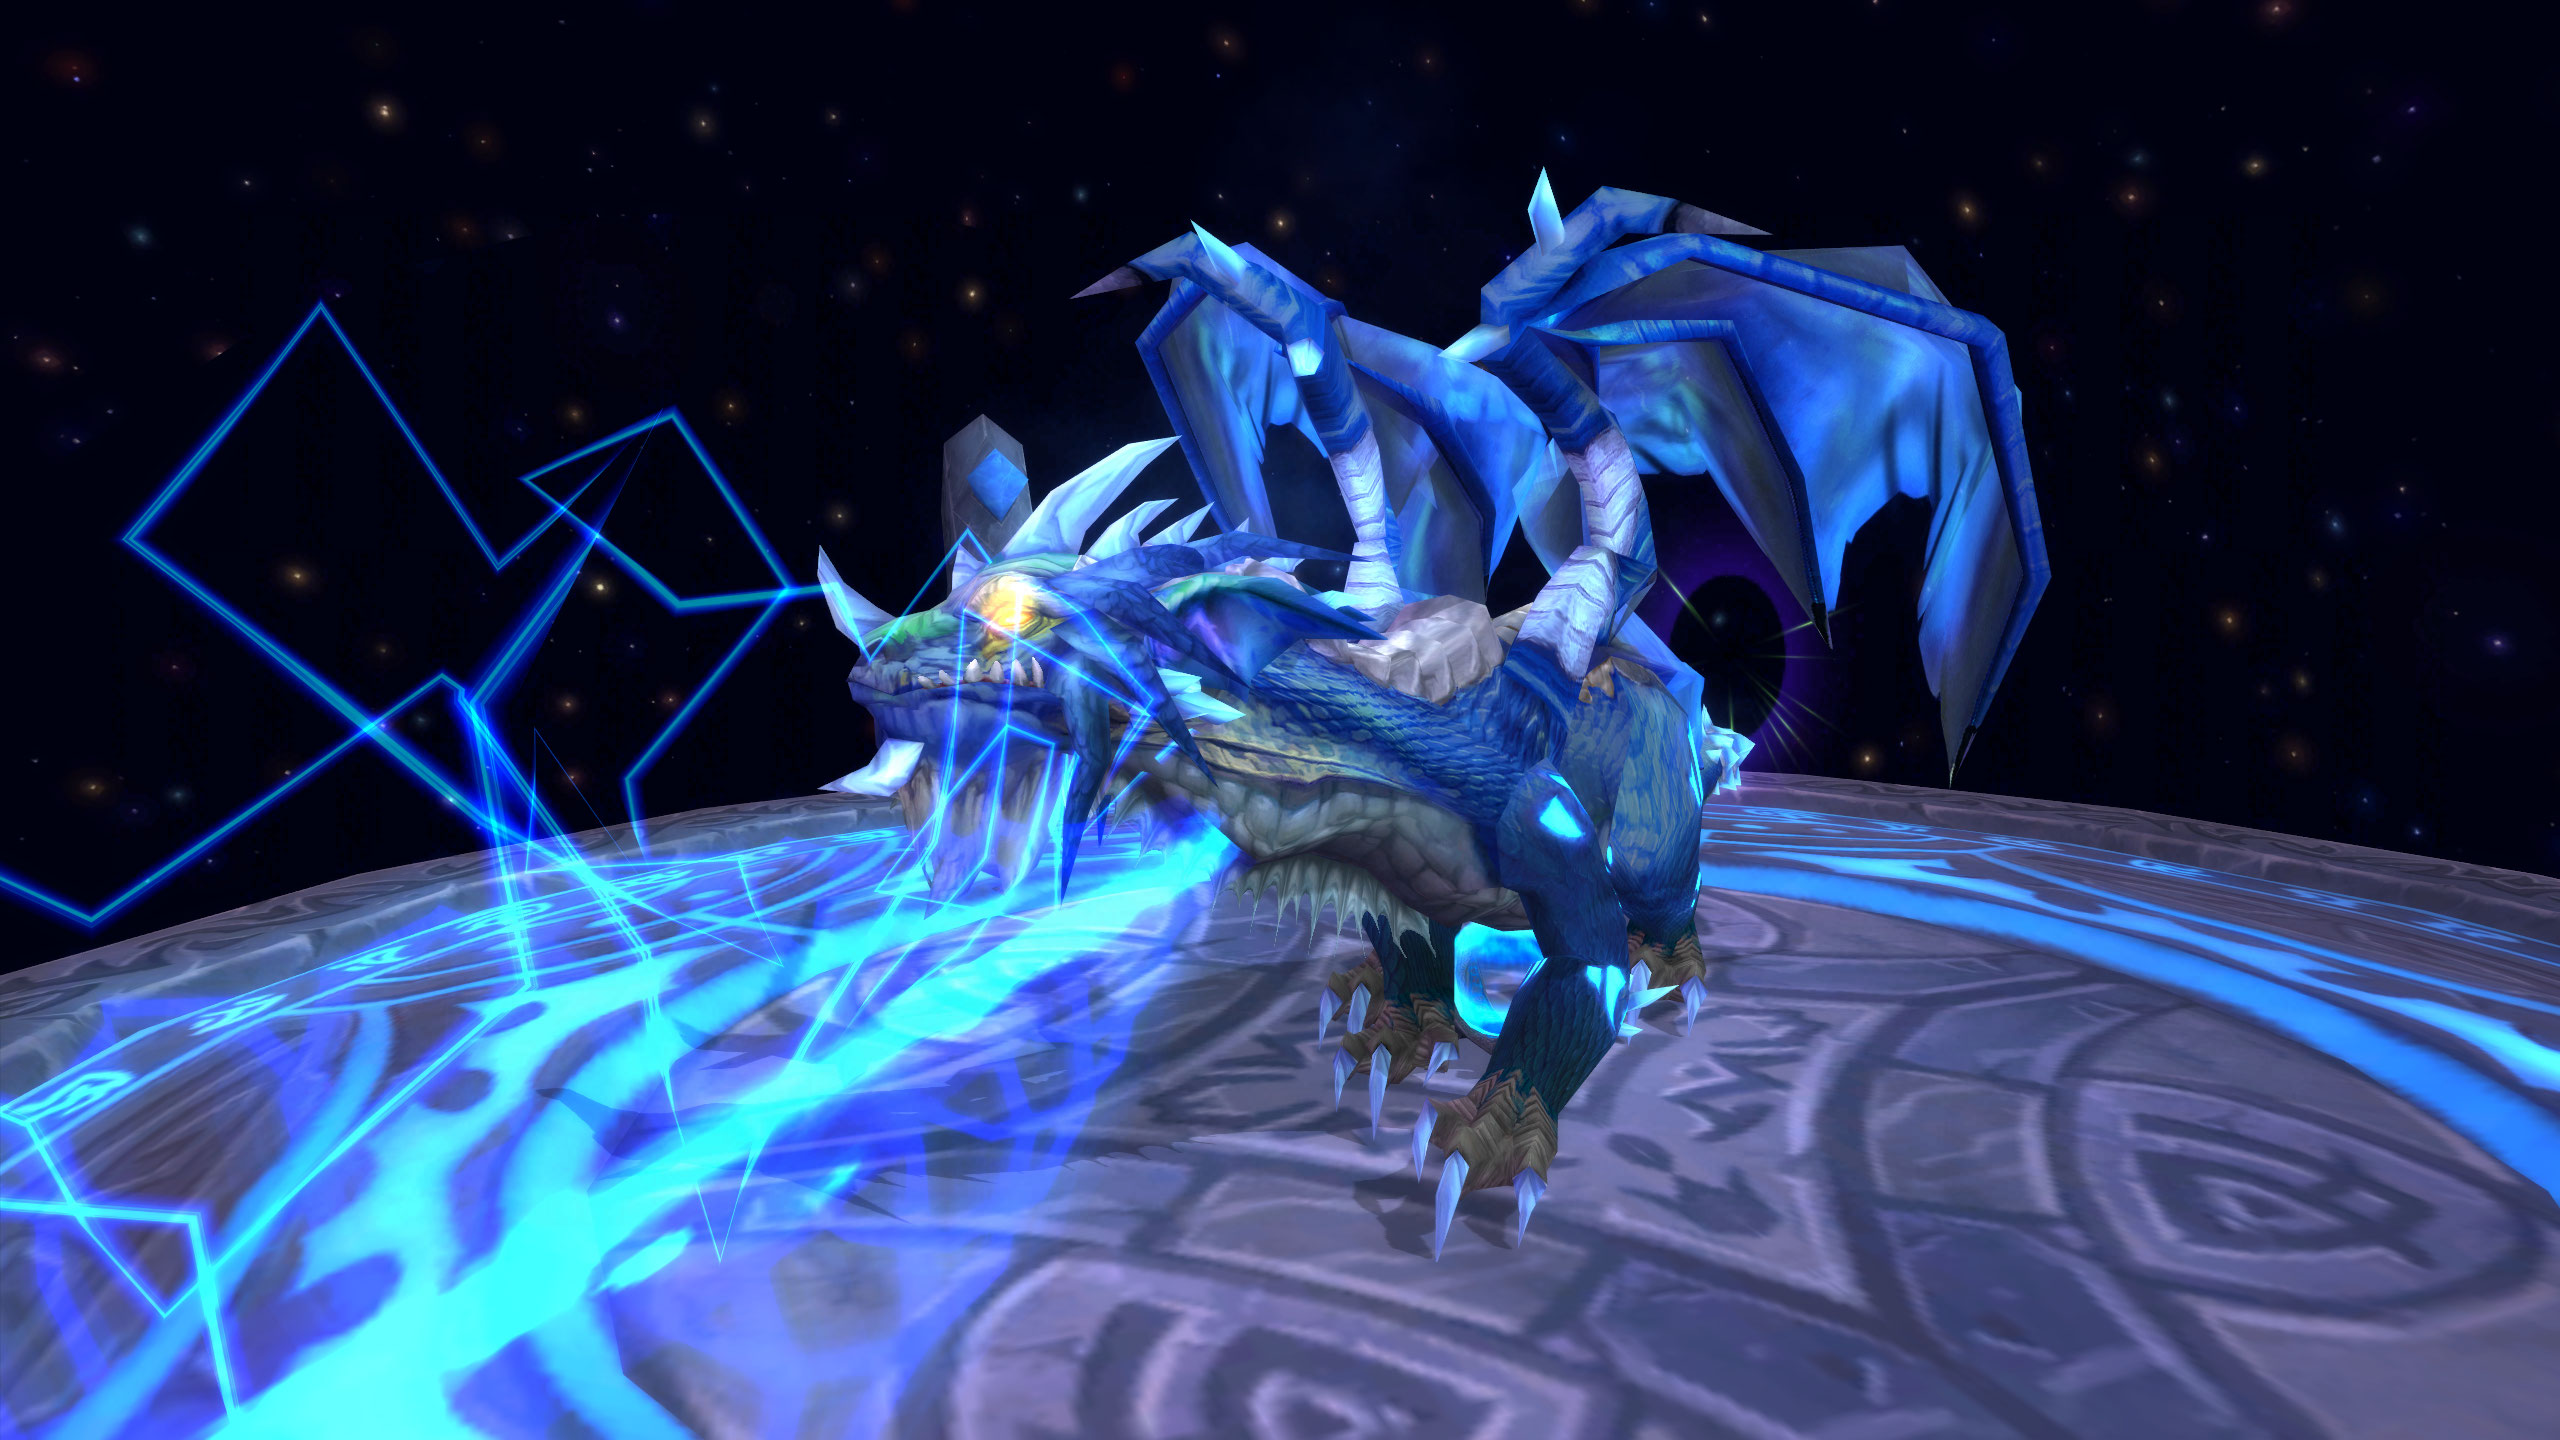
To begin the encounter, the player with Key to the Focusing Iris will need to interact with the blue orb in the middle of the arena. Malygos will circle down and land. Your tank will need to immediately get aggro and face him away from the raid, to avoid Arcane Breath.
The Fight
Phase 1
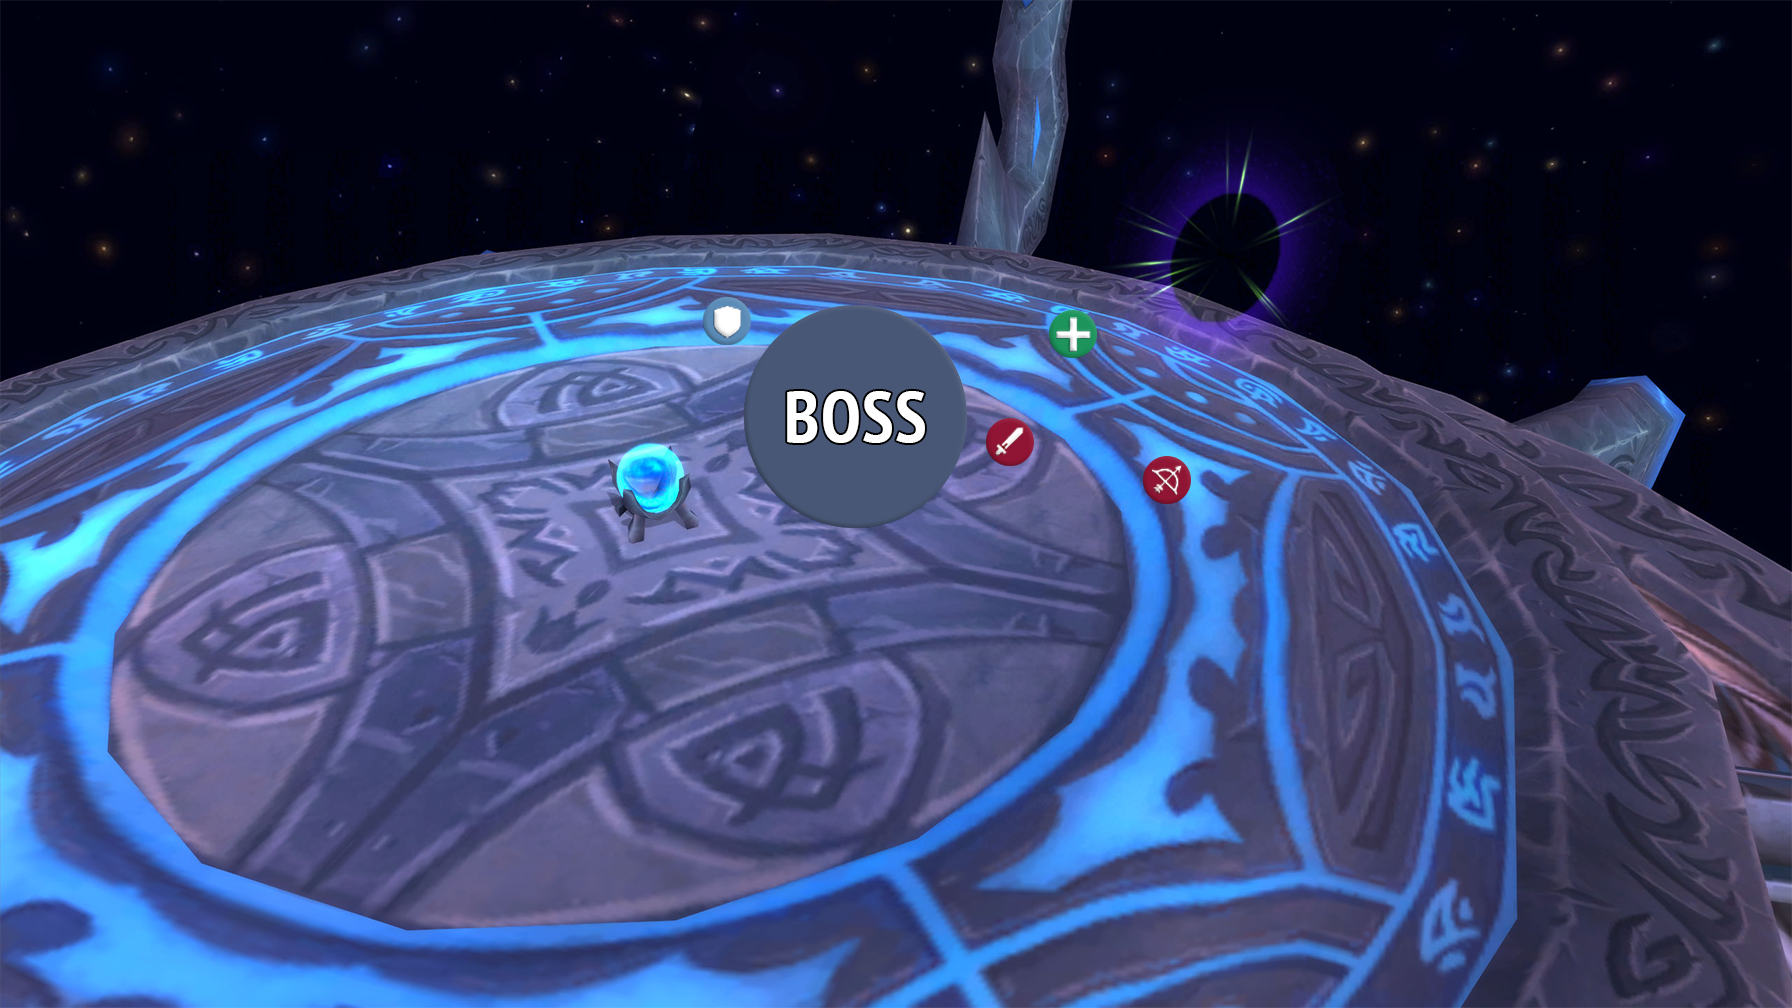
The first Phase is a direct fight against Malygos. Everyone except the main-tank will need to make sure they are never in front of Malygos, to avoid Arcane Breath. Notably, Malygos does not do a Tail Swipe attack, so standing directly behind him is safe, unlike most Dragon fights.
Periodically, Malygos will summon a Power Sparks that will slowly float towards the boss, players should try to kill this as soon as possible. If this Power Sparks reaches Malygos, it will buff his damage. When the Power Sparks dies it will leave an electric pool behind, standing in this increases the players damage done, and ranged DPS should always try to stand in these when available.
Malygos will also occasionally swap target and cast Arcane Storm at a player, dealing heavy damage. This ability is fairly obvious, with Malygos very quickly turning to face a new target, so healers have plenty of warning that it’s happening. Use this to your advantage, toss a PWS or a SShield on the target and start casting a heal!
Occasionally, Malygos will fly off the ground and summon a Vortex on top of the raid. This ability sends the raid flying, dealing damage every second. You can still use instant cast abilities while trapped in this Vortex, so Healers will need to keep their raid healthy using spells like Circle of Healing and Holy Shock, no matter how dizzy they get! Power Sparks will stop moving during Vortex, so don’t stress about them reaching the boss here.
Once Malygos reaches 50% health, he will start flying off the arena. Use this time to burst the boss as much as you can, before he is out of reach and Phase 2 begins.
Phase 2
Phase 2 is an add Phase. Once Malygos takes off, he will spawn disc riding adds — Nexus Lords and Scion of Eternity‘s’. Nexus Lords will immediately float down to the ground and need to be picked up by a tank, while Scion of Eternitys will lazily fly around the air above.
When an add dies, their disc will fall to the ground and can be hopped on by a melee DPS, giving them the ability to fly to reach the enemies in the air. Players on discs are also safe from Malygos abilities in this Phase.
Periodically purple spheres will appear around the arena, knocking back players when they spawn. Standing in one of these spheres will reduce magic damage taken by 50%. If you are on the ground, you need to be in these as much as possible! Malygos deals heavy area-of-effect damage to everyone on the ground with Deep Breath, and without these anti-magic zones, it is very easy for the damage to become overwhelming and snowball into a wipe.
Malygos also still uses Arcane Storm, the same way he did in Phase 1, firing at a random player. Deal with this the same way as Phase 1, but also make sure that you are in an anti-magic zone if you get targeted.
Nexus Lords will cast Arcane Shock on their current target, dealing a lot of damage. It is important that these mobs are tanked by an actual tank to handle this damage. Scion of Eternitys on the other hand will cast Arcane Barrage at random targets, and cannot be tanked. Because they cannot be tanked, it is generally not worth it for your tanks to hop on a disc that could be used by a DPS, or even a healer.
Once all of the adds are dead, Malygos will fly towards the arena, smashing it and beginning Phase 3.
Phase 3
Malygos throws a temper tantrum and smashes his own arena, dropping the raid into the abyss, only to be swooped up by red dragons. This Phase is done exclusively on dragons that have their own abilities.
This Phase has no tanks, only healers and DPS. You will need a few players healing, but they don’t specifically have to be your raids healers, as long as you have decided that ahead of time. 3-4 players should be designated as dragon healers, and these players will focus on generating combo points with Revivify and using Life Burst every time they reach 5 combo points.
It is also important to note that you are not healing players, you are healing the dragons. Make sure you have pet frames visible in your raid frames!
Because Life Burst is a 60-yard area-of-effect heal, it is strongly recommended that everyone simply stacks on top of each other, making sure they are close to each other, but also staying at least 30-yards away from Malygos at all times to avoid Arcane Pulse.
DPS players will instead focus on maintaining and stacking Engulf in Flames on the boss. This spell doesn’t deal more damage based on combo points, so it is strongly recommended that you apply it often. DPS will use Flame Spike to generate combo points. I recommend using Flame Spike twice, generating 2 combo points, and then using Engulf in Flames to spend those combo points. You can repeat this for the entire fight, pressing 1 – 1 – 2 – 1 – 1 – 2 to easily deal maximum damage.
Outside of your new dragon rotation, you will have to be careful of two abilities. Static Field is an area-of-effect sphere that deals heavy damage to everyone within its 30-yard radius. Coordinate ahead of time with your raid to decide where the stack should move, press Blazing Speed and move to the designated area.
The other move is Surge of Power, a beam focused on a player that will almost certainly kill them if they do not keep Flame Shield active for the duration. This ability takes 3 seconds to cast and lasts for 5 seconds. During these 3 seconds, make sure you build enough combo points for a 5 second Flame Shield! 4 combo points will last exactly 5 seconds, while 5 combo points will give you 6 seconds, affording you some leeway.
Flame Shield has a 30 second cooldown, so be careful! If it didn’t last long enough, there’s nothing you can do after casting it to change that.
All things considered, Phase 3 should be very easy. If you are struggling to understand your dragons abilities, there is a daily quest, Surge of Power in Coldarra that is designed specifically to help learn to control these red dragons and their abilities.
Here are some of the main things that can typically go wrong in this fight:
- Phase 1
- Someone stands in front of Malygos, getting hit by Arcane Breath and blowing up their raid.
- Healers don’t react appropriately to Arcane Storm, leading to the target dying
- Power Sparks aren’t killed, buffing Malygos and almost certainly killing the tank
- Ranged DPS don’t stand in the pool left after a Power Sparks dies, making the 10 minute enrage timer a struggle
- Phase 2
- Players ignore the anti-magic zones, taking too much damage
- Discs are taken by non-melee DPS, extending the Phase drastically
- Tanks fail to pick up Nexus Lords, causing players to die
- Phase 3
- Players didn’t do their dailies and don’t understand their dragon!
- Dragons don’t stack, making healing significantly less effective
- Tunnel vision causes someone to stay in Static Field
- Flame Shield is used prematurely, leaving the dragon defenseless for Surge of Power
Congratulations on defeating Malygos and protecting Dalaran from the Blue Dragonflight. The Red Dragonflight will remember your contribution in your later adventures.
About the Author

nice