Sartharion Strategy Guide – Obsidian Sanctum (25)


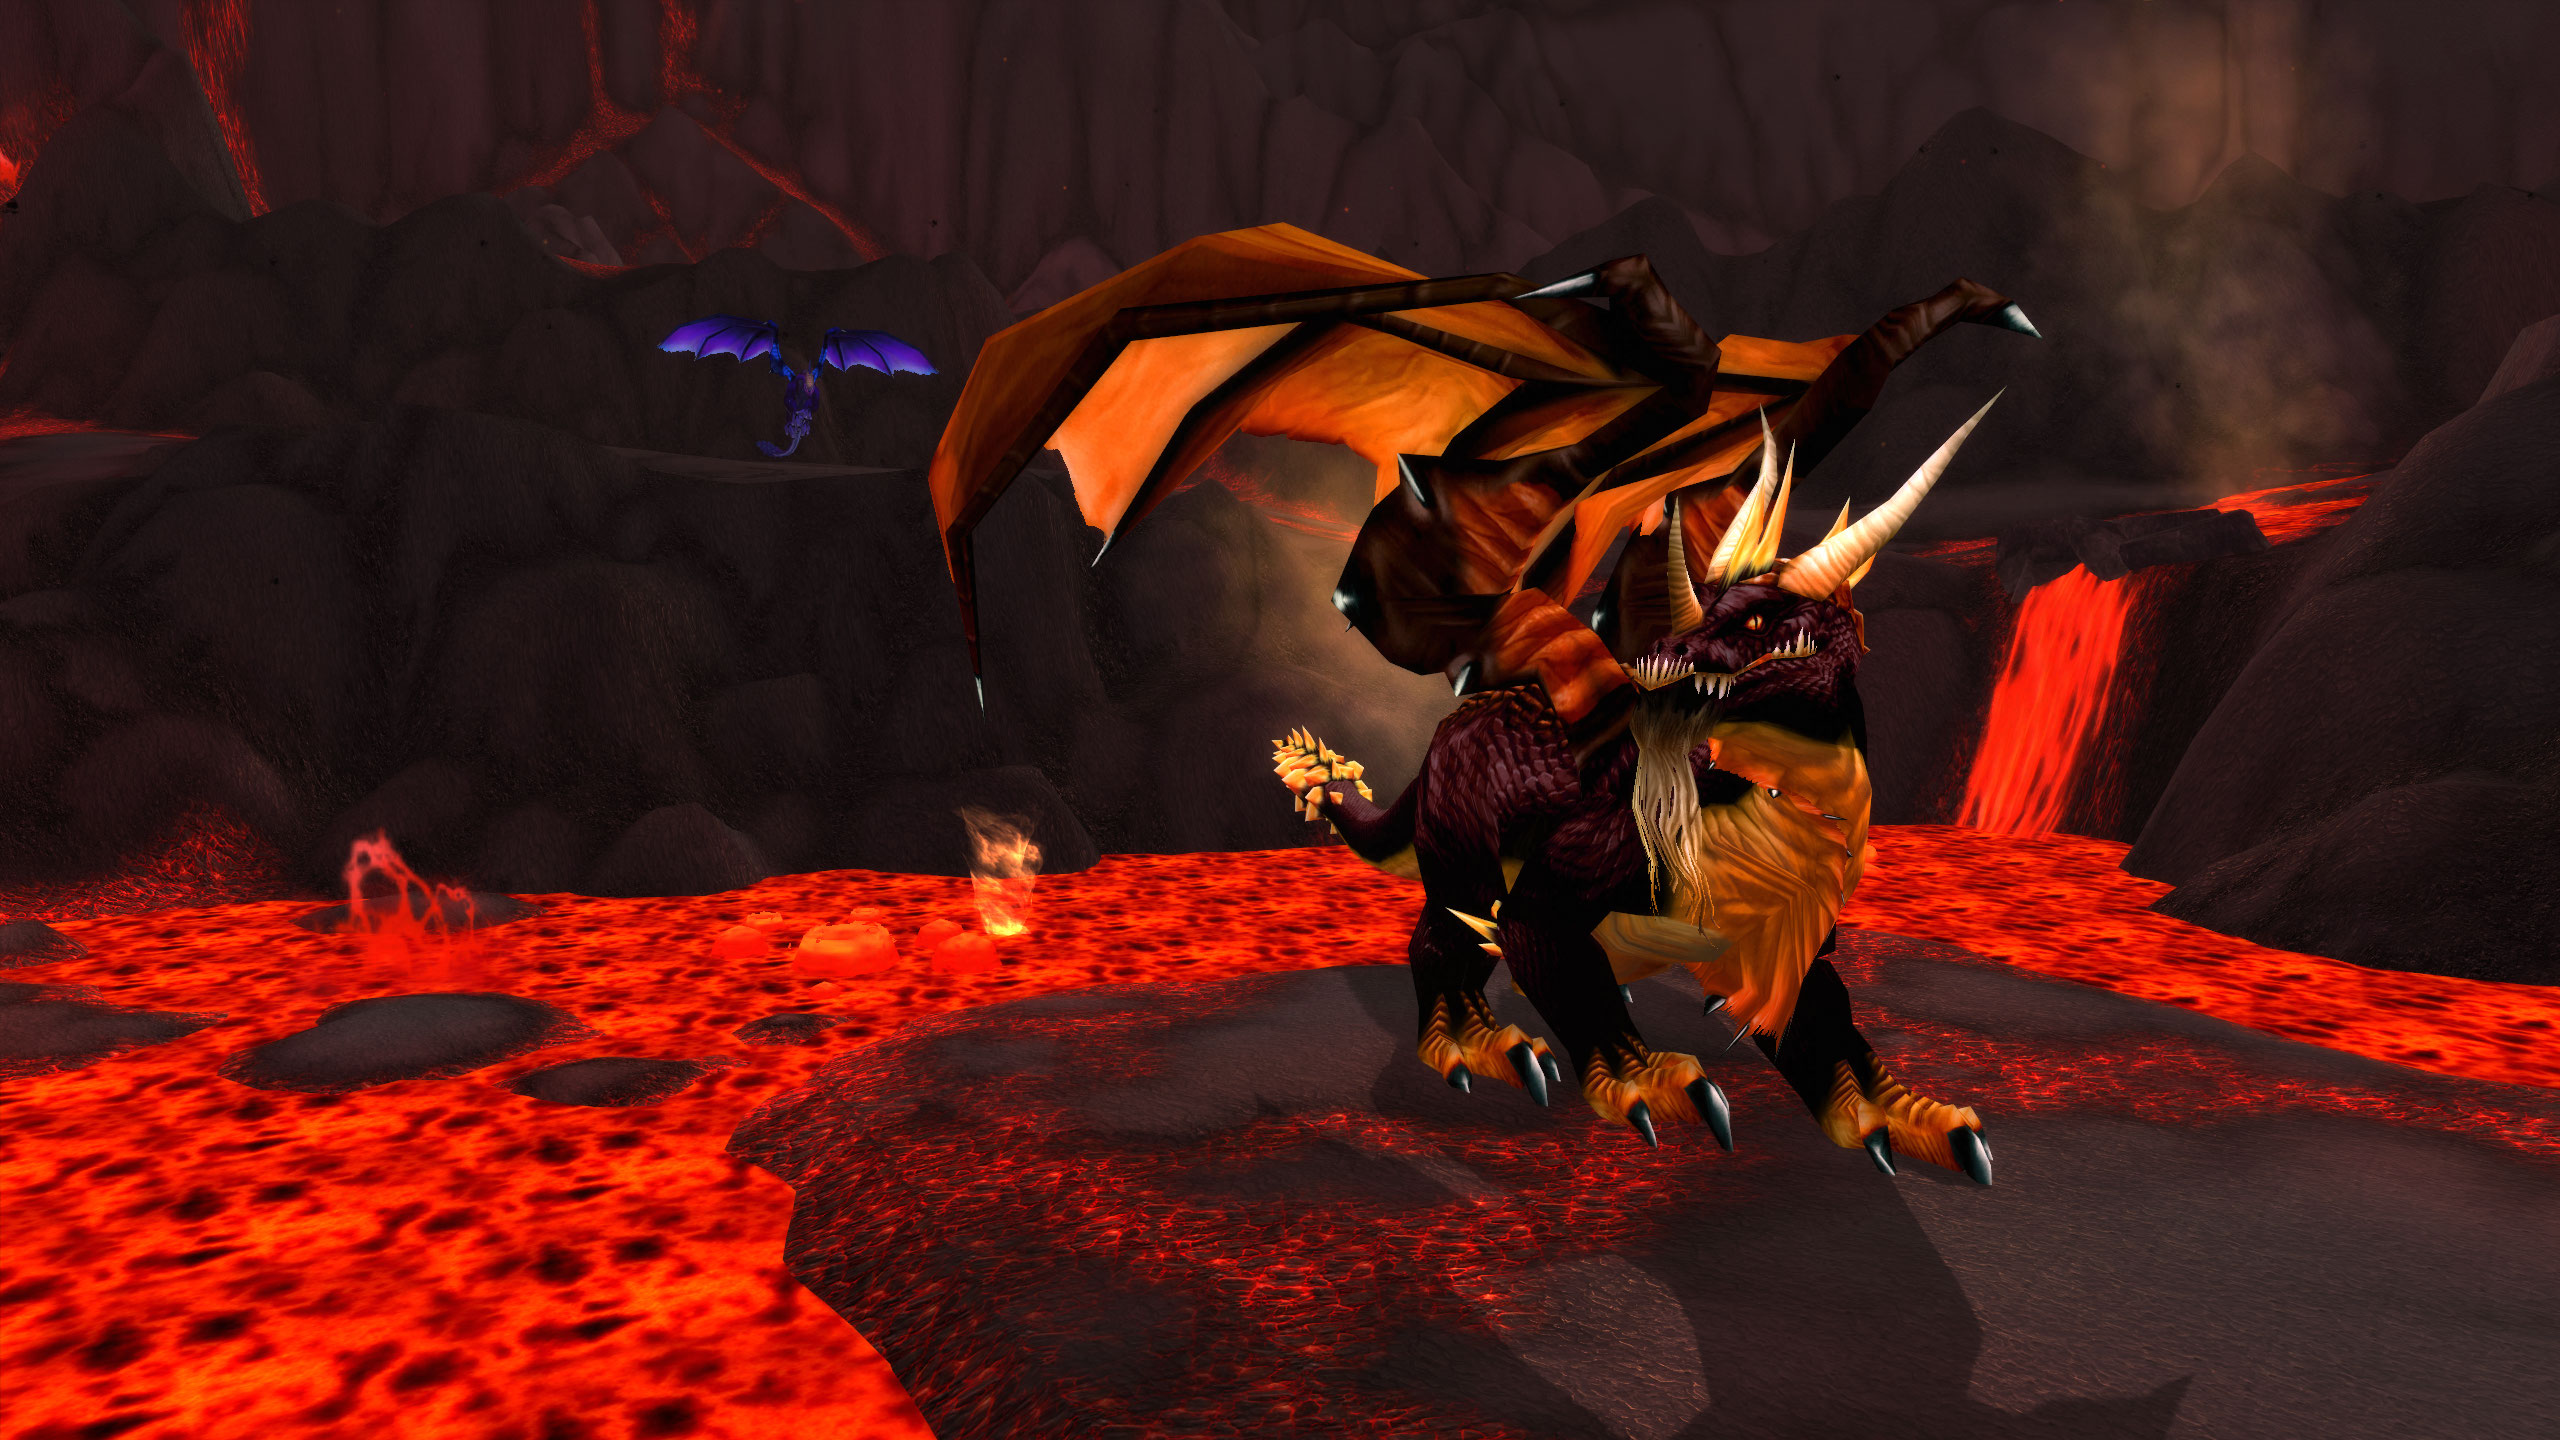
Sartharion is the first and only boss of the Obsidian Sanctum, located below the Wyrmrest Temple in Dragonblight. Accompanied by his three lieutenants, Shadron, Tenebron, and Vesperon, Sartharion is charged with protecting the twilight dragon eggs spawned by Deathwing himself.
This encounter is the first example of an optional hard mode in Wrath of the Lich King raiding. Raids are able to personally adjust the difficulty of the Sartharion fight based on how many of his lieutenants are left alive. Commonly known as “3D”, “2D”, and “1D”, the more drake lieutenants left alive, the harder the fight will be and the better the rewards are.
Killing Sartharion with all 3 drakes alive will give the raid an extra ilvl 213 item, an extra ilvl 226 item and a unique mount, Reins of the Twilight Drake.
Each drake lieutenant offers their own mini-boss encounter, with their own abilities and mechanics. If you decide to leave them alive, they will bring these abilities into the Sartharion encounter.
This guide will offer a detailed, step-by-step tutorial on how to defeat Sartharion, with or without his lieutenants being kept alive.
Role Summaries
- Pre-Pull
- Clear all the trash
- Kill as many drakes as you want
- 1 drake alive gives you a bonus ilvl 213 item
- 2 drakes alive also gives you a bonus ilvl 226 item
- 3 drakes alive also gives you a mount
- The Fight
- Sartharion
- Dodge the Flame Tsunamis
- Prioritize killing Lava Blazes
- Don’t stand behind or in front of the boss
- All Drakes
- Don’t stand in Shadow Fissure
- Don’t stand in front of the drake
- Tenebron
- Ignore the Twilight Portal
- Kill Twilight Whelps ASAP
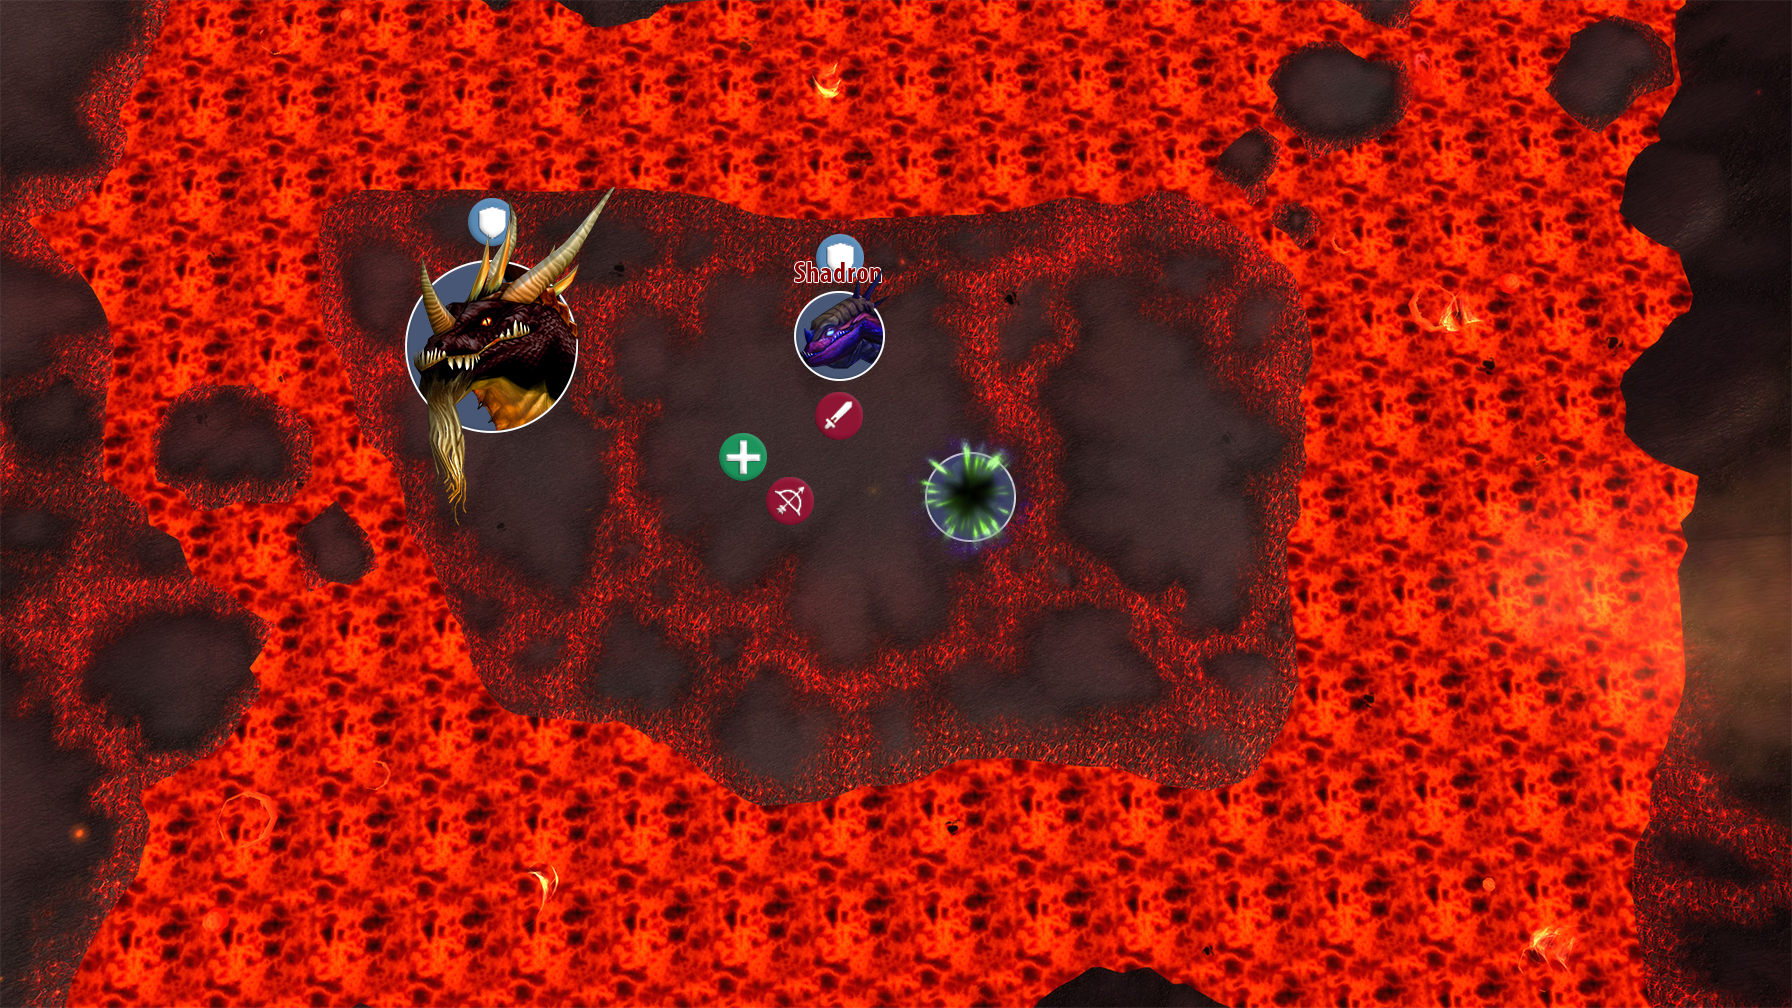
- Shadron
- Ignore the Twilight Portal
- Kill this drake as fast as possible
- Vesperon
- Prioritize killing the Acolyte of Vesper in the Twilight Portal
- Be ready to pop cooldowns, once Vesperon dies Sartharion is a lot harder.
- Sartharion
- Sartharion
- Tank Sartharion on the edge of the Flame Tsunamis so that you only need to move a few steps to dodge it
- Make sure Lava Blazes never get hit by Flame Tsunamis
- Make sure your DPS can easily stand beside Sartharion
- All Drakes
- Face drakes away from the raid
- Tenebron
- Pick up Twilight Whelps quickly and stack them with Tenebron
- Sartharion
- The person tanking Sartharion will be taking the most damage during this fight, with the off-tanks taking significantly less.
- Vesperon
- Make sure some Healers go into Vesperons Twilight Portal and help kill the Acolyte of Vesper as fast as possible
- Vesperon
- Make sure you go into Vesperons Twilight Portal and kill the Acolyte of Vesper as fast as possible
- Vesperon
- Make sure you go into Vesperons Twilight Portal and kill the Acolyte of Vesper as fast as possible
Abilities
Sartharion
Tenebron
If left alive, Tenebron will join the fight after 30 seconds.
Shadron
If left alive, Shadron will join the fight after 75 seconds.
Vesperon
If left alive, Vesperon will join the fight after 125 seconds.
Raid Composition & Preparation
The Pull
Hard Mode
For the ultimate challenge in this fight, you will want to leave all 3 lieutenants alive. Unfortunately, this doesn’t mean that you can run in and immediately pull Sartharion.
Your raid will need to clear the adds before attempting to pull Sartharion, the last thing you want when already fighting 4 bosses at once is to have a random group of Dragonkin come in and start smashing.
To effectively clear all the trash without pulling any of the drakes will take some maneuvering, ducking into the walls around the drakes to make sure you avoid them. Once you’ve cleaned up the area, you can make your way to Sartharion, have your tank pull him, and immediately turn him 90 degrees to the side so that your raid is safe from his head and tail.
Normal Mode
If you have decided to forfeit the bonus loot offered by hard mode, you will have to do slightly more preparation than you would on hard mode. Along with clearing all the trash, you will also be killing all the drakes. Fortunately, this means you don’t have to try and avoid them, and instead just kill them and go from there.
You will still want to clear the trash around the drakes before pulling, otherwise, you might end up with them joining the fight.
Just like with hard mode, once you’ve cleaned up the area, you can make your way to Sartharion, have your tank pull him, and immediately turn him 90 degrees to the side so that your raid is safe from his head and tail.
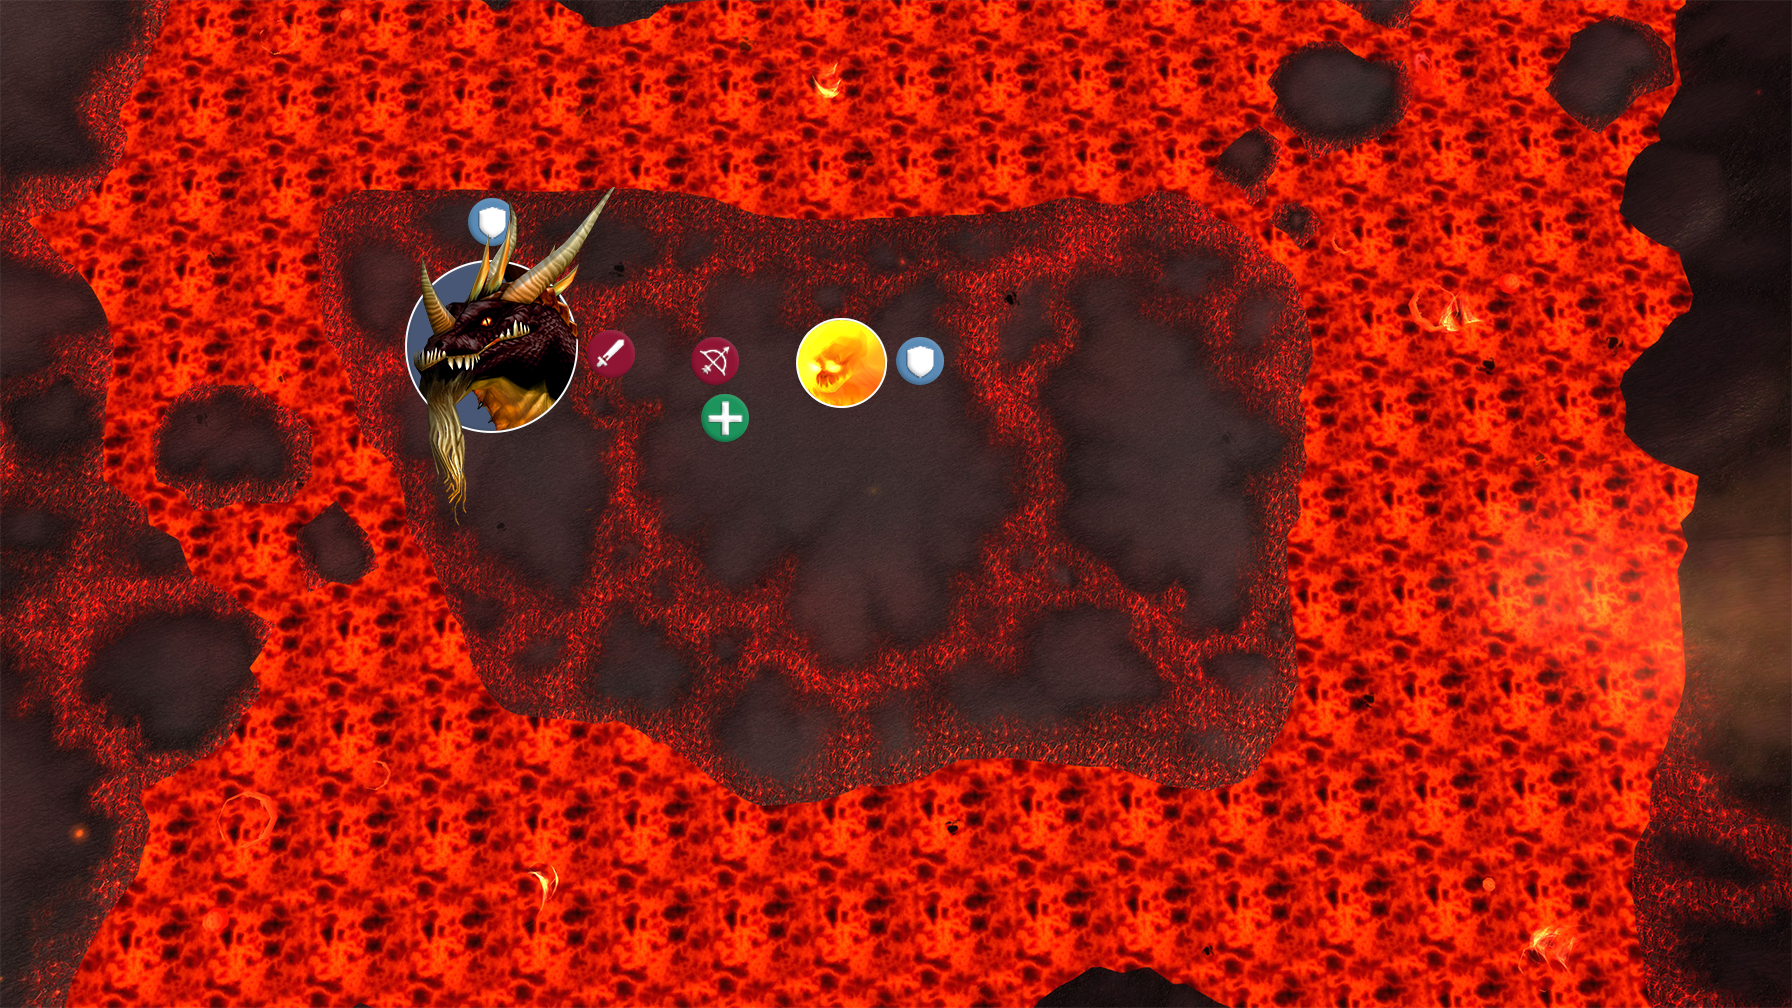
The Fight
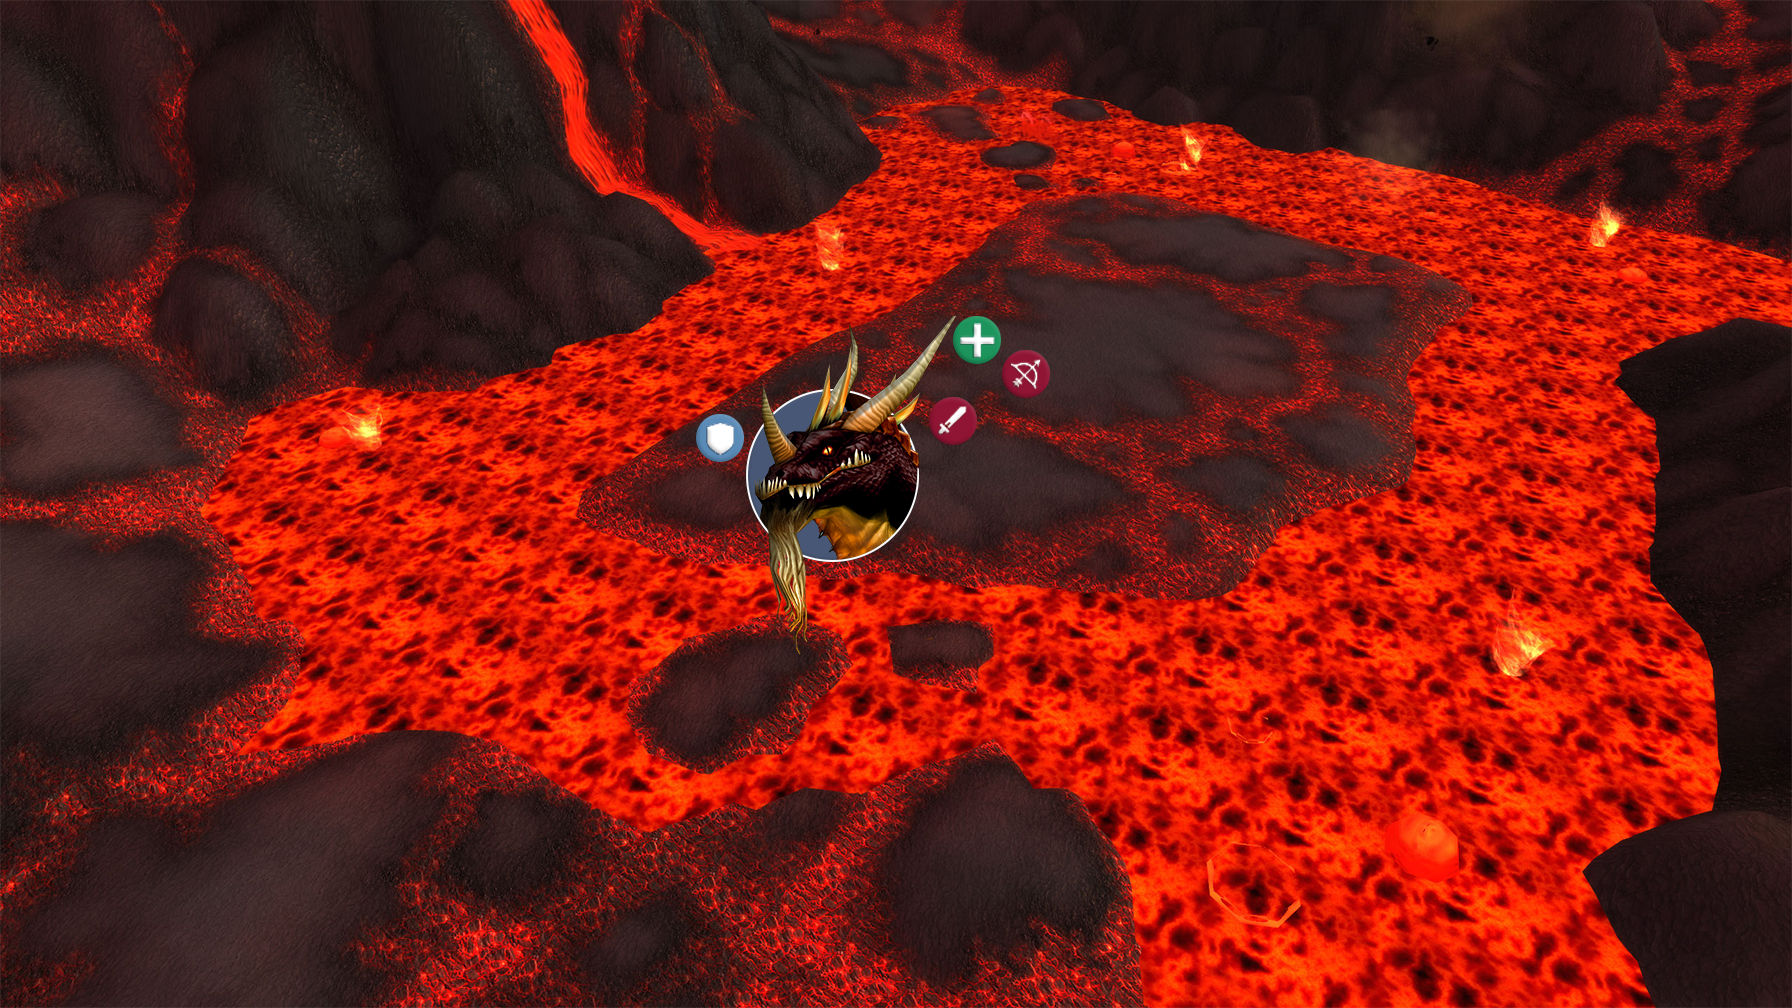
Sartharions basic mechanics are very simple. Don’t be behind or in front of the boss unless you are the main-tank, and avoid the Flame Tsunamis that spawn. These Flame Tsunamis are telegraphed by a raid warning stating “The lava surrounding Sartharion churns!”. Flame Tsunamis will form on either of the long sides of the arena, crossing the arena and landing on the lava on the other side.
These Flame Tsunamis will place a damage-over-time effect on anyone hit by them. To dodge this, place yourself in between the waves and simply wait them out.
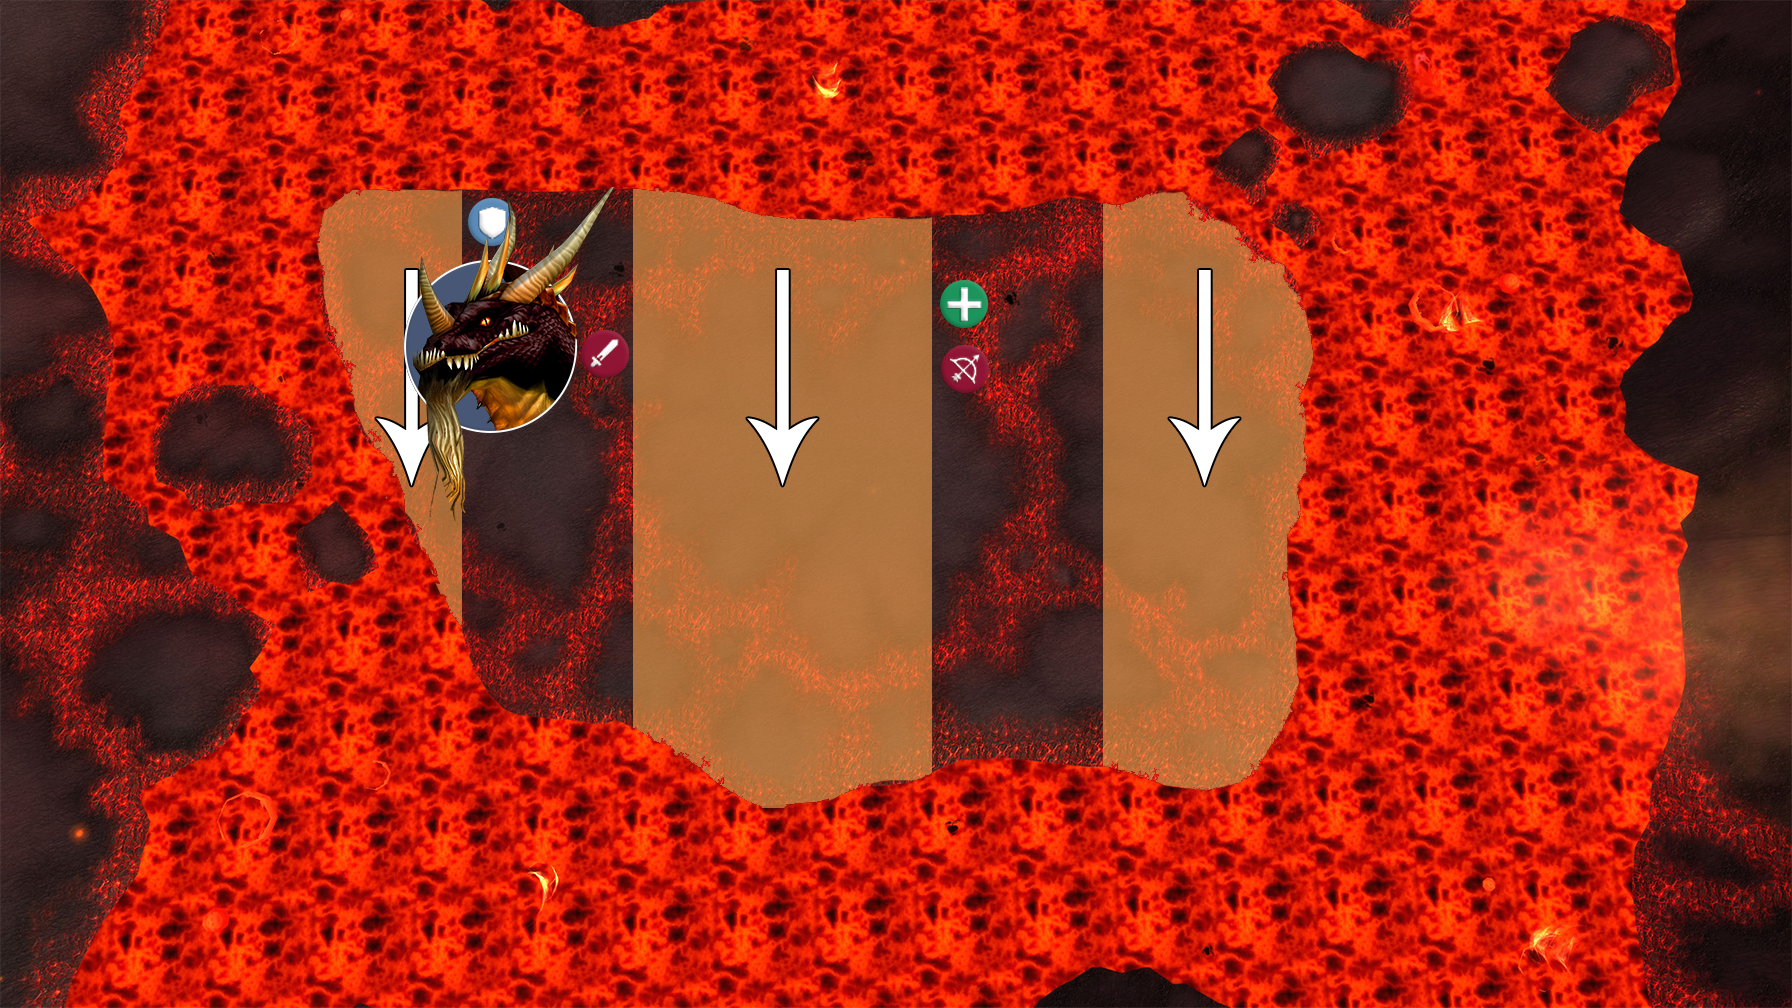
For the waves coming from tanks side, the tank should be able to remain still and the melee DPS should be able to keep DPSing Sartharion, while the ranged DPS and healers will have to move further away from the boss to get to safety. They should still be in range of the boss if he is positioned correctly.
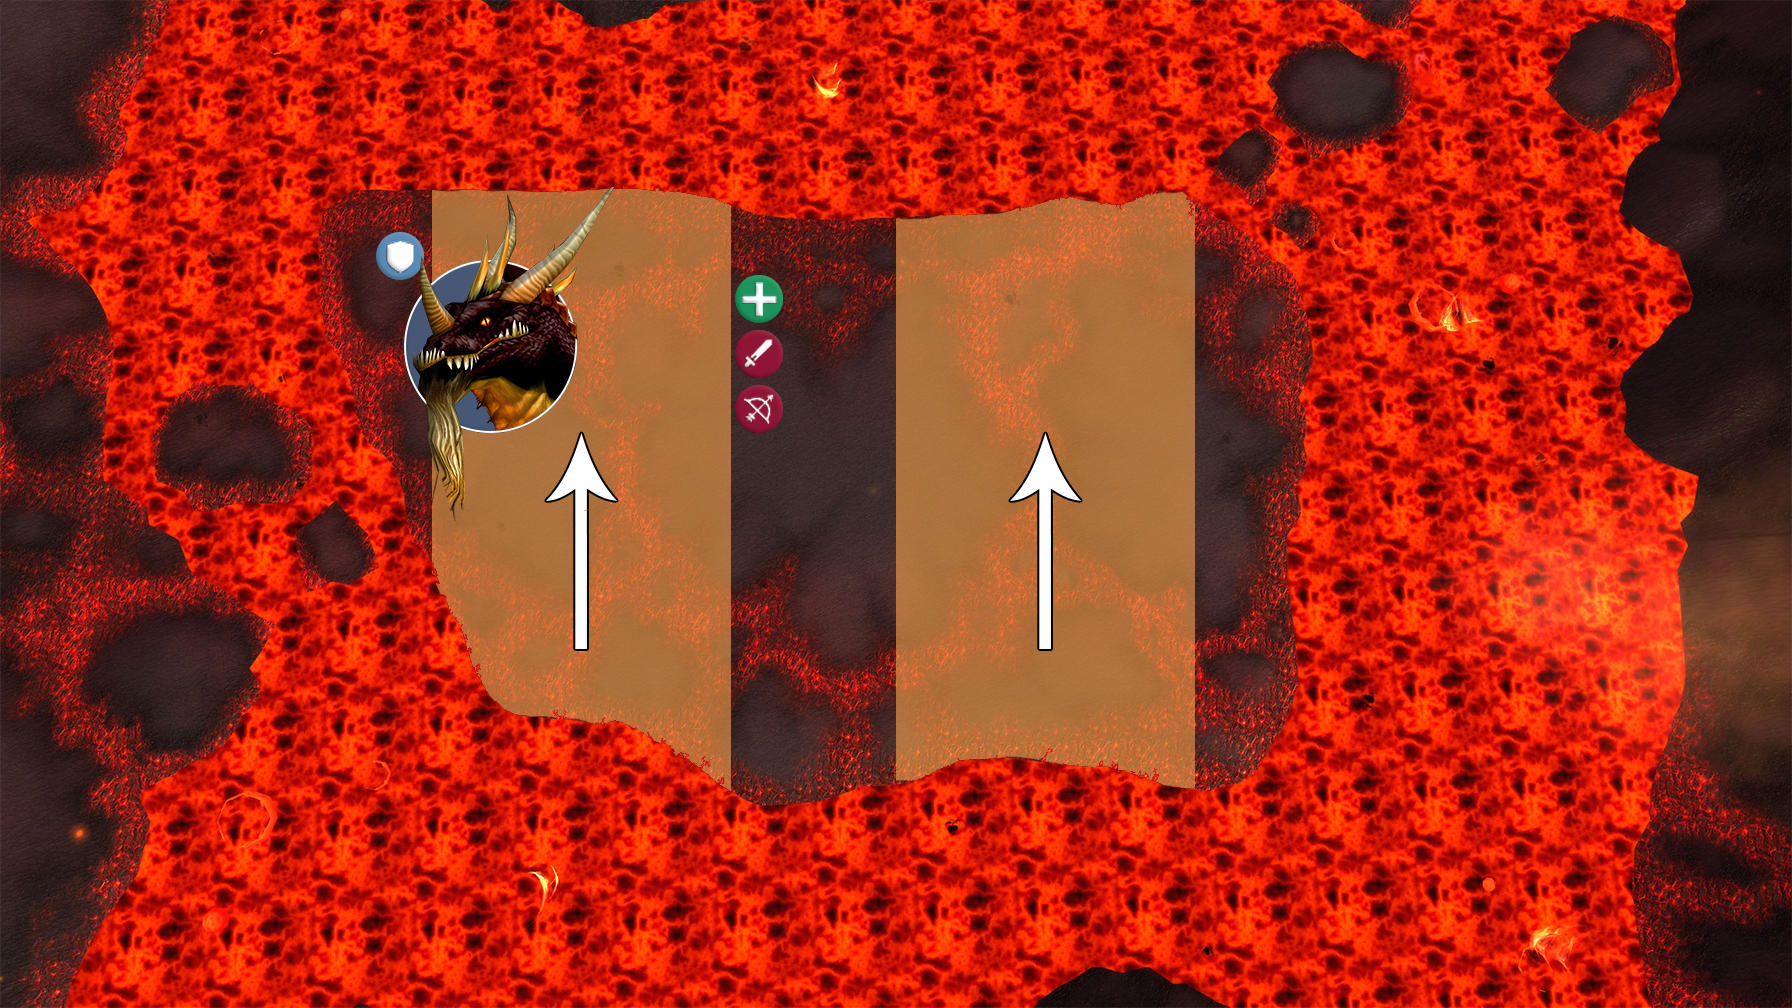
For the waves coming opposite the tank, the tank will need to shift to the side a little, ideally only turning the boss but not moving him. Melee DPS will not be able to stay in their position and can either run through the boss, ending up on Sartharions left-hand side, or go with the ranged DPS and healers for the duration of the Flame Tsunami.
Periodically, Sartharion will summon 2-4 Lava Blazes. These adds aren’t too powerful by themselves, but if they get hit by a Flame Tsunami they will enrage, dealing 400% increased damage. Rogues and Hunters can remove this enrage with Anesthetic Poison or Tranquilizing Shot respectively, but ideally they should be positioned so that they never get hit by a Flame Tsunami.
Lava Blazes will need to be picked up by the off-tank ASAP, bringing them away from the boss. DPS should try to focus on them to get rid of them as quickly as possible to avoid being overwhelmed, especially when the lieutenants become involved.
These adds will continue to spawn for the entire fight, and when Sartharion reaches 10% health he will spawn a large pack of them. This large pack will need to be tanked, but most groups will opt to either kill them with area-of-effect on top of the boss, or to ignore them entirely and burn down the last of Sartharions health.
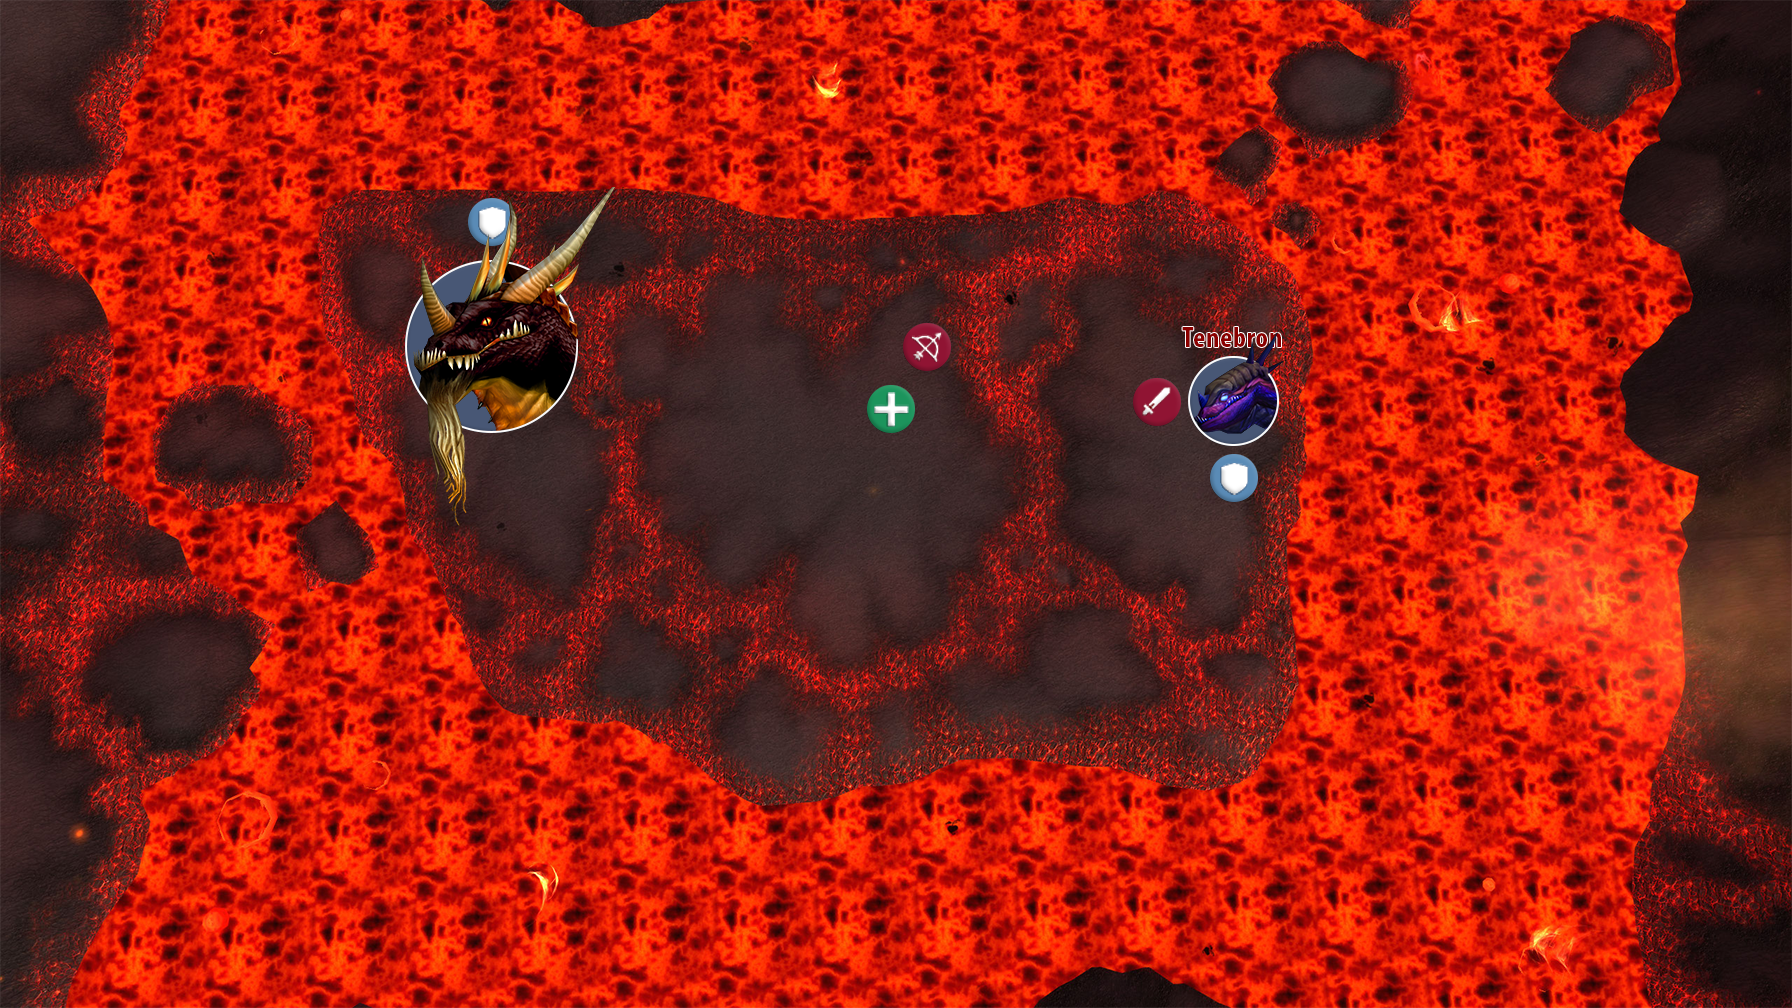
30 seconds into the fight, Tenebron will join the fight if she is still alive. The raid should shift over to her and focus on killing her ASAP, with Healers making sure they are in-range of both tanks.
All the drakes will cast Shadow Breath directly in front of them, dealing heavy damage. DPS should always be beside or behind the drakes to avoid this ability. The drake lieutenants will also periodically spawn Shadow Fissures under a random player, that will explode after a delay dealing heavy damage. Everyone will need to stay on their toes to make sure they don’t blow up.
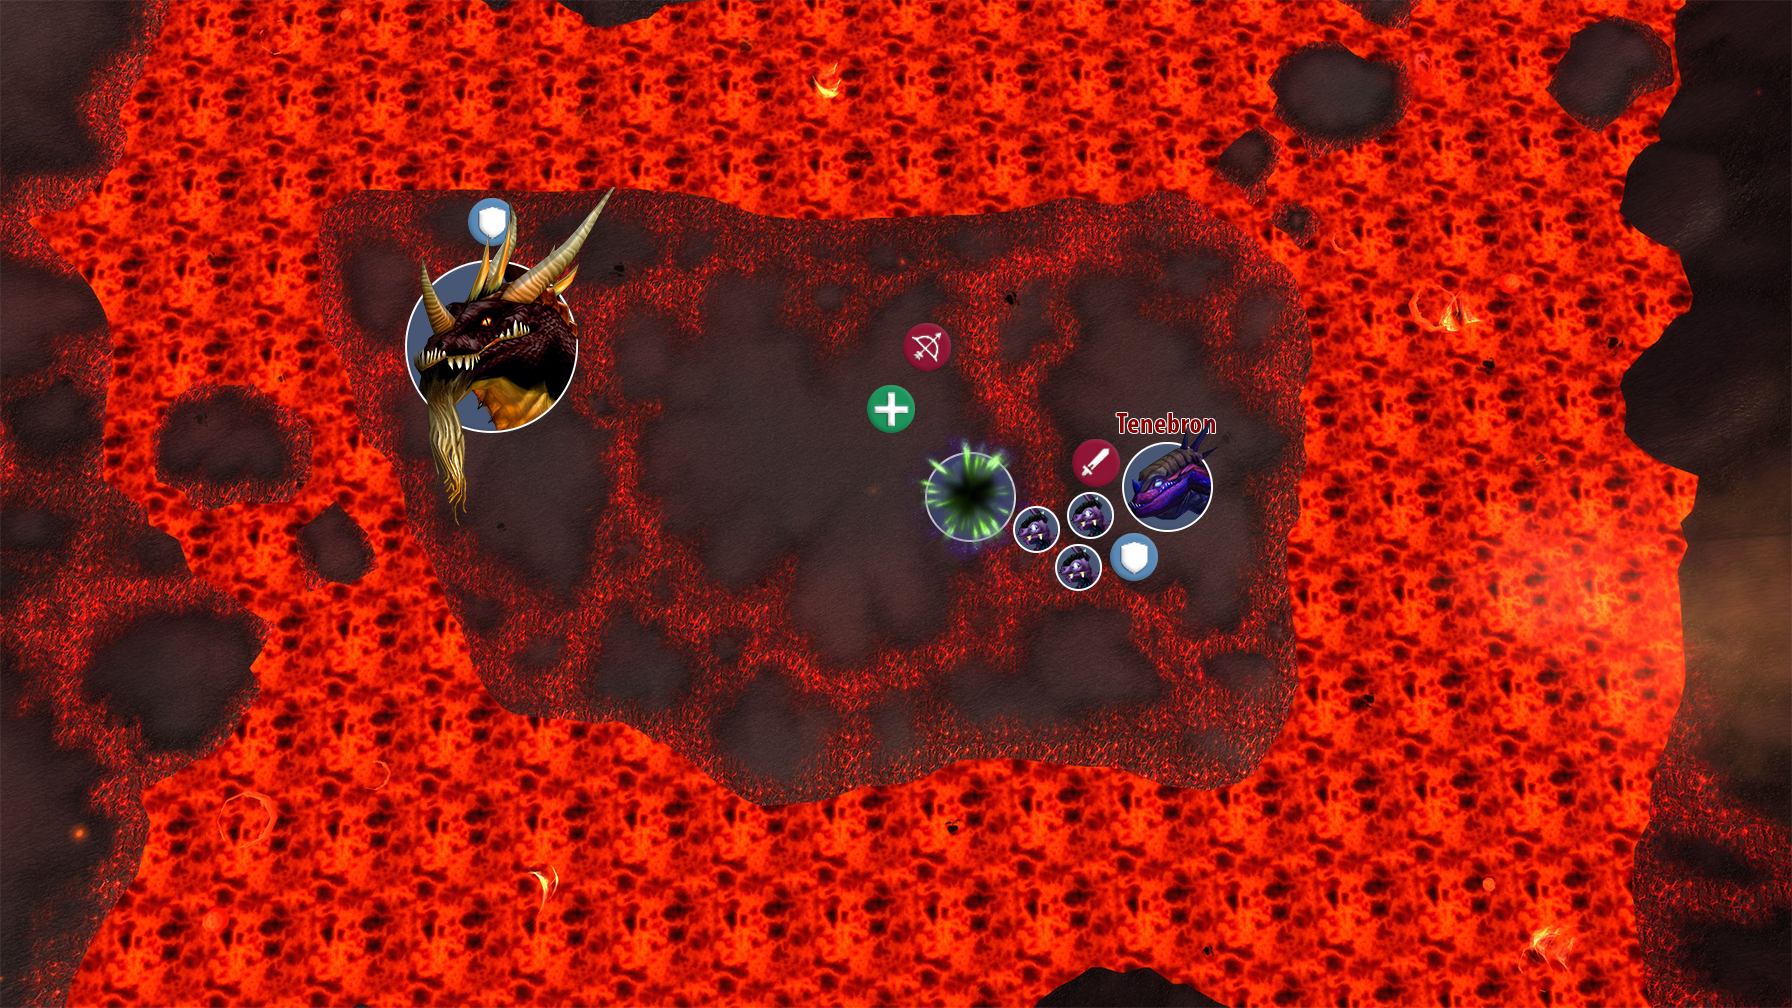
Tenebron will summon a Twilight Portal that players can enter. Players entering will find Twilight Eggs that they can kill, and that will eventually hatch into Twilight Whelps. Any Twilight Whelps that hatch will cross from the Twilight Realm into the regular fight. The most common method for this Twilight Portal is to simply ignore it.
Focus on killing Tenebron and when the Twilight Eggs eventually hatch, the off-tank will need to pick up the Twilight Whelps, while the DPS kill them with cleave damage on top of Tenebron.
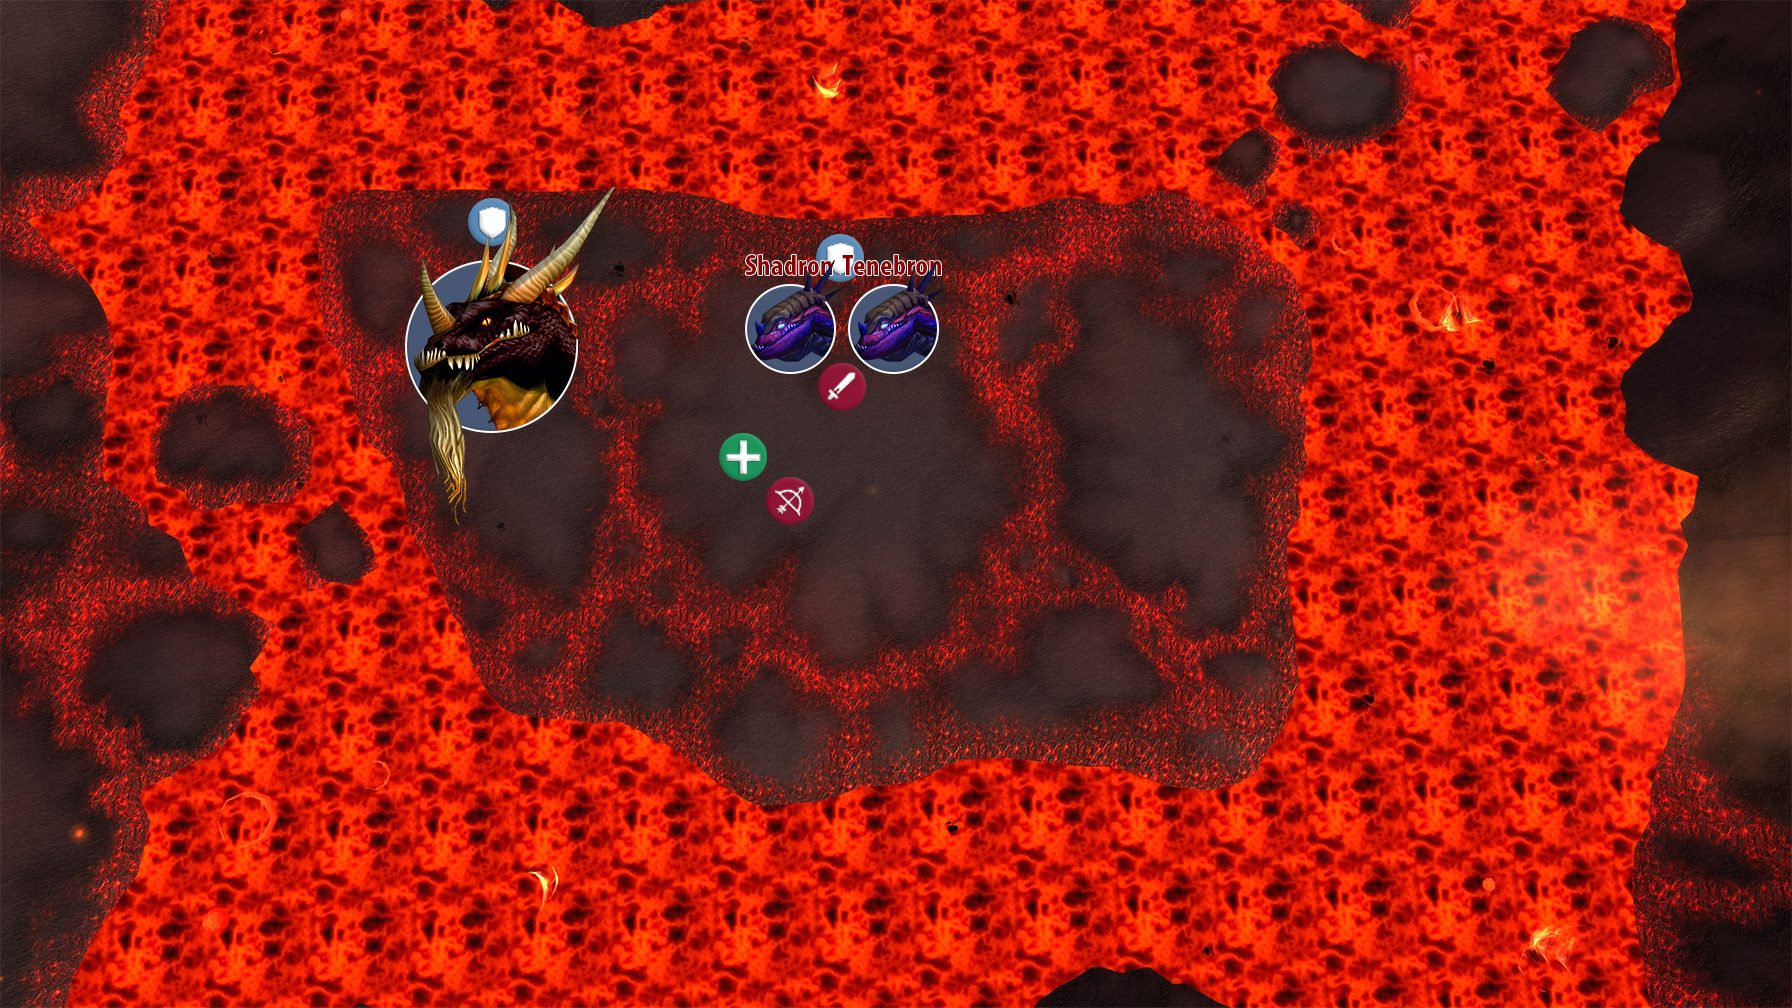
75 seconds into the fight, Shadron will join the fight. You will want Tenebron to be dead by now, but if she isn’t, the off-tank will need to shift towards Shadrons landing spot and grab them both, facing them towards the lava. Prioritize killing Tenebron before swapping to Shadron, even using cooldowns if you need to.
Shadrons Twilight Portal will contain Shadron. This enemy will buff Sartharion with Gift Of Twilight, making Sartharion immune to damage and increasing the fire damage he deals by 50%. This can be ignored because you will be DPSing Shadron, not Sartharion, but the damage can be very heavy. If your raid finds themselves unable to keep up with the healing, DPS should dip into the Twilight Portal and quickly kill Shadron.
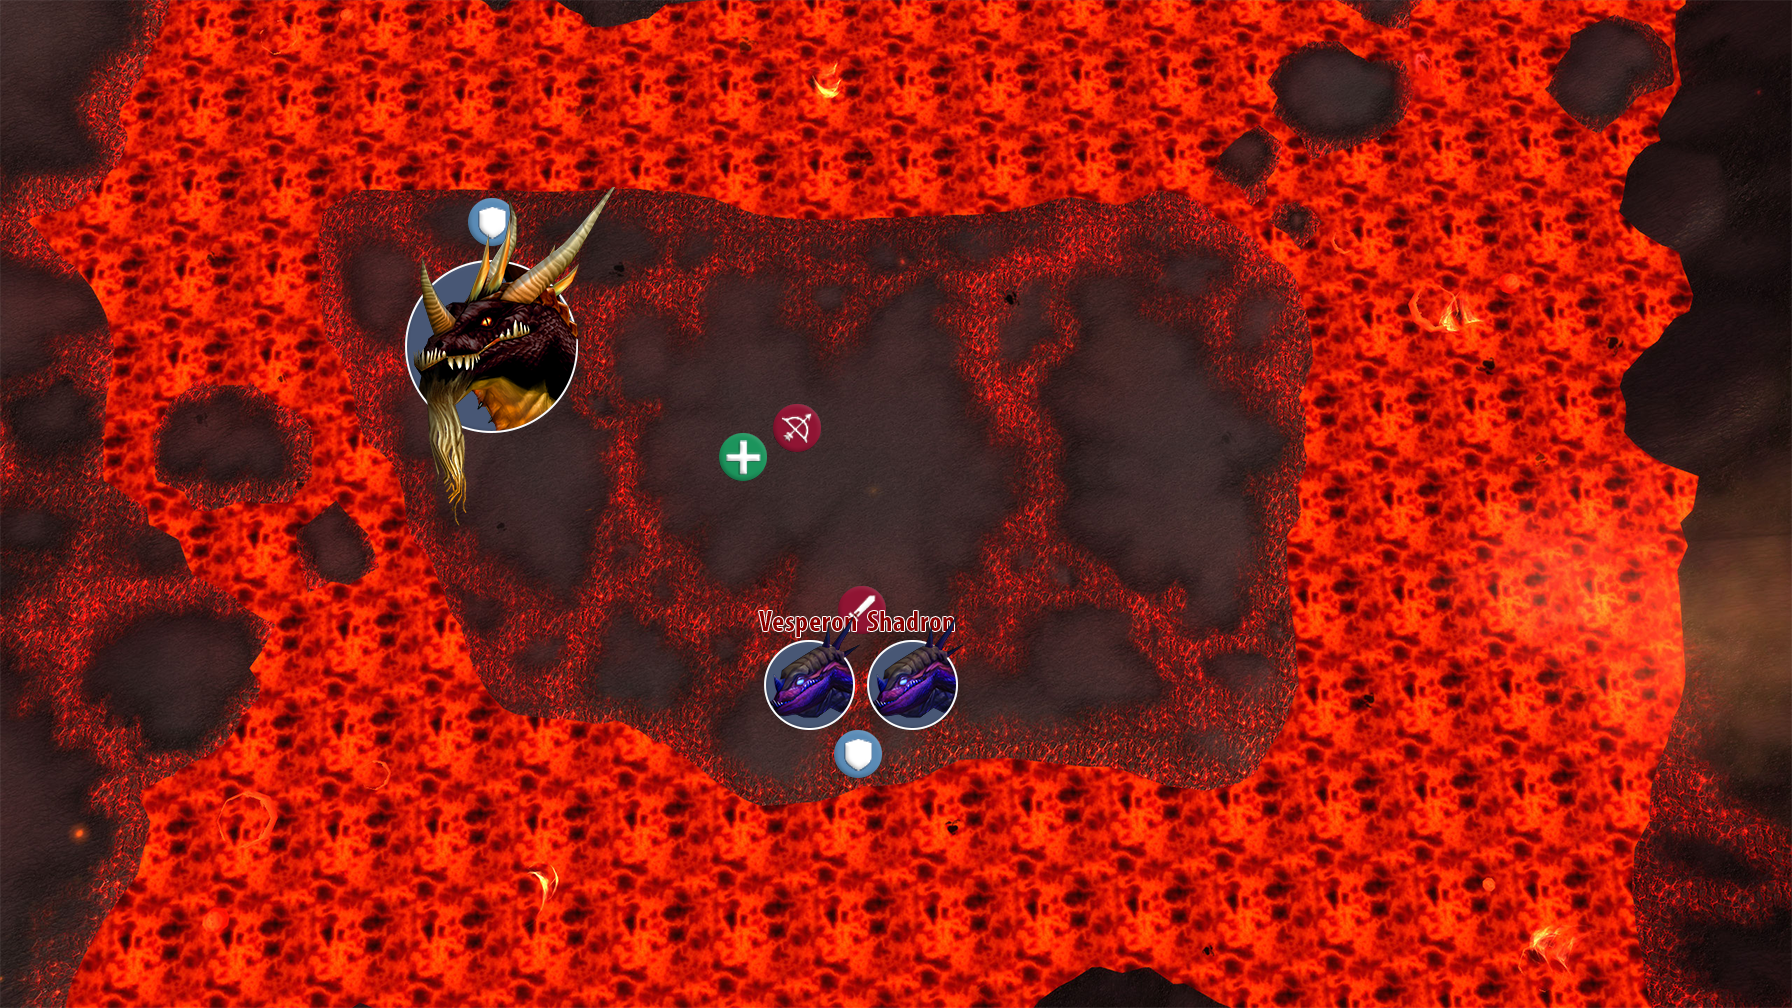
125 seconds into the fight, the final drake lieutenant, Vesperon will join. You will want Shadron to be dead by now, but if he isn’t, the off-tank will need to shift towards Vesperons landing spot and grab them both, facing them towards the lava. Prioritize killing Shadron before swapping to Vesperon, even using cooldowns if you need to.
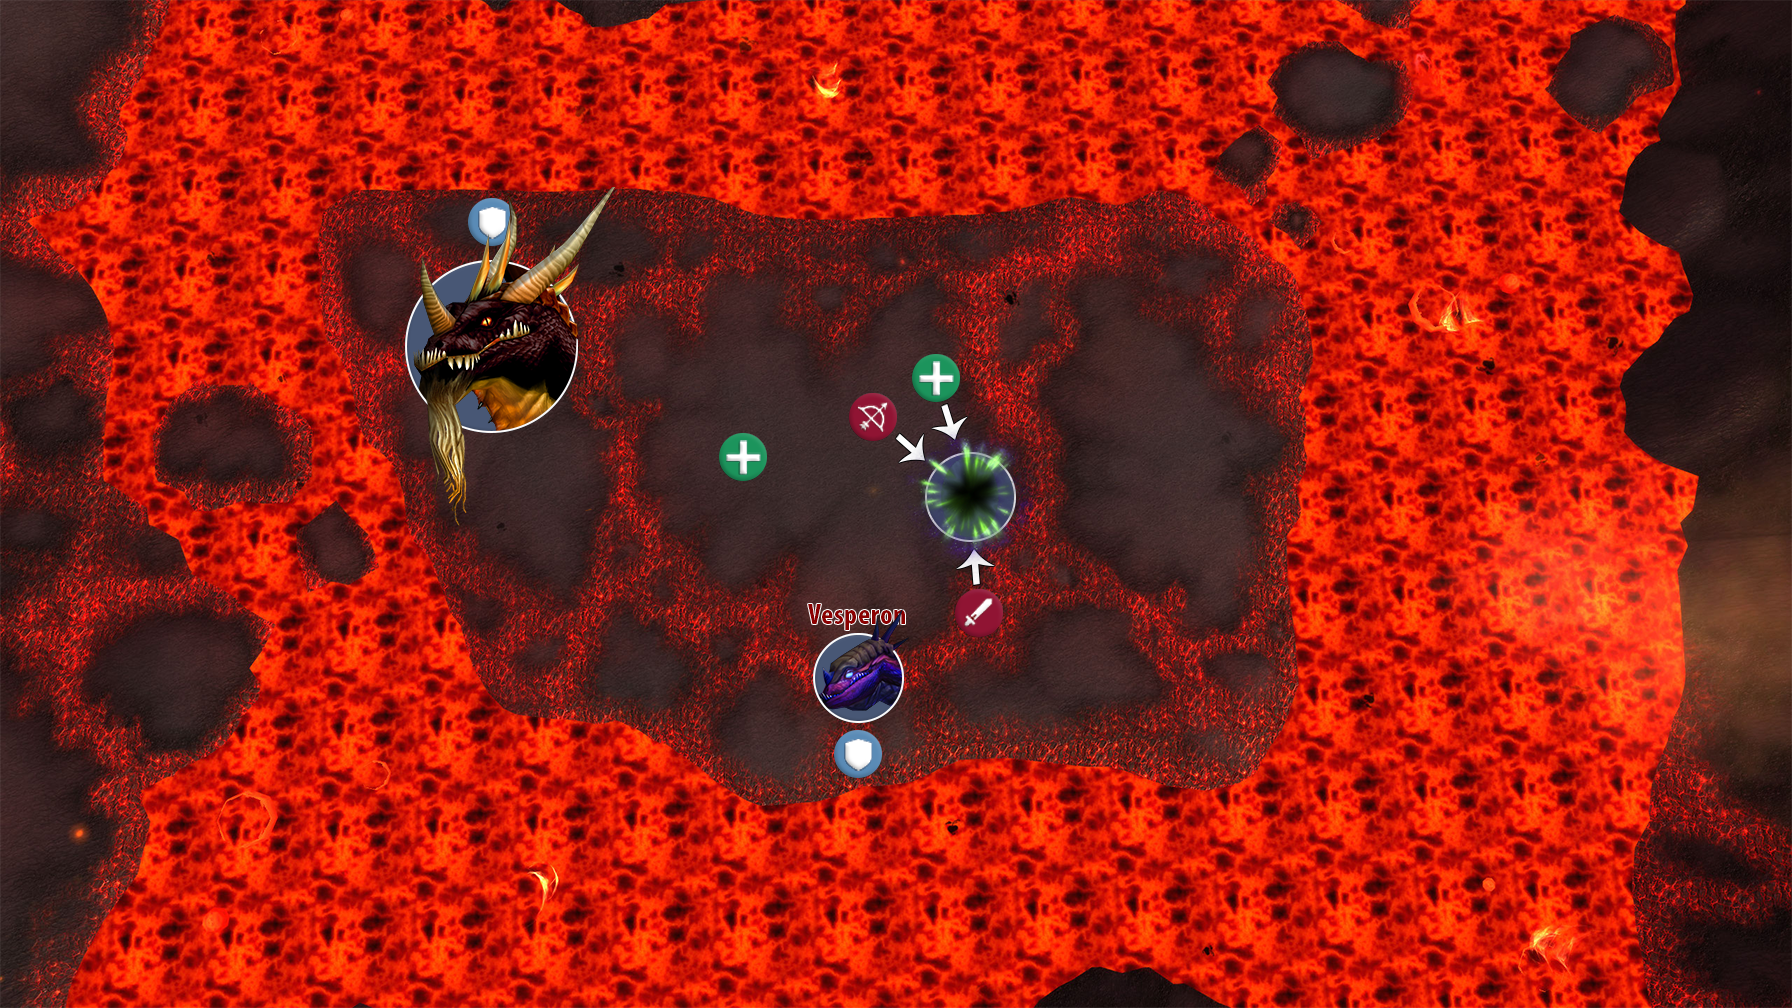
Periodically Vesperon will cast Twilight Torment on himself, shielding him and reflecting a large amount of damage back to any attackers. Killing the Acolyte of Vesper found in his Twilight Portal will dispel this shield, allowing DPS to resume. You will need all the DPS as well as some Healers to dip into the Twilight Portal and kill the Acolyte of Vesper as fast as possible in order to continue DPSing Vesperon.
When all 3 drake lieutenants are dead, Sartharion will be dealing massive damage and hitting significantly faster than before. It is very easy to be overwhelmed by the amount of damage Sartharion can deal here, so it is vital that everyone burns him down as fast as they can, using every cooldown they have available as well as Bloodlust if it wasn’t used on the drakes.
Here are some of the main things that can typically go wrong in this fight:
- Lava Blazes get hit by Flame Tsunami and enrage
- Too many players get hit by Flame Tsunami, needing a lot of extra healing or outright dying
- Your raid simply does not have enough DPS to do hard mode without being overwhelmed
- Healers neglect one of the tanks, causing them to quickly die
- DPS don’t go into Twilight Portals when needed
Congratulations on defeating Sartharion and culling the brood of Deathwing before it is too late.
Zerg Strategy
An alternative method for this fight and the preferred strategy for a lot of guilds is to simply “zerg” Sartharion. This strategy brings significantly fewer healers, opting to bring as many DPS players as you can possibly fit and only DPSing Sartharion. If you have enough damage on Sartharion, the only drake that should have time to land is Tenebron. If Shadron joins the fight, this strategy has failed as Sartharion will be immune to damage because of Gift of Twilight.
At 35% health, Sartharion will go Berserk, dealing massive damage. At this point, an off-tank should grab Tenebron and kite her as far away from the raid as possible, off the main platform and into the deeper parts of the room. This is done to reduce damage on the raid and on the tank.
If your raid has enough DPS, congratulations, you have killed Sartharion hard mode without ever killing a drake!
Author

I love MMOs of all shades, especially the nitty gritty numbers parts of them. You might recognize me from the Shadow Priest discord, otherwise I play a little bit of everything, especially games with support roles available.