- Author: Passion
- Date: October 14, 2023
- Updated: October 14, 2023
- Expansion: WotLK Classic


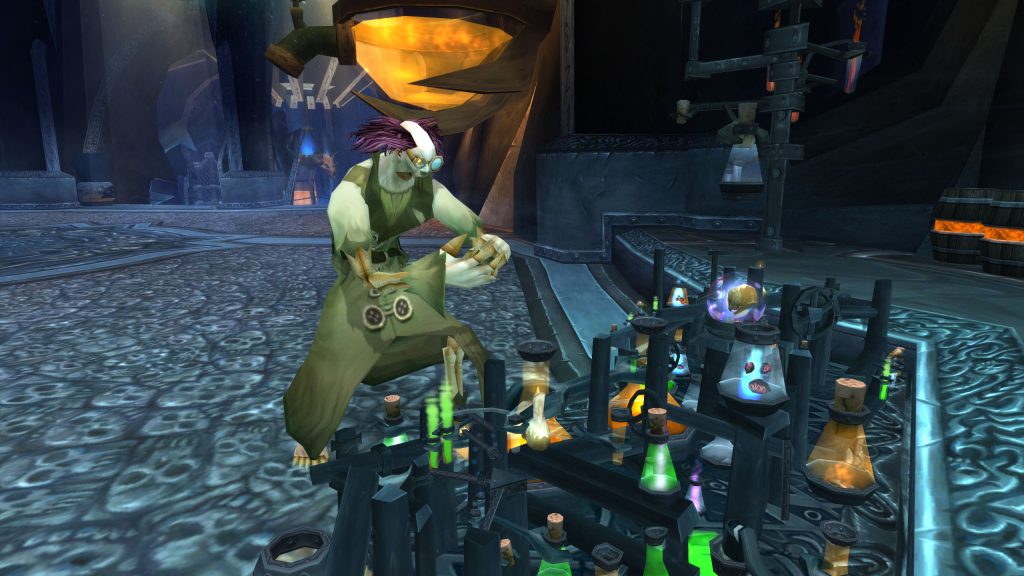
Chief scientist of the Scourge, Professor Putricide is responsible for almost all the toxins, plagues, and abominations of the Scourge. Combining necromancy with alchemy, these macabre experiments bring little more than death to the living.
This guide will offer a detailed, step-by-step tutorial on how to deal with Professor Putricide and his twisted research.
Role Summaries
- Don’t stand in bad.
- Don’t let Gas Clouds reach their target.
- Soak Volatile Ooze with their target.
- Make sure defensive cooldowns are available in Phase 3.
- Stay spread where possible.
- Focus fire slimes.
- Stay spread where possible.
- Focus fire slimes.
- Move in front of the boss regularly to avoid Choking Gas Bomb.
- Communicate tank swaps and taunt rotations clearly.
- Move Putricide out of bad.
- Bring Putricide towards the next active ooze tank, allowing melee to cleave the slime.
- Call slime spawns.
- Call slime targets.
- Call Phase transitions.
Abilities
Professor Putricide
Raid Composition & Preparation
Heroic vs Normal
On Normal difficulty, Putricide will not cast Unbound Plague. Additionally, intermissions are simply 15-second role-play sequences, with no slimes to fight.
The Fight
Phase 1
Every 30 seconds, Putricide will throw Slime Puddles at random players, leaving an ooze puddle at their location, dealing moderate damage to everyone in the ooze every 2 seconds. These puddles will grow as long as they are on the ground but can be removed with Mutated Transformation. If these land on the melee, the boss should be quickly repositioned. Ranged players will want to stay relatively spread to make sure they can easily avoid puddles, and minimize the damage taken from them.
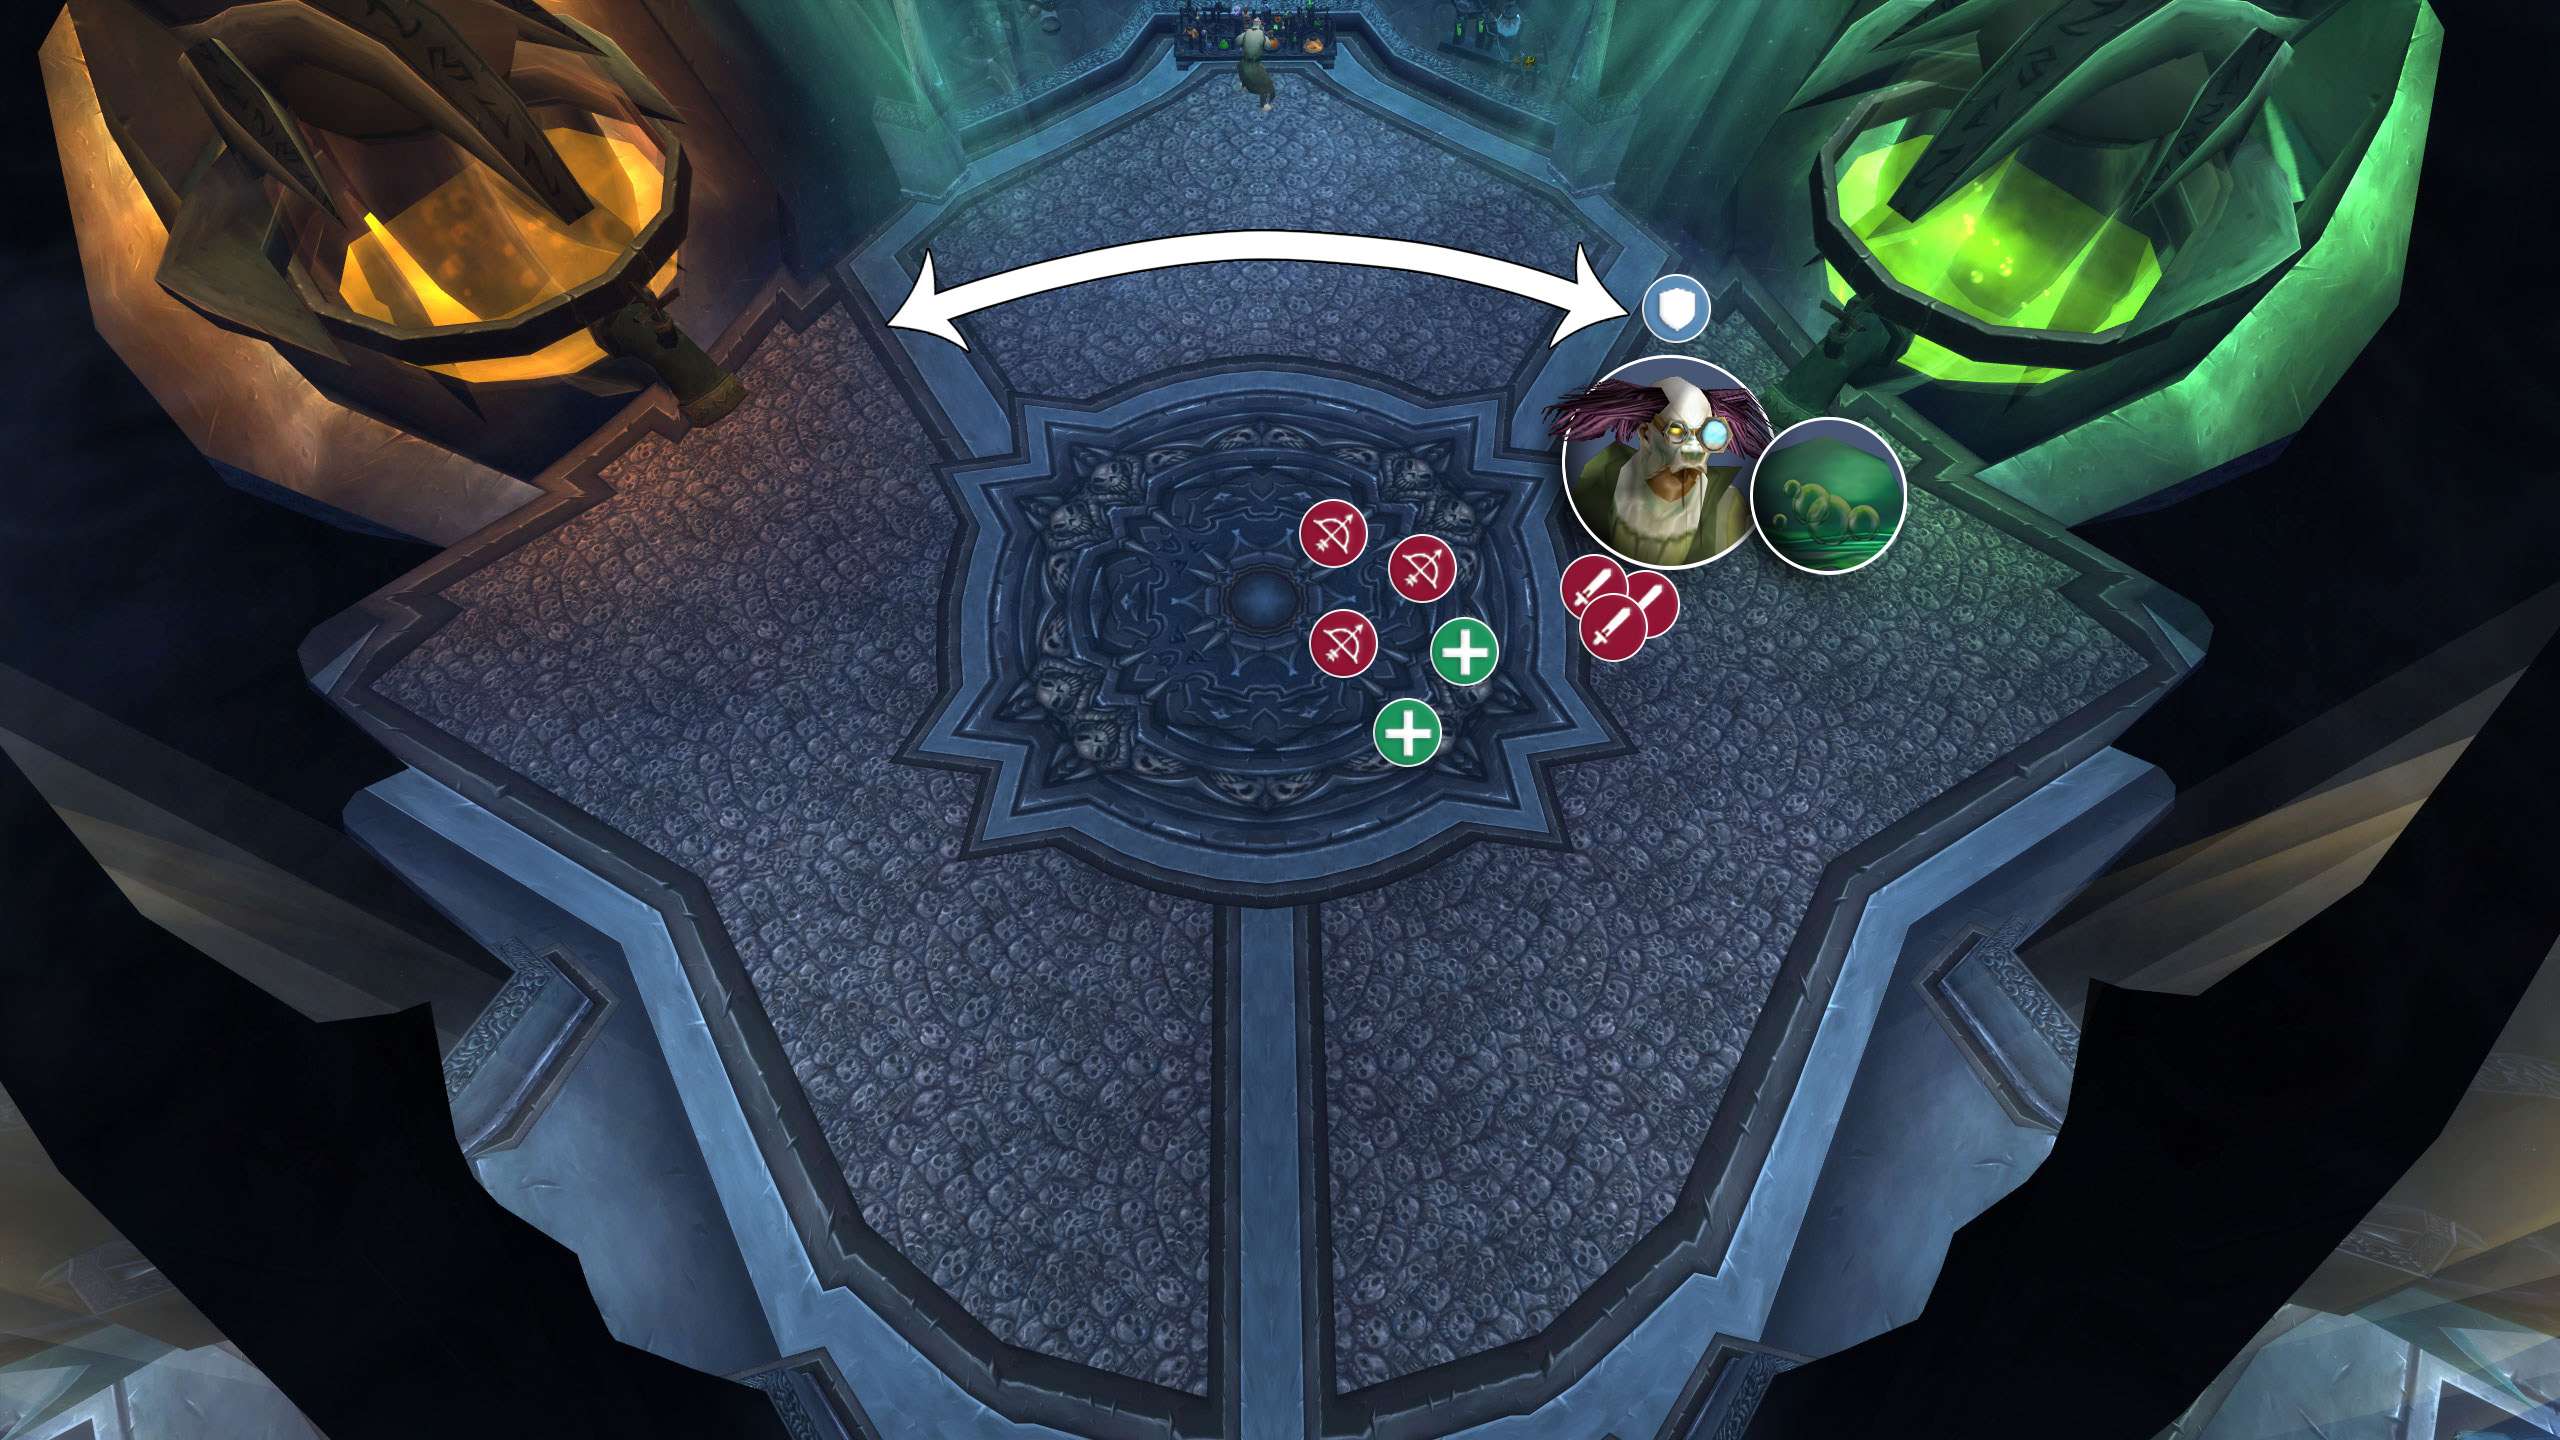
25 seconds into the fight Putricide will summon a Volatile Ooze by opening the green tank of ooze. The ooze will target a random player with Volatile Ooze Adhesive, locking them in place and rushing towards them. If the ooze reaches its target, it will explode into a giant Ooze Eruption, dealing massive damage to the player and knocking everyone around them back. This damage is spread amongst those damaged, making it vital for players to stack on the Volatile Ooze Adhesive target to survive the hit. This Volatile Ooze is the top priority to DPS and will need to be burned down as quickly as possible.
40 seconds after the Volatile Ooze has been spawned, Putricide will open the red tank of gas, spawning a Gas Cloud. The ooze will target a random player with Gaseous Bloat, dealing higher damage the more stacks the target has. This debuff begins at 10 stacks, and every tick of damage will remove a stack. The gas will chase the target, and if they manage to reach them, will explode with Expunged Gas, damaging the raid based on the amount of stacks left. If Gaseous Bloat reaches 0 stacks, a new Gaseous Bloat will be cast on a random player. Gas Clouds will need to be kited for their entire duration, and are the top priority to DPS while they are alive.
One of these two adds will spawn every 40 seconds during Phase 1, alternating type each spawn.
During Phase 1 & 2, your off-tank should head to Putricides lab in the back of the room, drinking the potions to gain Mutated Transformation. This will transform them into an abomination, replacing their abilities with Eat Ooze, Regurgitated Ooze, and Mutated Slash. Eat Ooze is the main use of the abomination, allowing them to eat ooze puddles underneath them, granting 4 Ooze energy each time the pool size is reduced. Ooze energy can be spent on Regurgitated Ooze, dealing a bit of damage over time and slowing the target by 50% for 20 seconds. This can be very valuable on Gas Clouds to assist in kiting. Finally, Mutated Slash works similarly to Devastate, stacking up to 20% Armor Reduction on the boss.
Finally, Putricide will cast Unbound Plague on a random player every minute. This lasts for 60 seconds and deals damage every second, ramping up with every tick. This will be passed to any player within 5 yards of the carrier. The original carrier will receive Plague Sickness, drastically increasing the damage they take from Unbound Plague, discouraging passing the debuff between two players repeatedly. The standard method for dealing with this is to form a line of ranged DPS that will progressively pass the debuff down the line until it inevitably expires and the cycle restarts. Each player should be able to have the plague for around 10 seconds without issue, causing you to need a total of 6 players for this strategy to work.
Alternatively, just let them die. If a player dies, the debuff goes away and you have until the next one to peacefully fight the boss. Then, either pick them up with Rebirth or give them a Soulstone in advance. It may not be pretty, but this strategy can almost entirely negate the Unbound Plagues effects.
Intermission
At 80% Health, Putricide will summon both a Volatile Ooze and a Gas Cloud. He will also debuff half the raid with Ooze Variable, and half the raid with $1. Each player will only be able to damage the corresponding slime, splitting the raid’s DPS in half. He will then cast Create Concoction for 45 seconds, setting the timer for this intermission. When Create Concoction is finished casting, Phase 2 will begin.
Phase 2
Phase 2 retains all the same abilities as Phase 1, but adds two more into the mix for good measure. Every 20 seconds he will spawn a Malleable Goo at a random non-melee player. This is similar to the ability used during Festergut, but this version will bounce on the way to its target. This makes it necessary for every player to move out of the way, otherwise, they will be hit, taking significant damage and a significant damage slow.
Roughly every 30 seconds, Putricide will spawn 2 Choking Gas Bombs behind his feet. These will explode after 3 seconds, releasing Choking Gas in a 3-yard radius. Choking Gas deals a chunk of Shadow damage and applies a 100% reduction to hit chance for 15 seconds. Putricide will need to be dragged away immediately as the bombs are dropped. It is recommended that melee players move in front of the boss whenever this spell is close to being cast.
Volatile Ooze and Gas Clouds remain your #1 focus in Phase 2, despite the ground becoming increasingly hazardous.
Intermission
At 35% Health, Putricide will begin another intermission, identical to the first one. Make sure both the Volatile Ooze and Gas Cloud die before Phase 3 starts!
Phase 3
Putricide will lose the ability to summon slimes for this phase, allowing the raid to focus all of their DPS entirely on Putricide. Additionally, Mutated Transformation will no longer be available, giving Slime Puddles free rein to grow and spiral out of control. This combined with Malleable Goo, and Choking Gas Bombs makes it vital that this Phase is finished as quickly as possible before there is simply nowhere left to stand.
Additionally, Putricide will gain Mutated Strength, drastically increasing his damage dealt to the tank. Surviving this will require careful and effective usage of defensive cooldowns. Putricide will also debuff the tank with a stack of Mutated Plague once every 10 seconds, dealing damage to the entire raid every 3 seconds. This damage is tripled for each stack, causing it to very rapidly ramp out of control. To deal with this mechanic, DPS players capable of using a Taunt spell will want to periodically get hit with a stack of Mutated Plague, spreading the stacks as wide as possible to avoid it spiraling heavily on any single player. If a player dies with Mutated Plague, they will heal Putricide for massive amounts of HP for each stack they have, which is almost certain to spiral into a wipe.
The goal is to never a lethal amount of stacks. The longer your group takes in this Phase, the more Taunts will be needed. Whoever ends up tanking Putricide will need defensive cooldowns to even survive his attacks, making Warriors with Shield Wall, or Paladins with Divine Protection a solid choice. Rotate between DPS players and both of your tanks to make sure these stacks are spread constantly.
Here are some of the main things that can typically go wrong in this fight:
- Letting a Gas Cloud reach you.
- Not soaking Volatile Ooze.
- Standing in bad.
- Phase 3 ramping too hard.
- Taunts missing in Phase 3, causing a scramble to handle stacks.
Congratulations on defeating Professor Putricide! Double back the way you came and choose your next fight.
About the Author
