- Author: Passion
- Date: January 6, 2023
- Updated: January 7, 2023
- Expansion: WotLK Classic

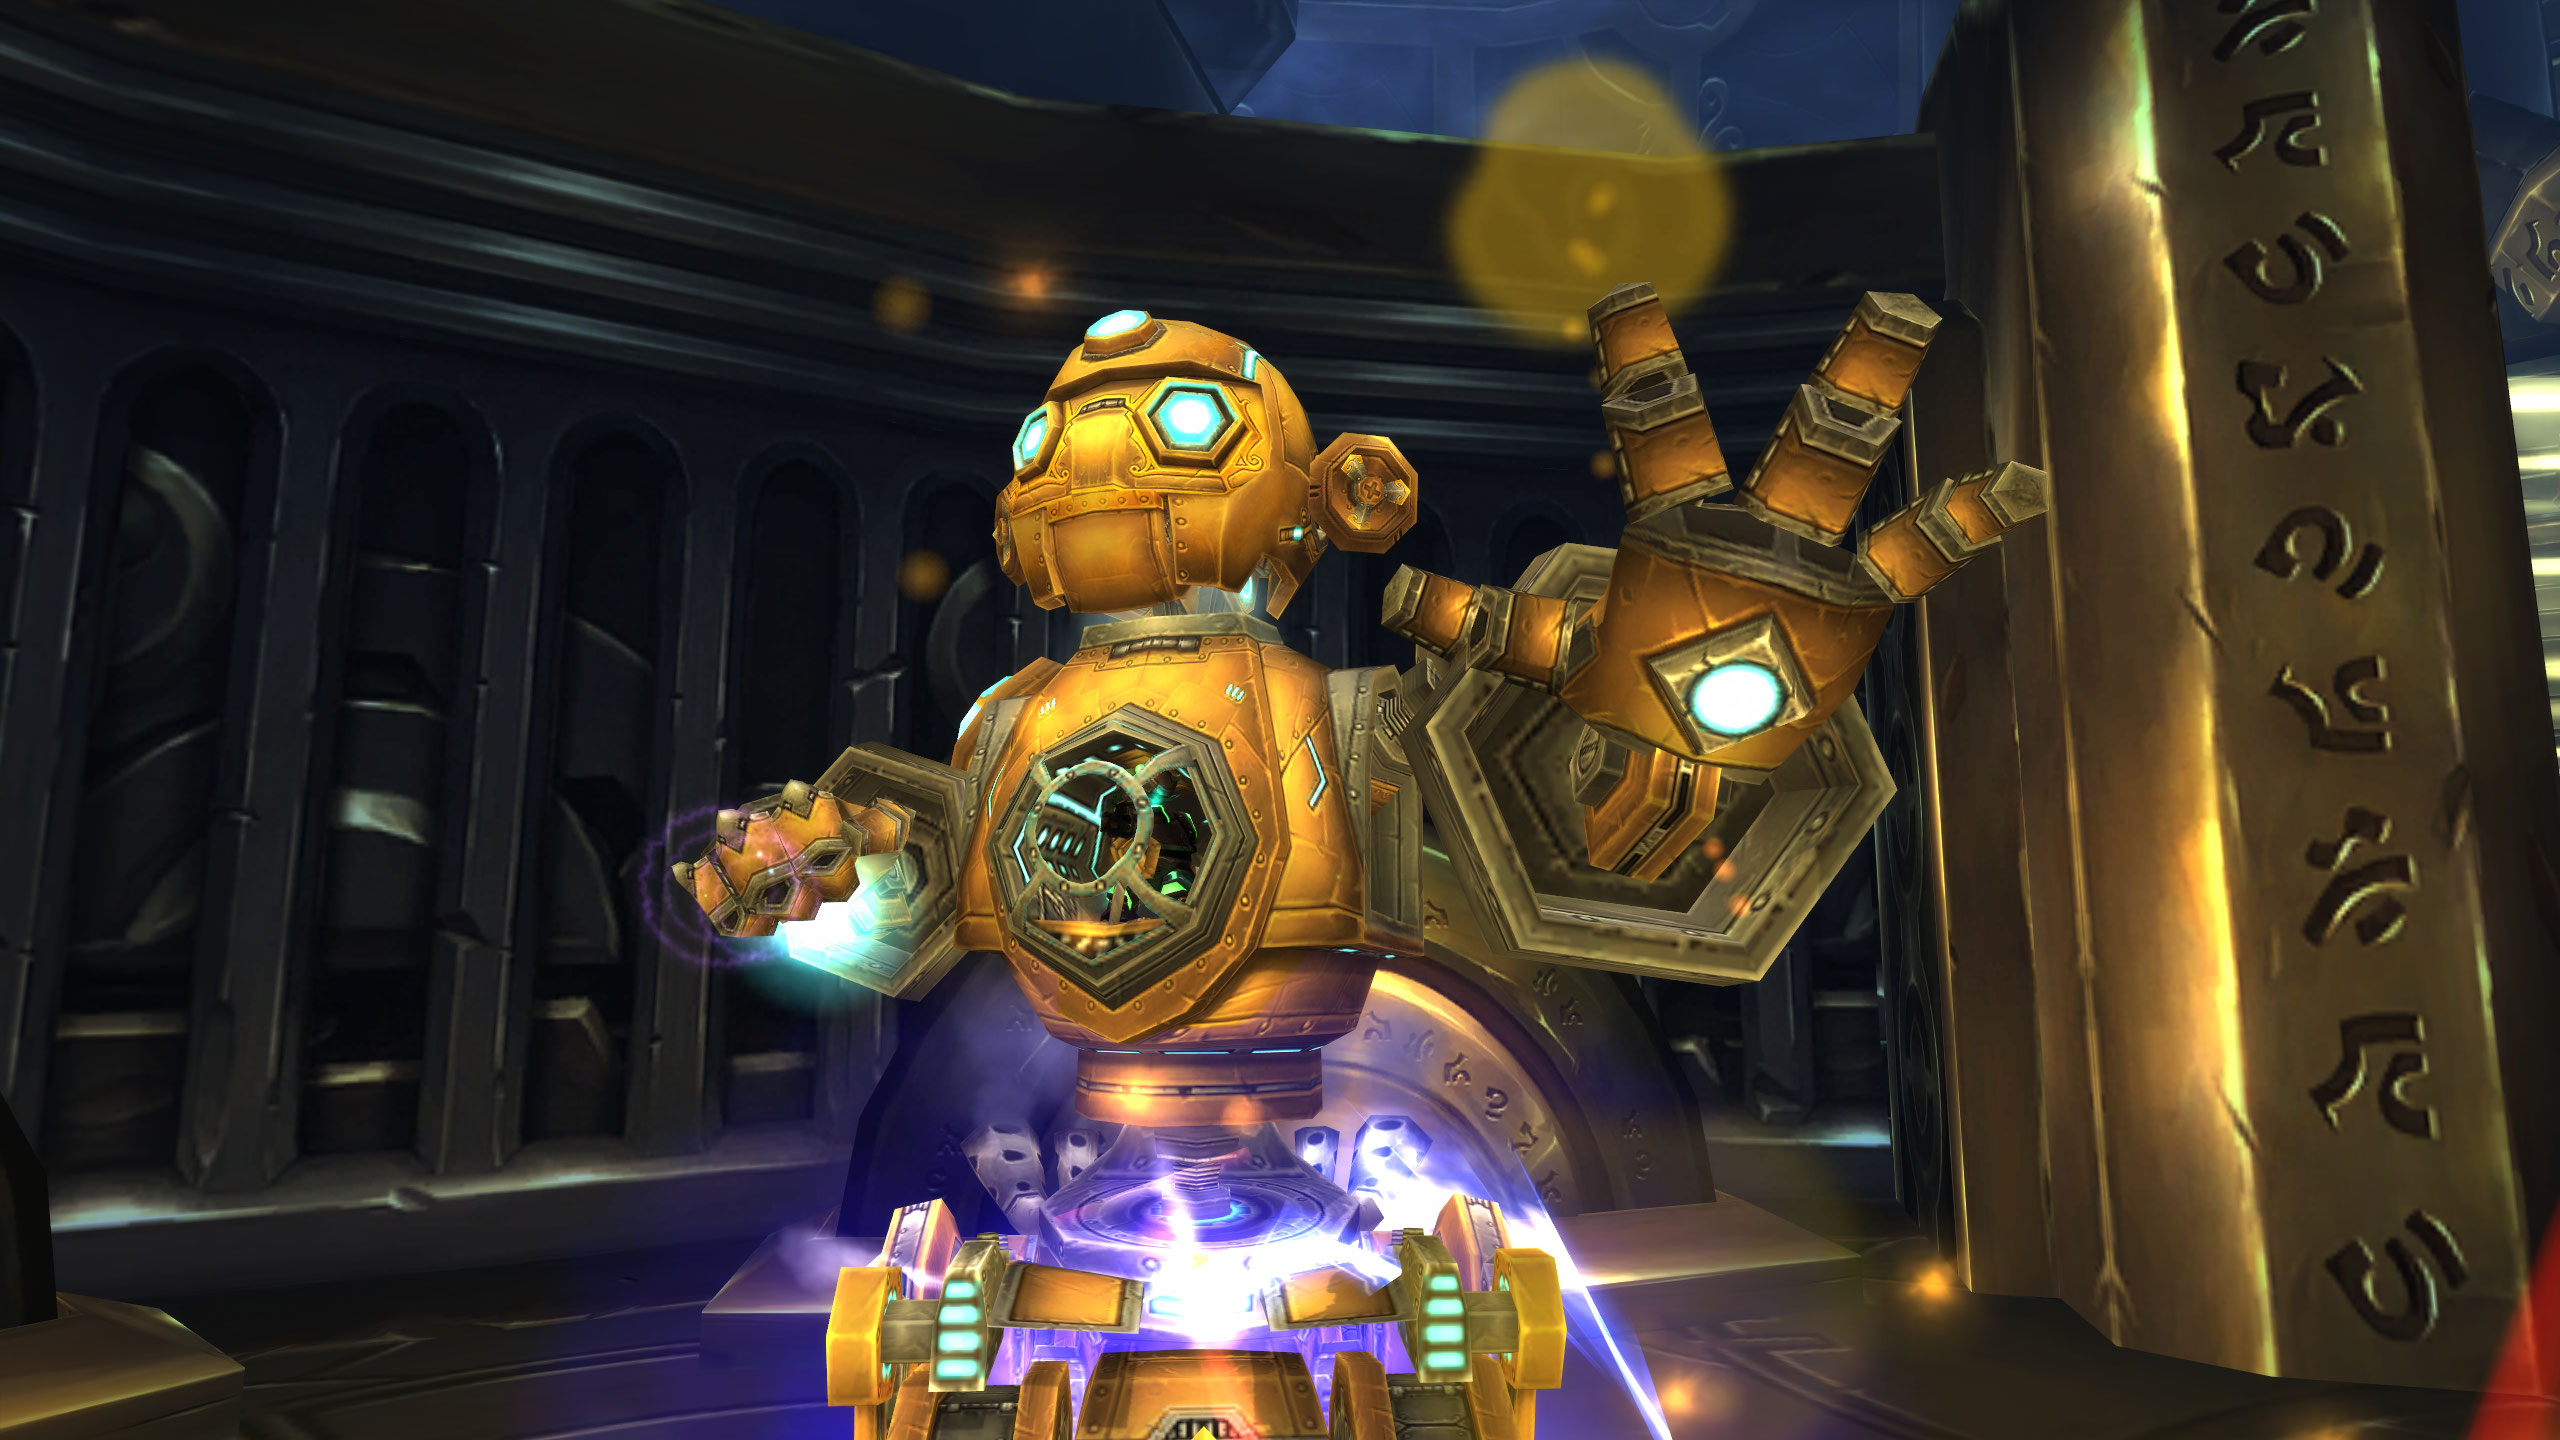
The Grand Architect of Ulduar, Mimiron is the creator of mechagnomes, and by extension the father of all of the gnomes of Azeroth. The titanic watcher turned mechagnome has slowly lost his mind to both Yogg-Sarons ceaseless whispers, but also his new inorganic body.
This guide will offer a detailed, step-by-step tutorial on how to deal with Mimiron’s towering invention and barrage of fire, bombs, and explosions.
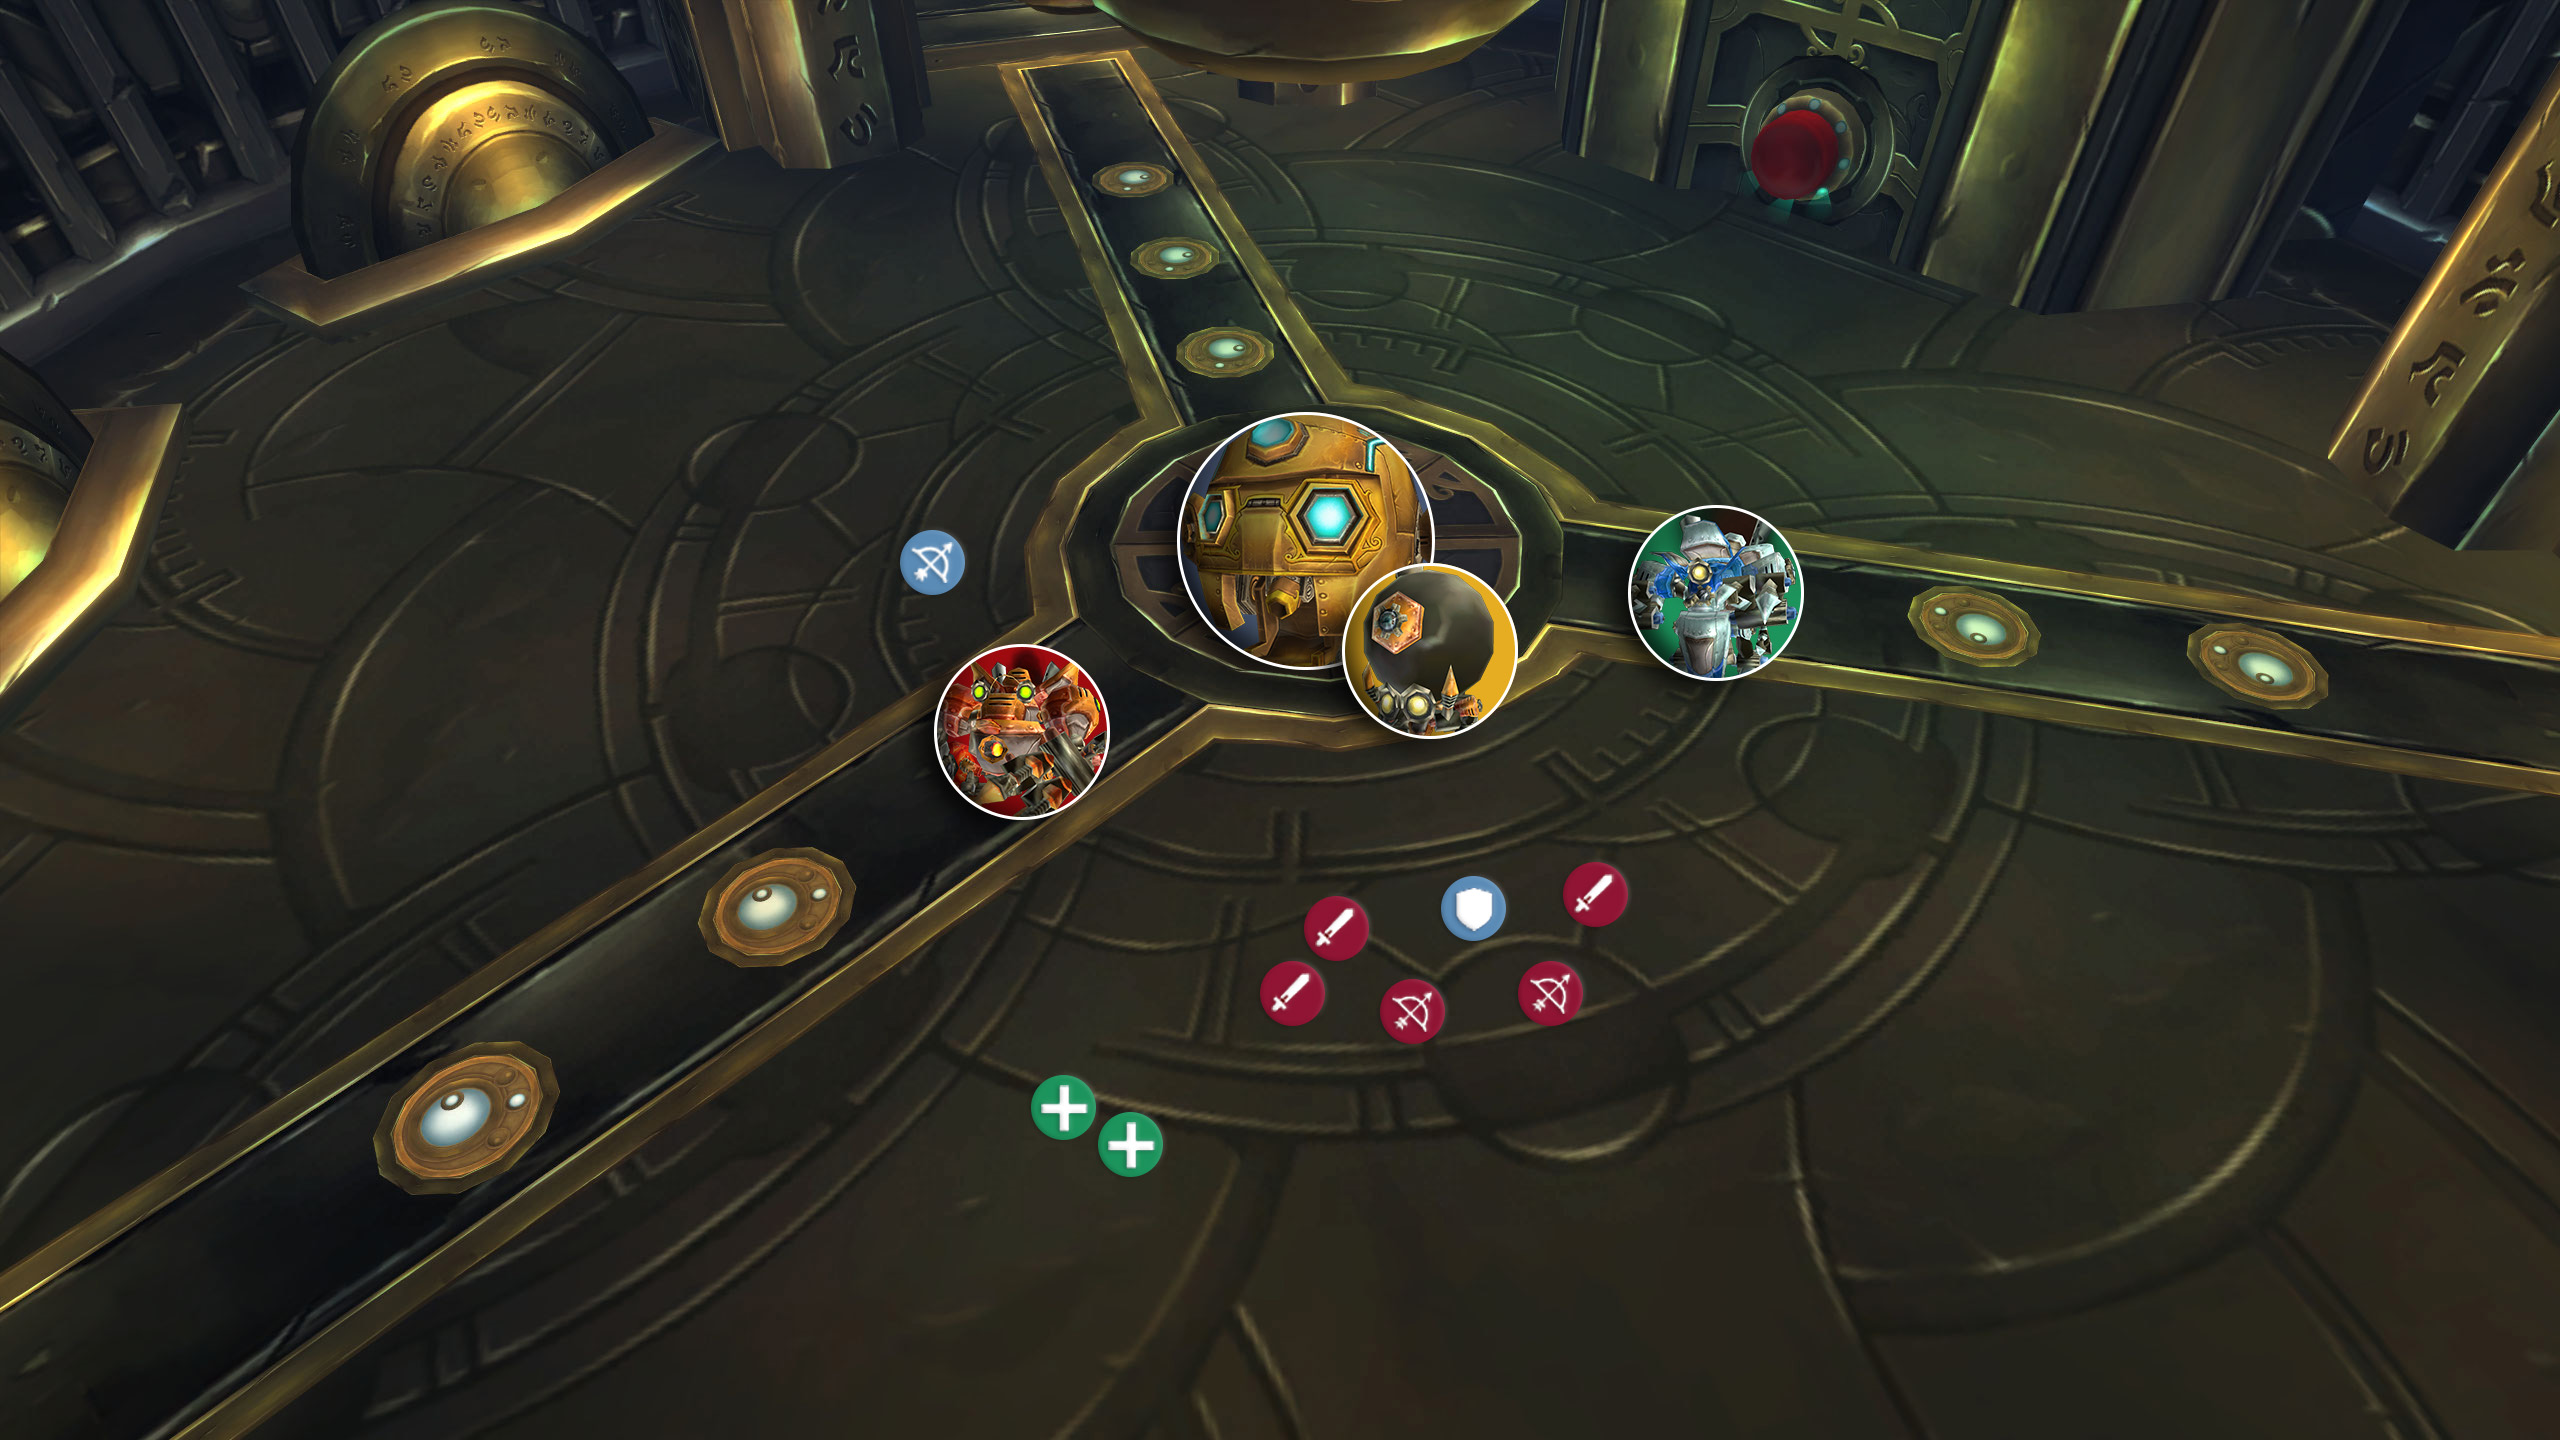
Role Summaries
Phase 1
- Avoid stepping on proximity-mines
- Move out of shock-blast range ASAP
Phase 2
- Avoid p3wx2-laser-barrage by running around the boss
- Move immediately if targeted by rocket-strike, indicated by a red circle on the ground
Phase 3
- Don’t get too close to Bomb Bots
- Make sure Free For All is on so that you don’t lose any magnetic-cores!
Phase 4
- Avoid stepping on proximity-mines
- Move out of shock-blast range ASAP
- Try to avoid standing in a straight line to minimize hand-pulse damage
- Avoid p3wx2-laser-barrage by running around the boss
- Move immediately if targeted by rocket-strike, indicated by red circles on the ground
Hard Mode
- Avoid standing in the fire
- Try to coordinate the fires positioning for frost-bomb
- Kill Emergency Fire Bots ASAP to avoid Healers being silenced
Phase 1
- plasma-blast will deal absolutely massive damage to the tank over 6 seconds, a coordinated effort between all healers and the tank will be needed to survive this.
- When running away from shock-blast, make sure you run directly backwards from where you are tanking the boss.
Phase 2
- This Phase cannot be tanked, so do as much DPS as possible.
Phase 3
- The Aerial Command Unit is tanked with a ranged player, not melee.
- The melee tank should focus on Assault Bots and Junk Bots.
Phase 4
- Leviathan Mk II will be tanked by a melee tank, while the Aerial Command Unit will once again be tanked by a ranged tank.
Phase 1
- plasma-blast will deal absolutely massive damage to the tank over 6 seconds, a coordinated effort between all healers and the tank will be needed to survive this
- As long as you are not in melee range you will want to stay spread to avoid napalm-shell collateral damage.
Phase 2
- VX-001 deals a significant amount of AoE damage for the entire Phase, don’t fall behind on healing!
Phase 3
- The ranged tank will need a solid amount of healing
Phase 4
- The ranged tank will still need a solid amount of healing
Phase 2
- When VX-001 casts p3wx2-laser-barrage, move through the boss to the other side.
- Make sure you move all the way through, you may get clipped if you stop short!
Phase 3
- Focus your efforts on Assault Bots primarily.
- If you see an opportunity, you can help the ranged DPS by using instant cast ranged attacks like exorcism on the Bomb Bots.
Phase 4
- When VX-001 casts p3wx2-laser-barrage, move through the boss to the other side.
- Make sure you move all the way through, you may get clipped if you stop short!
Phase 1
- As long as you are not in melee range you will want to stay spread to avoid napalm-shell collateral damage.
Phase 3
- Your focus will be on Bomb Bots.
- If the melee DPS are overwhelmed by adds you should make sure to help them before prioritizing the Aerial Command Unit.
Phase 1
- Call plasma-blast and subsequent shock-blast casts.
Phase 2
- Call p3wx2-laser-barrage casts and direction
- Specifying for melee to move through the boss can be helpful for quicker reactions.
- Call rocket-strike targets.
Phase 3
- Try to prevent chaos by calling out adds that need to be handled.
- Call for magnetic-core to be used.
- Reinforce that it needs to be dropped below the boss.
Phase 4
- Call shock-blast casts.
- Call p3wx2-laser-barrage casts and direction.
- Call rocket-strike targets.
Abilities
Phase 1
leviathan-mk-ii

The boss will scatter mines around themselves, exploding and dealing heavy Fire damage to anyone careless enough to step on them.
Leviathan Mk II fires a napalm-shell at a random target, dealing heavy Fire damage instantly to everyone within 5 yards of impact, followed by a damage-over-time effect lasting for 8 seconds.
This ability will prioritize ranged targets over melee targets. The impact of this ability leaves a patch of fire on the ground. This is only visual and is not tied to any damage, meaning you do not need to move out of it.
The boss will fire a stream of plasma at the tank after a 3-second cast. This deals massive Fire damage every second for 6 seconds. This damage cannot be resisted.
Healers will need to focus all of their attention and efforts on the tank during this cast to make sure the tank survives the full 6 seconds.
Shortly after casting plasma-blast, Mk II will follow up by casting shock-blast. After a 4-second cast time, Mk II deals colossal Nature damage to everyone within 15 yards of the boss. The 4-second cast is your window to get the heck out of there. Tanks will want to turn 180 degrees and run directly away from the boss to avoid any positioning complications, while everyone else will need to run where ever they can!
Phase 2
vx-001
VX-001 will fire plasma bursts toward random enemies, dealing a small amount of Spellfire damage twice a second for 3 seconds. This serves as a constant source of damage during this phase but is generally not dangerous.
After casting Spinning Up for 4 seconds, VX-001 will aim at a random target and fire lasers in a straight line at them, rotating slowly. This will hit everyone in a straight line and all players will want to make sure they are not in its path. Melee players should always try to stand at the bosses back, running straight through the boss when this is being cast.
VX-001 will fire a rocket toward a random player, marked with a red circle and beam of light. Players hit by this rocket will almost certainly die, making it vital that everyone moves out of the circle.
VX-001 will cast heat-wave periodically for the entire Phase, dealing moderate Fire damage instantly, followed by a damage-over-time debuff dealing similar damage each second for 5 seconds. This hits the entire raid and causes this Phase to require a significant of AoE healing constantly.
Phase 3
aerial-command-unit
Phase 4
V0-L7R-0N
The boss will scatter mines around themselves, exploding and dealing heavy Fire damage to anyone careless enough to step on them.
Leviathan Mk II will cast shock-blast, but it will no longer follow plasma-blast. After a 4-second cast time, Mk II deals colossal Nature damage to everyone within 15 yards of the boss. The 4-second cast is your window to get the heck out of there. Tanks will want to turn 180 degrees and run directly away from the boss to avoid any positioning complications, while everyone else will need to run where ever they can!
VX-001 will fire bursts of energy toward a random player, dealing moderate Spellfire damage to them and everyone between them and the boss.
After casting Spinning Up for 4 seconds, VX-001 will aim at a random target and fire lasers in a straight line at them, rotating slowly. This will hit everyone in a straight line and all players will want to make sure they are not in its path. Melee players should always try to stand at the bosses back, running straight through the boss when this is being cast.
VX-001 will fire a rocket toward two random players, marked with a red circle and beam of light. Players hit by this rocket will almost certainly die, making it vital that everyone moves out of the circle.
This is the Aerial Command Units’ primary attack, dealing heavy Spellfire damage to whoever is tanking it. This is primarily used to replace auto attacks, but whoever is tanking will need a lot of healing.
Hard Mode
Every 30 seconds throughout the entire hard mode encounter, patches of fire will spawn on three random players, dealing heavy Fire damage each second. These fires will slowly move toward the closest player. These two factors allow raids to effectively position the fire and adjust accordingly.
Various mechanics during the fight will extinguish the flames, giving a temporary clean slate to work from.
60 seconds into the fight Leviathan Mk II will activate its fire suppression protocols. This will extinguish any fires around the room, alongside drastically slowing the casting speed of all raid members for 8 seconds. Ideally, you want this to be used right before you transition into Phase 2, giving you the best possible setup for VX-001.
VX-001 will fire a frost-bomb into a random area of the room every 45 seconds during Phase 2 and 4, exploding after 10 seconds, dealing heavy Frost damage and knocking back everyone within 30 yards. This will also extinguish all fires within the third of the room it targets.
Manipulate this and use it to your advantage by gathering all fires in one-third of the arena, as well as all players, guaranteeing the frost-bomb will land there and extinguish everything.
In addition to the regular adds spawned in Phase 3, emergency-fire-bots will also spawn from blue beams. These adds will run to the nearest flame patches, extinguishing them using water-spray on everything within 15 yards. Being hit by water-spray deals very heavy Frost damage and knocks players back to whatever wall is behind them.
These adds will also use deafening-siren Siren, an AoE Silence functioning as a constant aura. You absolutely do not want these little fellas running around silencing your healers, so make sure you kill them as quickly as possible.
Raid Composition & Preparation
Hard Mode
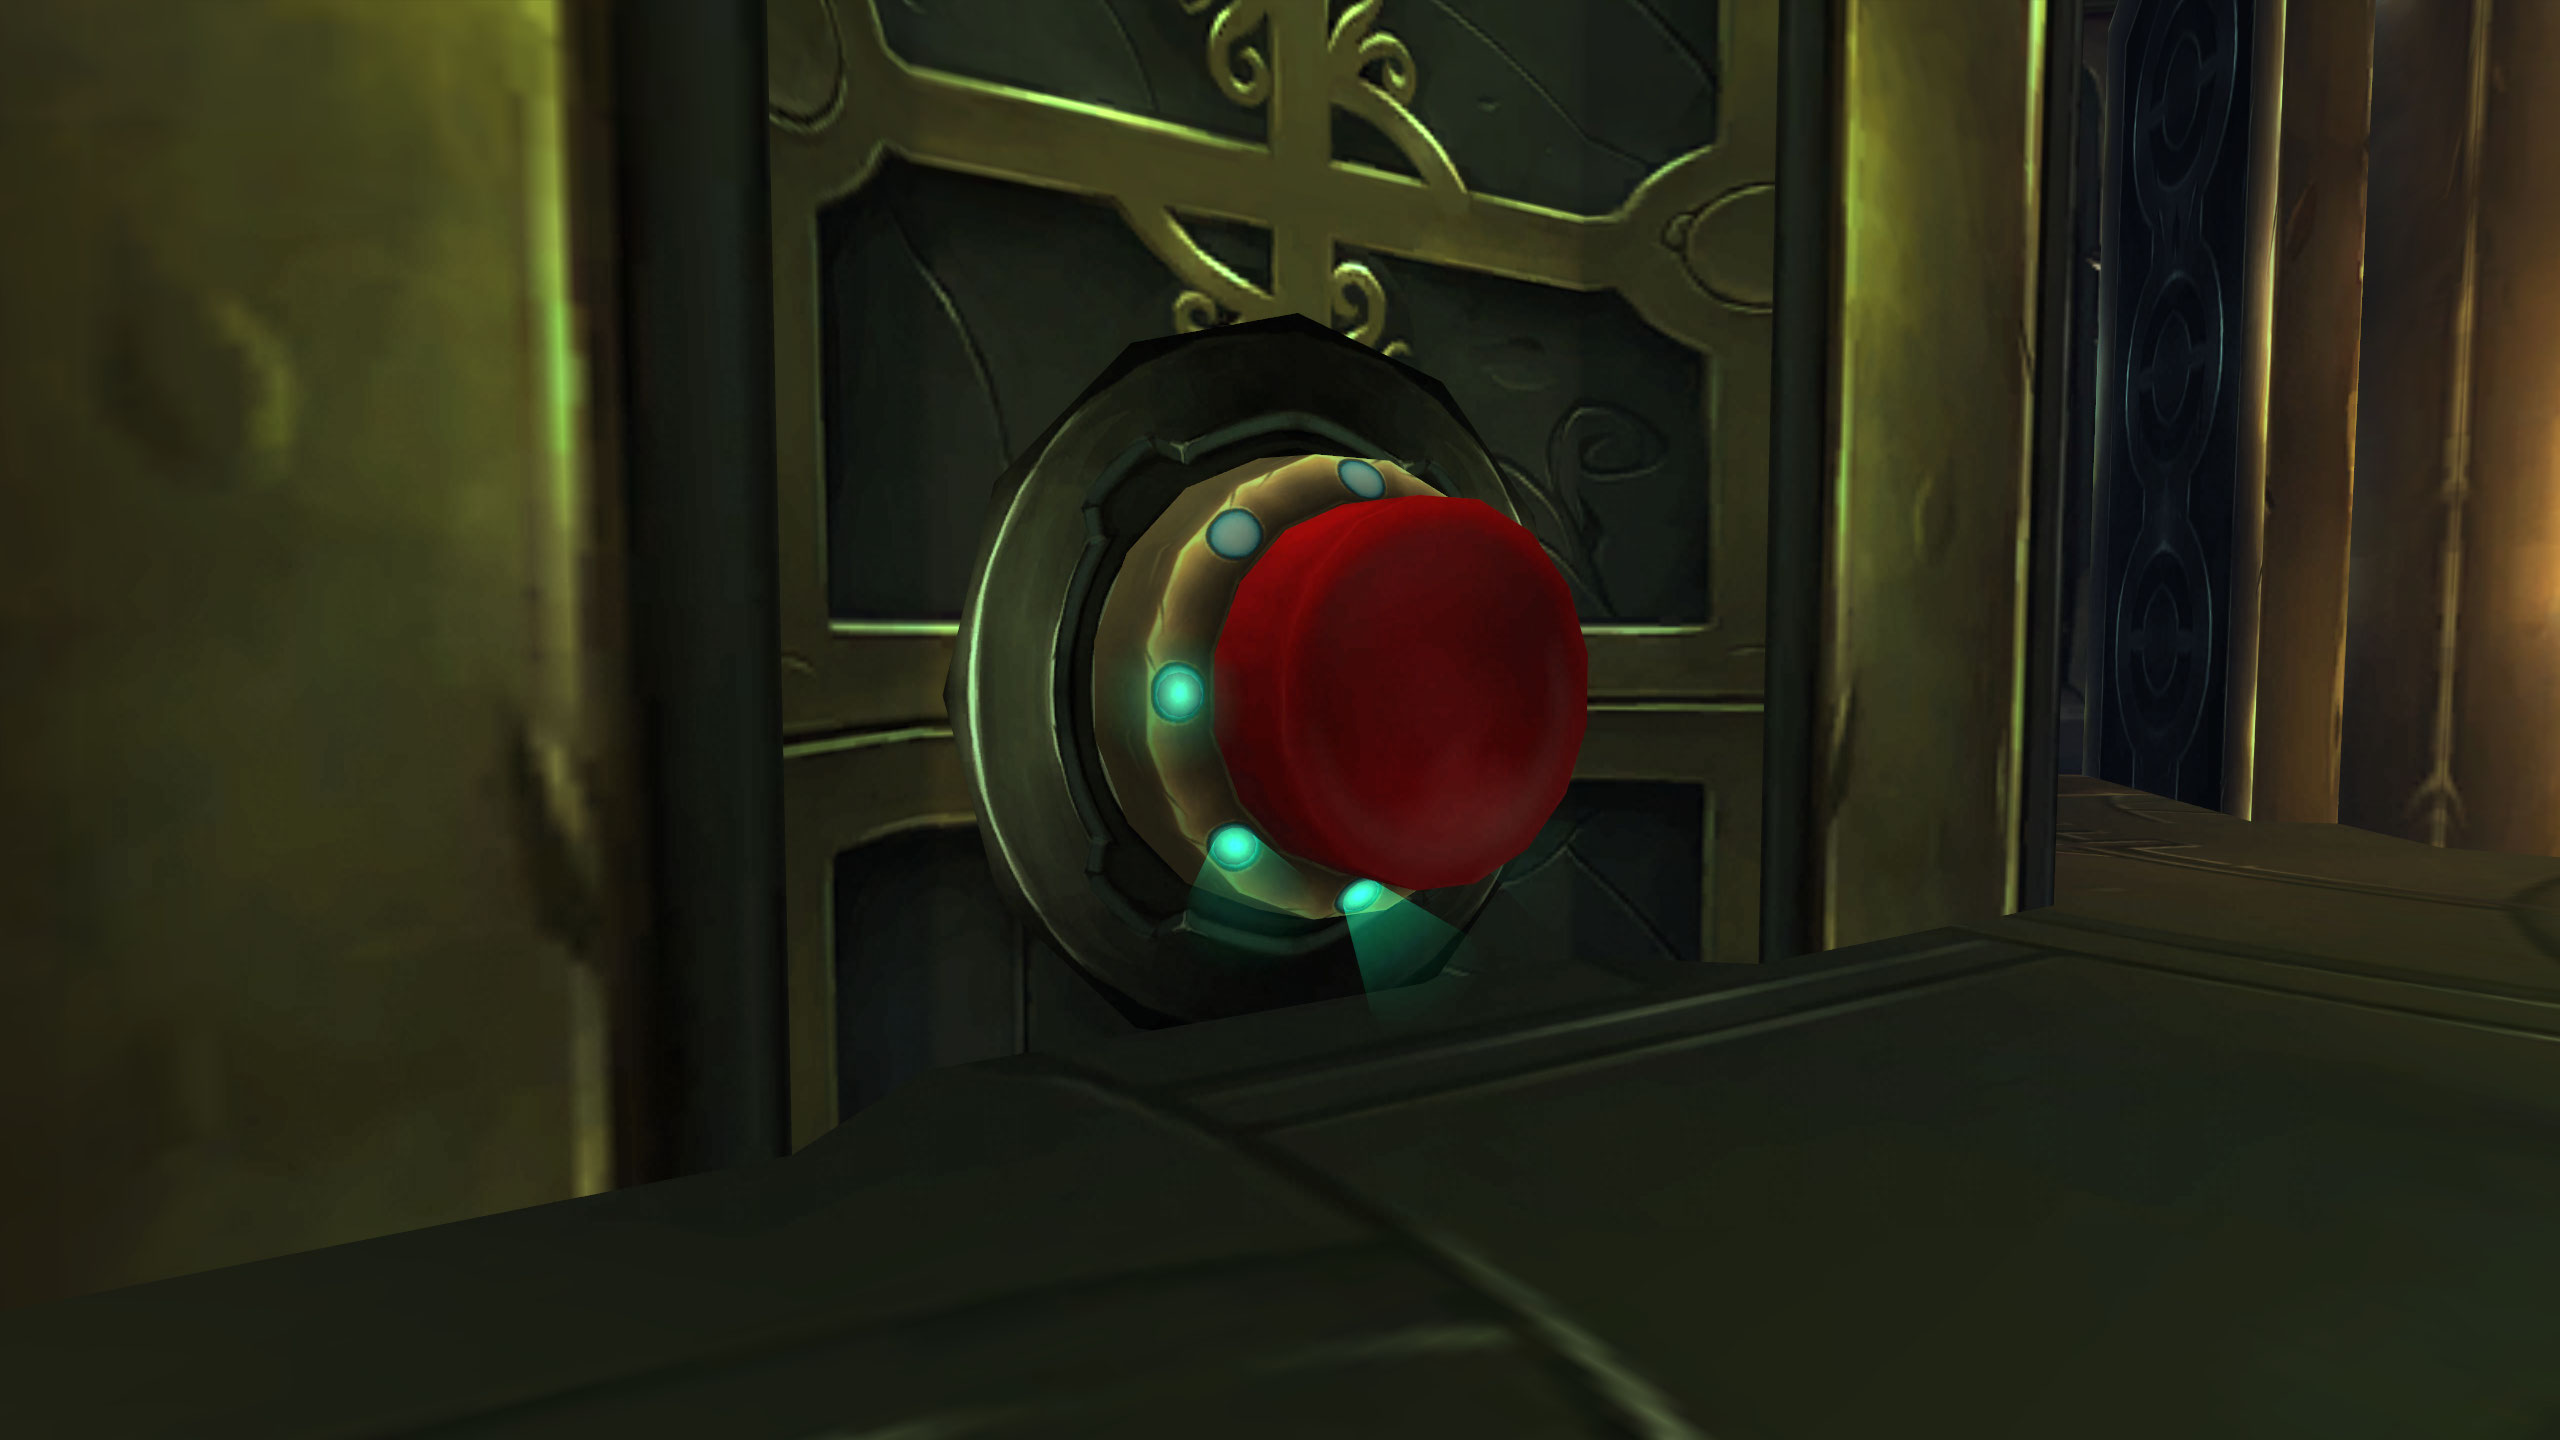
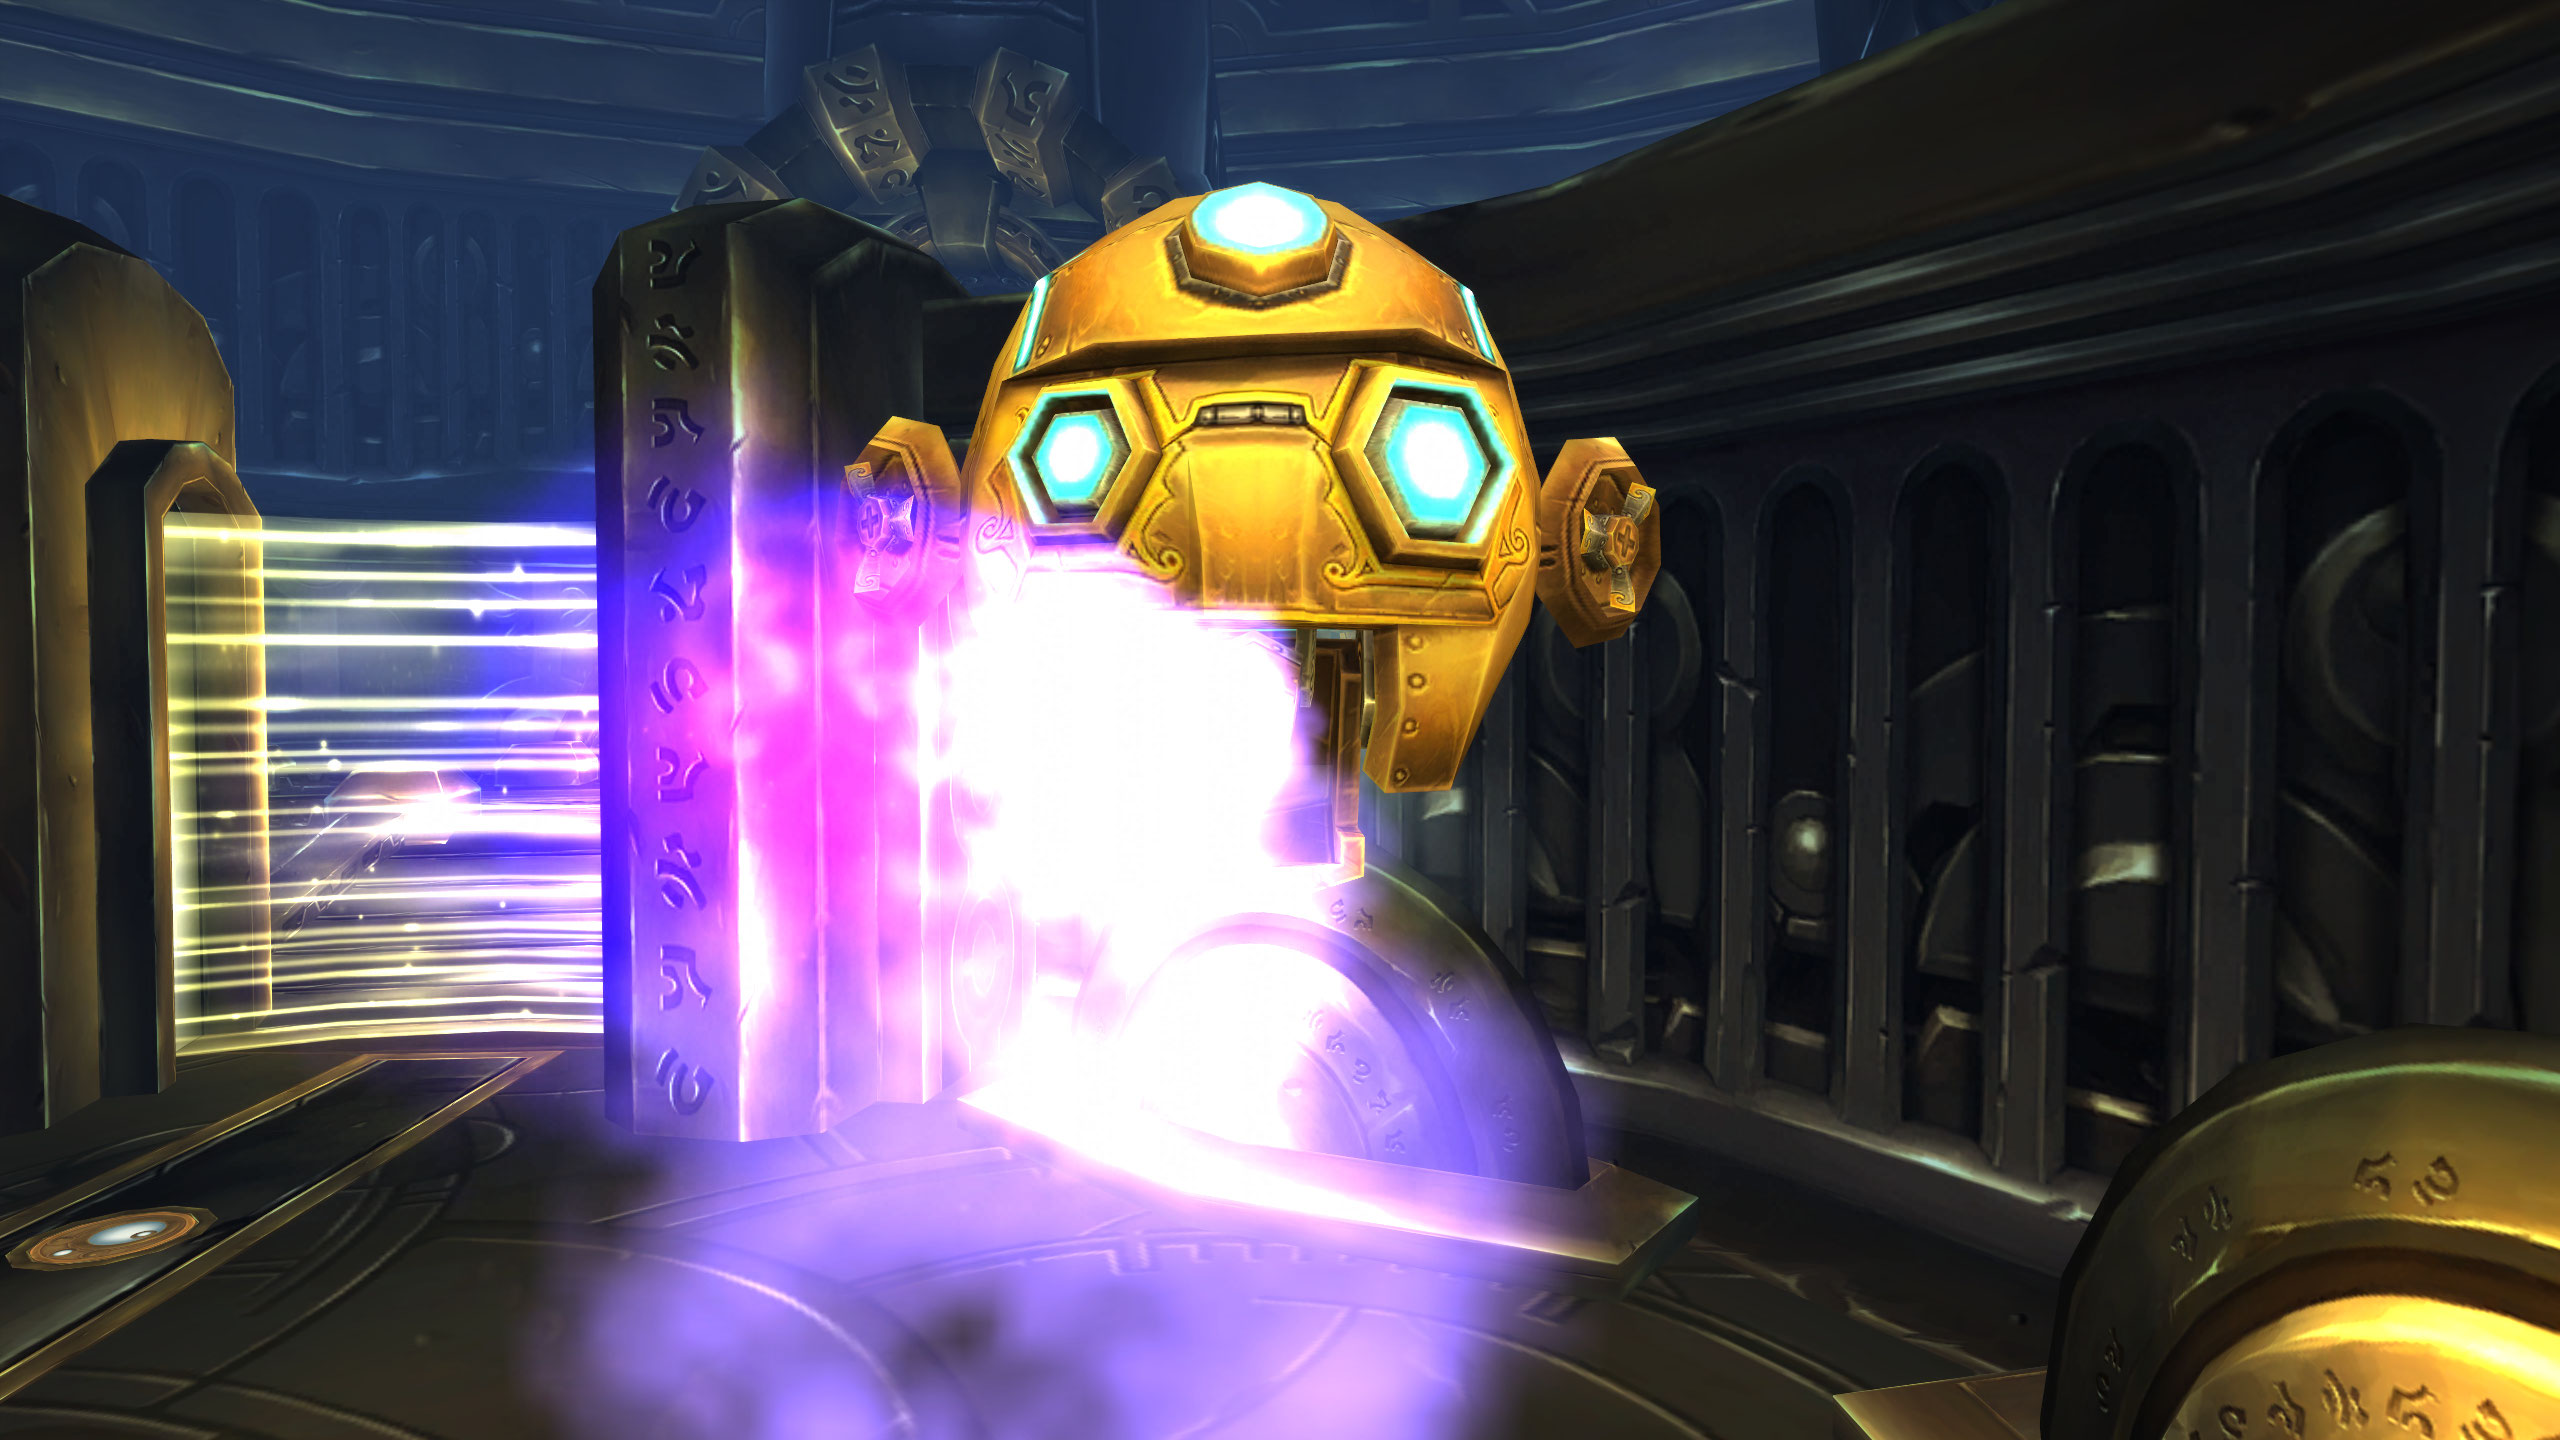
As soon as you enter Mimiron’s arena you might notice the giant red button that activates hard mode. You’ll likely also notice that your least favorite DPS player has decided to disregard any safety precautions or pre-pull strategy and push this button, activating the self-destruct sequence.
Pushing the button puts the group on a timer, as well as drastically altering the fight. Before you can consider finding a replacement DPS, you will have to deal with each Phase having a new ability to contend with, and every enemy you fight having increased damage and health.
As your reward for beating this encounter on hard mode, Mimiron will drop several items hard mode exclusive items.
- mimirons-sigil
- fused-alloy-legplates
- fusion-blade
- greaves-of-the-iron-army
- mimirons-flight-goggles
- tempered-mercury-greaves
The Pull
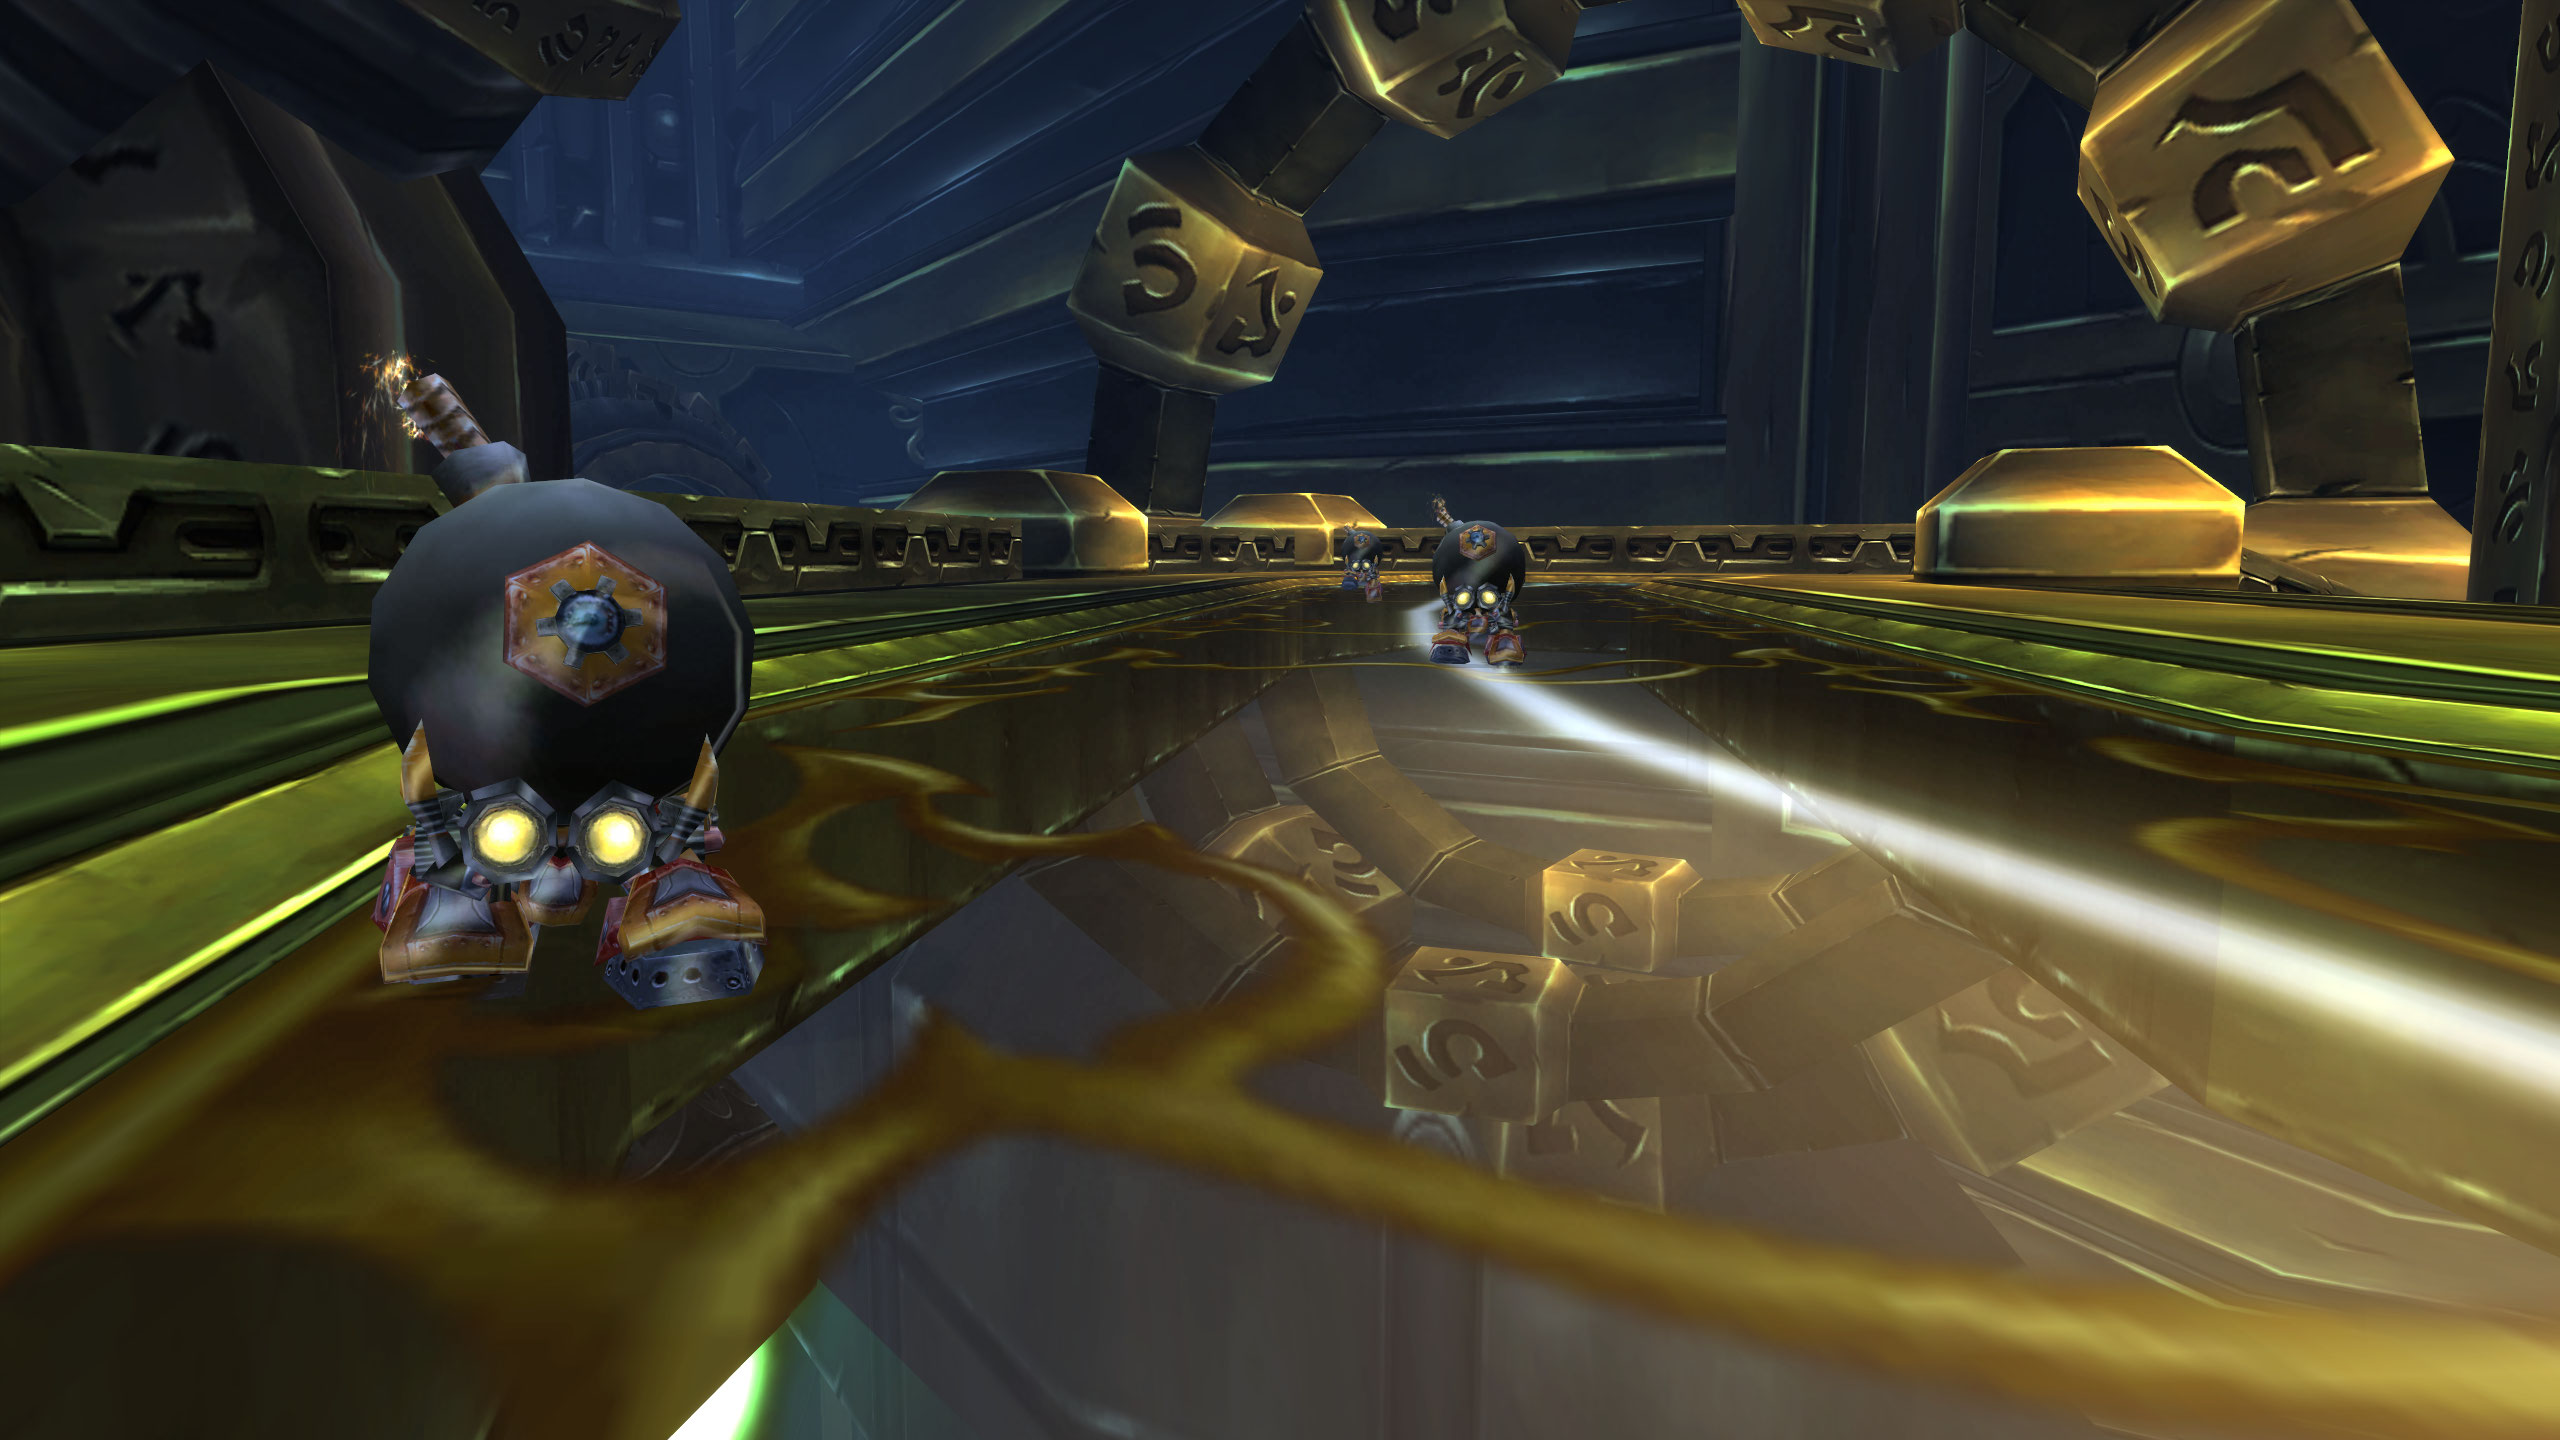
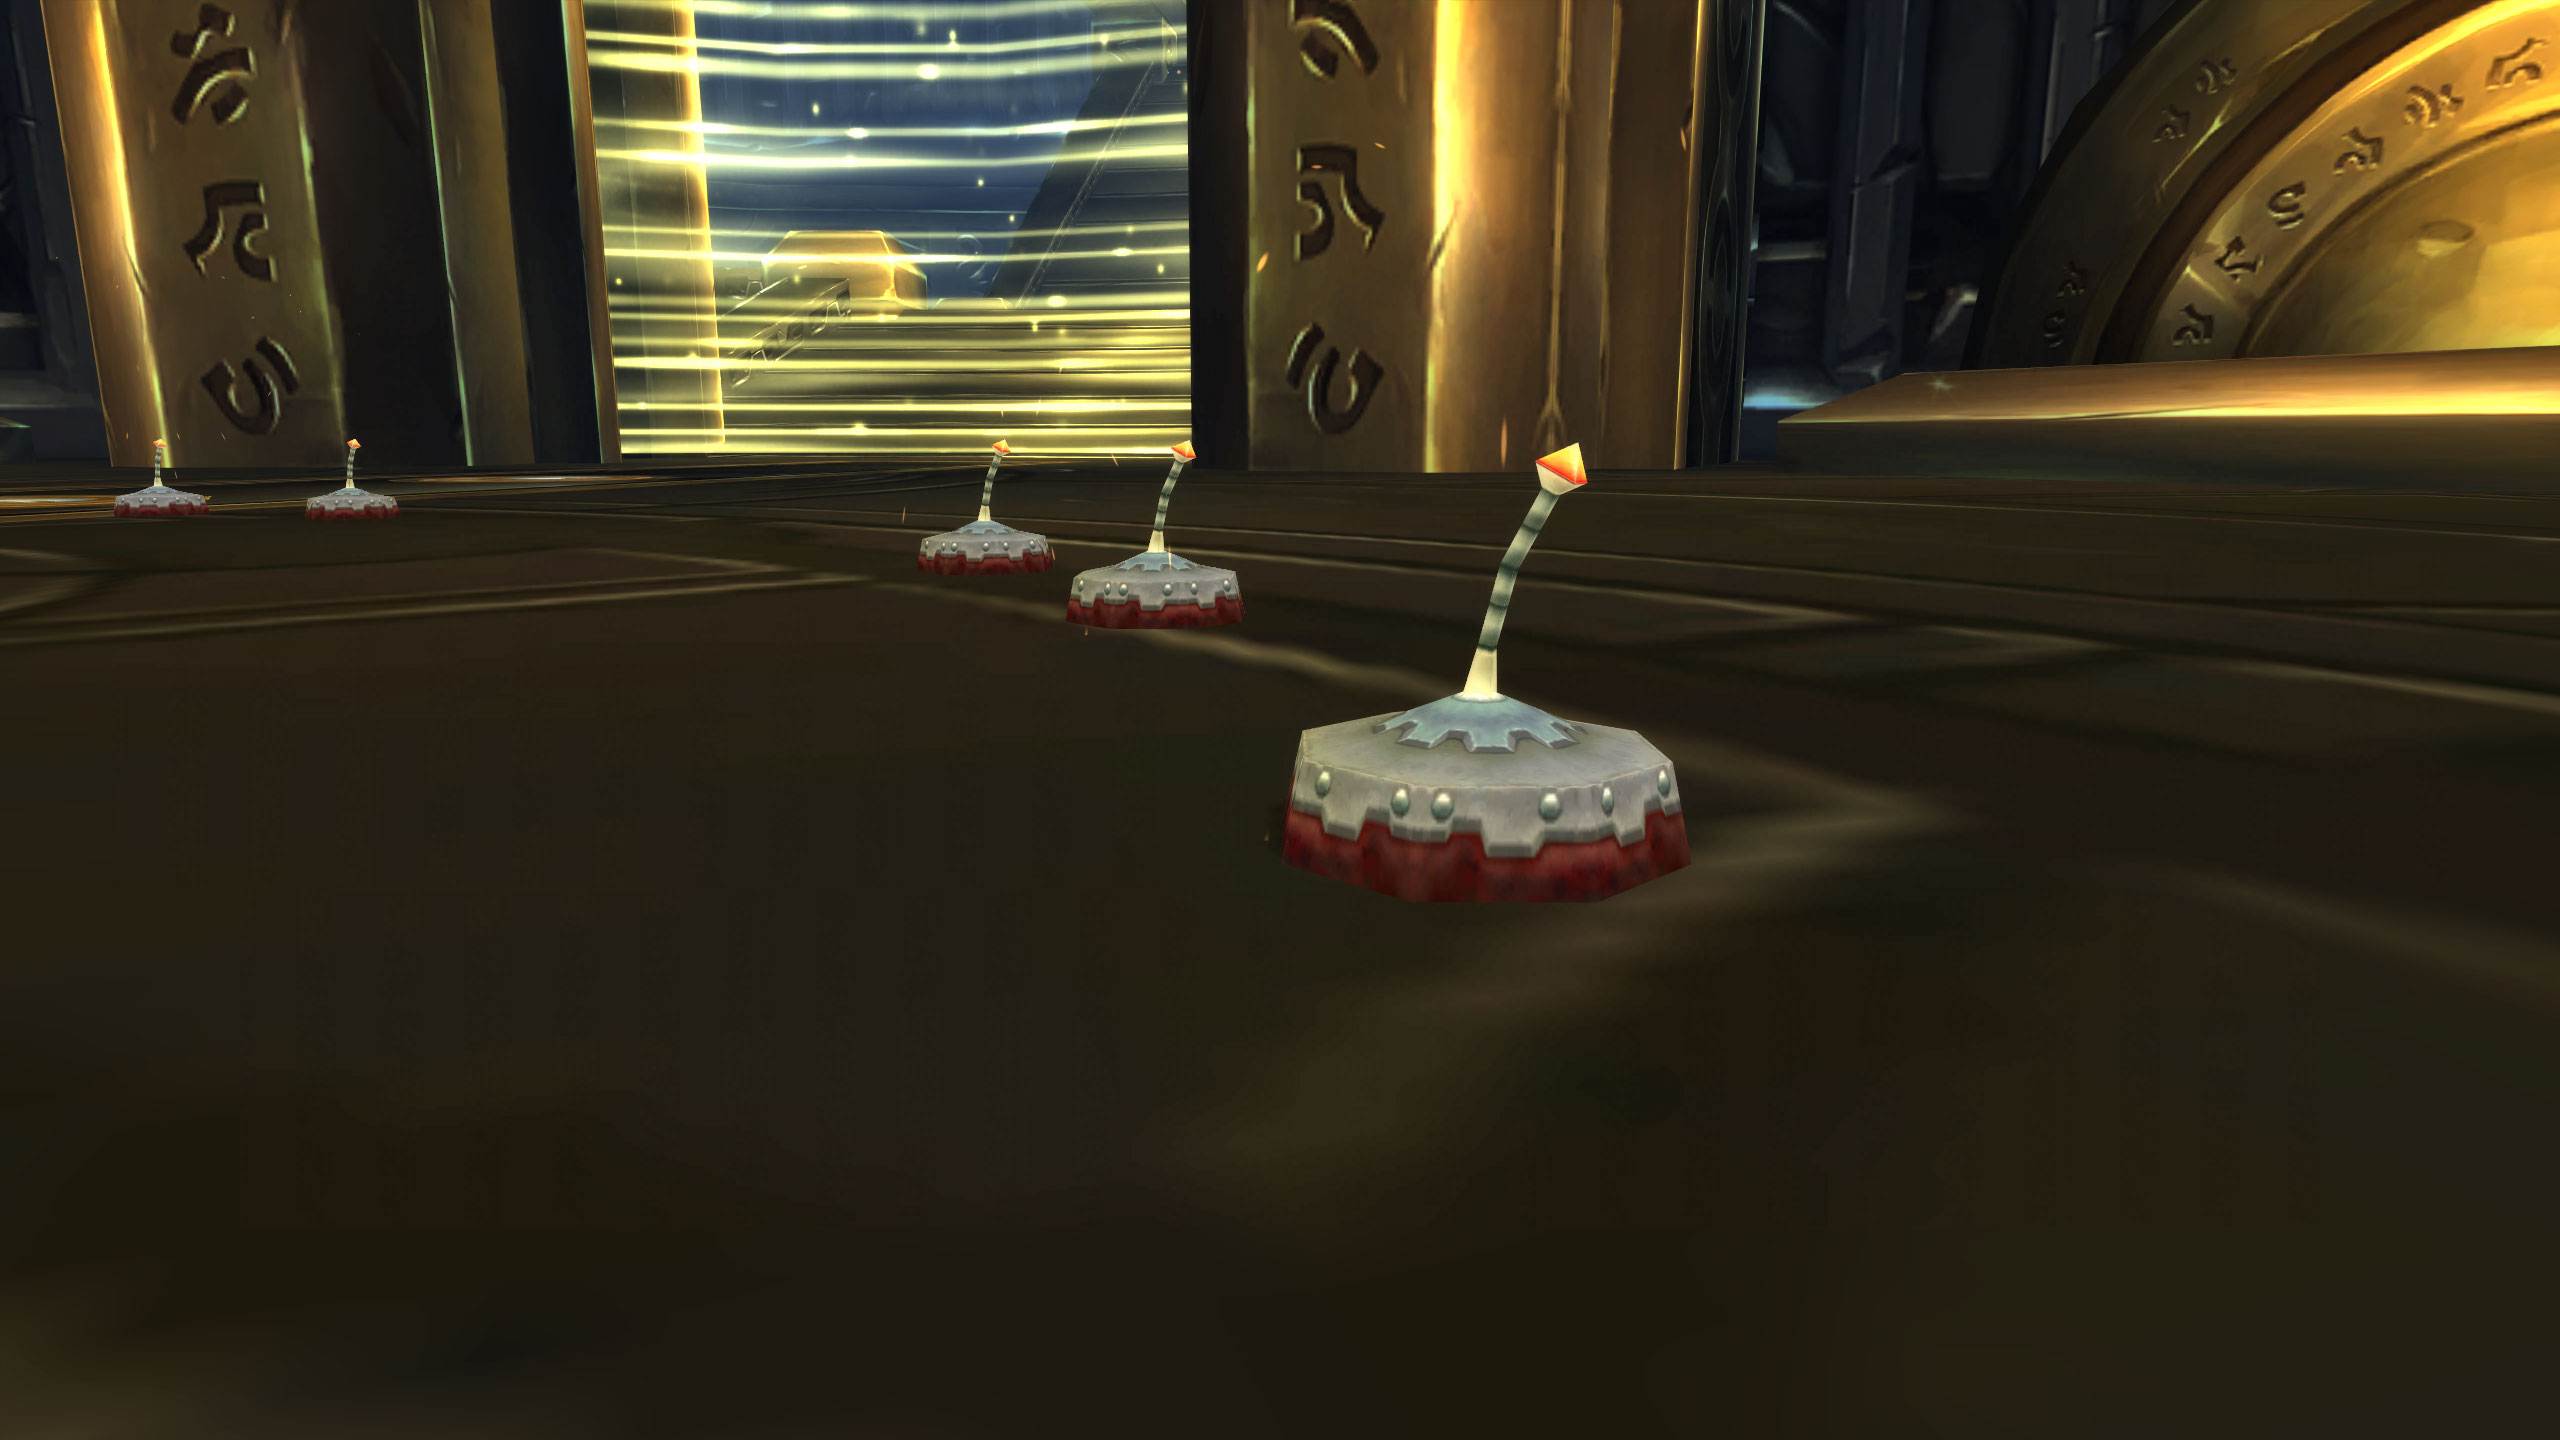
This fight can be started one of two ways, either by attacking Mimiron, starting normal mode or by pushing the big red button behind him, starting hard mode. Either way, make sure everyone has gotten past the walking bombs at the bottom of the entrance stairs.
The Fight
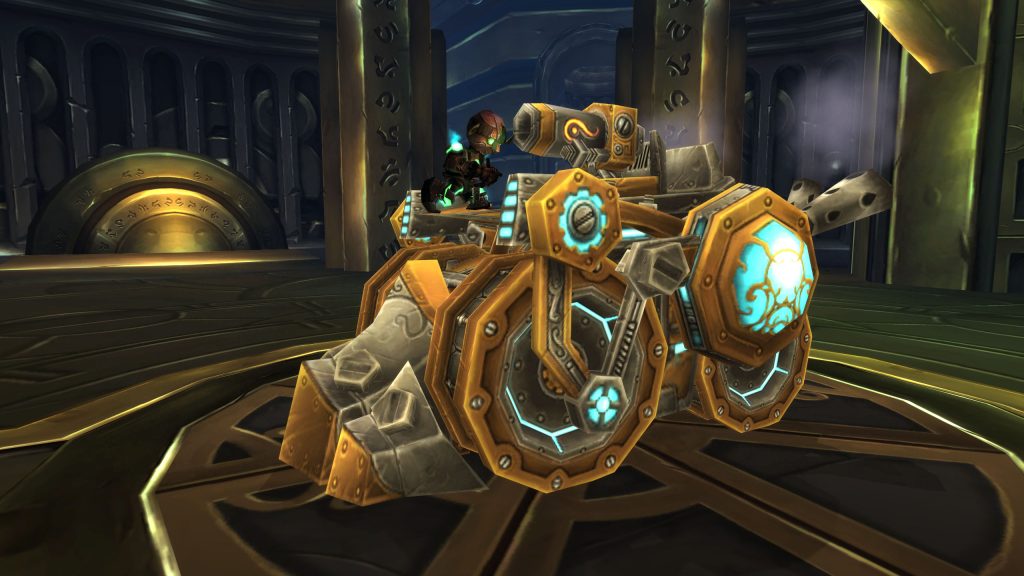
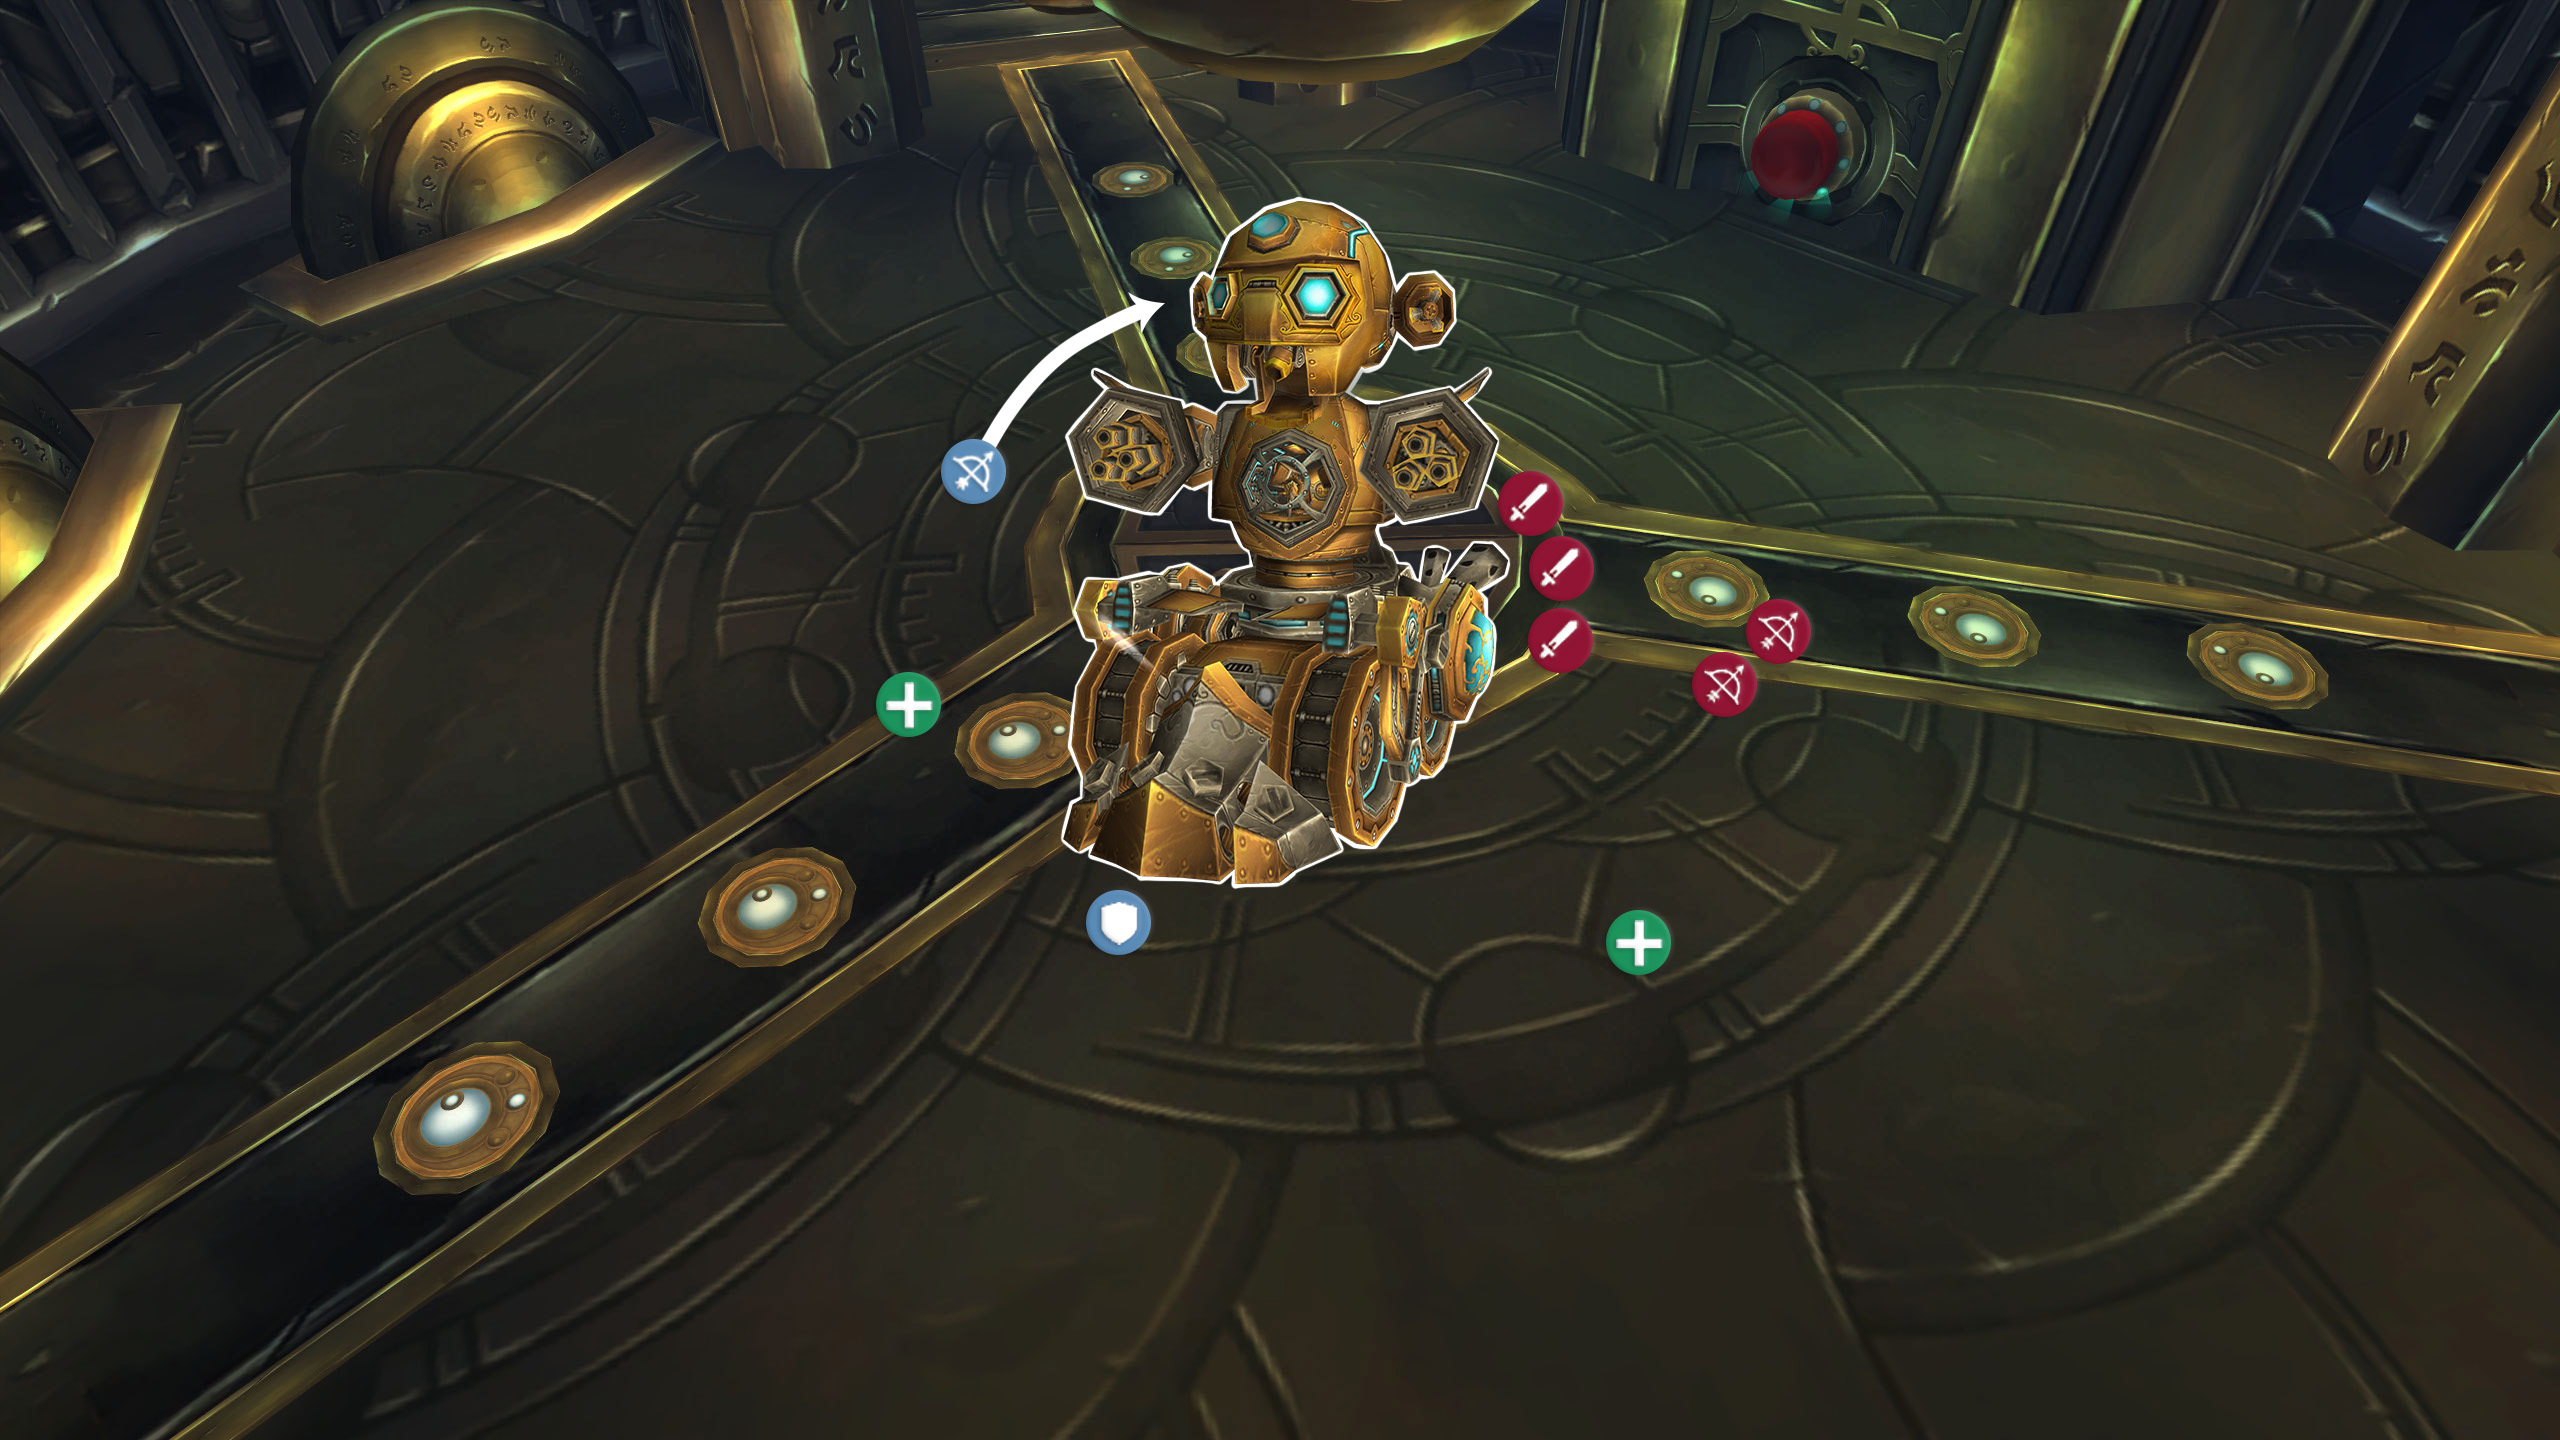
Phase 1 – Leviathan Mk II
The first fight will be against Leviathan Mk II, a smaller version of Flame Leviathan. I can’t really say this is an upgrade though, considering we had no chance against Flame Leviathan on foot.
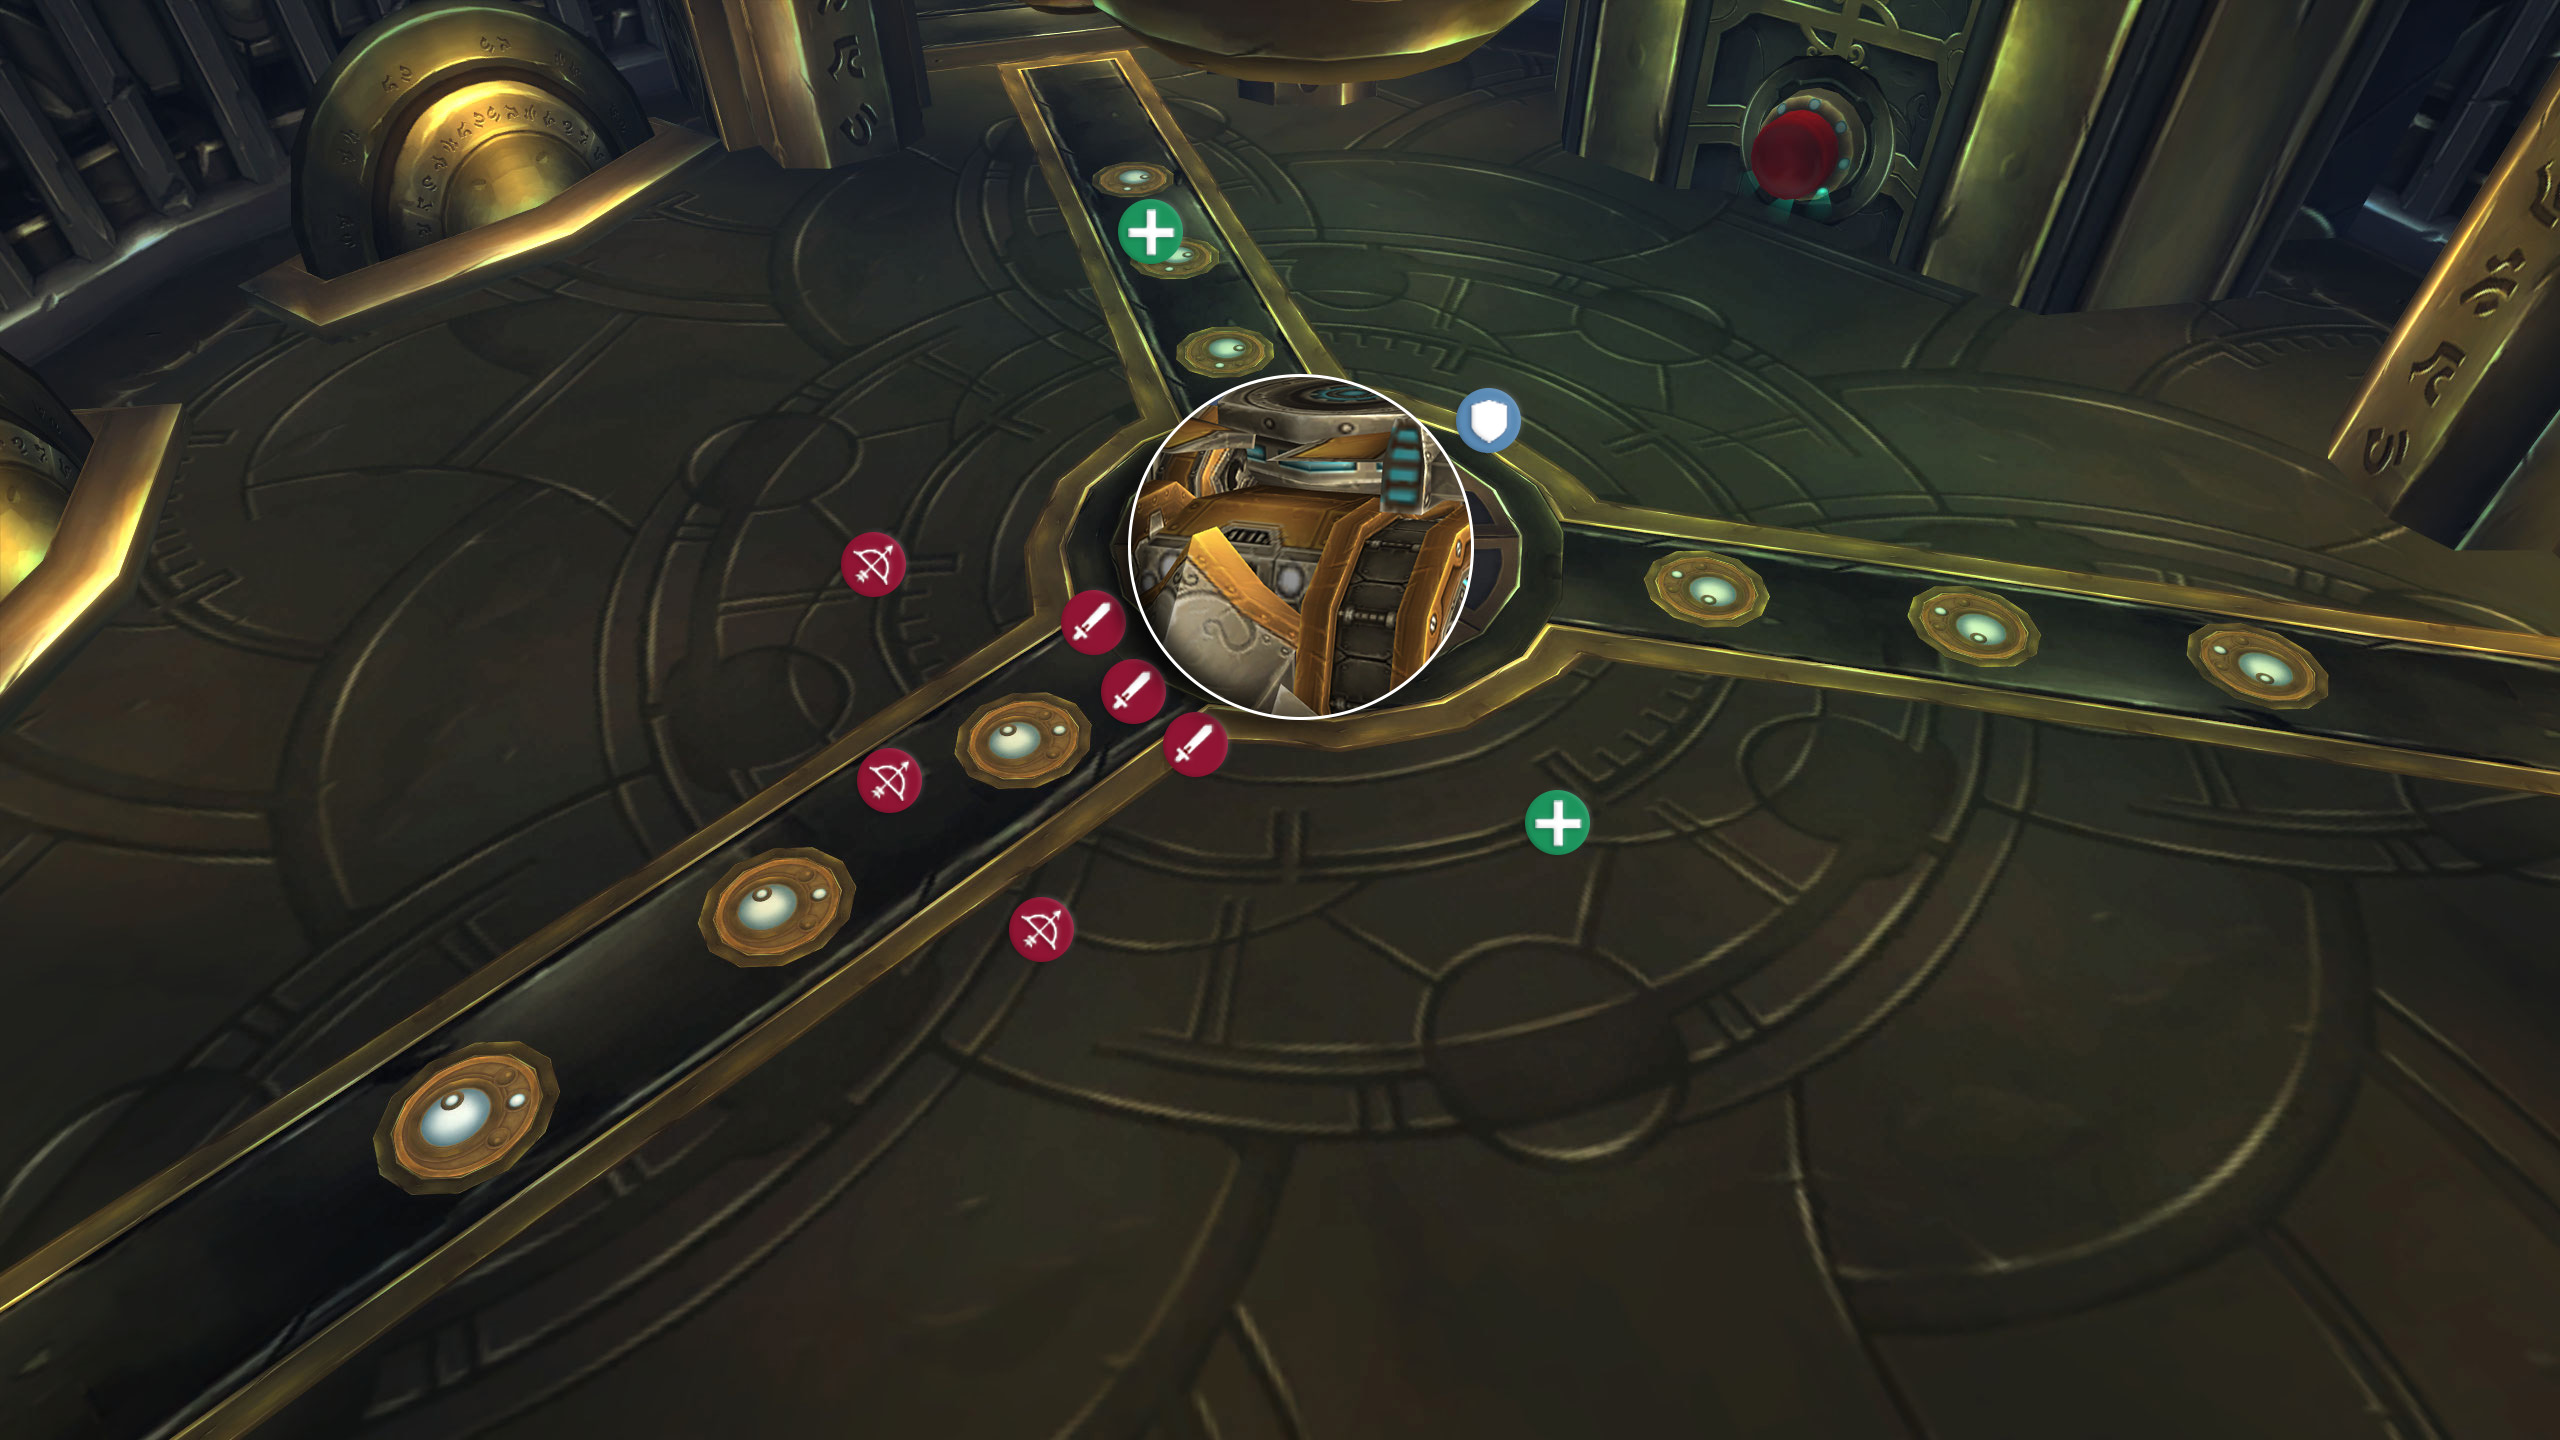
Melee players will want to stack, but they will need to watch their feet, making sure to avoid stepping on any proximity-mines spawned around the boss. Ranged players on the other hand will have to deal with napalm-shell, a randomly targeted AoE ability. To reduce the damage from this as much as possible, all ranged players should try to maintain at least 15 yards between each other.
Healers and tanks will have to focus on plasma-blast, dealing massive damage to the current tank. Most groups will likely need all of their healers to be focused on the tank, while the tanks may also need to use a defensive cooldown to keep up. plasma-blast has a 3-second cast time, giving the group a decent chunk of time to be ready for it.
After plasma-blast, Leviathan Mk II will cast shock-blast, a 15-yard AoE dealing massive damage to everyone hit. This takes 4 seconds to cast, giving everyone, including the tank enough of a window to move out of range. The tank will want to make sure they move directly away from the boss to reposition it as little as possible once shock-blast is done.
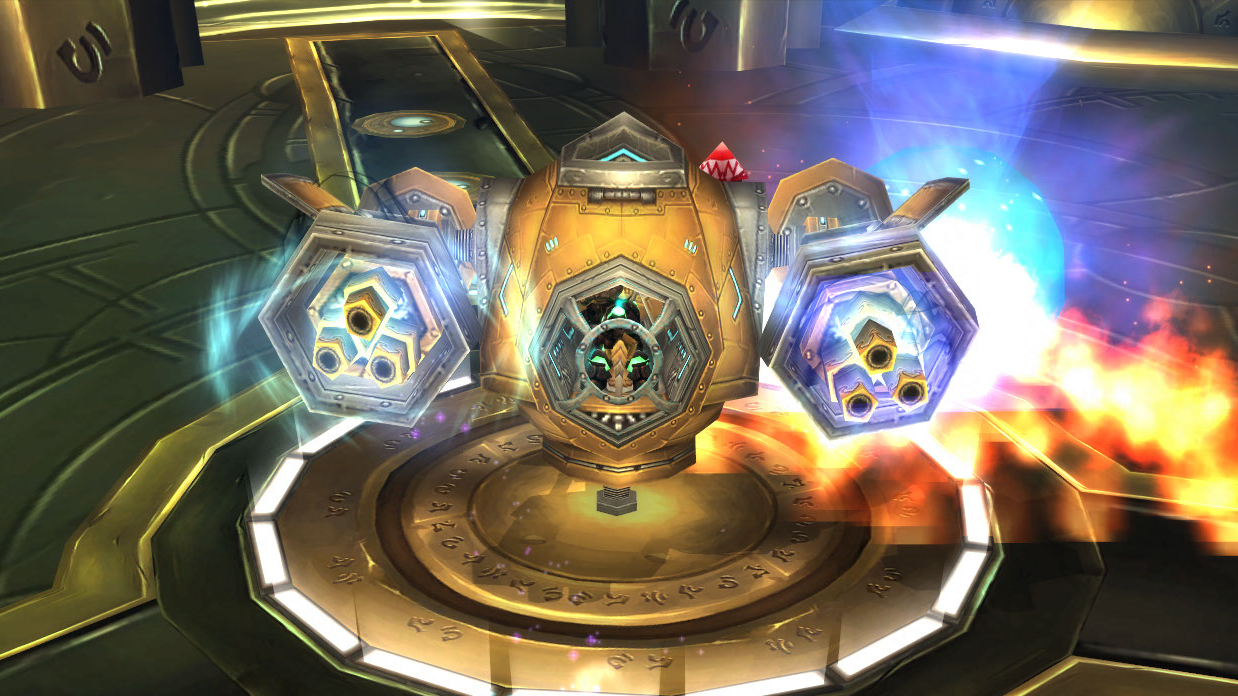
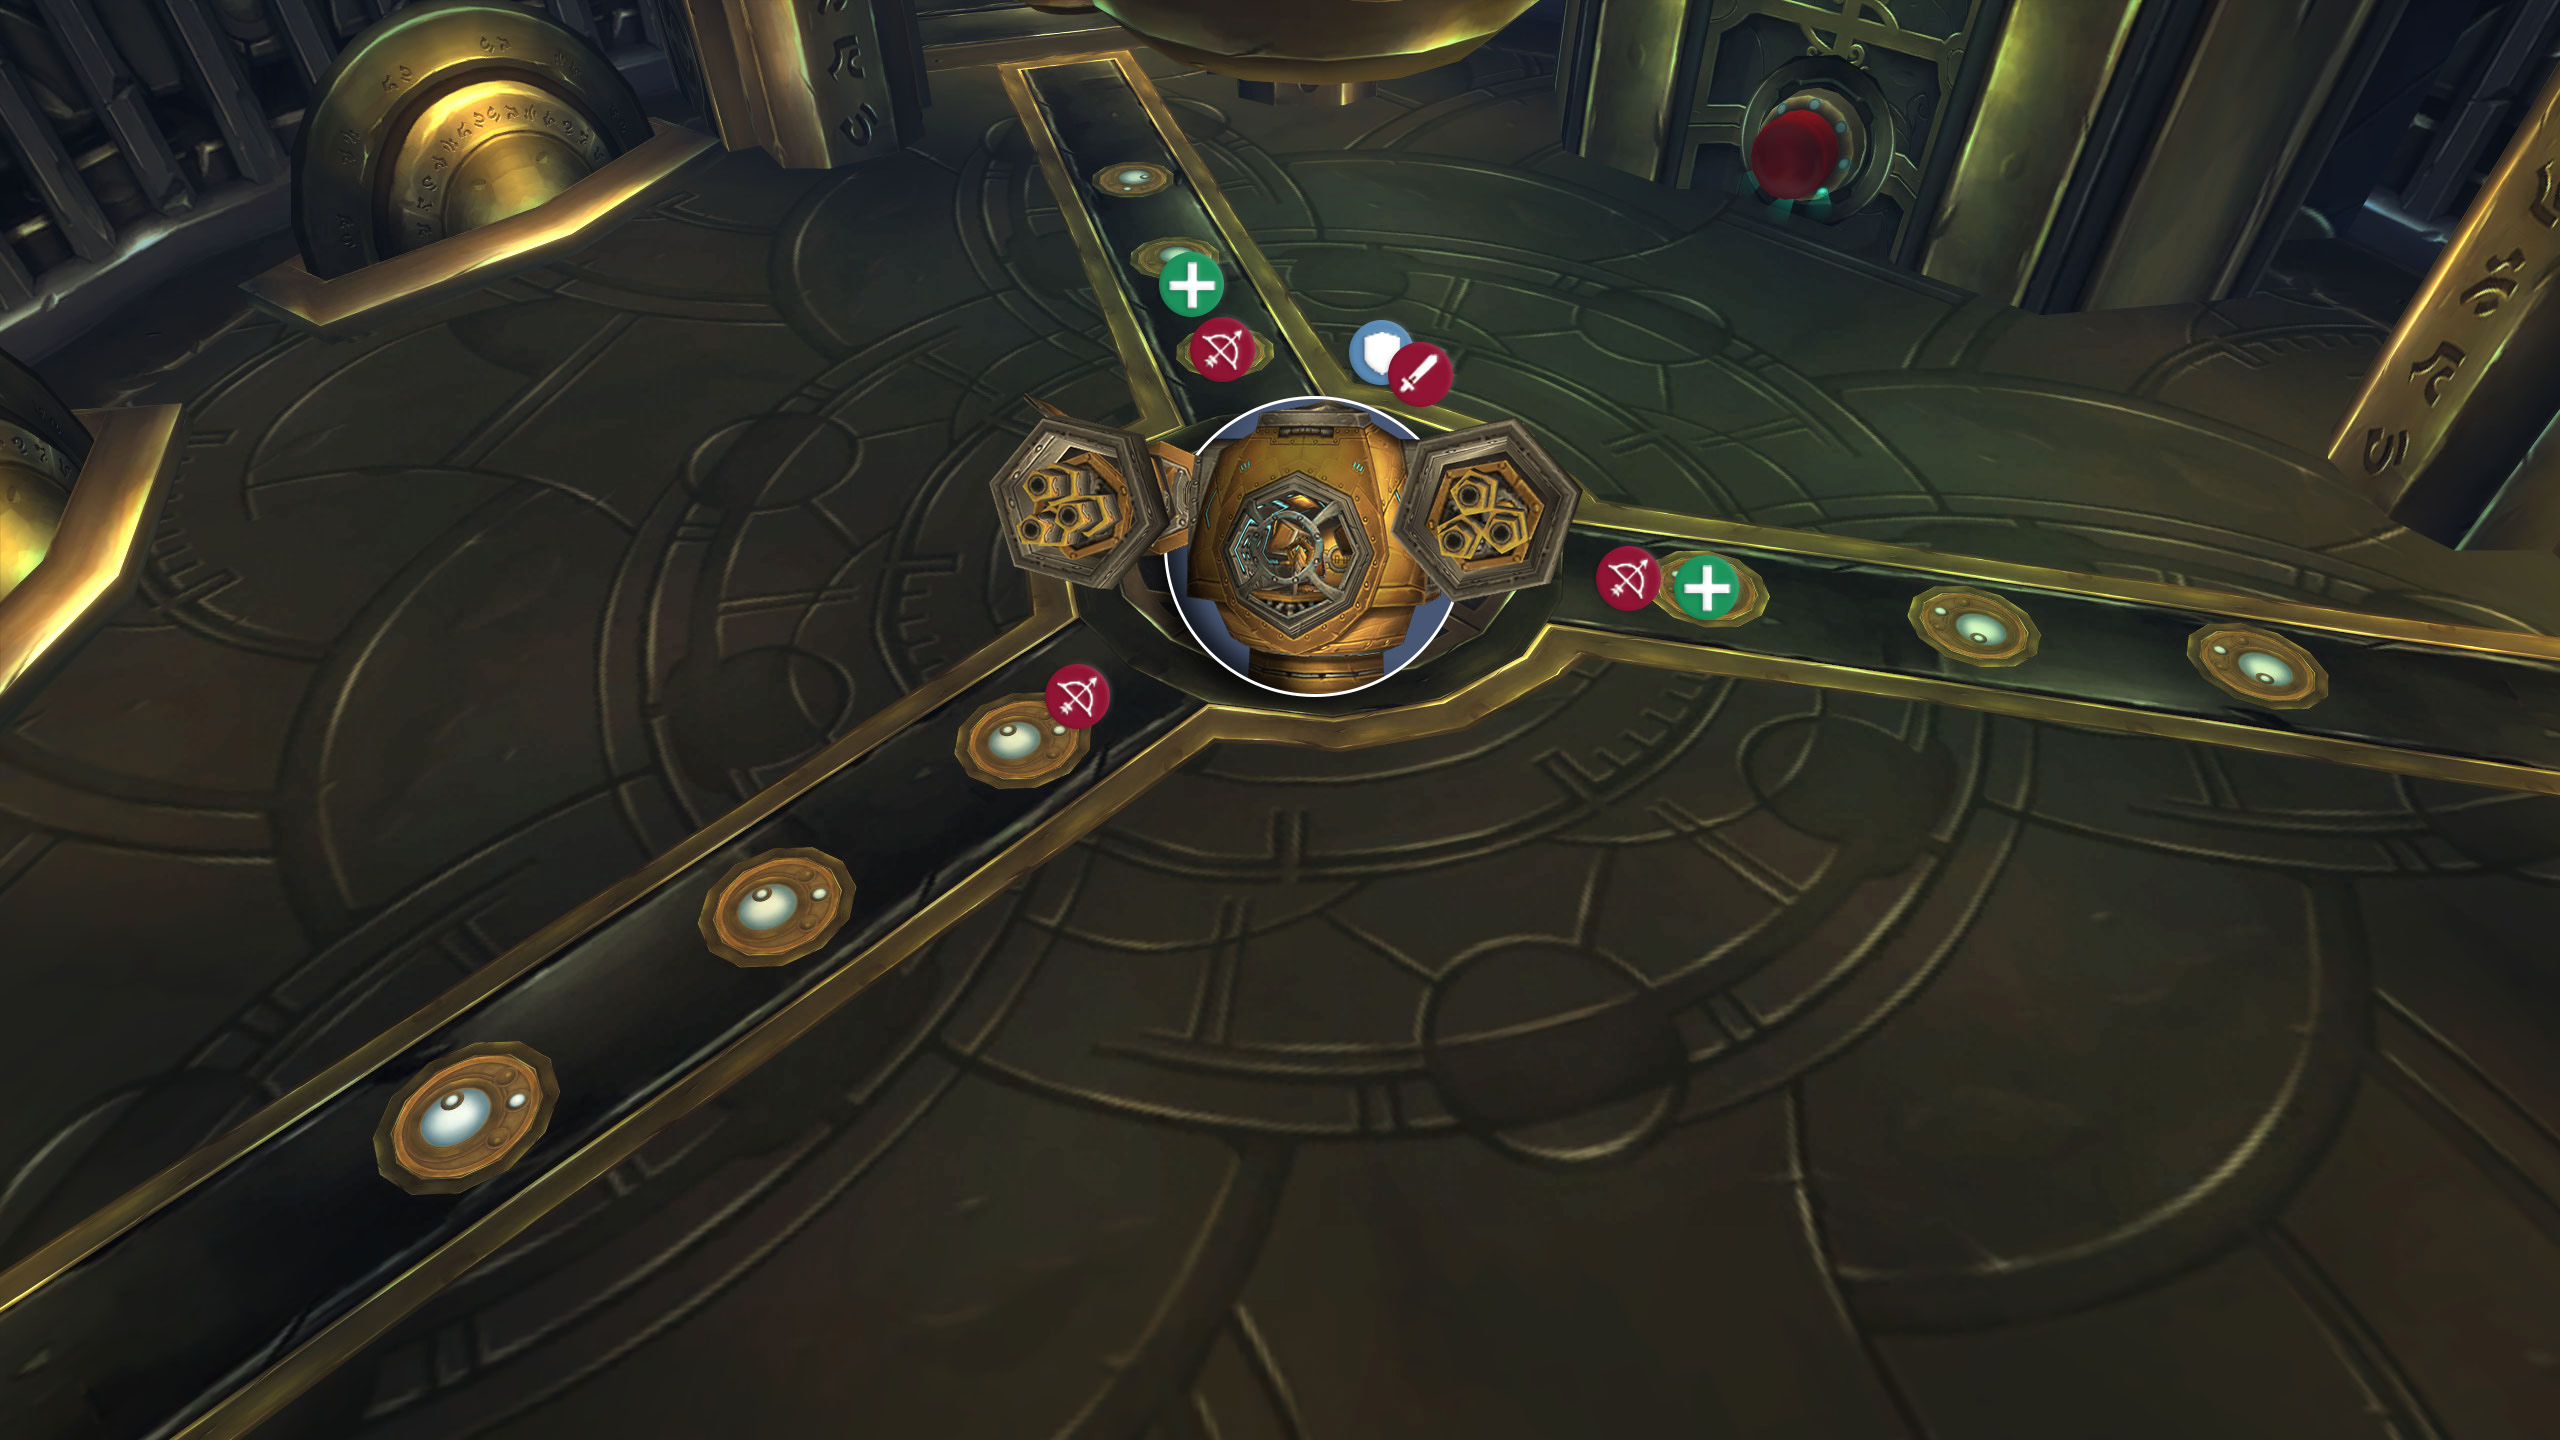
Phase 2 – VX-001
VX-001 focuses primarily on AoE damage, to the point that this phase does not use a tank. The main mechanic to consider here is rocket-strike. This spell will mark a player’s location, firing a rocket at them. Anyone in the marked location will take 7 digits worth of damage and almost certainly be dead.
Along with rocket-strike, VX-001 will also cast heat-wave, dealing a moderate amount of Fire damage, followed by a damage over time effect for 5 seconds. This will hit everyone in the raid, requiring a lot of AoE healing to keep up with. In case you didn’t think there was enough AoE damage to keep up with, VX-001 will also cast rapid-burst at a random target, dealing moderate Spellfire damage twice a second for 3 seconds. One shot of this is unlikely to be lethal, but together with all the other damage going out, this can easily be the straw that breaks the camel’s back.
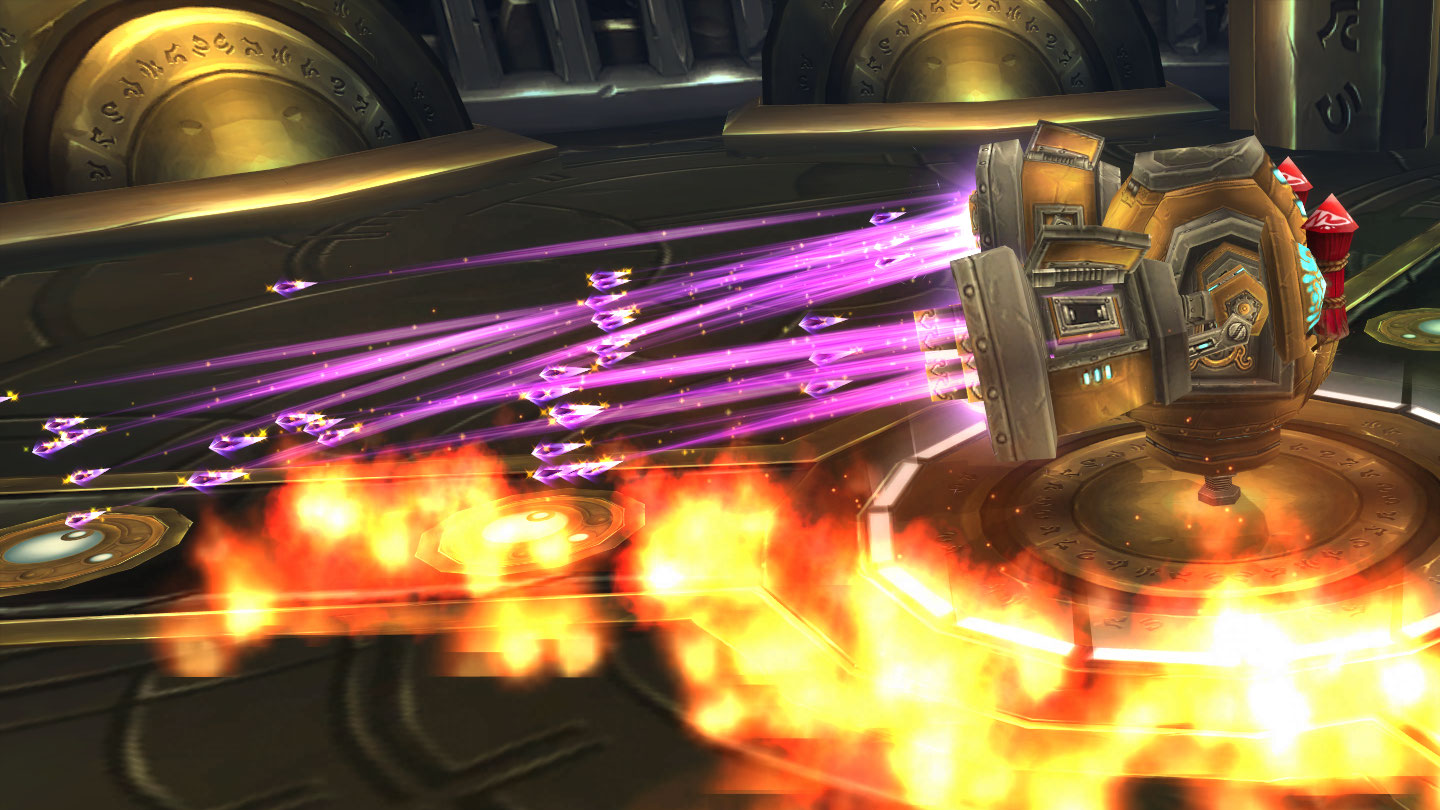
If rockets and plasma bursts weren’t enough, VX-001 also made sure to bring lasers! VX-001 will cast Spinning Up for 4 seconds, followed by p3wx2-laser-barrage. This fires in the direction of a random player, slowly rotating for 10 seconds. All players will need to make sure they quickly adjust and move out from in front of the boss. Melee players can quickly move through the boss to not have to worry about this, but make sure you get all the way around, the hitbox can be finicky.
Phase 3
The Aerial Command Unit, or ACU for short, is primarily an add phase, with the actual boss hovering high above the raid. Ranged DPS will be able to reach the ACU, and it is recommended to have a designated ranged tank to make sure the boss doesn’t wander around causing trouble.
Any ranged DPS can function as a ranged tank, but Balance Druids are naturally tanky, and Shadow Priests have decent self-healing. Depending on your setup, a Frost Death Knight using icy-touch could also do this job effectively, but they will not be able to contribute a lot to the adds as they will need to remain stationary.
Three different types of adds will spawn during this phase. The first is the Bomb Bot. These are dropped from the ACU itself and will chase a random player, exploding if it reaches them. These are very low health and are not immune to movement-impairing effects, meaning you can slow or even root them.
The second add is the Junk Bot, spawned from green beams of light. These do nothing note-worthy and are just cannon fodder. The third add is the Assault Bot, spawned from red beams of light. These are the highest health adds and will cast magnetic-field, rooting a target and increasing the damage they take for a few seconds. Killed Assault Bots drop a magnetic-core, which can be looted and dropped directly underneath the ACU to pull it down to the ground.
To use a magnetic-core you need to be directly underneath the boss or it will not work. While on the ground, the ACU will be pacified and take 50% increased damage, making this the best possible time to DPS the boss. White items can no longer be master looted, so your raid will ideally want to be on free-for-all, allowing anyone to pick up the magnetic-core.
Melee DPS will want to always be focusing on the adds, primarily on the Assault Bots, while ranged DPS will want to focus on the Bomb Bots when they are available, otherwise prioritizing DPSing the boss. This is absolutely not set in stone, and if melee or ranged falls behind, the other group should do what they can to assist.
Phase 4
After defeating the Aerial Command Unit, Mimiron decides to show you the culmination of his work, V0-L7R-0N, or Voltron. Voltron is the combined form of all three previous vehicles, using abilities from all of them. Each of the three pieces that make up Voltron has its own health bar, and they must all be killed at the same time or they will revive each other, similarly to Feugen and Stalagg from Naxxramas.
DPS should be split into three groups, each focusing on one part of Voltron. The ACU is only reachable by ranged DPS, and will still need a ranged tank. VX-001 is untankable and should be dealt with by a mix of melee, ranged, and cleave damage. Melee DPS should focus on Leviathan Mk II.
The ACU will use plasma-ball, dealing heavy Spellfire damage to its current target. VX-001 will use rocket-strike and p3wx2-laser-barrage. rocket-strike functions the same as Phase 2, only this time it fires rockets at two players instead of one. p3wx2-laser-barrage is unchanged from Phase 2. rapid-burst has been upgraded into hand-pulse, firing a burst of energy toward a random player, hitting everything between the boss and the target. Leviathan Mk II will keep using proximity-mines, unchanged from Phase 1, and shock-blast, which will now be cast individually, instead of following plasma-blast.
Here are some of the main things that can typically go wrong in this fight:
- This fight has a large amount of fire to stand in, in various forms and it will absolutely be the most common way players die.
- This includes proximity-mines, rocket-strikes, Bomb Bots, shock-blast, napalm-shell, and p3wx2-laser-barrage
- Healers cannot keep up with the large amount of AoE healing needed in Phase 2, or the large amount of tank healing needed in Phase 1.
- magnetic-cores are unlootable during Phase 3 due to Group Loot or Master Loot.
- Raids attempt hard mode before being fully ready.
Achievements
- not-so-friendly-fire-10
- Kill an Assault Bot with rocket-strike. This achievement requires coordination and for your raid to decide on it ahead of time. You will need to keep an Assault Bot alive from Phase 3, into Phase 4, positioning it inside one of the red circles caused by rocket-strike.
- set-up-us-the-bomb-10
- Defeat Mimiron without anyone in the raid being hit by a Proximity Mine in Phase 1 or 4, a rocket-strike in Phase 2 or 4, and a Bomb Bot in Phase 3. One player being hit by any of these will fail the achievement.
- firefighter-10
- Defeat Mimiron on hard mode, activated by pressing the big red button
Congratulations on defeating Mimiron! Don’t forget to buy a ticket for the train ride back, it’s time to delve into the depths of Ulduar.
About the Author
