- Author: Passion
- Date: October 26, 2022
- Updated: February 18, 2023
- Expansion: WotLK Classic
Welcome to our guide to soloing Blood Furnace. This guide will go through the basics needed to know in order to clear Blood Furnace as both a fresh out of the starting zone Death Knight, as well as some of the improvements and additions you can add with a main and some preparation!
Why Solo?
An important question is why solo a dungeon when you could just quest instead? There are definitely pros and cons to both methods, but it will likely come down to what kind of gameplay you enjoy most.
If you want something different, maybe you’ve quested your way through Outlands one time too many and would rather zone out with a monotonous task and a TV show, soloing dungeons is likely a solid method for you.
Something a lot of players like to do is have their character build rested experience, and whenever they are capped, they solo dungeon level until their rested exp is gone. This is a good way to chip away at an alt character’s levels with a small amount of playtime spread across a longer period of real-time.
Soloing dungeons has also proved to be a fast method for leveling, especially on the release of WotLK Classic. Avoiding the large swathes of players in the open world by doing instanced content instead.
What do I do?
Blood Furnace soloing is incredibly simple. You go through the dungeon pulling one pack at a time and killing them as efficiently as possible while using Death Strike to keep your health high.
You can do this fresh out of the gate at level 58, but it will be a struggle if you don’t do massive preparation beforehand. Instead, I recommend questing a little bit to reach level 60 before starting.
Simple things will go a long way, like buying Glyphs off the auction house, or if you have a level 80 ready, buying and enchanting Heirlooms. Consumables like Flasks and Potions are also an easy way to get an extra boost.
Gameplay
Most packs will either be pulled using Icy Touch, or Death Grip. For caster groups you will want to back around the corner to make sure they have to come to you.
The basic gameplay will look like this:
- Apply Frost Fever with Icy Touch
- Apply Blood Plague with Plague Strike
- Spread diseases to all enemies using Pestilence
- Keep your health high with Death Strike
- Use Rune Strike whenever available
- Spend Runic Power on Death Coil at 70+ Runic Power
- Spend Blood Runes with Heart Strike
- Keep Horn of Winter up
Whenever your diseases are about to run out, as long as you have Glyph of Disease, you can use Pestilence to quickly refresh them back to full duration on all enemies. For situations where they are about the fall off, but you don’t have a Blood Rune ready to go, you can use Blood Tap to quickly refresh one!
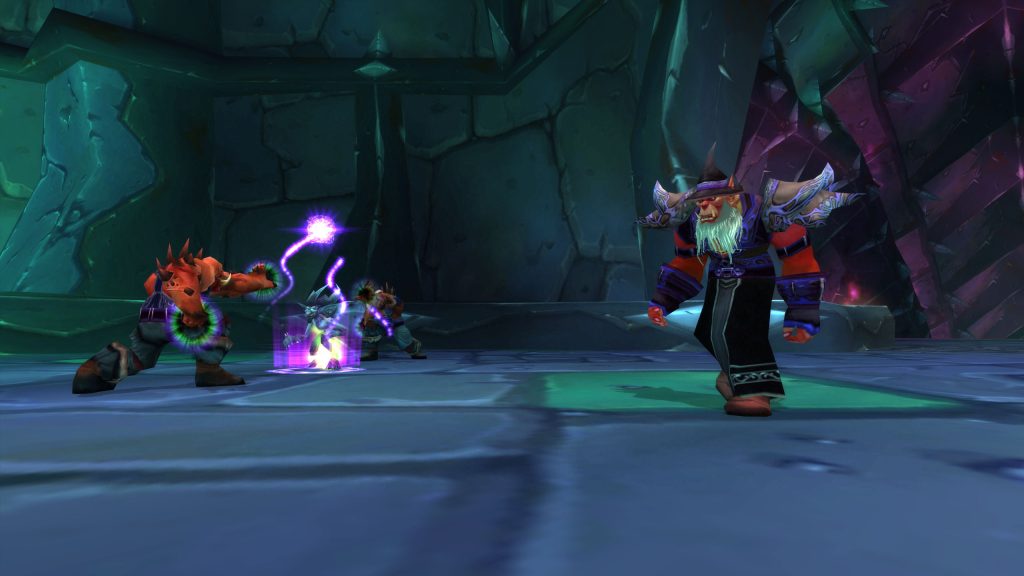
Your two interrupts, Brain Freeze and Strangulate are invaluable here as well. A lot of the enemies you will kill are casters, and the Shadowmoon Summoners are especially nasty, summoning more adds to the fight.
Your choice of Presence is important too. Frost Presence will generally be your go-to Presence, especially for the lower levels. Once you are comfortable and able to survive with no struggle, you can switch to Blood Presence for the increase in DPS.
For larger packs, you can drop Death & Decay, but this generally isn’t worth using on the regular packs of two enemies.
As a Death Knight, you have plenty of cooldowns you can use here to save you from a bad situation, or simply mow through packs quicker. Effectively using these can be a massive boost in your experience per hour and your comfort.
Vampiric Blood can be used to instantly heal yourself by increasing your maximum health, as well as increasing your self healing. Death Strike double dips into these effects, healing you more because of your higher max health, and healing you more because of the increase in self healing.
Rune Tap will be used almost on cooldown, instantly healing you for a big chunk of health in exchange for one single Blood Rune.
Raise Dead gives you a pet for 1-minute that deals great damage. Tag him in often, it’s nice to have company. At level 66 you can combine this with Death Pact, sacrificing your new friend in exchange for healing 40% of your Health. This is an amazing panic heal, but by 66 you will rarely need it.
Icebound Fortitude is a straightforward reduction in damage taken, giving you 12-seconds to recover from whatever poor situation you found yourself in.
The Build
Talents
The basic talent build is to go through the Blood tree until you get Heart Strike. After that, you want to grab Epidemic from the Unholy tree. Once you have both of those, you have a lot of freedom in your build.
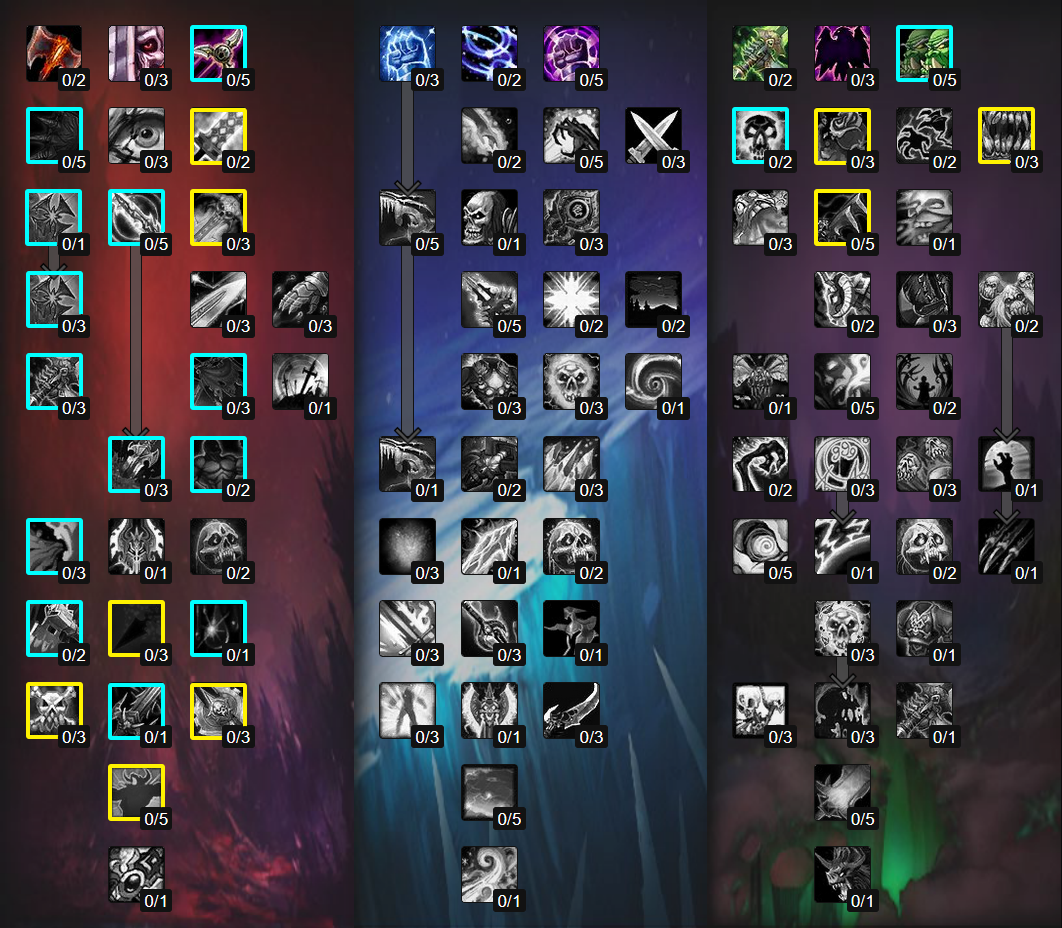
Yellow: Optional
Example Talent Tree
At level 60 you don’t have a lot of flexibility, but between 60-70 your points can be spent mostly as you please, and the run only gets easier with every level.
Glyphs
Your glyphs for the most part aren’t going to make or break your runs, but they can absolutely speed up or simplify them.
Major
- Glyph of Disease – This is the only Glyph I would say is “required”. You can absolutely get by without it, but it will not only speed your runs up, it will make them a lot more comfortable.
- Glyph of Death Strike – More damage on your most valuable attack? Don’t mind if I do.
- Glyph of Death and Decay – More damage on your most valuable AoE damage? Who am I to say no?
- Glyph of Death Grip – This is an odd one. Resetting the cooldown of your Death Grip can be fantastic, but you also don’t need to use it very often in Blood Furnace. I wouldn’t recommend it over any of the other options, but if you really like using Death Grip go for it.
Minor
- Glyph of Pestilence – Absolutely not mandatory, but more range is extra comfort.
- Glyph of Raise Dead – Not having to fuss about reagents is great, and you will want this at max level anyway so why not get it early?
- Glyph of Blood Tap – Barely even noticeable, but your options are limited anyway.
What to watch out for
Shadowmoon Technicians
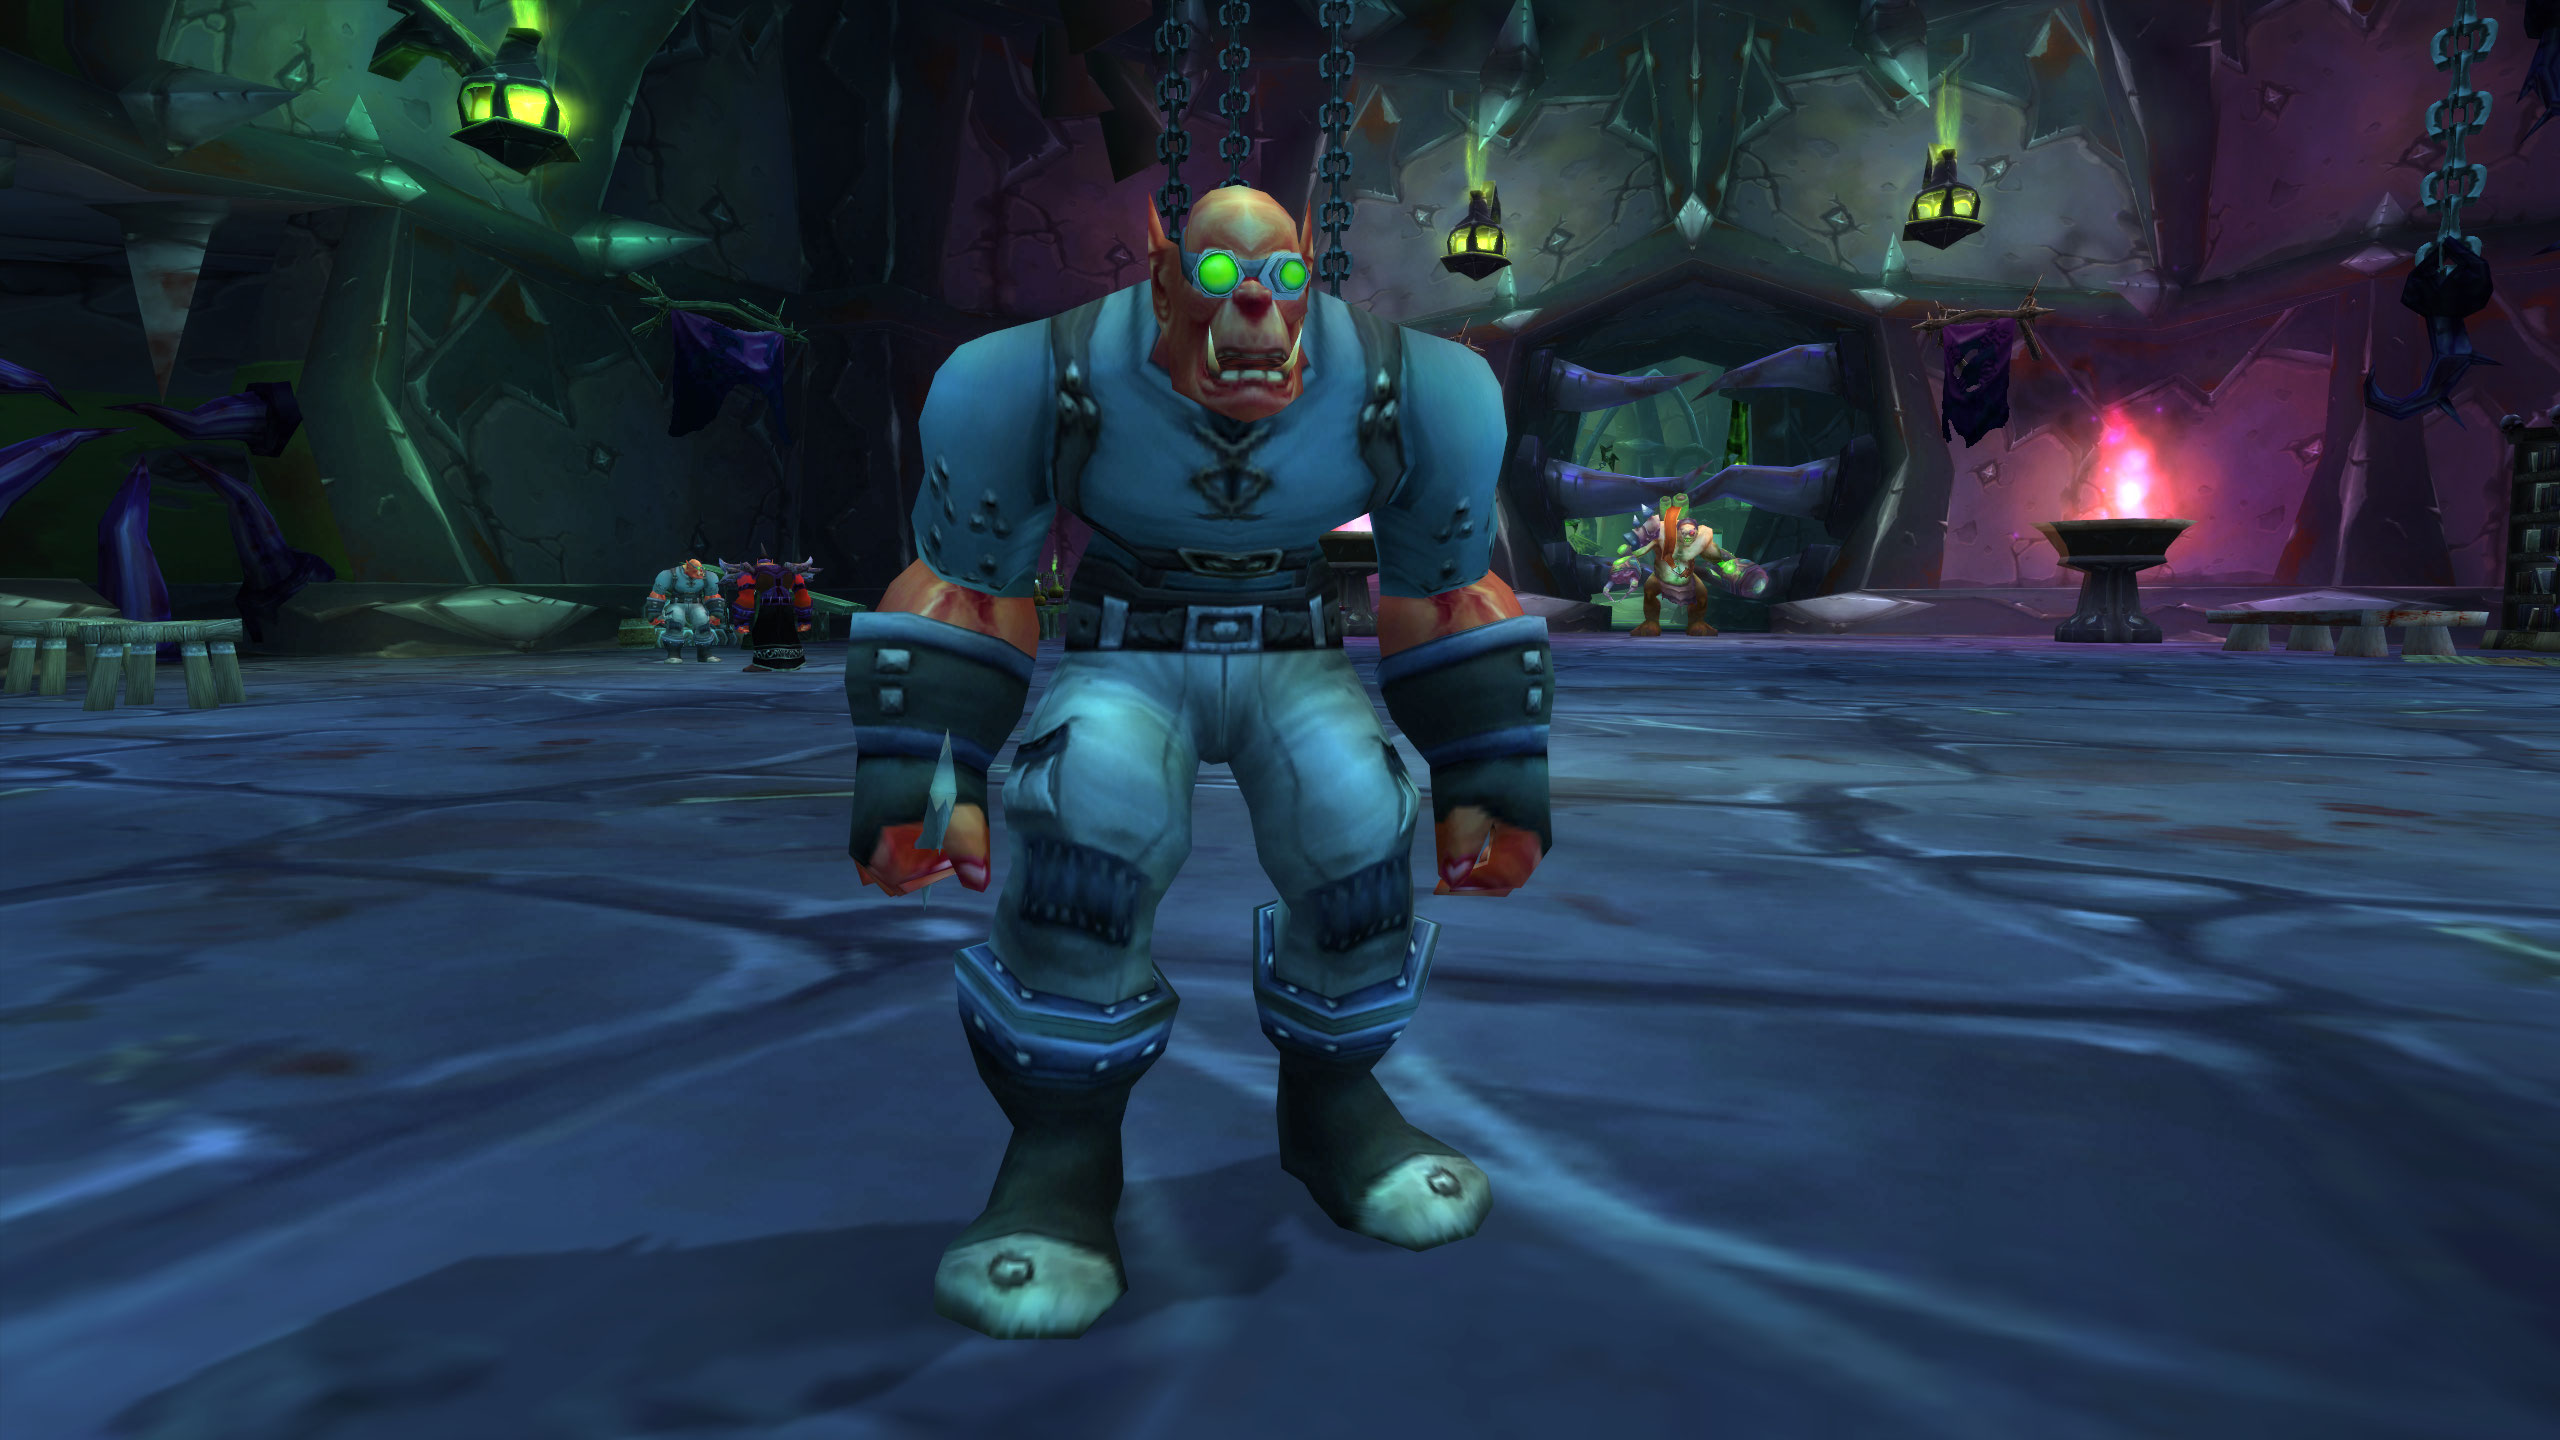
These enemies will constantly place Proximity Mines on the ground around them, meaning you have to constantly keep moving to avoid triggering these bombs and taking massive hits. As long as you have space to move these shouldn’t be an issue at all.
Shadowmoon Summoners
Summoners can summon Felhounds and Succubi, both of which are a frustrating extra addition to the fight. Try your best to interrupt these casts whenever possible to avoid being overwhelmed.
Summoners will also cast Flamestrike and Fireball, both of which would be nice to interrupt, but you don’t have enough interrupts for that, so you will have to let them through and prioritize interrupting their summons instead.
Flamestrike is placed on the ground, and you will want to walk out of it whenever it is down. Make sure you always have an eye on your surroundings so that you don’t accidentally walk into more enemies!
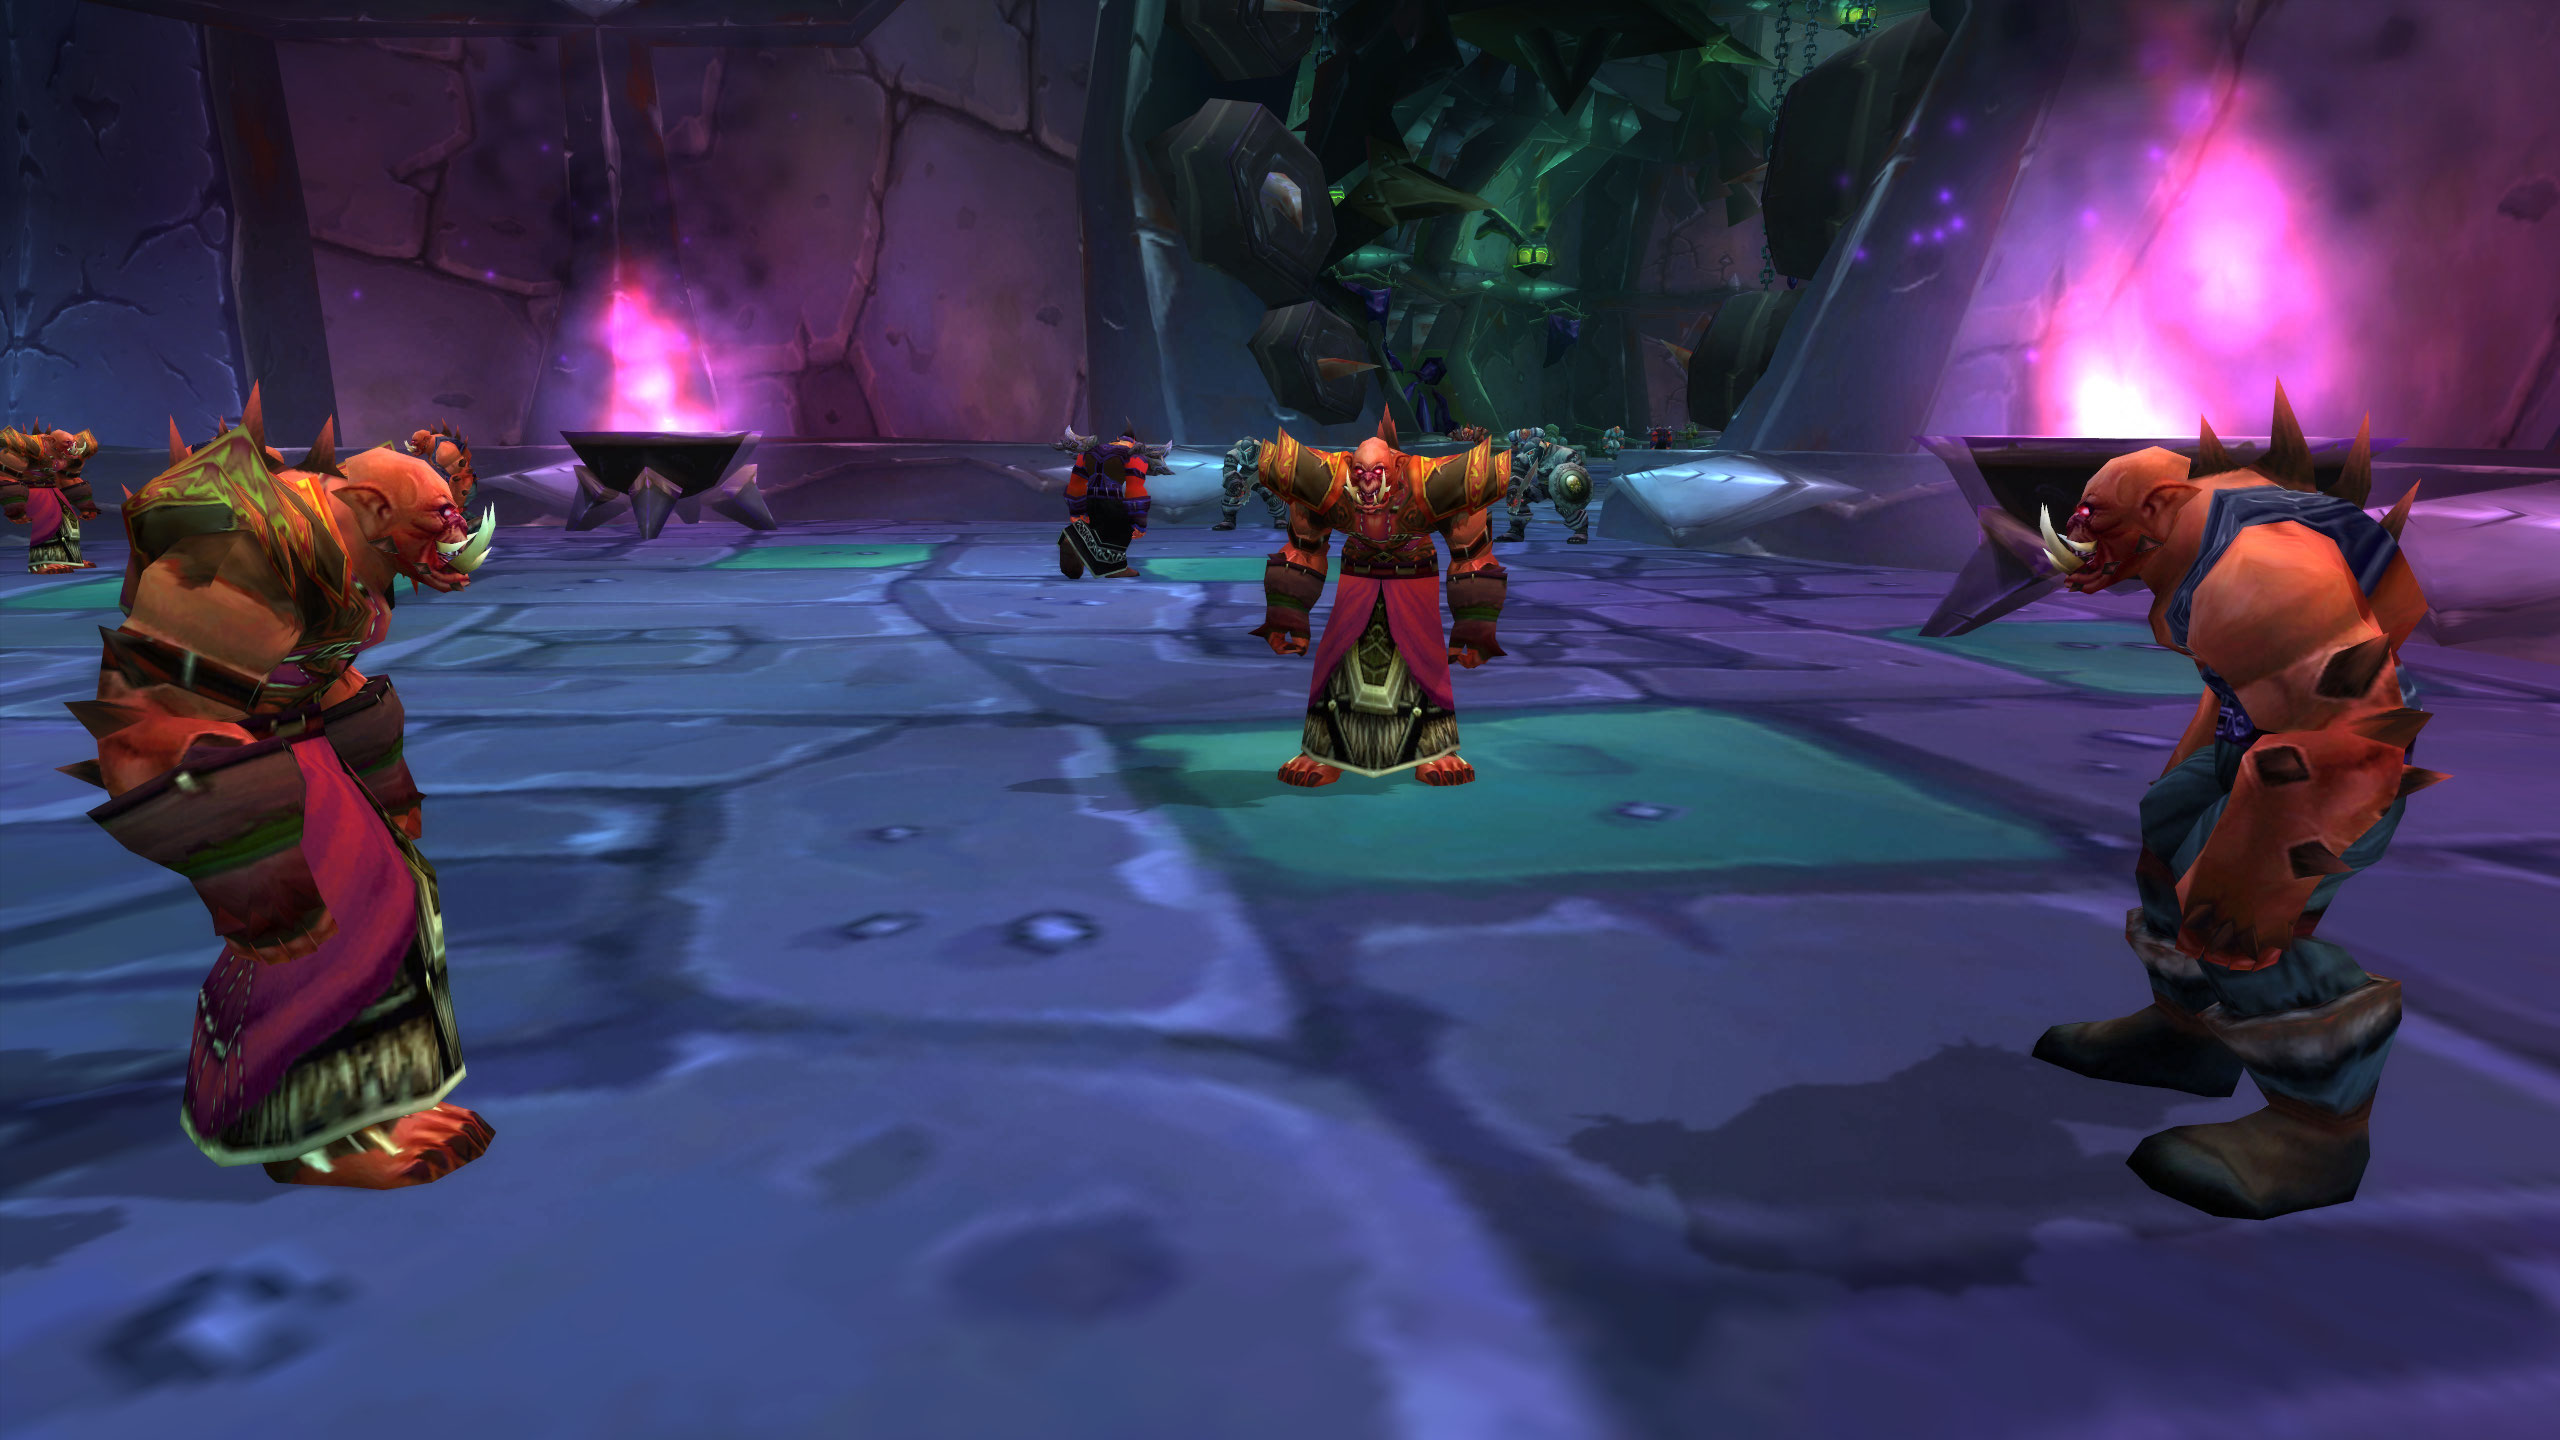
Laughing Skull Rogues
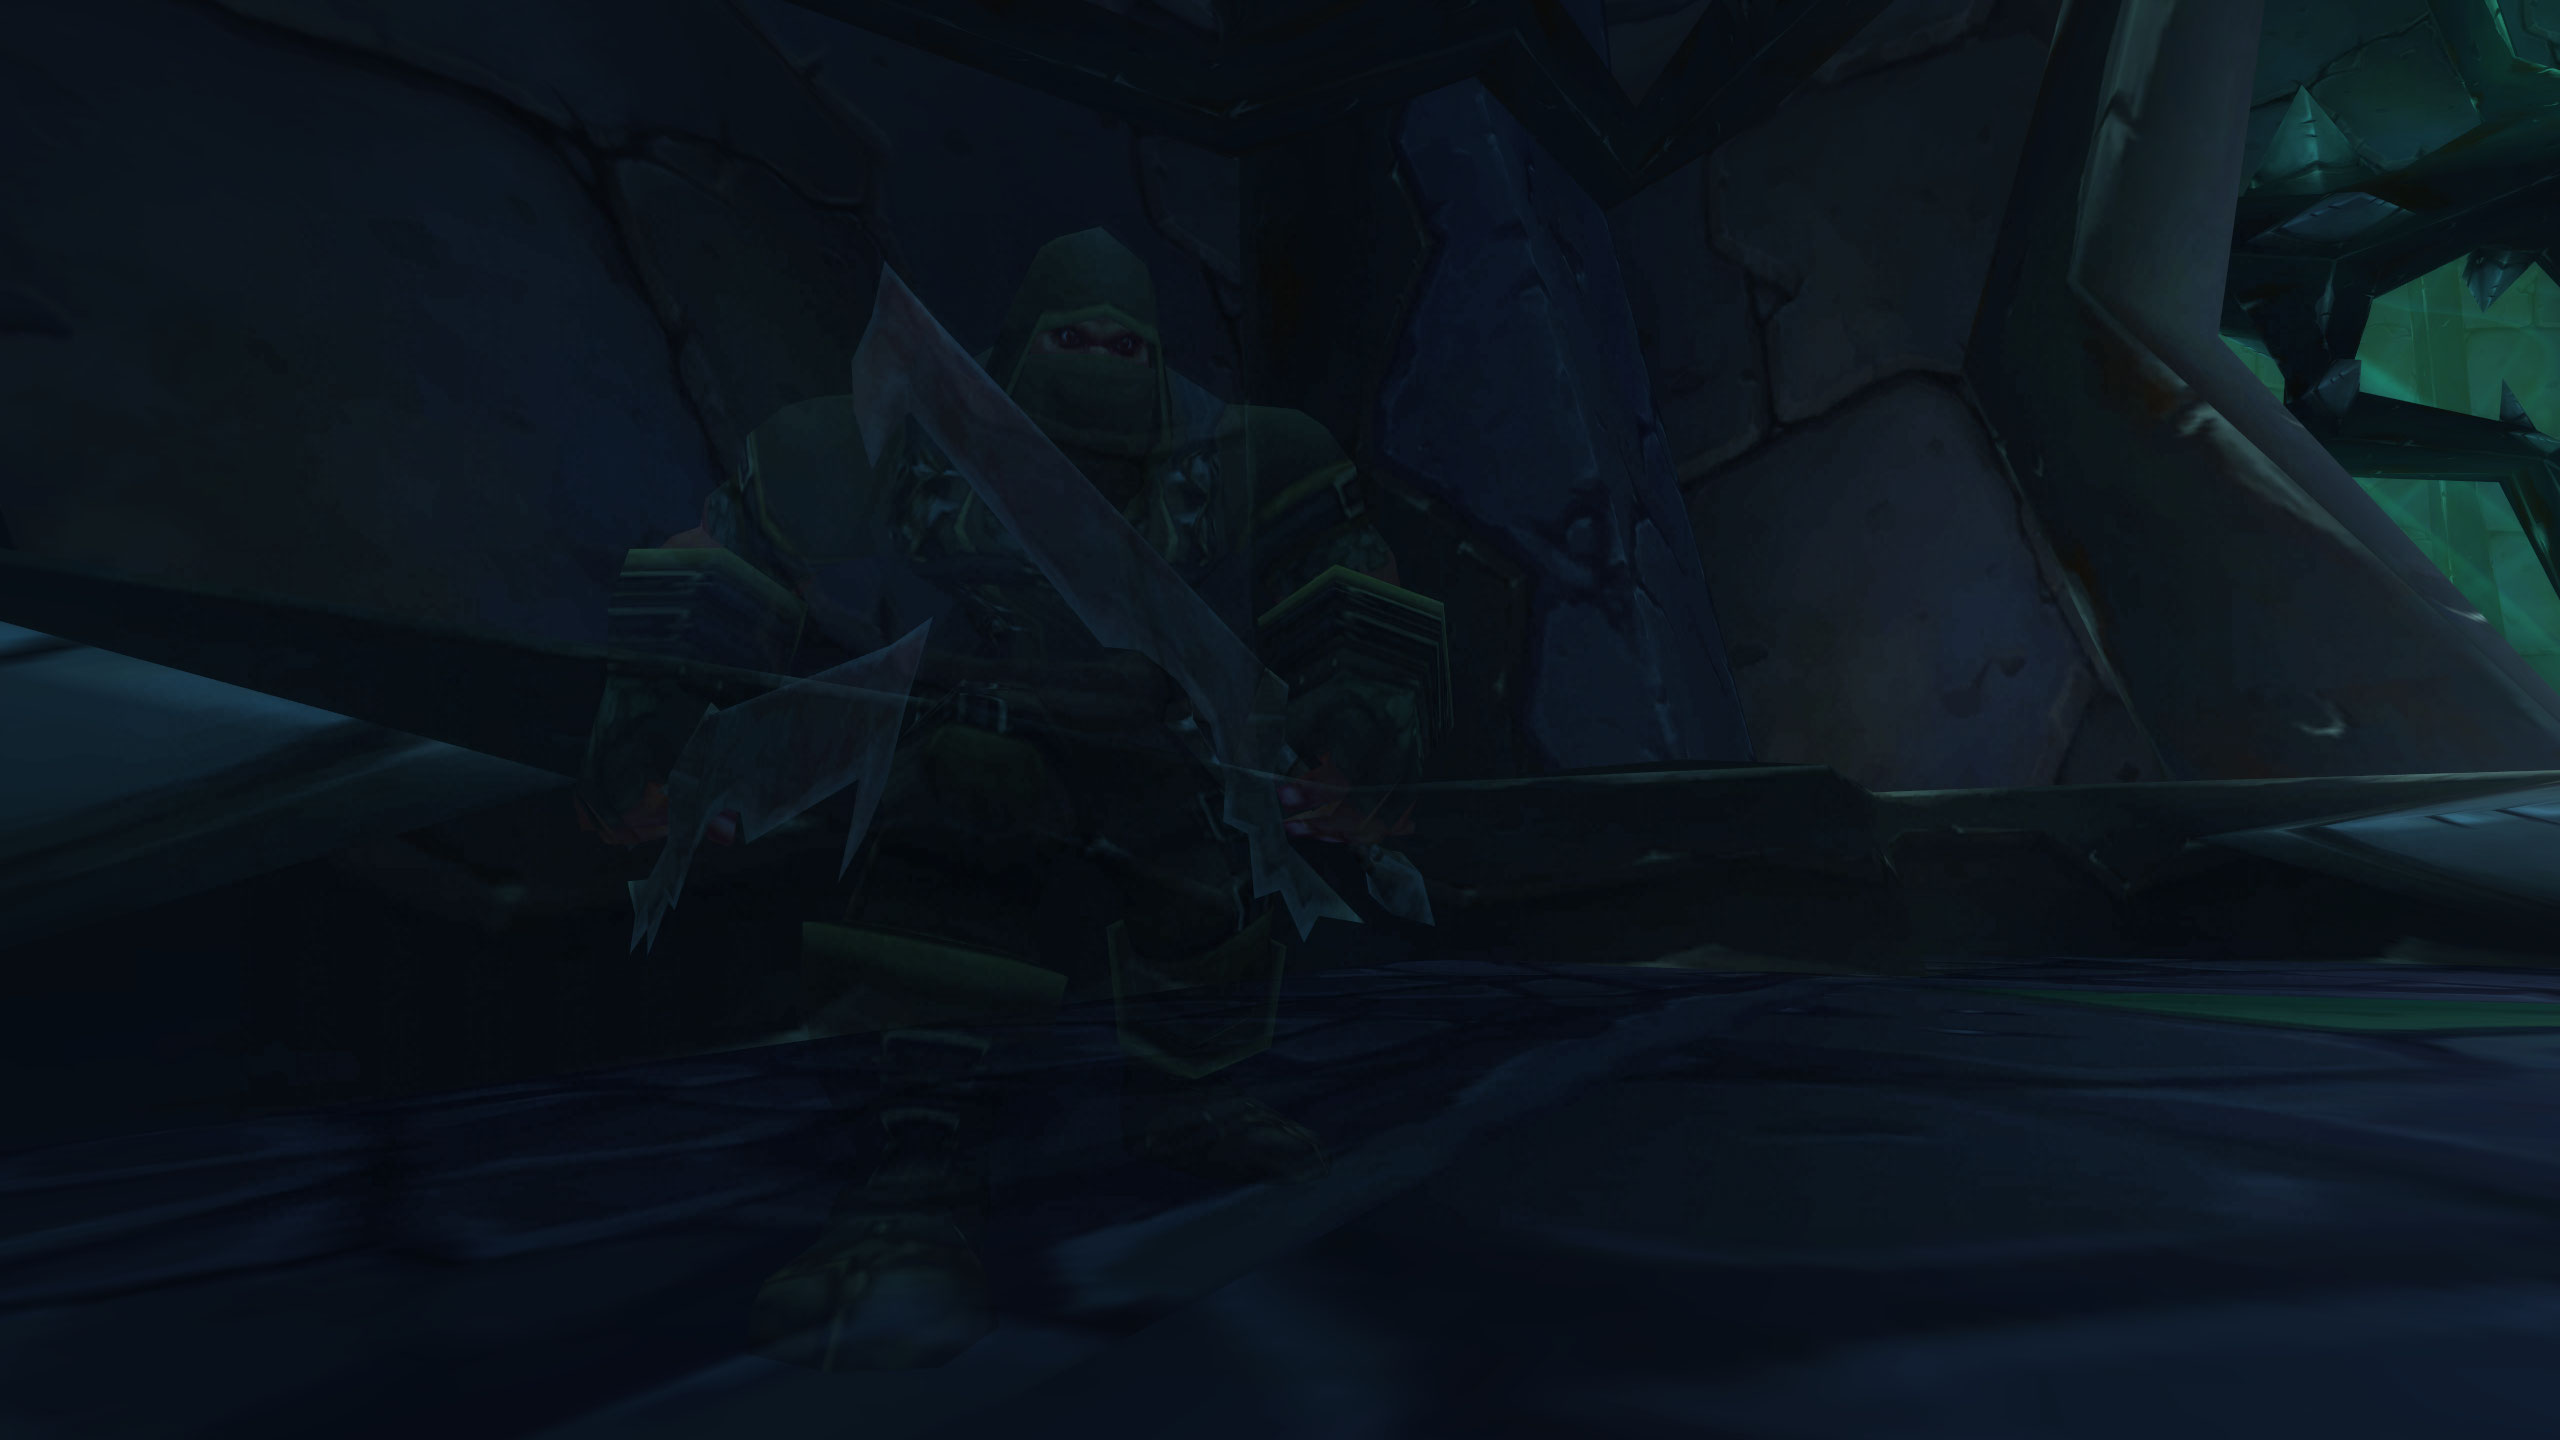
A true pain, these mobs will pop out of Stealth and stack Poison on you, dealing very high damage as the stacks build. They will gladly show up at inconvenient times and you will have to learn their timing and positioning to be successful. Luckily, they always spawn in the same places and patrol the same rough path.
Extra Preparation
There are a lot of things you can prepare ahead of time to give yourself the best possible time soloing. Keep in mind that none of this is mandatory in any way, it is all just helpful to have.
A lot of the Enchants listed have both cheaper and more expensive alternatives, but for the most part, I can’t recommend investing massive amounts of gold into a few hours of leveling, especially if it doesn’t drastically improve your speed or comfort.
Gear
- Arcanite Reaper
- Truesilver Champion
- Spaulders of Valor
- Breastplate of Valor
- Stockade Pauldrons
- Dread Pirate Ring
- Blade of Misfortune
- Arkadian/Halaani Claymore
Enchants
- Nethercleft Leg Armor
- Bracers – Greater Assault
- Greater Assault
- Boots – Tuskarr’s Vitality
- Chest – Super Stats
- Cloak – Superior Agility
Consumables
About the Author


