- Author: Furious
- Date: December 1, 2018
- Updated: June 28, 2023
- Expansion: WoW Classic
Quest Basics:
- Version: Alliance & Horde
- Starts with: Daio the Decrepit
- Ends with: Daio the Decrepit
- Can start at: Level 60
- Best at: Level 60
Once you reach level 60, head over to Daio the Decrepit who can be found in the Blasted Lands to receive your quest. He is a little hard to reach, so don’t be surprised if you die once or twice in the process, don’t forget to soulstone yourself. Daio is located at an altar in the Tainted Scar, in the southwest of the zone. (map)
The surrounding area is full of high level elite demons, and if you get into melee range, you will discover just how much pain they can inflict. Once you reach the Tainted Scar entry (when you see the first Felguards), go right and follow the wall. You can reach Daio without aggroing anything, but it’s pretty tricky. If you do get aggro, you can try to shake it, or you can attempt to reach the NPC and die as close to him as possible, then reincarnate.
Right behind the Daio is a relatively safe spot. (Observe the demon’s pathing closely, and release at the right moment, when they’re furthest away.) The demons here can be banished, but not feared or enslaved. Grab the two quests he offers as quickly as you can and get out of there!
The first quest, The Prison’s Bindings, requires you to travel to Dire Maul in Feralas and recover 15 Satyr Blood from the Wildspawn Satyr that inhabit the Warpwood Quarter. The easiest way to do this is forming a group for a regular east wing DM run, however you may need to do more then one clearing to get all the blood you need.
This step is also soloable as well, albeit more difficult to do, make sure you stock up on soulshards before starting this. Before you attempt this step solo, ask yourself if you are prepared to die a few times. If not, take a group. Soloing instructions:
Dire Maul
Enter the instance through the back entry, just north of Camp Mojache. It’s a round stone structure. To enter will require a Crescent Key. If you don’t have one, you can obtain one by doing the imp event with a group in here, or you can just suicide at the entry, run through the door as a ghost, and resurrect on the other side.
Step 1
As you enter the instance, you will see two plants in your way. There are also two warpwood pods (glowing white in the image), one to your left and right, which can spawn nasty surprises when you get close to them. Fear not, you can activate the pods with an Eye of Killrog. To do this, get your eye close to one and hang around for a moment, eventually the pod triggers something. (It will root your eye, poison it, spawn little plants, or do nothing)
Once both pods are triggered, you can pass them on either side, provided no little plants have spawned, passing them on their left is easiest. If plants have spawned, take your time to observe their movements, and move to spot 1a or 1b on the image. Also take note of the Wildspawn Felsworn that wanders near here too. The Felspawn will be hard to see from spot 1a, so use an eye. Felspawns are a major pain due to their shield spell, fear, painful nukes and inherently high shadow resist.
Step 2
Once you’re ready, move up to point 2. There is a stealthed Wildspawn Shadowstalker right below the ramp there, and if you move a little too close, it will aggro. Despair not if it does, as the next step is to Curse of shadow and enslave it.
With your new pet, attack the roaming Felspawn when it is clear of other mobs. You want to make this fight take as short as possible, as it can fear your pet, causing lots of unpleasantness. It is highly advised to let your pet get in the first few hits, as the Felspawns Shadowbolts can hurt reduce your hitpoints quite quickly. Don’t forget about your curse of tongues and shadow protection spells here, they comes in quite handy. Once the Felspawn is dead, check your enslaved demon’s hitpoints, and if it is below 30%, break enslave and finish it off.
Step 3
Next up is the group of three. For this, the best tactic is to banish one, enslave a second and kill the third. It is best not to enslave the Betrayer as they do a great deal of their damage in ranged combat, and as the Wildspawn Satyr’s beside him are warriors, he would only be able to deal melee damage, which isn’t nearly as powerful. I found it easiest to banish the Betrayer, cast Curse of Shadows on one of the Satyr’s while moving backwards to start up enslave. If done well, you can just about finish enslave before the two satyr reach you.
Once you have one enslaved, kill the remaining Satyr, and once he is dead ensure your enslaved pet is back up to full health (funnel if necessary) before engaging the Betrayer. With that dead, you’ve got the general idea on how to proceed.
You can either keep your pet and head further in now, or engage the other group of three across. Banish the betrayer, let your pet get killed, and enslave the satyr with the most life remaining.
There are two more plants in your way, which are easiest passed on the left wall, however there is another Shadowstalker just past them, close to the wall. Run past it into the corner, and have your pet kill it, if you don’t have a pet at this point, enslave it instead. You can pass the group of 3 satyrs by the entry to the tunnel going upwards (hug the left wall), or engage them.
Another Shadowstalker wanders in the tunnel, you’ll want to kill that. As you exit the narrow part of the tunnel, there is a room to your left with a lot of Satyr’s in it, you can continue your killing here. You can pull demons back into the tunnel again and use fear there without getting adds.
Taking two or more warlocks here can let you clear the whole instance in this manner, bosses included. Its a lot of fun to do that, and may get you some nice loot in the process. You can expect to take several hours to get enough blood for the quest here by yourself.
The Prisons Casing
The second quest, The Prison’s Casing, is done in the southern part of Winterspring, in an area called the Darkwhisper Gorge. The demons in the area are level 59-60 elites, so take a group here to kill them with you, or if you prefer to solo them, it will require some good use of fear.
If you choose soloing, expect to take between two and three minutes per kill, and bear in mind they can hit really hard (Mortal strikes for 1200) so be very quick with recasting fear when it breaks, and maintain your distance. The Dread Guards and Felhunter mobs are ok to solo (be quick to fear or spell lock the dogs if they start to cast). The Succubi aren’t quite as much fun, I suggest you leave them be as the dread guards don’t take that long to respawn. The tears are a relatively common drop, I had at least a 30% drop rate.
Doomguard Commander
Once you have collected the blood and tears, head back to Daio in the Tainted Scar to turn them in and receive the last step to this quest, Suppression. For this step you want to locate a Doomguard Commander. There aren’t very many doomguards in the area, and most of them are surrounded by other enemies, making it quite difficult to single one out. Luckily, there’s one all by itself in the indicated blue spot. (map)
Once you have found one, use the Glowing Crystal Prison and be prepared for a ferocious onslaught of attacks, as the demon attempts to escape capture. Should you succeed, return the Imprisoned Doomguard to Daio in the Tainted Scar. (Note; the crystal has the same graphic as a soul shard)
I have tried doing this solo, but the Doomguard kept using war stomp to interrupt me (they seem to wait until seconds before the channeling finishes.. on purpose. *shakes fist in anger*), so I ended up enlisting a priest for help, which made the whole ordeal easy. Unlike the quest suggests, the demon did not focus solely on me. After a few HW:S and heals, it turned on the priest, which gave me the opportunity to finish the channeling easily.
It may be possible to use a potion of invulnerability or use a Voidwalker sacrifice as you are about to finish the spell (though you may still be interrupted). A hunter also works great for this, as he can use frost trap to let you channel in peace. Other classes will work well too, but they have to be able to pry agro away from you. All you really need is a decoy.
When you finish the spell, the Doomguard shrinks and an obelisk appears in its place, click the stone to grab the enslave Doomguard, and return it to Daio to receive your spell and the book reward. (The book is an offhand held item: +8 Stamina, 6 health regenerated every 5 seconds)
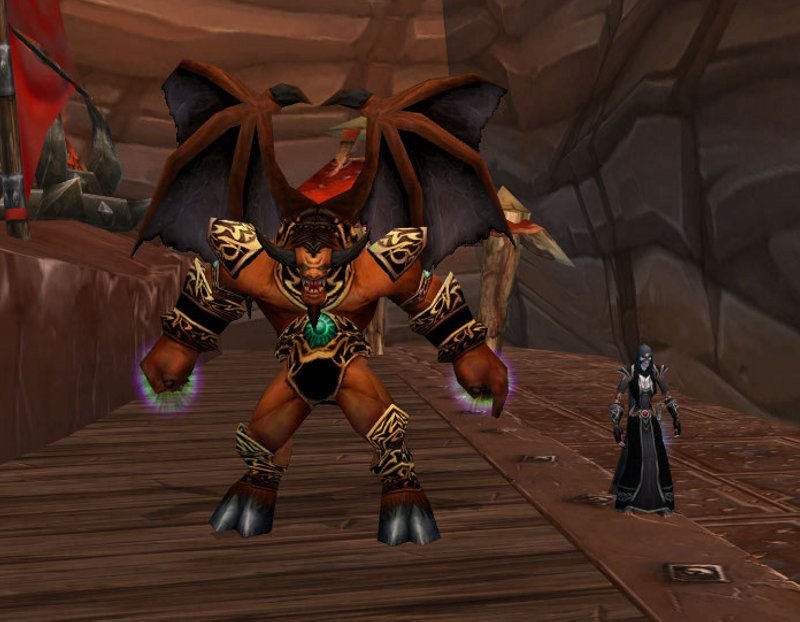
Doomguard
Our most powerful pet, but also the most dangerous to use. His Rain of Fire, Dispel, Cripple and War Stomp spells are great assets, but you must always be prepared for enslave to wear off early. (Even with Curse of Shadows). Keep your distance when using him, and you will find it easier to survive when enslave breaks during a fight.
Some notes on the Doomguard:
- To summon a Doomguard will require a Demonic Figurine. This can be purchased for 1 gold at any reagent vendor.
- The caster will need four (4) helpers to assist in the summoning, one of which will due upon completion. (Possibly the Warlock)
- The spell has a one (1) hour cool down.
- Lastly, the pet does not appear as your pet, but rather as an angry demon. You will need to enslave it to use it.
About the Author