Atal’ai Defenders – Sunken Temple 20-Player Raid Guide (Season of Discovery)

defenders featured image

The final six elite defenders of the Atal’ai Priests, hellbent on preventing you from finding what is hidden deeper in the temple.

This guide will offer a detailed, step-by-step tutorial on how to deal with the gauntlet of troll defenders.

TL;DR

  • CC Ghosts
  • Interrupt everything

Abilities

Zul’Lor

Zul’Lor debuffs nearby players, reducing their attributes by 10 for 1 minute. This is a Magic effect and can be dispelled.

Zul’Lor charges an enemy, closing the gap and dealing damage to them. This will target a random player, and once Zul’Lor has closed the gap, he will follow up with Corrupted Slam against that player.

Zul’Lor casts briefly, followed by a hefty melee hit on an enemy. This ability typically comes after Charge, and squishier classes may need abilities like Power Word: Shield or a defensive cooldown to survive the damage.

Mijan

Mijan buffs himself with Thorns after a brief cast. Any player hitting the boss will take heavy Nature damage while this effect lasts. This can and should be purged by Shamans and Priests before the melee have to think for themselves.

Mijan summons a Serpent Totem, functioning similarly to Searing Totem. This can and should be killed, but it does not hit for massive damage.

Mijan summons a Healing Ward, healing everyone standing near it. This can be destroyed, but the spell can and should be interrupted, negating the need to ever kill the ward.

Once he reaches low health, Mijan will try to cast Healing Wave. This can be interrupted, or you can simply power through and kill him before the cast goes off.

Zolo

Zolo places a Totem that periodically summons Skeletons. These skeletons are fairly non-threatening and can be cleaved down.

Zolo throws a cask at a player, dealing AoE damage to them and everyone nearby. Simply heal these players back up.

Zolo will attempt to cast Chain Lightning, dealing heavy Nature damage to the raid. This needs to be interrupted to minimize damage taken.

Gasher

Gasher drops spinning axes on the floor, damaging everyone in their area. Move out of these as soon as you can to minimize damage taken.

Loro

Loro will periodically cast this, increasing his chance to block significantly for 6 seconds. This can be mostly ignored, as the boss cannot block attacks from behind.

Loro hits his target for a small amount of damage, stunning them for 2 seconds. Being stunned, combined with Improved Blocking can lead to some threat difficulties for tanks, making it vital that DPS players keep an eye on their threat.

Loro reduces the melee attack power of everyone nearby for 15 seconds after a 2-second cast. This cannot be dispelled.

Loro disarms everyone around him after a brief cast. Melee players should ideally move out of range before this finishes casting, alternatively, the boss can be tanked by a caster, constantly moving the boss to get him out of range quickly.

Hukku

Hukku occasionally tries to cast a Shadow Bolt. This can and should be interrupted each time he tries.

Hukku summons a trio of Warlock pets. The imp will cast Firebolt and Fire Shield, the Succubus will cast Lash of Pain and Seduction, and the Voidwalker will melee. These should all be killed, but the Succubus is the priority as Seduction will take a player out of the fight as long as it’s channeled.

Raid Composition & Preparation

For this fight you will need at least one tank, but more can be helpful, especially if you are lacking CC. The more CC you have, the fewer healers you will need, but I recommend not going below 4 healers. Priests are especially valuable thanks to their Shackle Undead ability. Hunters are also very strong with Trap Launcher and Freezing Trap.

The Pull

This fight starts simple. Enter the middle of the temple and pull the boss to the middle of the room, kicking off the encounter.

The Fight

This fight is a gauntlet of types, throwing boss after boss at you. Once you kill a boss, the next will come, and the dead boss will respawn as a ghost. Ghost bosses can be crowd-controlled by anything that works on Undead enemies. Shackle Undead from Priests is typically the strongest and easiest option. You can also utilize Freezing Trap from Hunters very easily, as long as they are running Trap Launcher. These ghosts can also be slowed, giving players a lot of options for dealing with them.

defenders strategy map

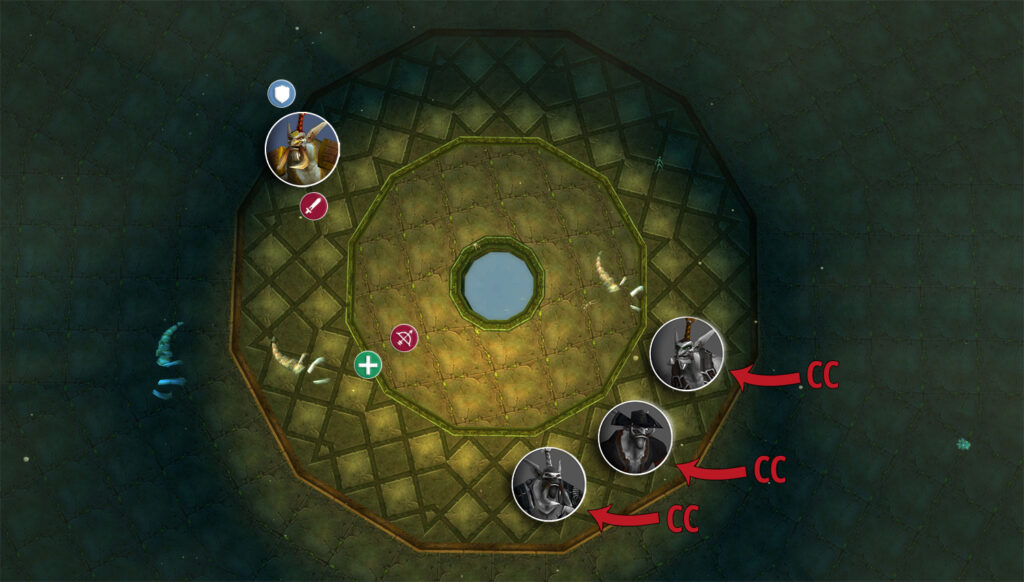
As the gauntlet progresses, the fight becomes more chaotic, as you will eventually end up with 5 ghosts active and needing to be crowd-controlled, while you fight a boss. Luckily, none of the individual bosses are particularly complicated. Interrupt when they cast, and you should be golden.

Here are some of the main things that can typically go wrong in this fight:

  • Key abilities are not interrupted.
  • Players kill themselves with Thorns.
  • Ghosts are not CCed effectively, creating chaos.

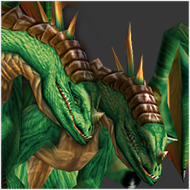
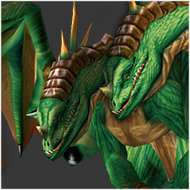
Congratulations on defeating the Atal’ai Defenders! Next up is the first dragon duo, Weaver and Dreamscythe.


About the Author

Passion

I love MMOs of all shades, especially the nitty gritty numbers parts of them. You might recognize me from the Shadow Priest discord, otherwise I play a little bit of everything, especially games with support roles available.
Subscribe
Notify of
guest

0 Comments
Inline Feedbacks
View all comments
Scroll to Top