- Author: Passion
- Date: December 6, 2023
- Updated: December 6, 2023
- Expansion: WoW Classic

This guide will offer a detailed, step-by-step tutorial on how to deal with Twilight Lord Kelris and his powerful shadow spells.
TL;DR
- Be deliberate about melee positioning to avoid losing both your tanks at once
- Interrupt everything you can but prioritize Shadowy Chains
- Avoid careless placement of void zones
- Kill Priestesses in the dream
Raid Composition & Preparation
You will need two tanks for this encounter, primarily to make sure there is always someone available to tank the boss.
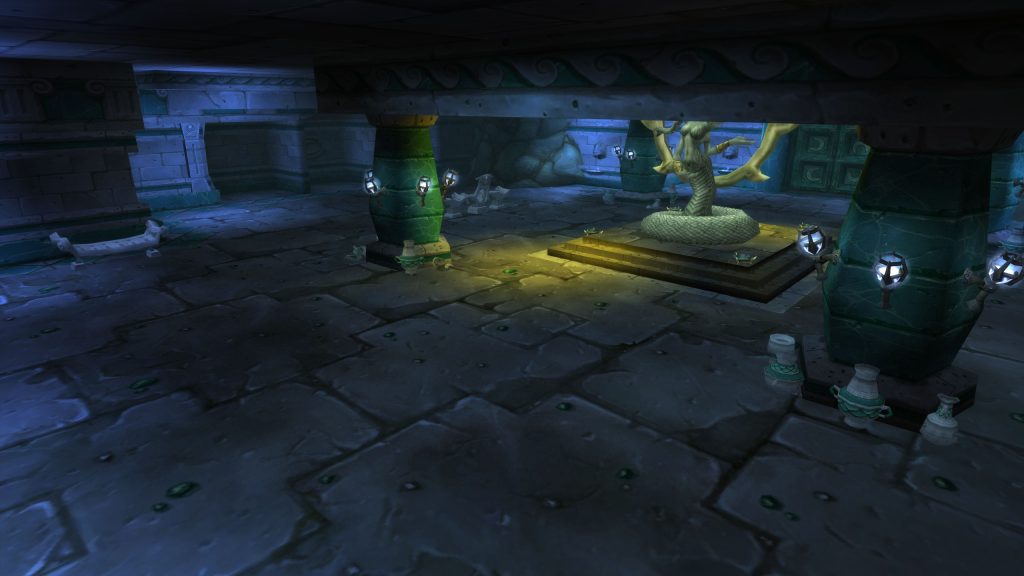
The Pull
Make sure you clear the room before starting. Kelris has a very small aggro radius, so you can comfortably go in and aggro the enemies, pulling them back toward the entrance wall to break line of sight.
The Fight
This fight will without a doubt be the hardest in the raid so far, and will likely be a wall for many groups expecting a walk in the park. There are many mechanics to handle and a lot of ways this fight can spiral out of control fast.
Phase 1
Kelris is a caster and will deal most of his damage by casting Mind Blast. This can be interrupted, heavily reducing the damage he can deal. He will recover fast though, and locking him out of casts entirely requires several interrupters at the ready.
Roughly every 10 seconds, Kelris will cast Shadowy Chains. This is the #1 priority to interrupt, and you should always have one person ready to interrupt it, and one person ready to back them up if it misses. If this is allowed to finish casting he will place a powerful damage-over-time effect on a player for 12 seconds. This can (and should be) dispelled immediately.
Periodically, he will teleport the two closest players into a dream. While in there, those players will need to slay the Night Elf Priestesses scattered around until one of them drops a portal. This can be very random, with some duos finding their portal immediately, and others killing double digits without one. If you spend too much time in the dream, you will simply die instead. This will not target the same players twice, meaning the first duo to enter will not be chosen again.
To best handle this, the first duo sent should be a tank and a melee DPS, and the second duo should be the other tank and a melee DPS. This way you always have a tank active, and don’t need to worry about them randomly being teleported away.
Kelris will also spawn void zones on ranged players. These will consistently grow during Phase 1, eventually overtaking most of the room. Ranged players will need to stick in a loosely spread clump to make sure they do not accidentally fill all safe areas, and the tanks will need to move the boss around the room to make sure everyone can avoid the void zones while DPSing.
Phase 2
Phase 2 starts at 35% health, and this is where things can get hard fast. Kelris is no longer interruptable, can cast while moving, and will weave melee hits in just for good measure. This starts a race for your group to kill him before his massively increased damage overwhelms your tanks. Bringing Shadow Resistance gear or Shadow Protection Potions will go a long way toward your survival in this Phase.
The room will be cleared entirely of void zones when Phase 2 begins, but any new void zones will grow significantly faster, giving you around 90 seconds maximum before the entire room is covered.
Congratulations on defeating Twilight Lord Kelris! Stroll down the hall to find the Terror from the Deep itself.
About the Author

Very good guide! Thank you!