- Author: Passion
- Date: January 17, 2024
- Updated: January 17, 2024
- Expansion: WoW Classic
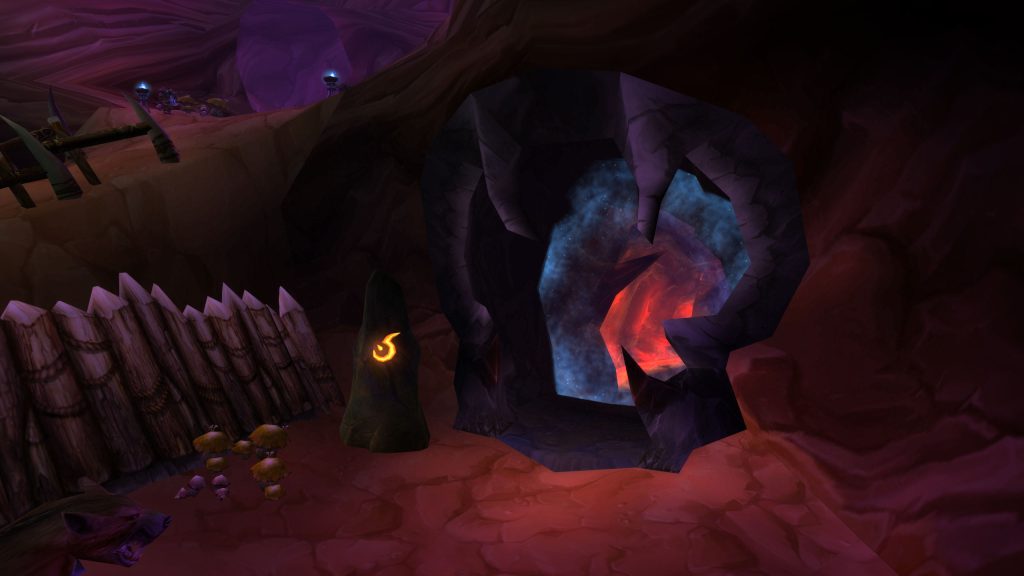
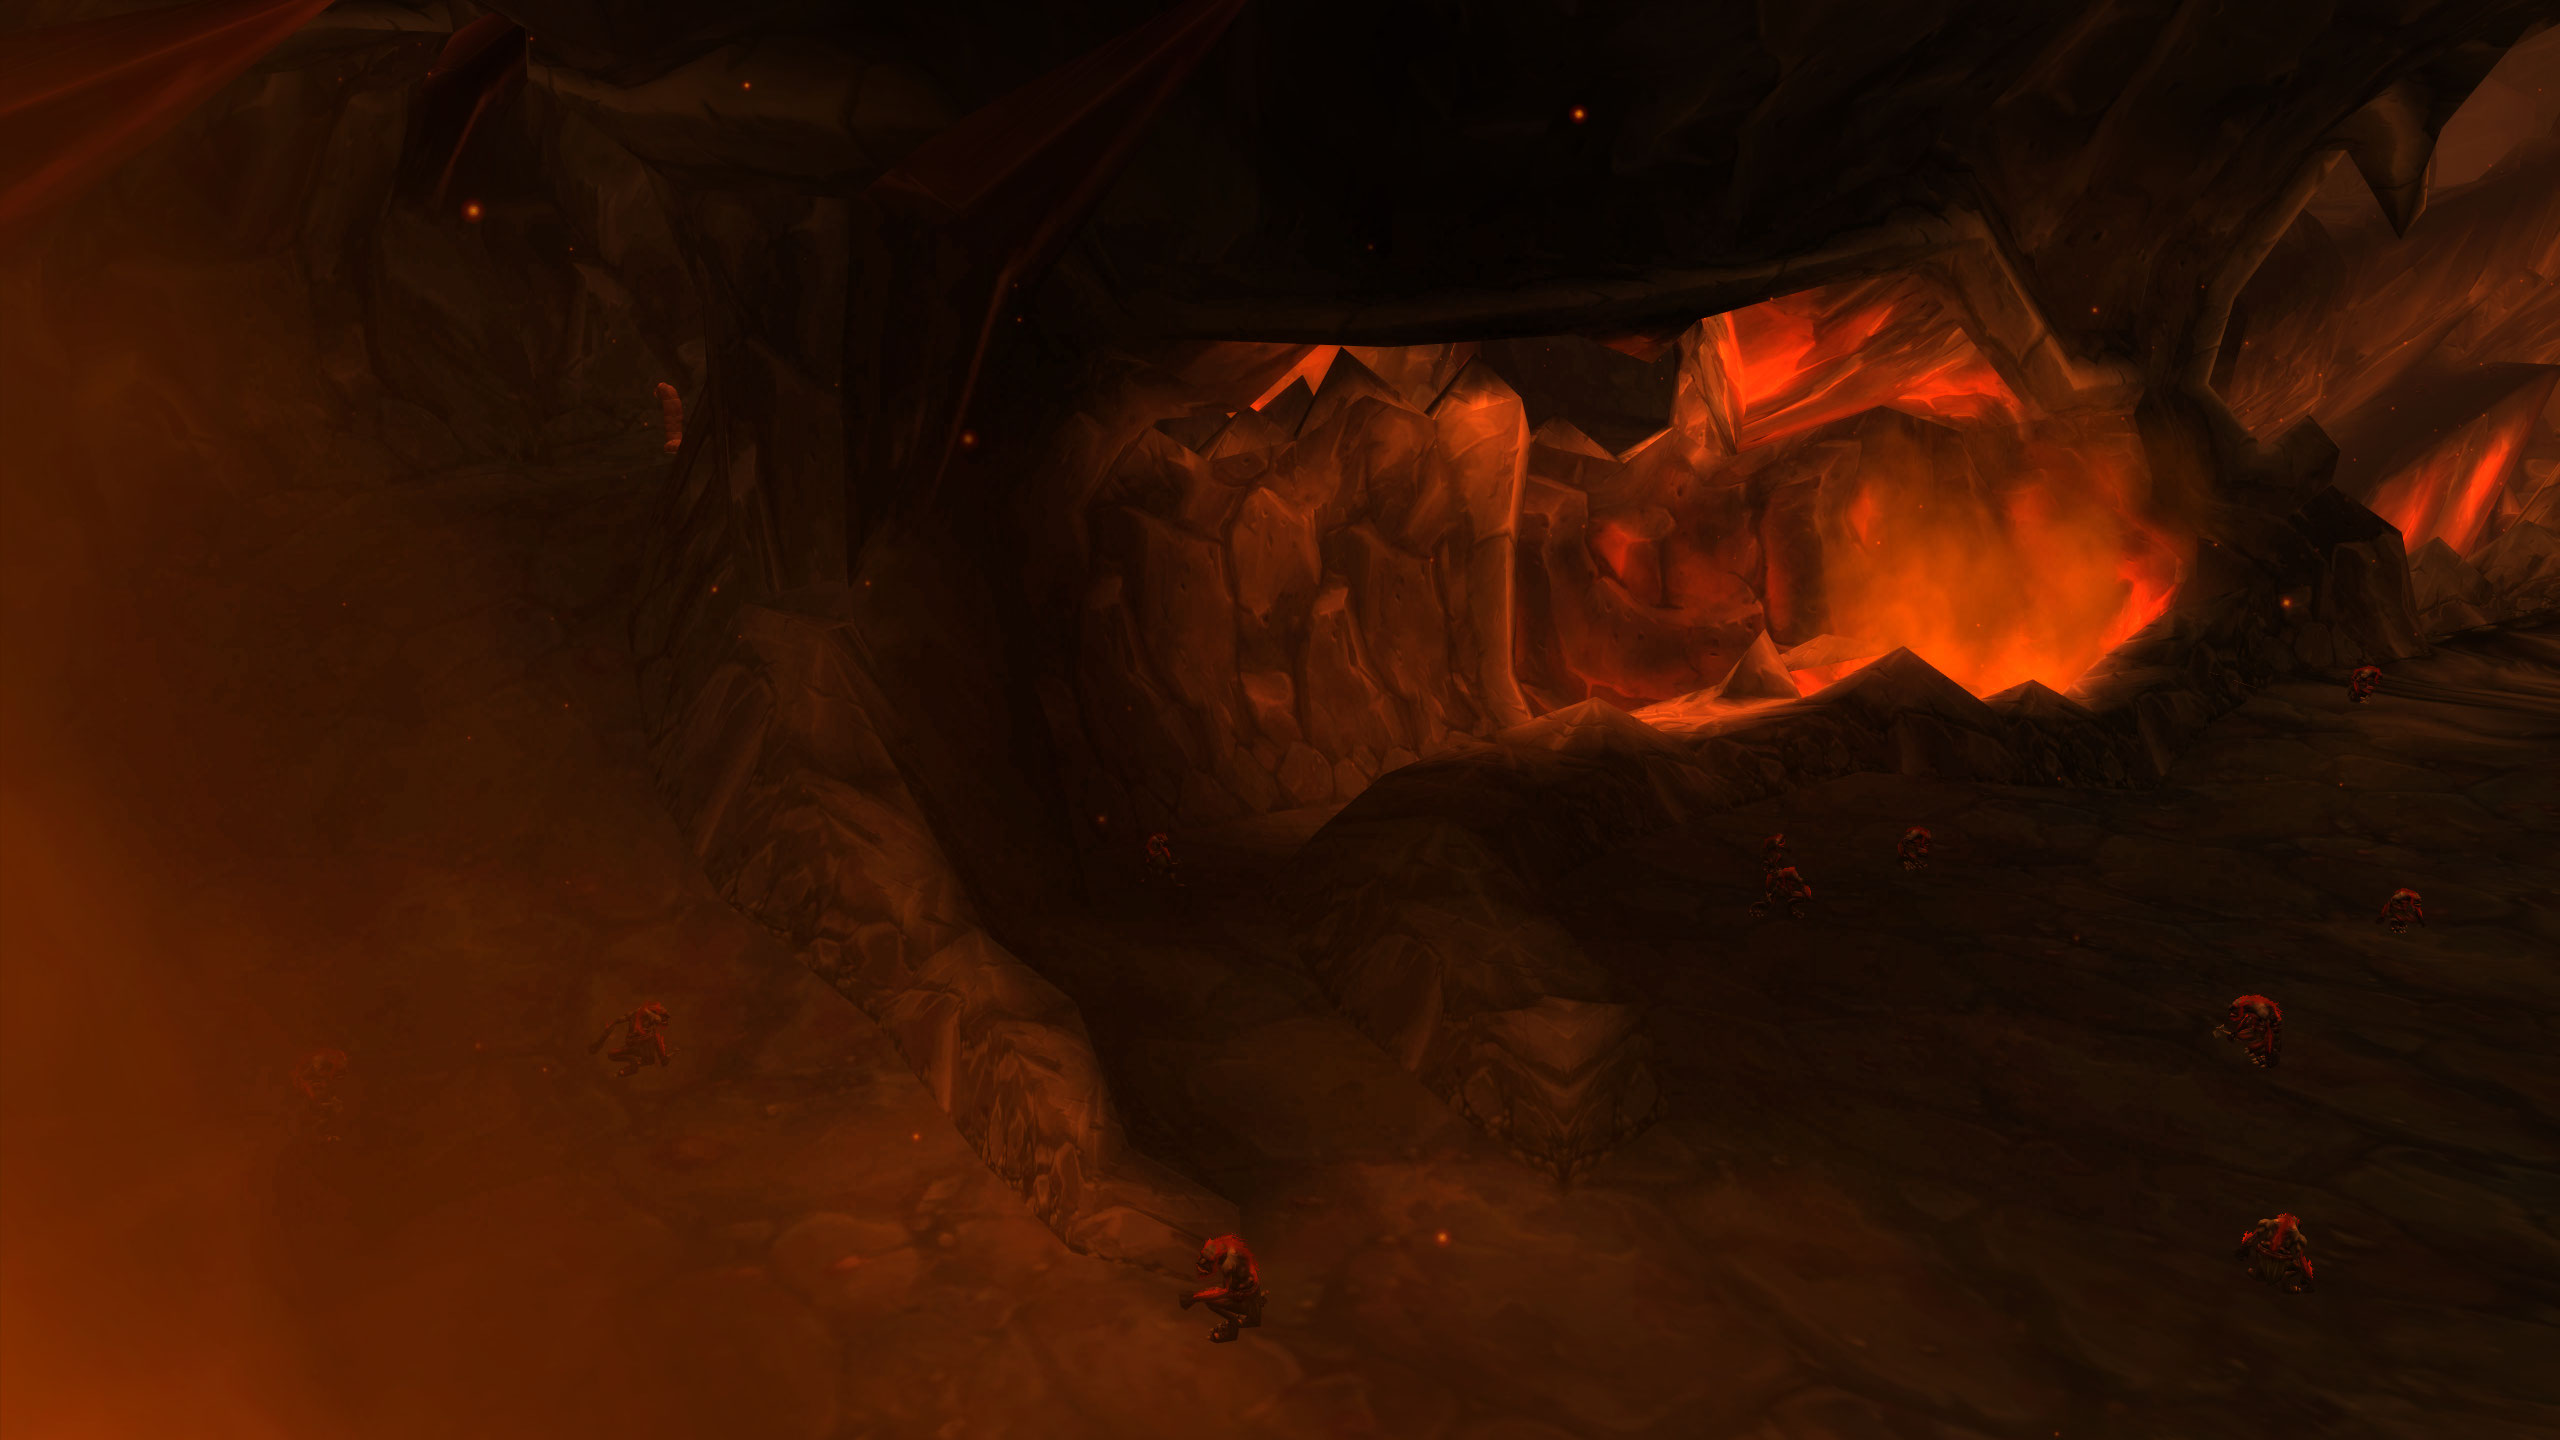
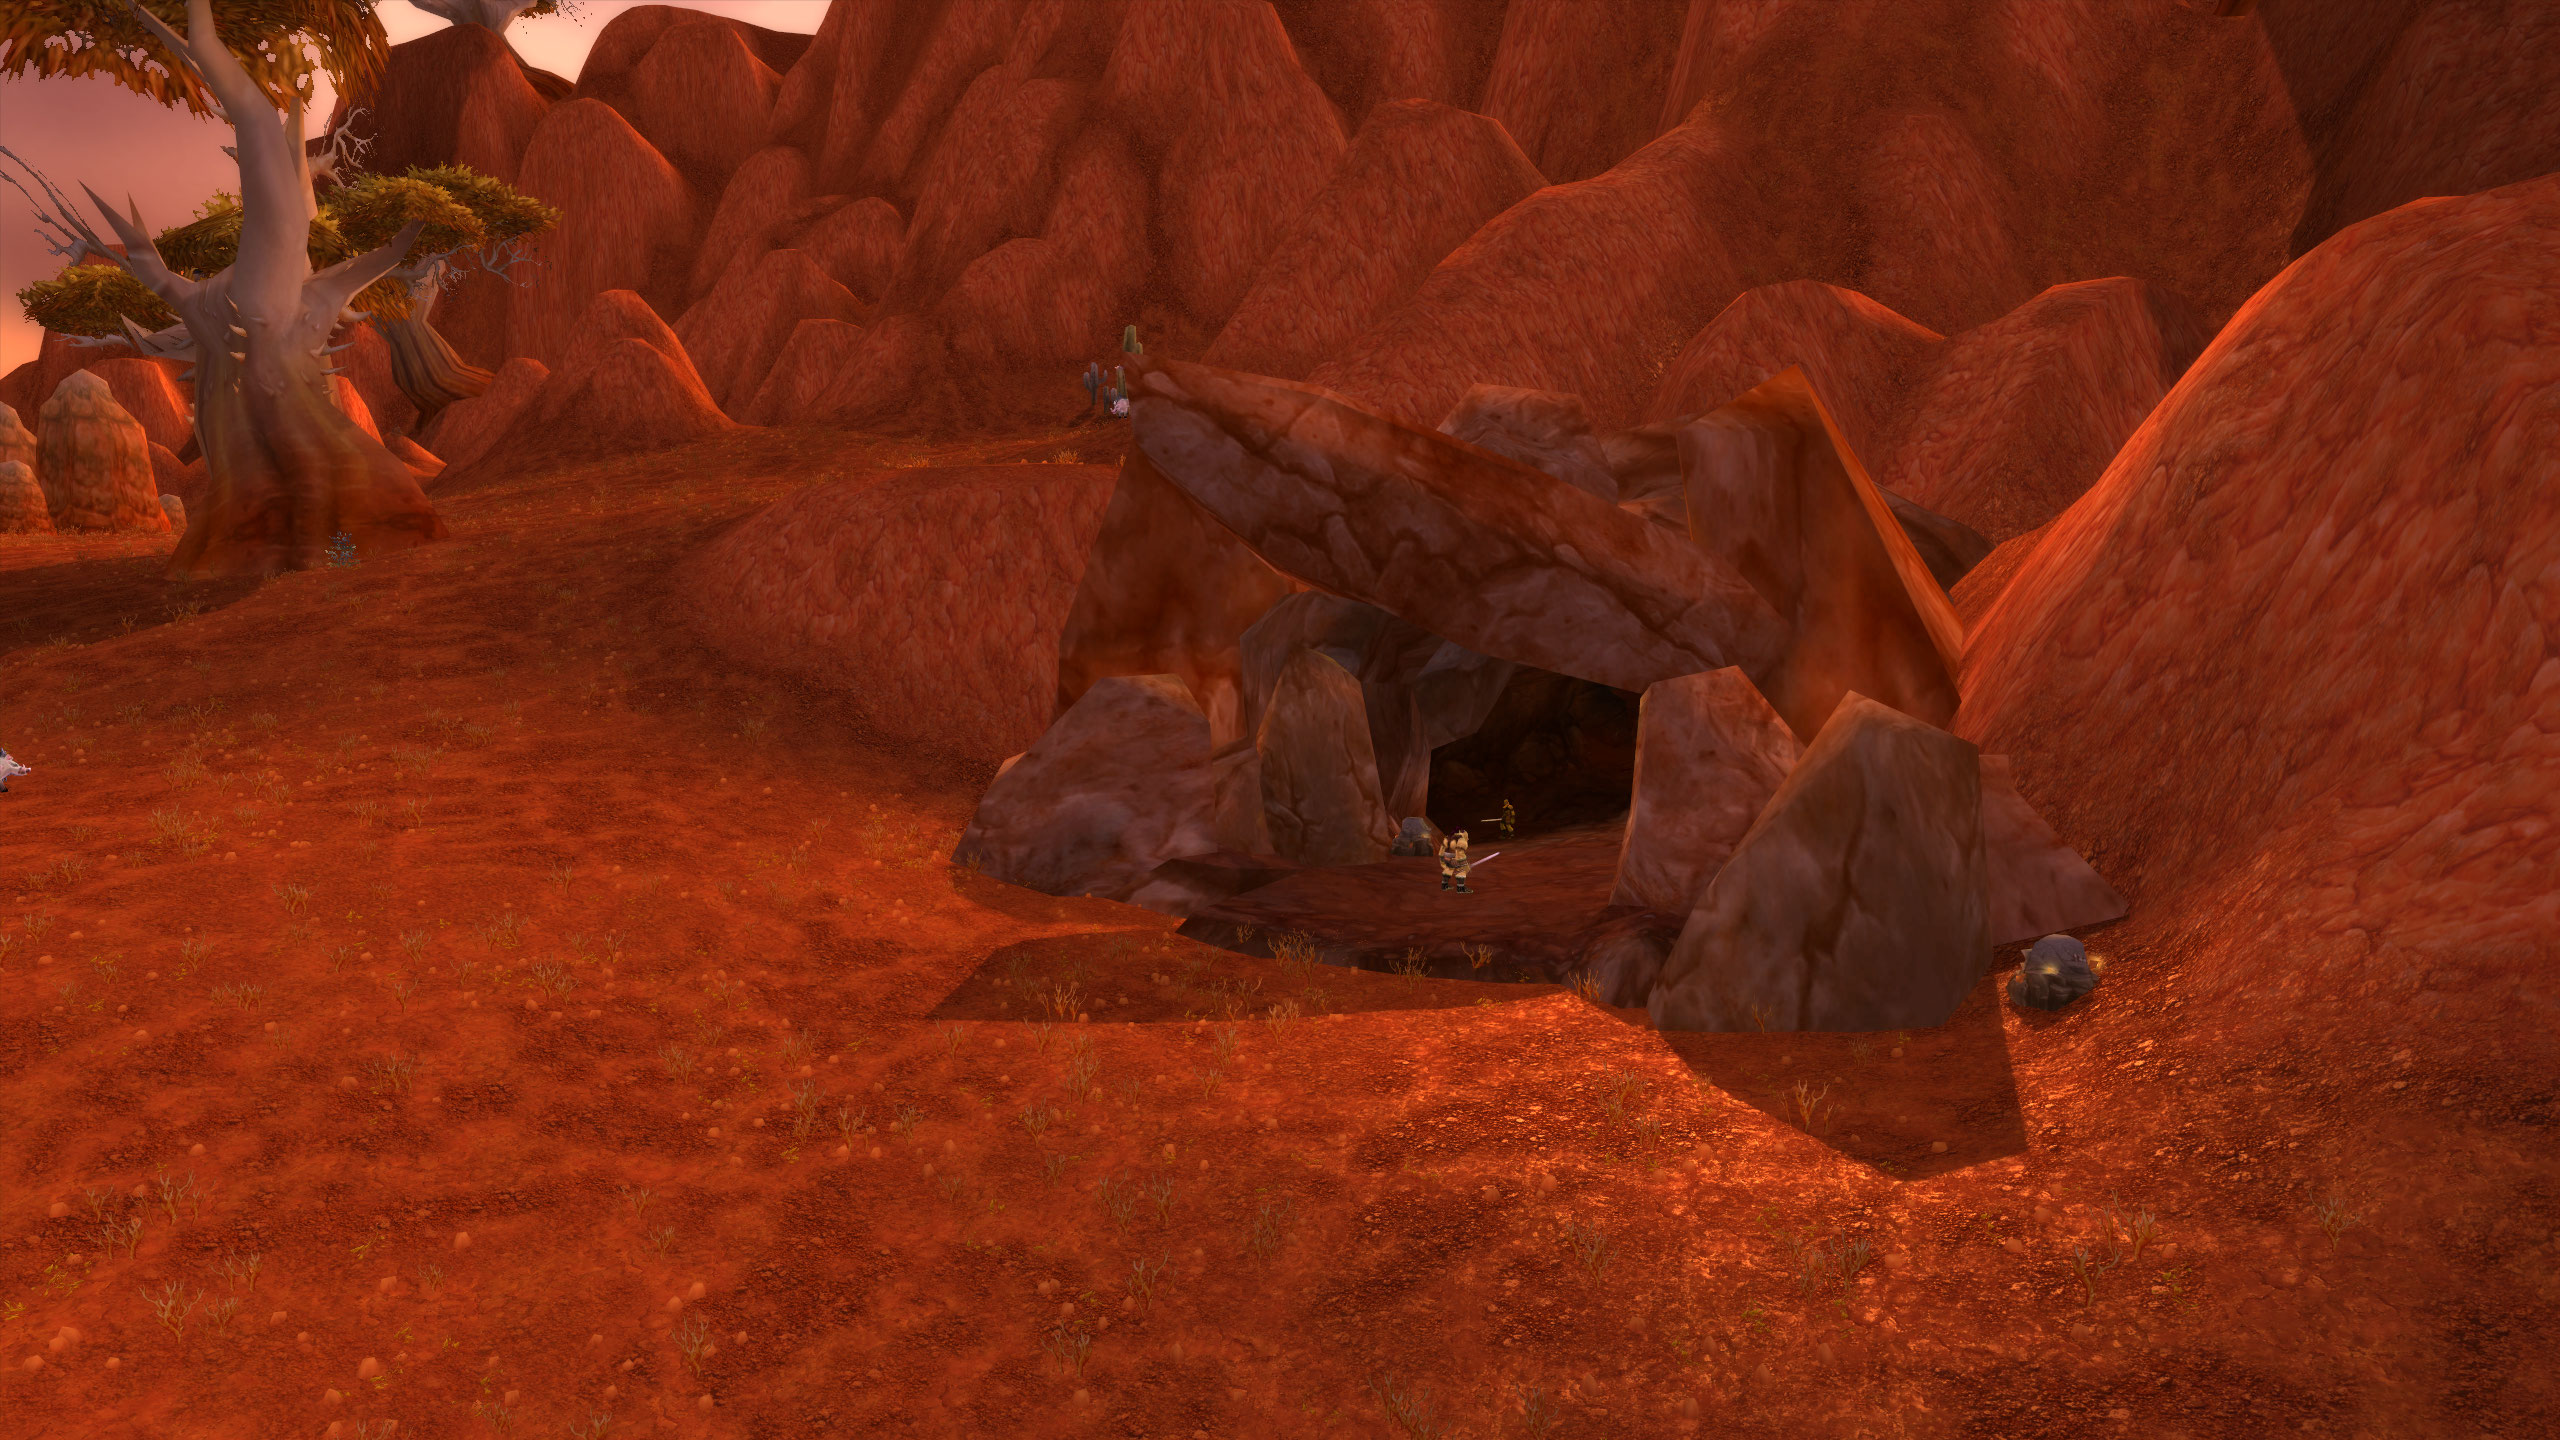
Ragefire Chasm quests are surprisingly plentiful, but are exclusive to Horde players. Completing these quests will require players to either visit all three Horde capitals, or to bring a solid mix of Undead, Tauren, Orc, and Troll players. While most of the quests do not require a chain, the one chain quest also happens to provide the best reward from the quests available here, making it very worth doing.
Single Part Quests
All of these quests can be grabbed immediately, without completing any other quests. They can also all be shared, meaning only one player needs to pick them up before coming to the dungeon.
 Slaying the Beast (Level 9 Required, Shareable)
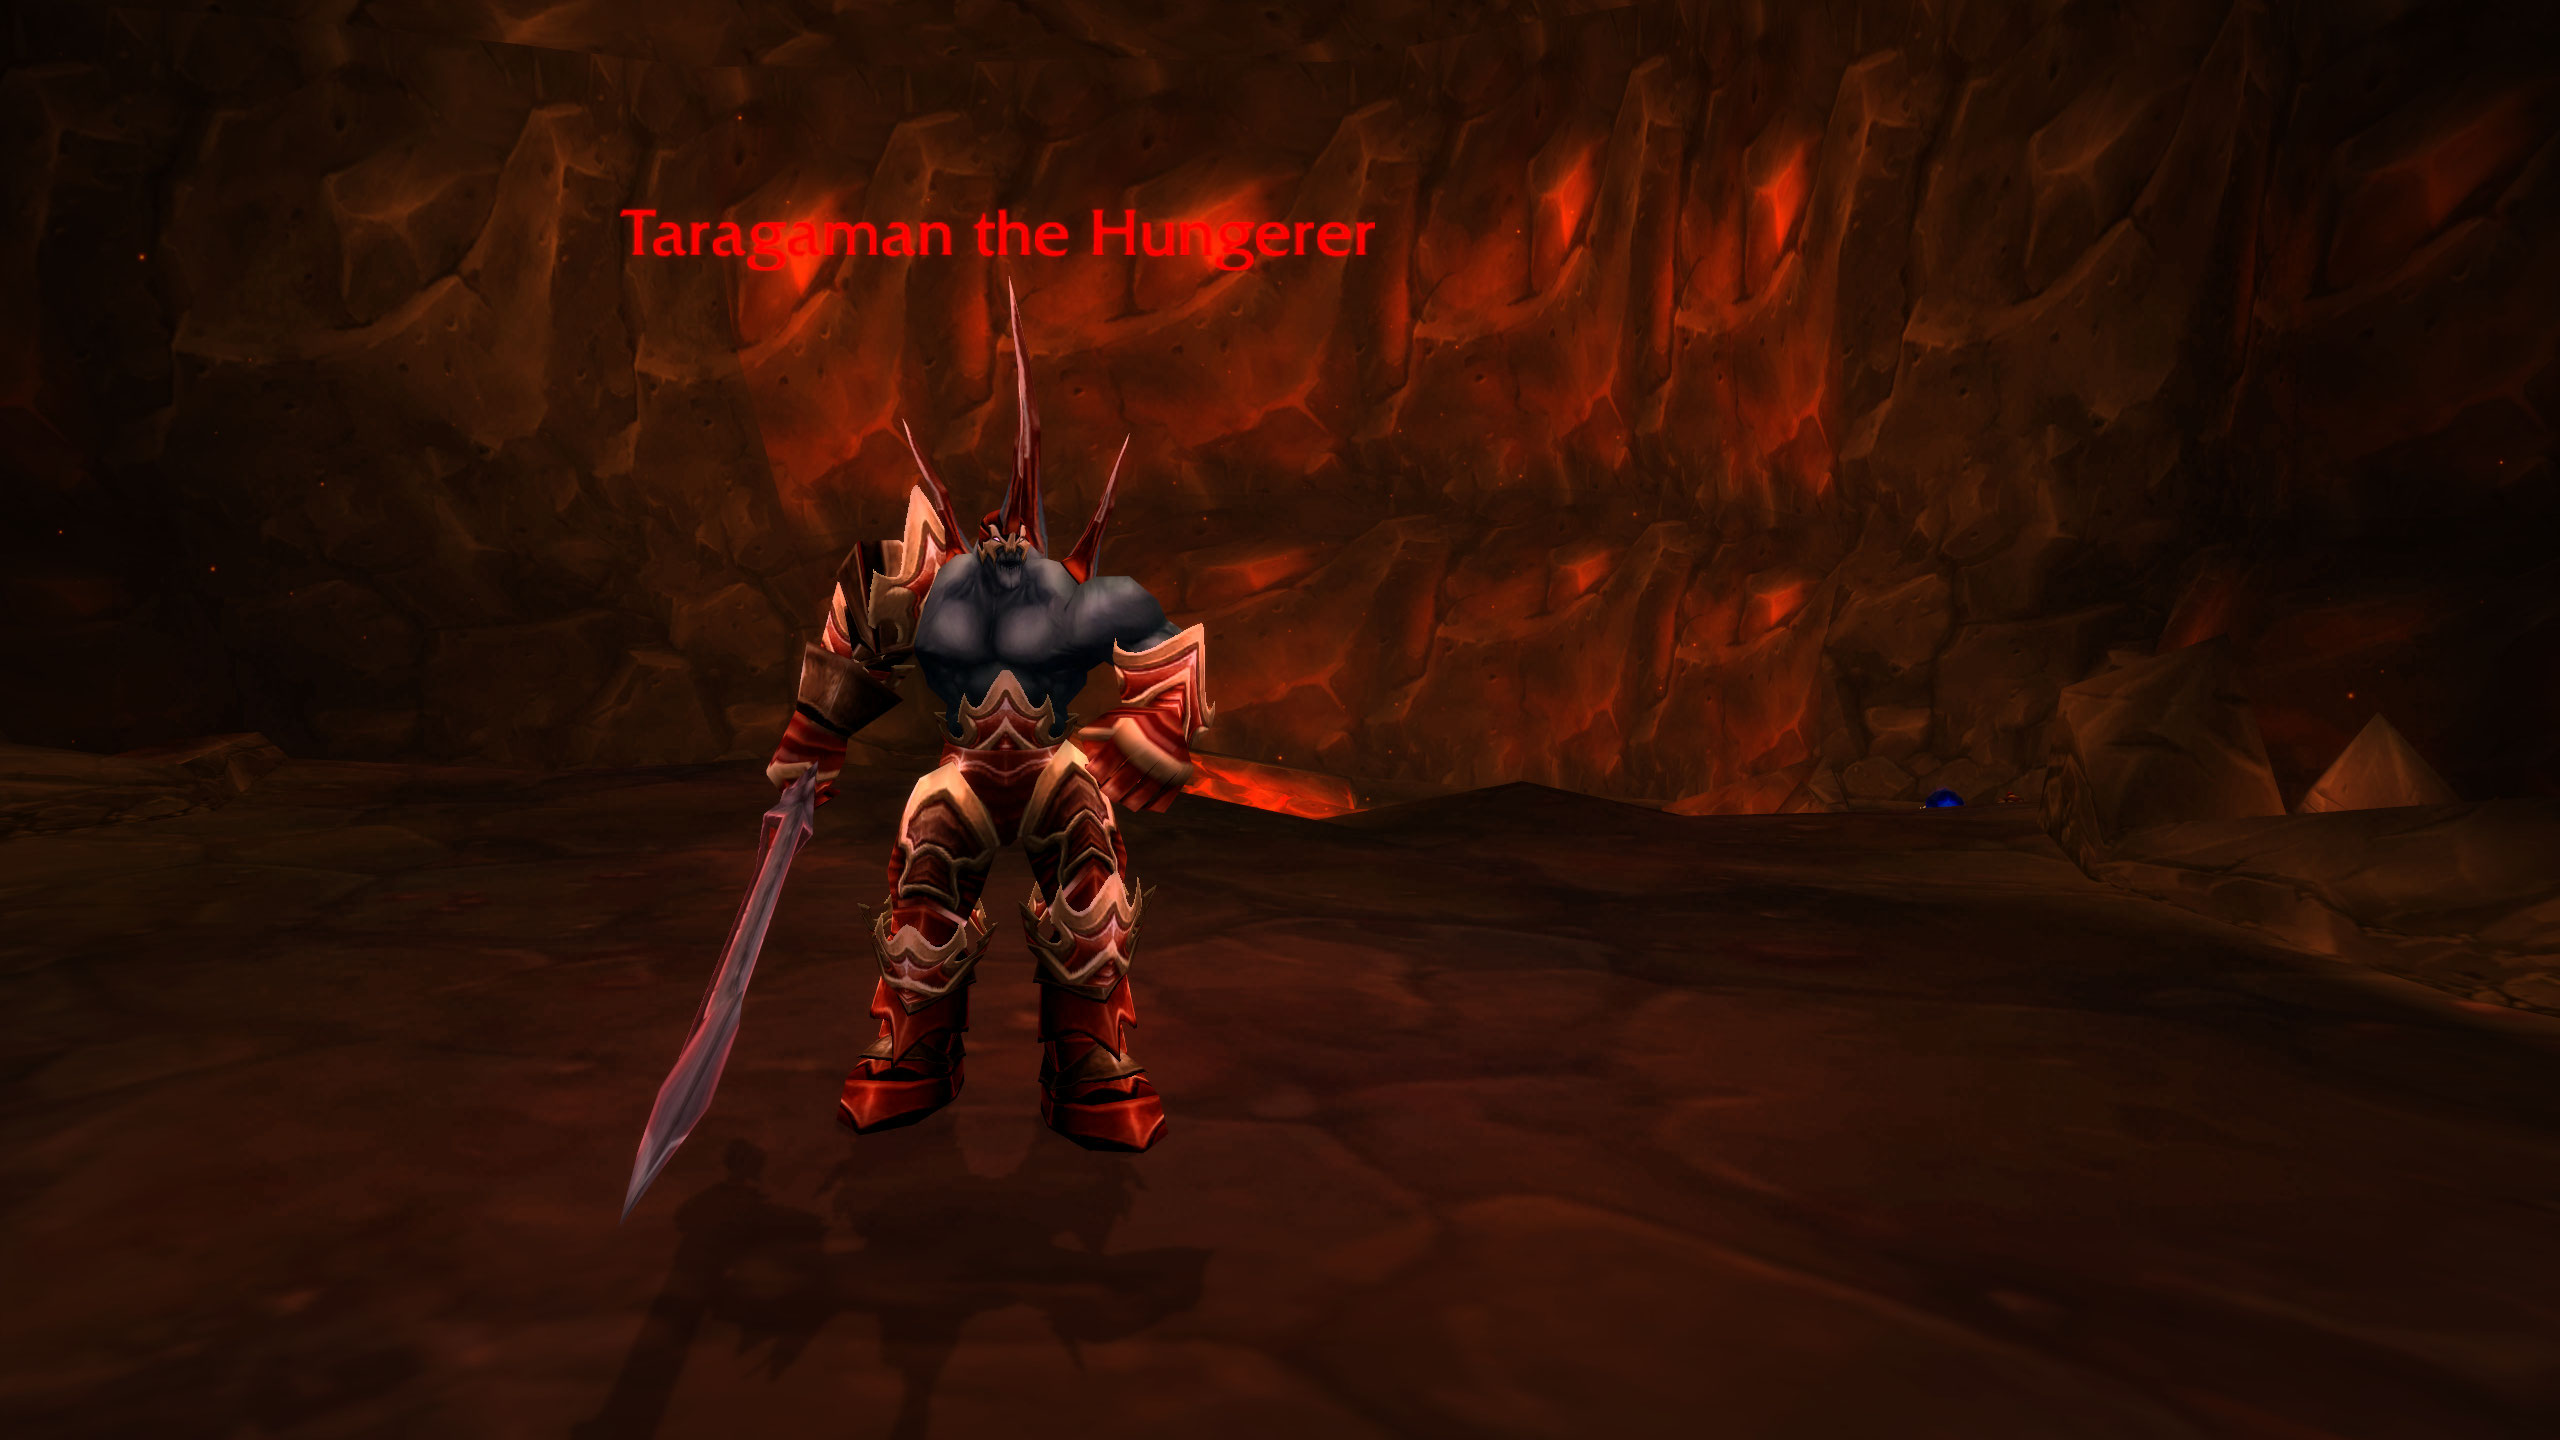
This quest is the simplest of all the Ragefire Chasm quests. There is no pre-requisite, simply speak to Neeru Fireblade who can be found directly outside of the instance portal to start this quest.
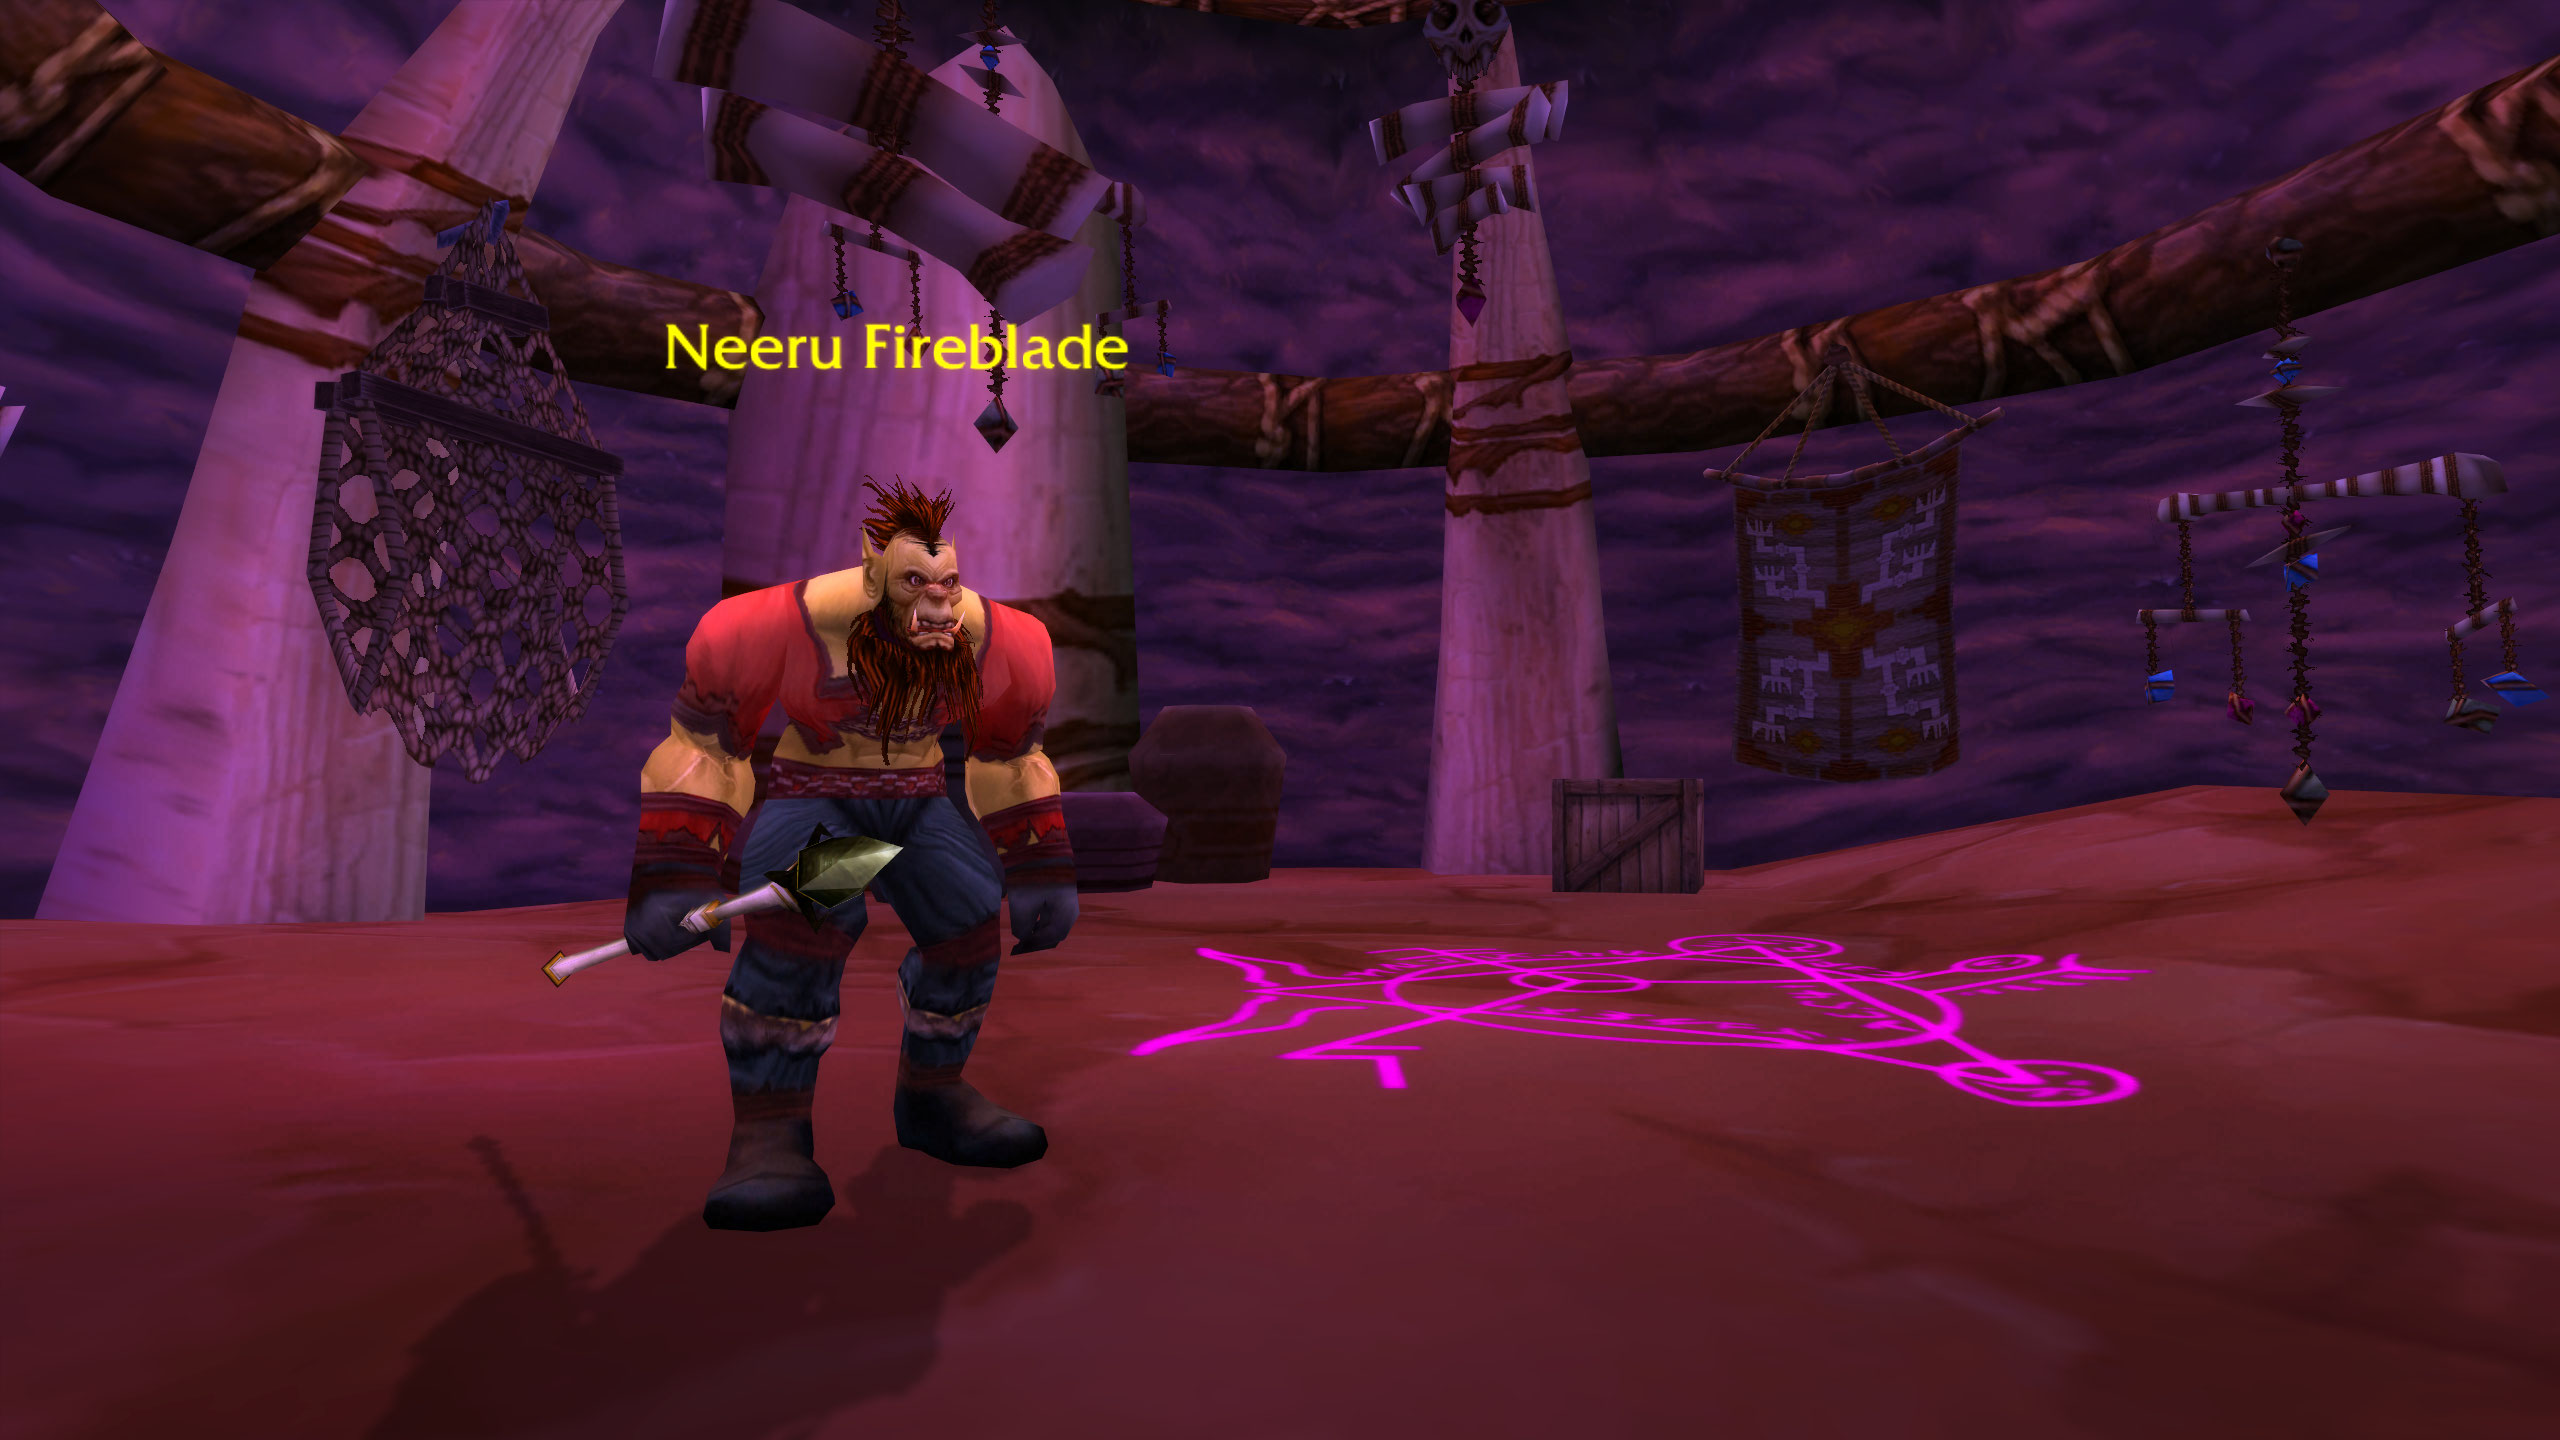
The quest tasks you to collect Taragaman the Hungerer’s Heart. Simply kill Taragaman the Hungerer, located in the middle of the cultist section of the dungeon. Make sure you actually loot the heart! Finish up by delivering this quest back to Neeru Fireblade right where you picked it up.
This quest awards experience and a handful of silver.
Searching for the Lost Satchel (Level 9 Required, Shareable)
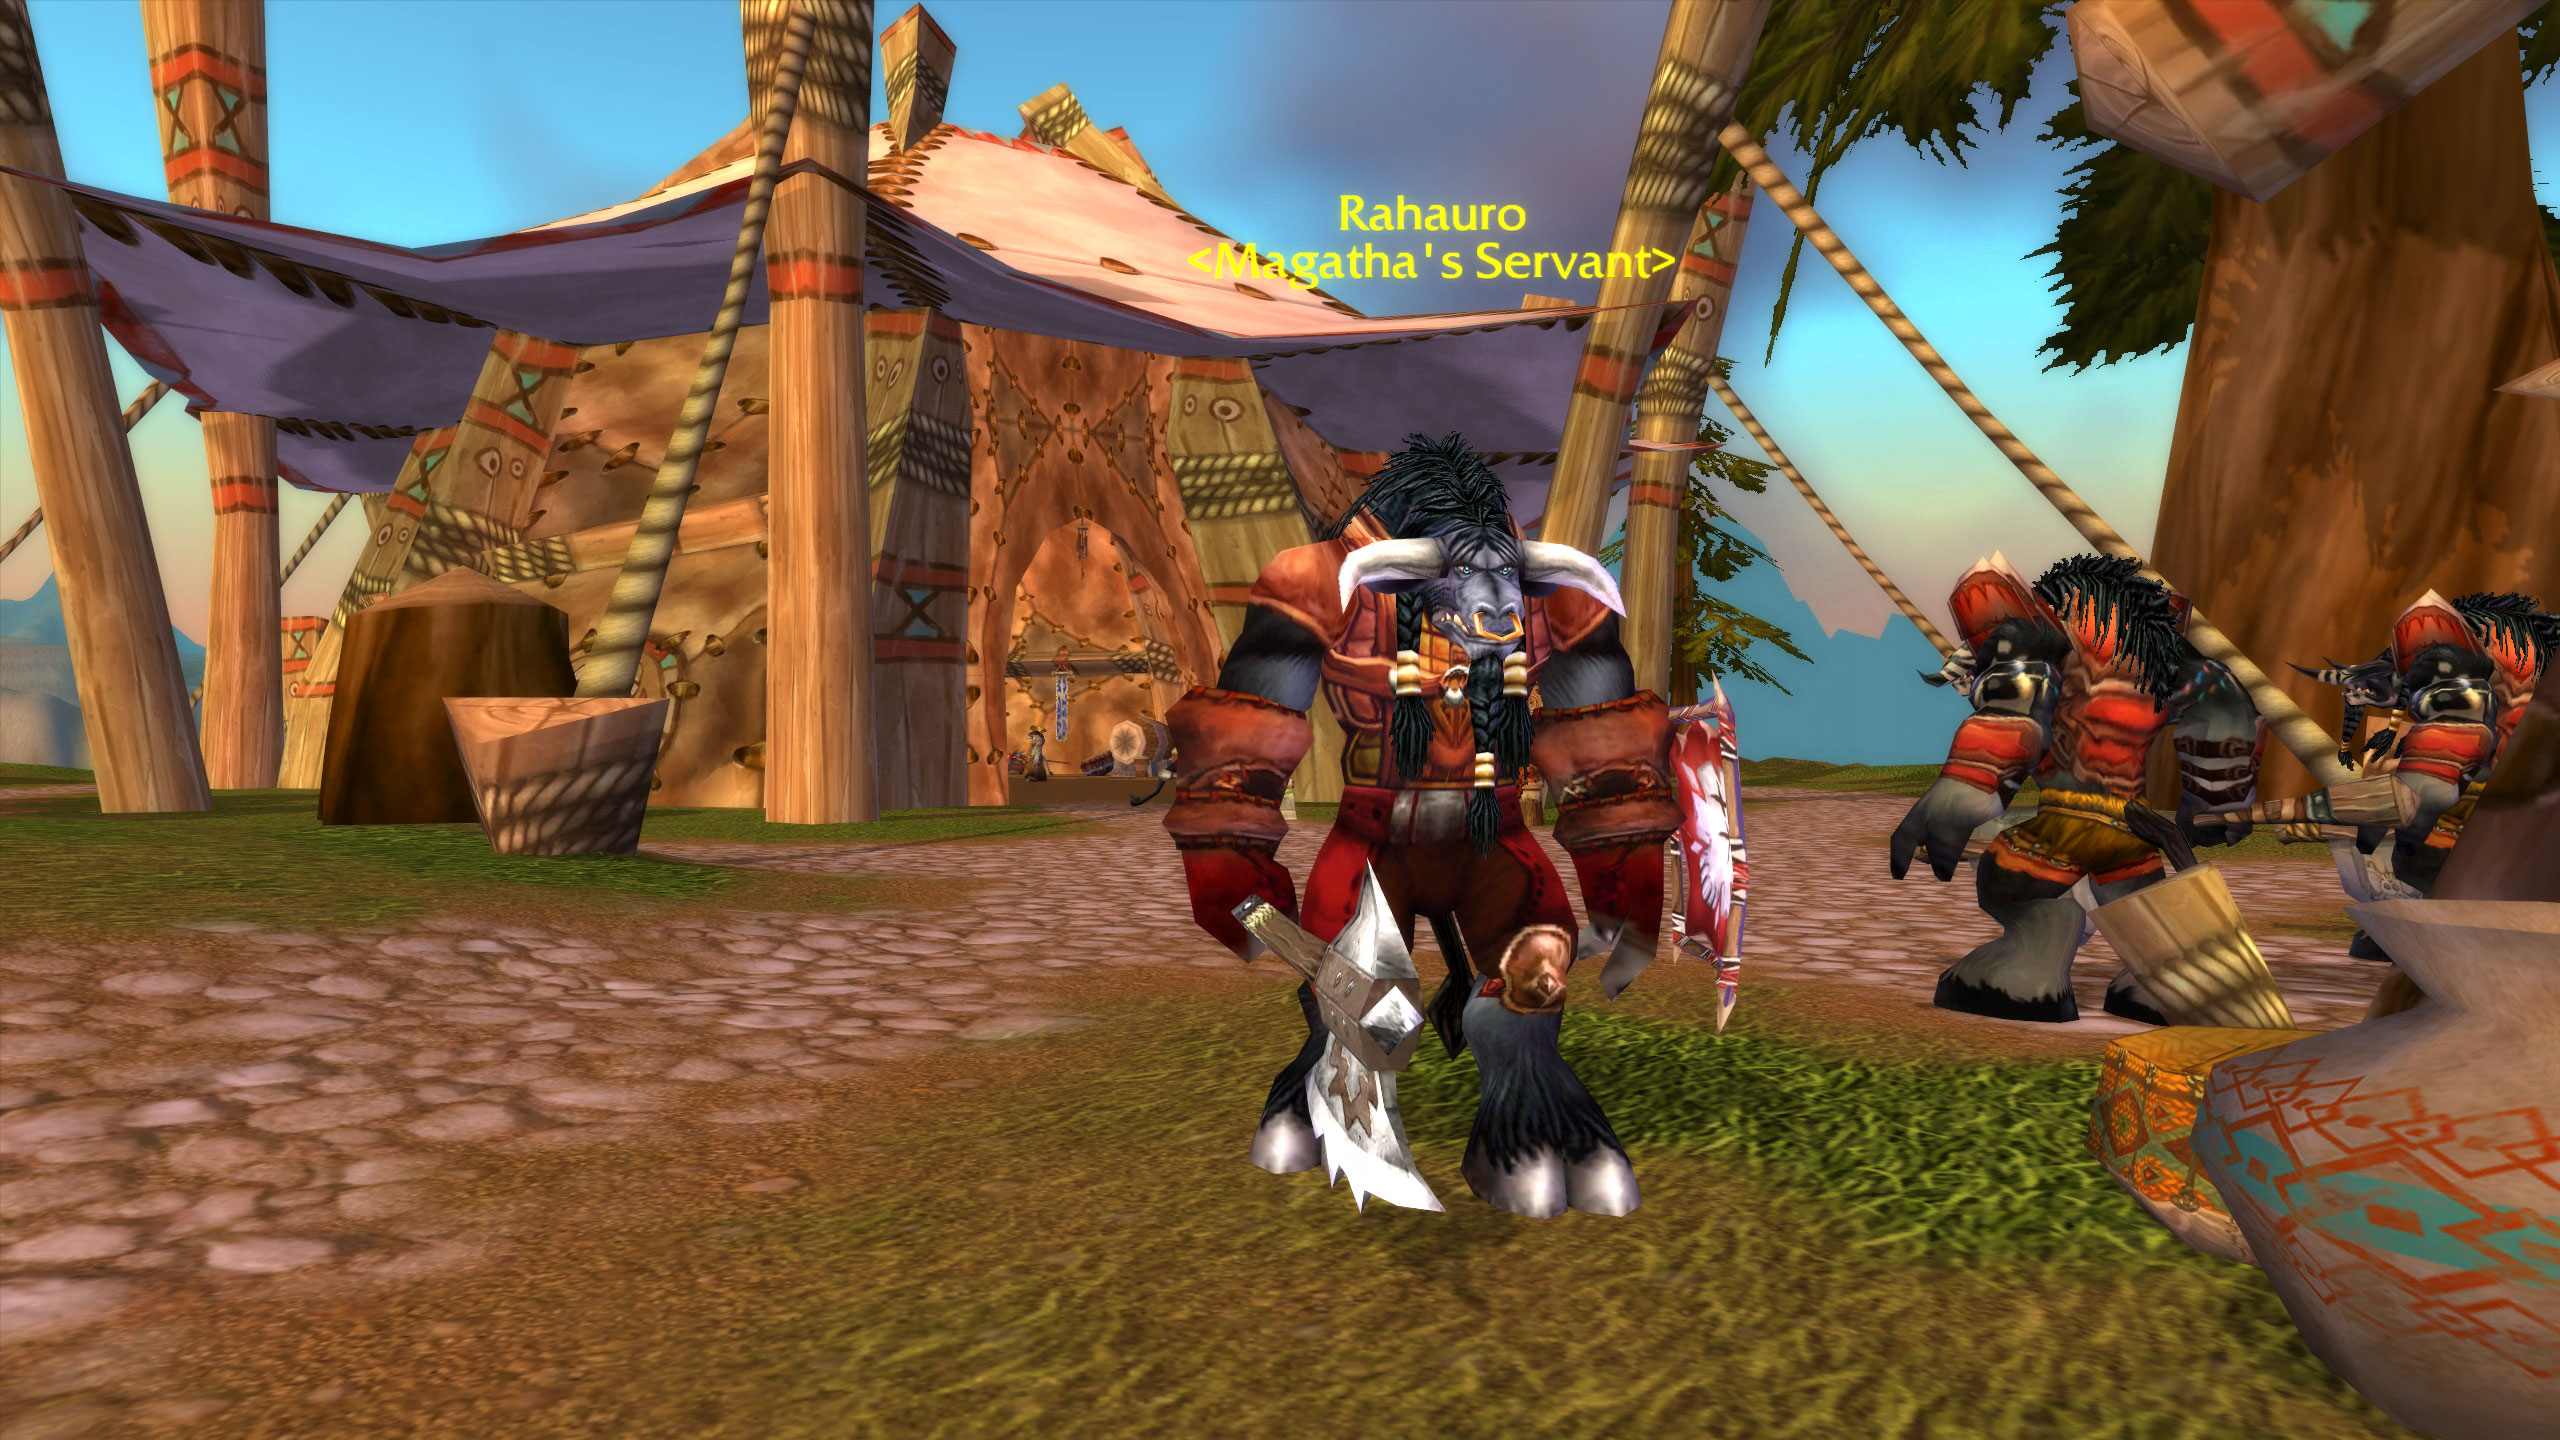
This quest is started by Rahauro in the Elder Rise of Thunder Bluff, which is quite a trek for anyone that isn’t a Tauren. For this reason, I strongly recommend that you find a Tauren to join the group, having them bring the quest and share it on arrival.
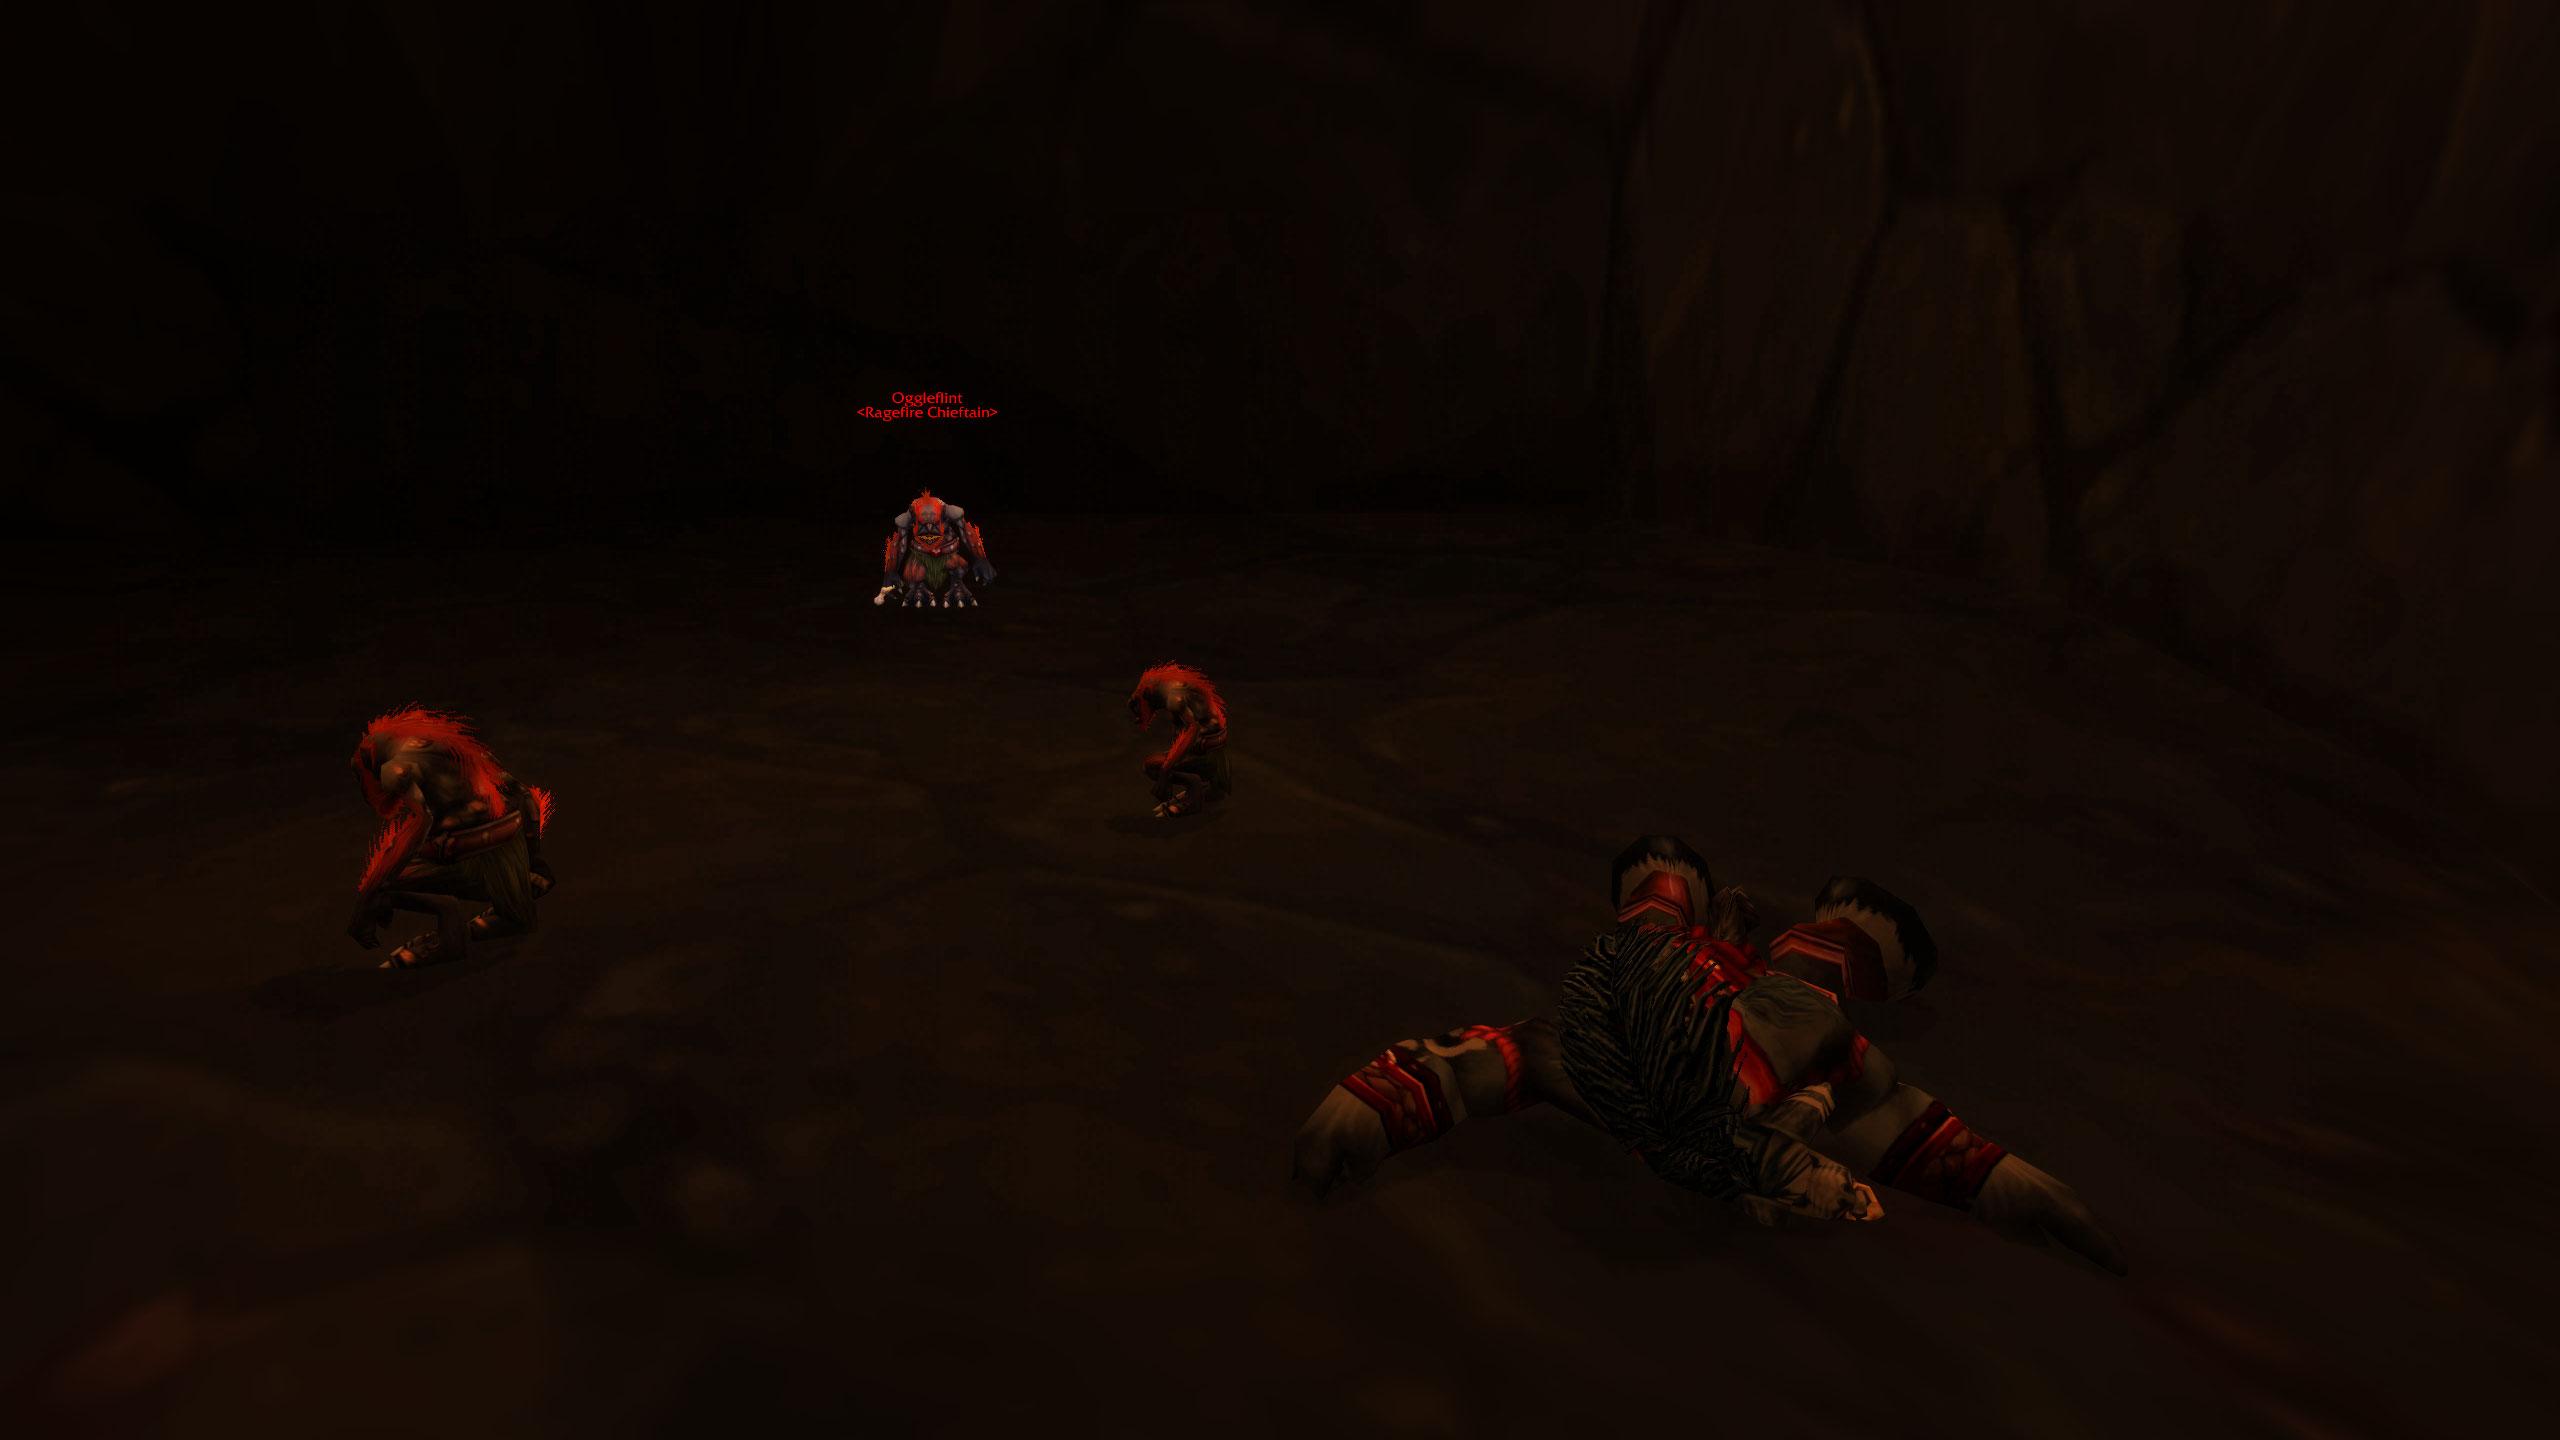
This quest asks you to search for Maur Grimtotem‘s corpse in Ragefire Chasm and bring back their satchel. This corpse is located slightly off the linear path that goes through the dungeon. To reach it, take the very first path to the right, instead of the larger, clearer second path. At the end of this path you will find a small chamber populated by Oggleflint and a handful of Troggs. Slay them and interact with the Tauren corpse on the ground to hand the quest in, giving you the followup Returning the Lost Satchel.
This followup asks you to return the Grimtotem Satchel back to Rahauro in Thunder Bluff, in exchange for your choice of Featherbead Bracers or Savannah Bracers.
Testing an Enemy’s Strength (Level 9 Required, Shareable)
Just like the previous quest, this quest is started by Rahauro in the Elder Rise of Thunder Bluff. If you aren’t a Tauren, I recommend recruiting a Tauren for your group, as they can pick the quest up in Thunder Bluff and share it on arrival.
As revenge for the slaying of the Tauren diplomats, Rahauro asks that you thin the Trogg numbers by slaying 8 Ragefire Troggs and 8 Ragefire Shamans. This quest is often completed simply by progressing through the dungeon normally, but if the patrols aren’t in time to aggro to you, you may have to seek out an extra Trogg here or there to make sure you get them all.
Return to Rahauro to receive a chunk of experience and some pocket change.
The Power to Destroy (Level 9 Required, Shareable)
Making sure all three capital cities have their role to play, this quest is started by Varimathras in The Undercity. Similar to the Thunder Bluff quests, this is a good reason to bring an Undead player along. Unlike those quests though, The Undercity is a simple zeppelin ride away from Orgrimmar, making it significantly more accessible to low level players.
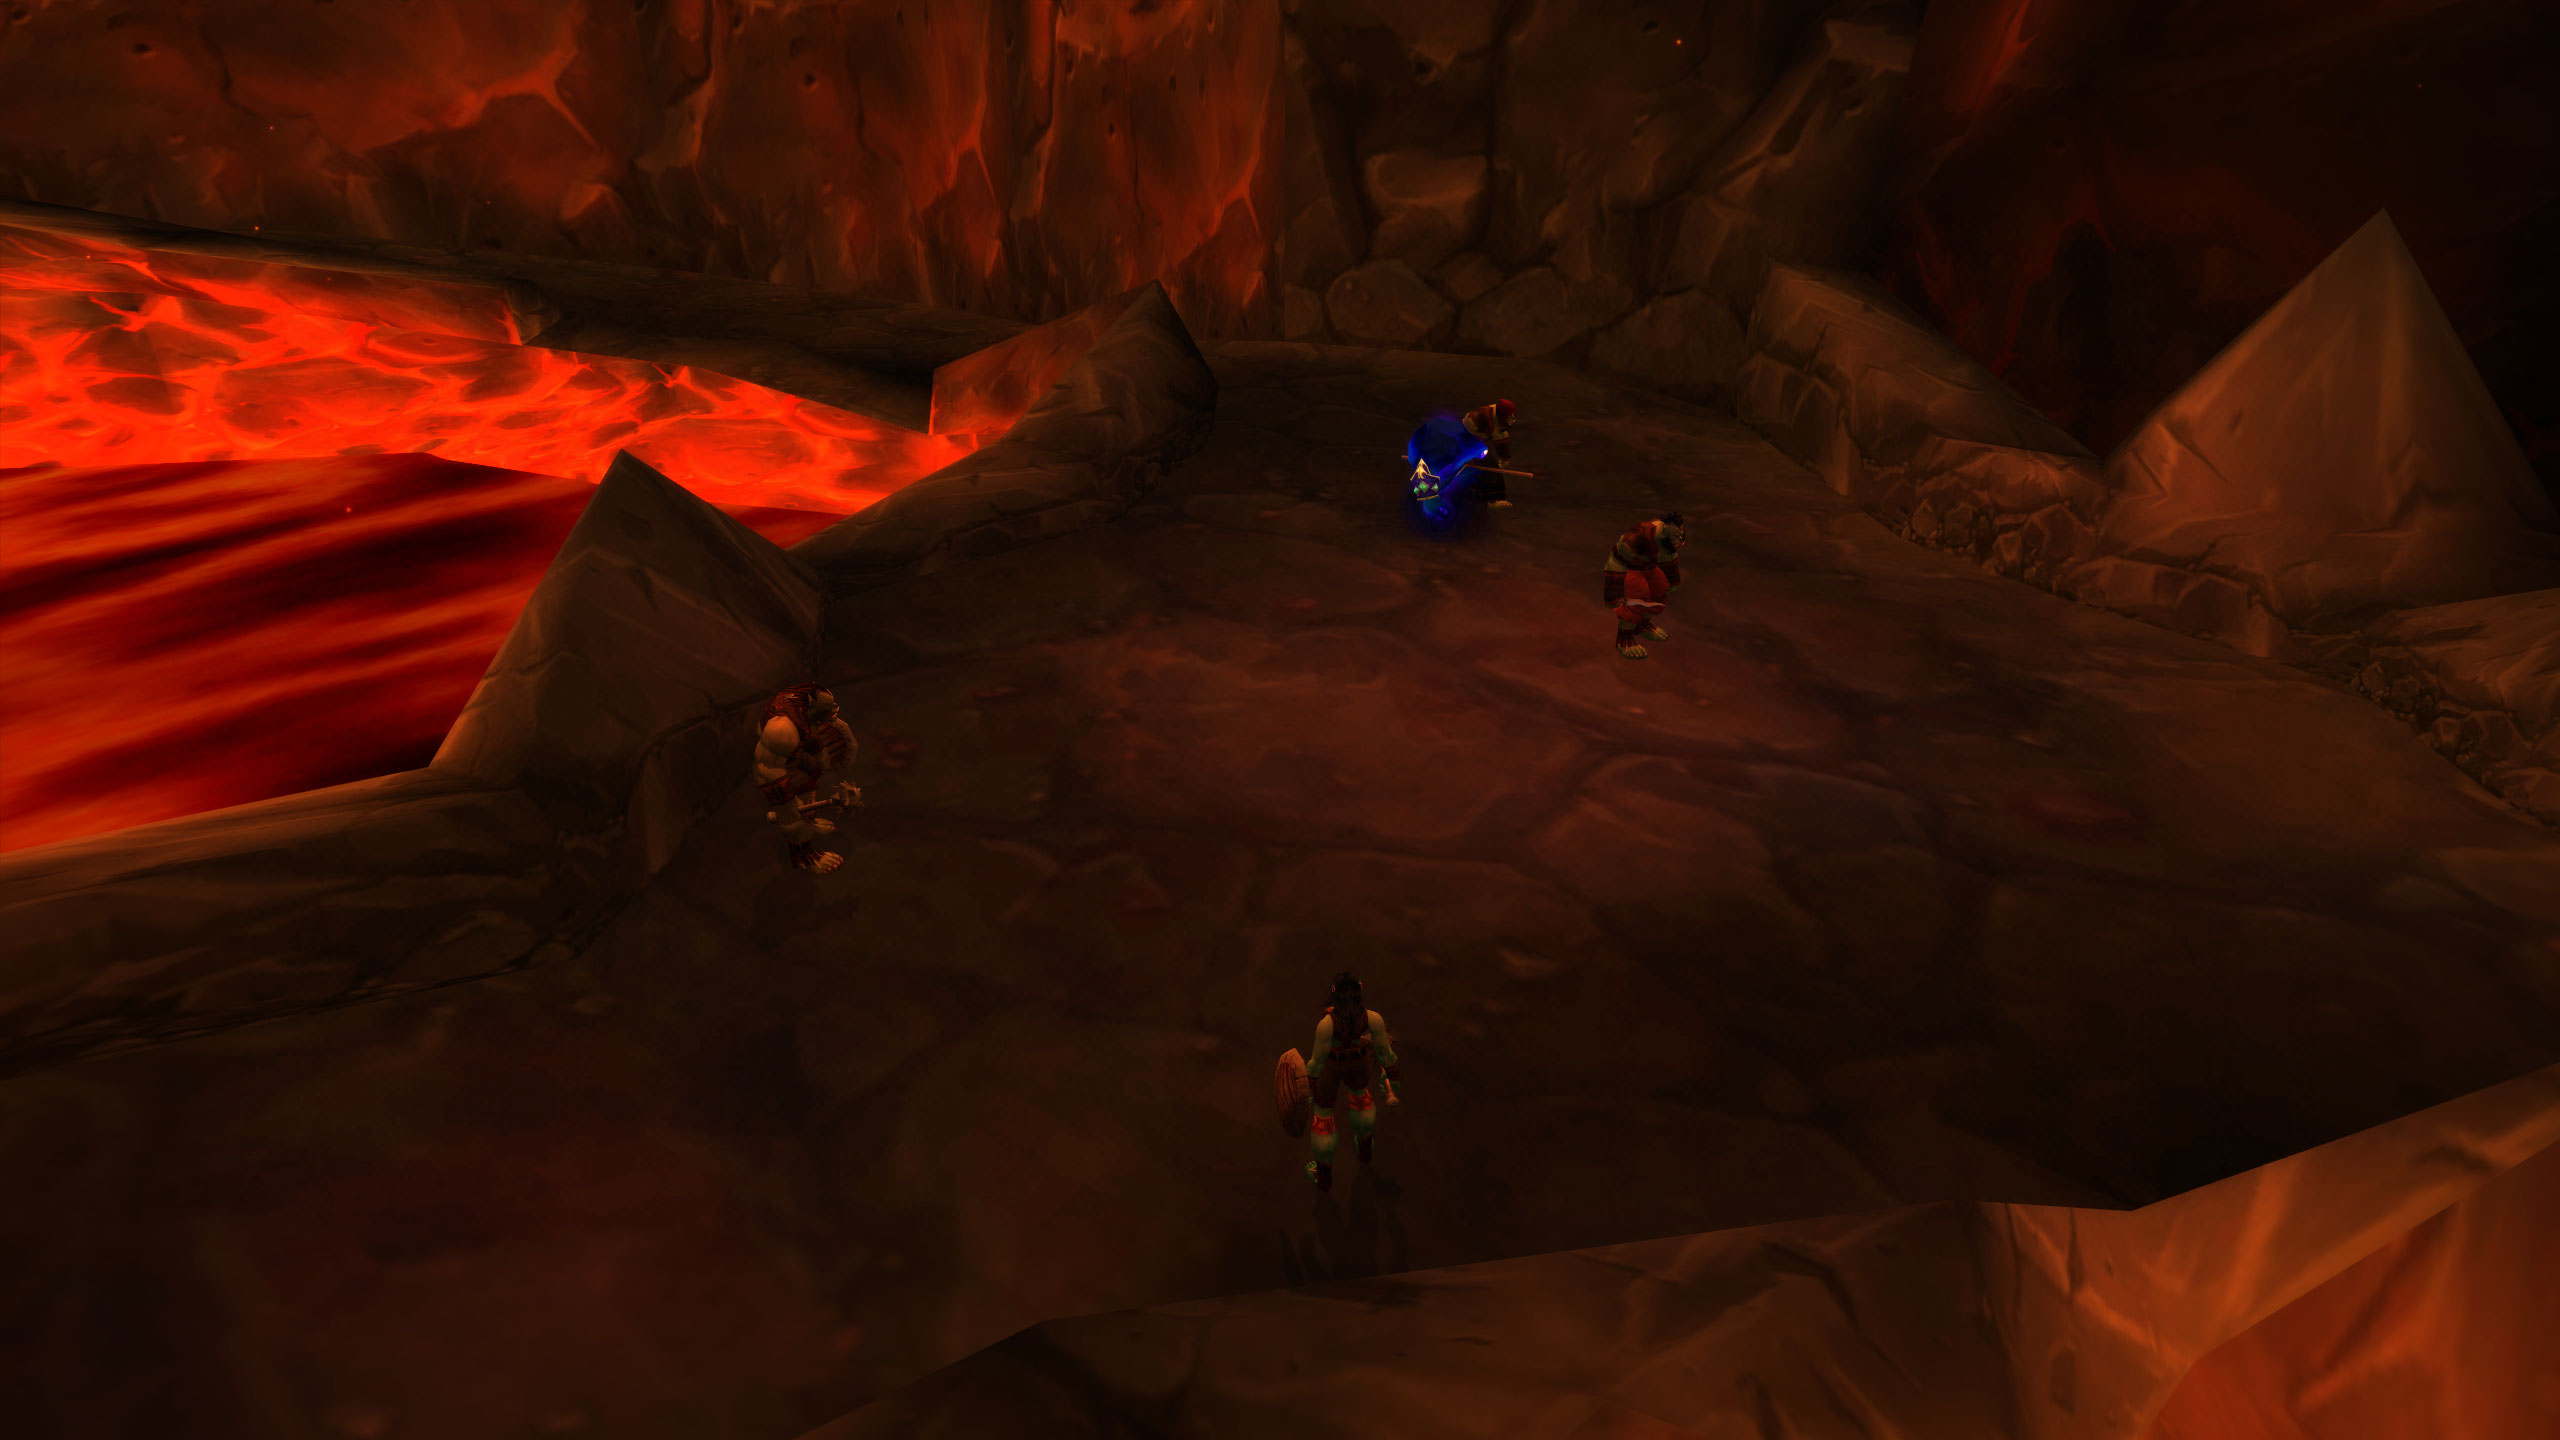
Varimathras would like you to obtain the Spells of Shadow and Incantations from the Nether from Ragefire Chasm. Both books are random drops from Searing Blade Cultists and Searing Blade Warlocks, and it is almost certain that you’ll get both drops before you have cleared the dungeon.
Bring both books back to Varimathras in exchange for your choice of Ghastly Trousers, Dredgemire Leggings, or Gargoyle Leggings.
Chain Quests
This quest requires you to progress a handful of steps before you gain the actual dungeon quest.
Hidden Enemies (Level 9 Required)
Hidden Enemies (Part 1)
This notoriously frustrating chain quest starts with the quest Hidden Enemies, given by Thrall in Orgrimmar. Part 1 tasks you to obtain a Lieutenant’s Insignia, dropped by Burning Blade Fanatics and Burning Blade Apprentices in Skull Rock, the cave just east of the Orgrimmar gates, by the coast.
While you can start this quest as low as level 9, the enemies range from levels 9 to 11, and rarely fight alone. This can make the cave very dangerous. Combine that with the oddly low drop rate of Lieutenant’s Insignia and you have a recipe for many corpse runs. Something that isn’t uncommon is for Ragefire Chasm groups to complete this chain together, giving them the advantage of a full 5 man group, instead of trying to push through the cave solo.
Once it drops, bring the Lieutenant’s Insignia back to Thrall to start part 2.
Hidden Enemies (Part 2)
As soon as the first part is over, this chain turns you into a carrier pigeon, running back and forth ad nauseam. Thrall tasks you interrogate Neeru Fireblade in the Cleft of Shadow, just outside of the portal to Ragefire Chasm. Run back to him, go through his dialogue, and return to Thrall to start the next part.
Hidden Enemies (Part 3)
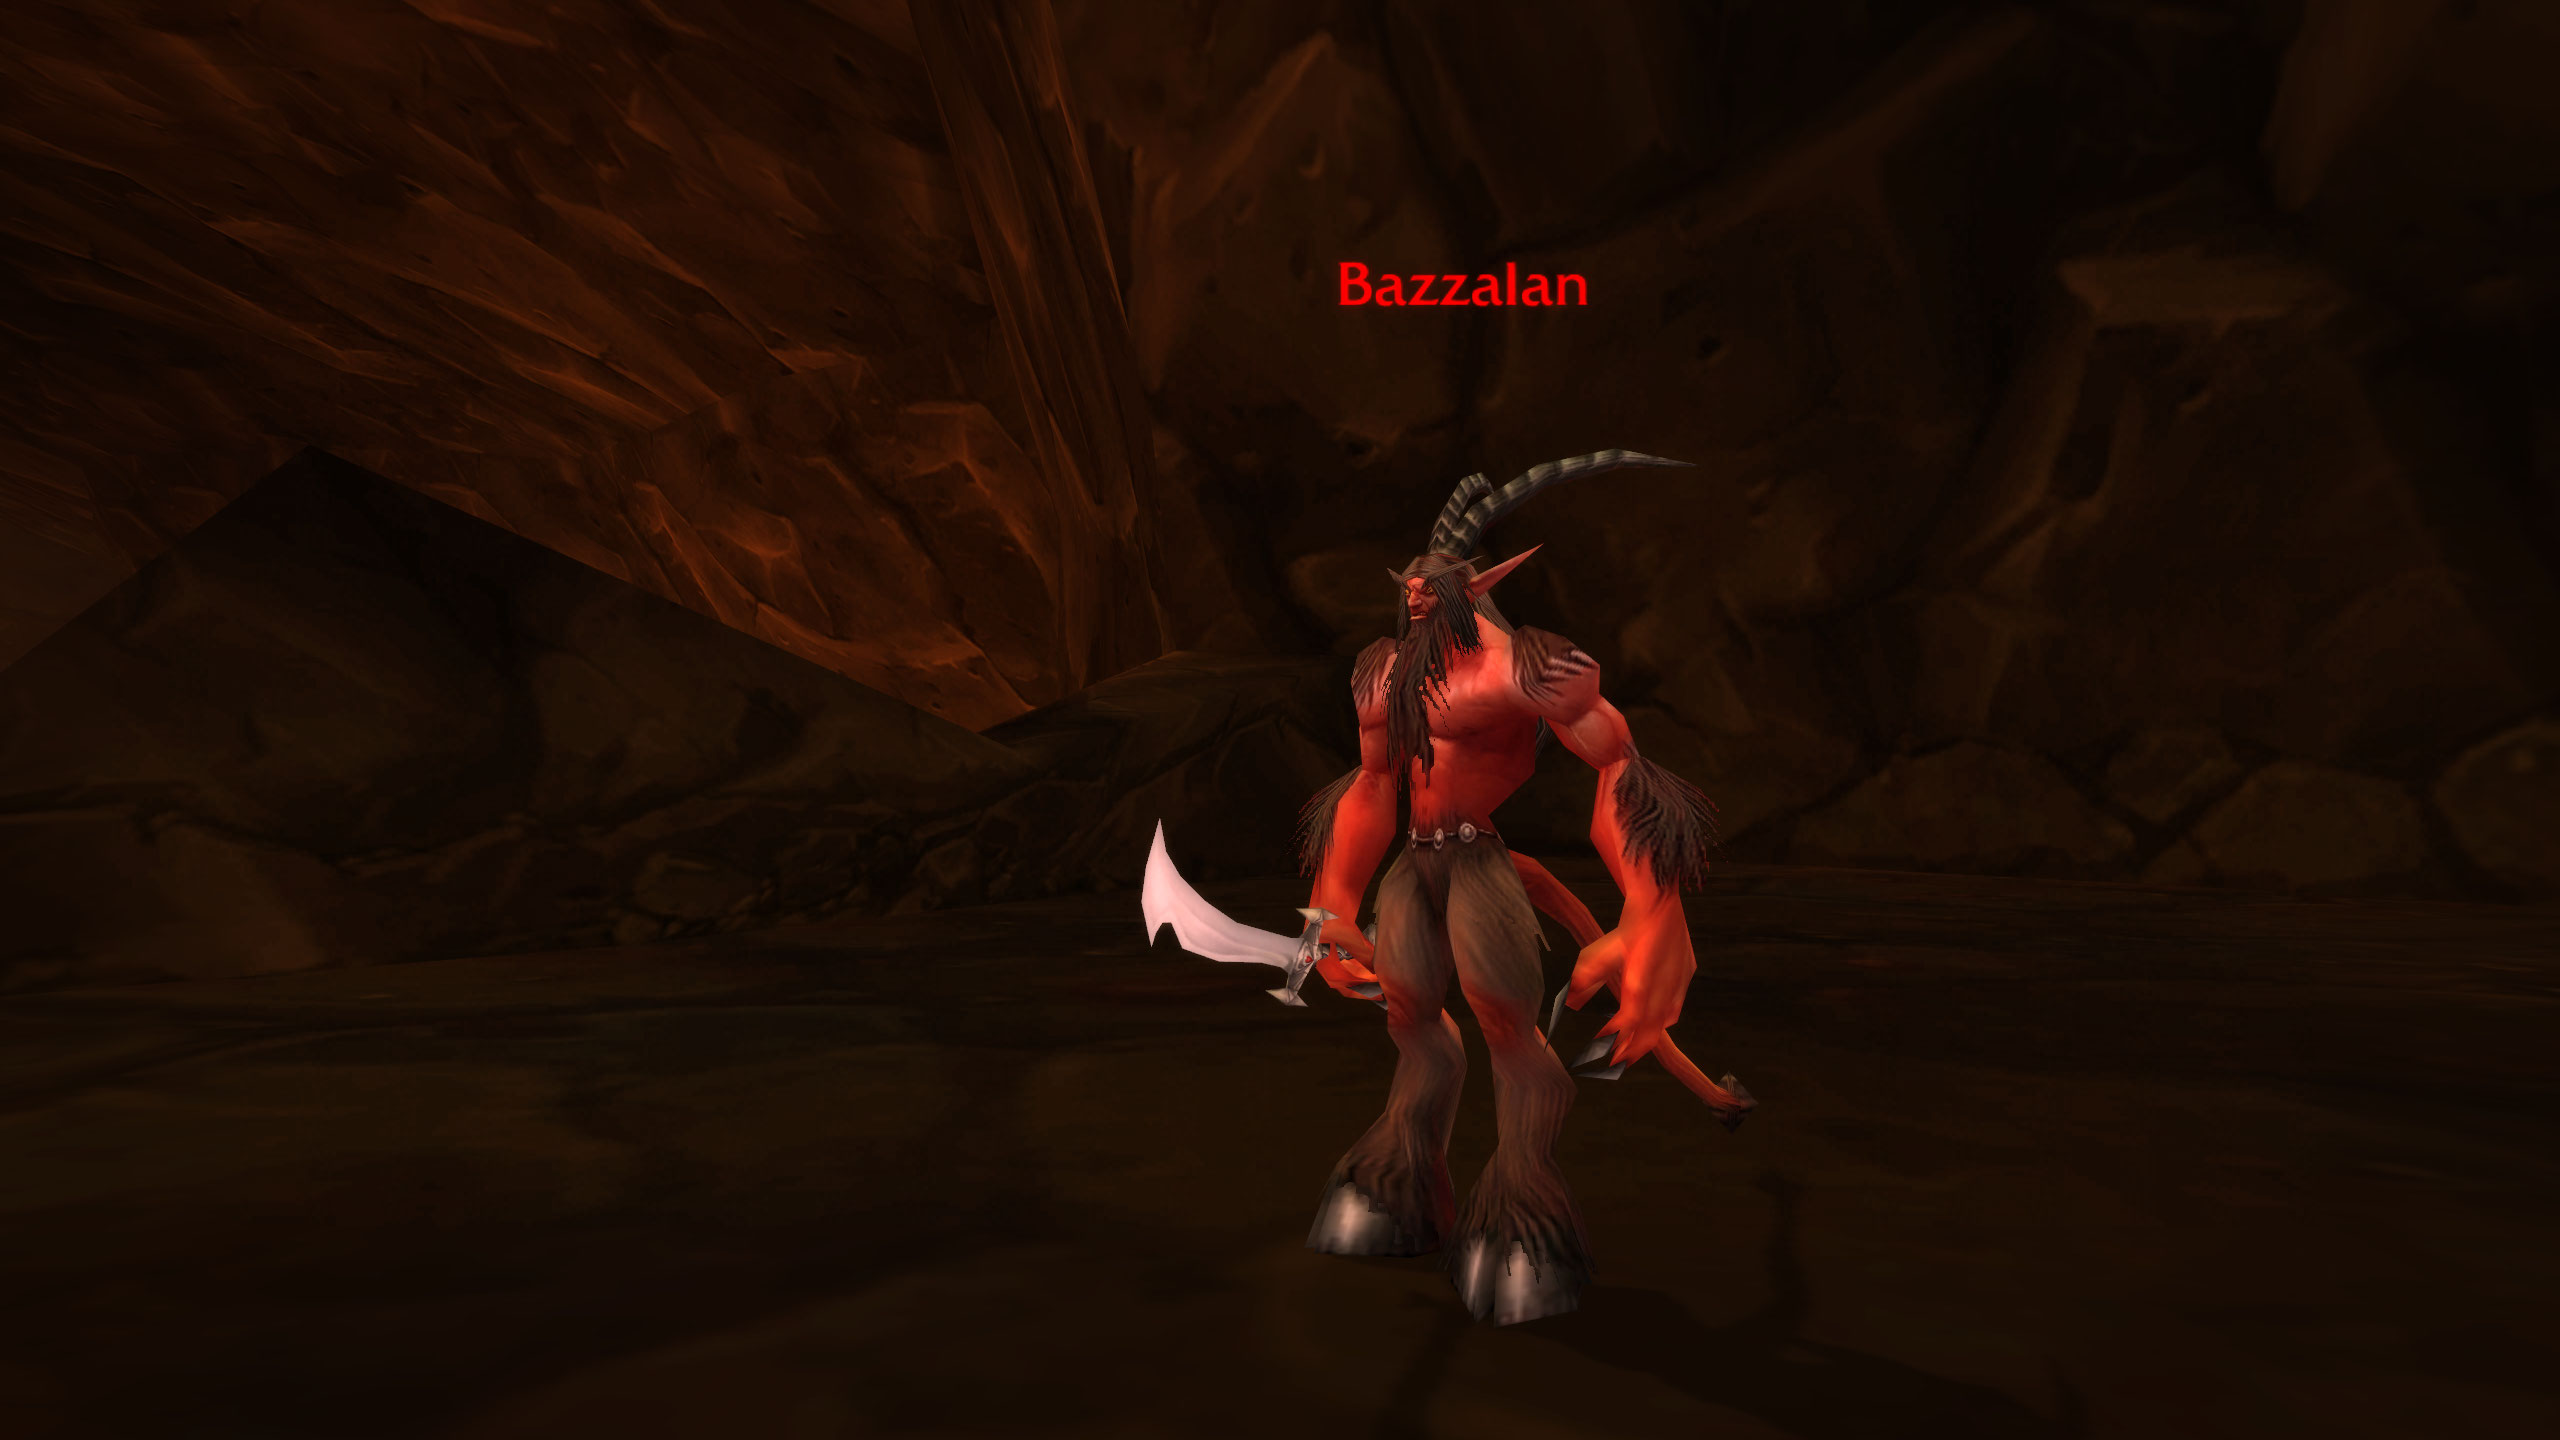
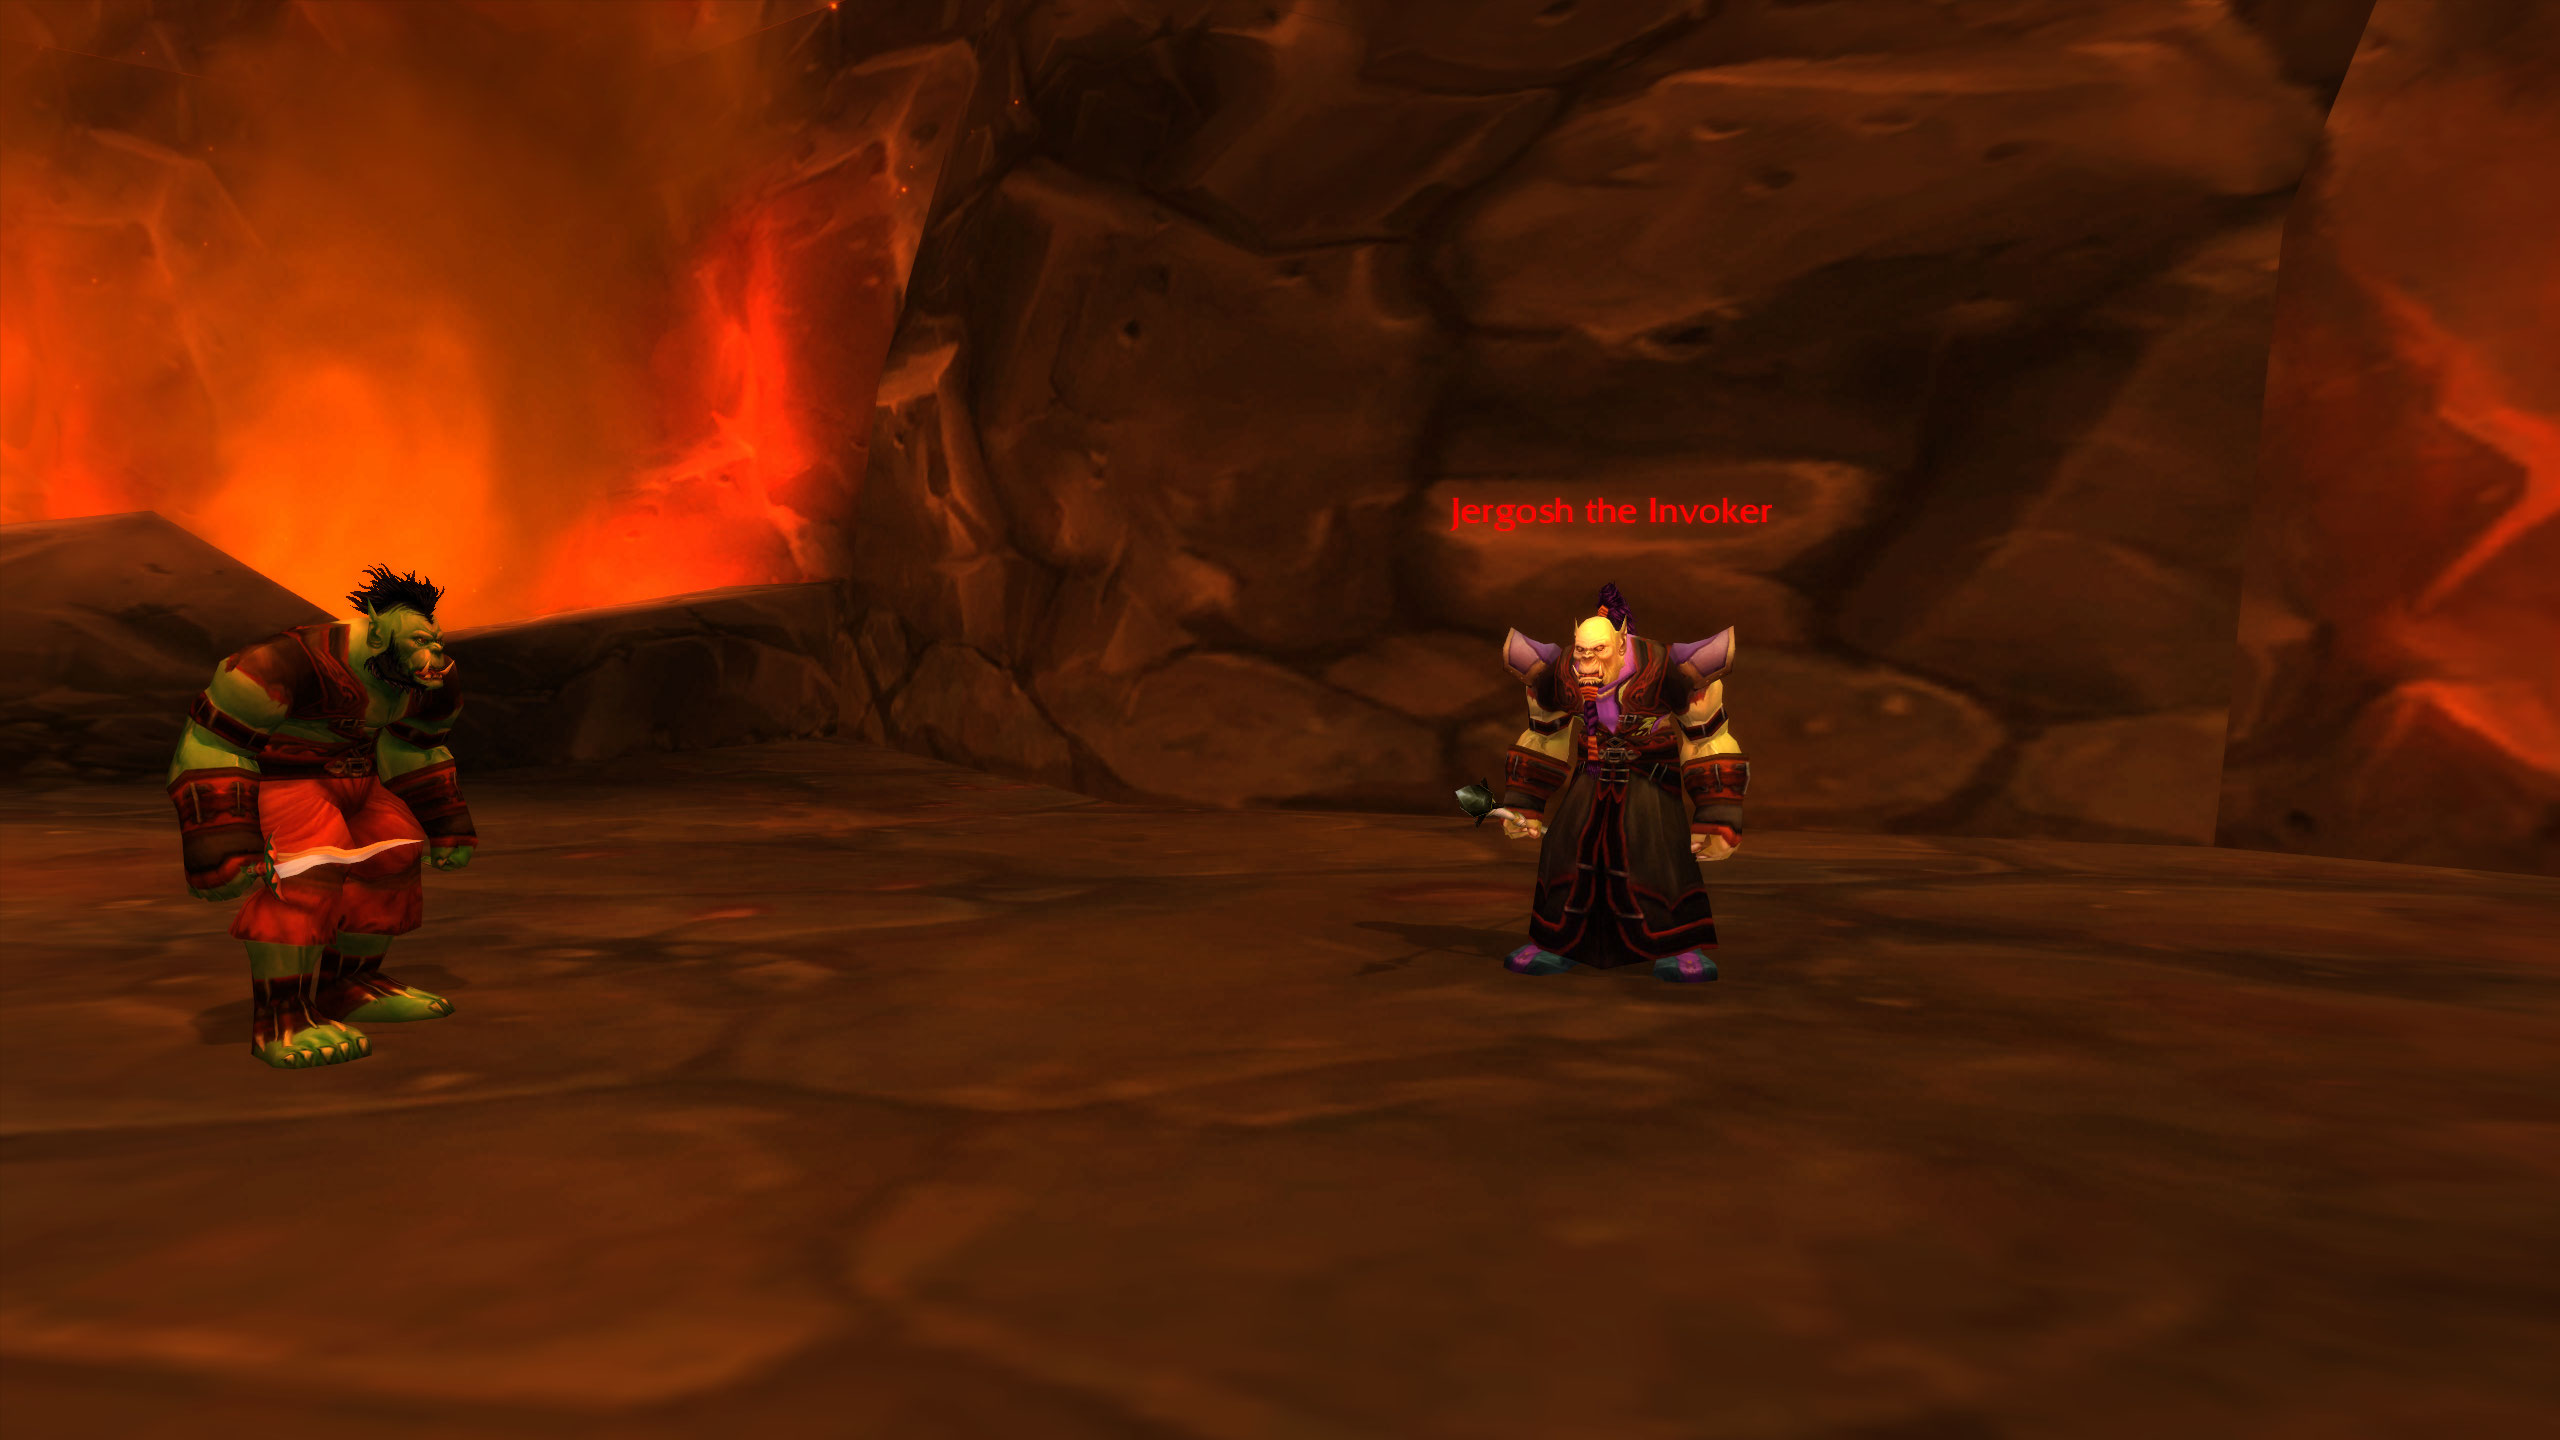
After running back to Thrall fourth time, you will finally get the dungeon quest part of this chain. This time, Thrall tasks you to slay both Jergosh the Invoker and Bazzalan inside of Ragefire Chasm. These are both bosses that groups are almost certain to be doing, so simply finish the dungeon as you normally would and return to Thrall (again) after.
Hidden Enemies (Part 4)
Thrall wants you to visit Neeru Fireblade yet again, so jog back to the Cleft of Shadow and talk to your old pal, turning in part 4 and receiving part 5.
Hidden Enemies (Part 5)
Guess what? Neeru Fireblade wants to send you back to Thrall! Who could have seen that one coming? Head back to the Valley of Wisdom once again and speak to Thrall to finally end this chain and receive your choice of weapon.
The rewards for this quest are the Axe, Kris, Staff, or Hammer.
About the Author
