- Author: Furious
- Date: December 1, 2019
- Updated: June 20, 2023
- Expansion: WoW Classic
Welcome to our paladin class mount guide for WoW Classic! Paladins are one of two classes that get unique mounts specifically for their class, the other being warlocks. Both classes get a basic mount at level 40 and an epic version at level 60.
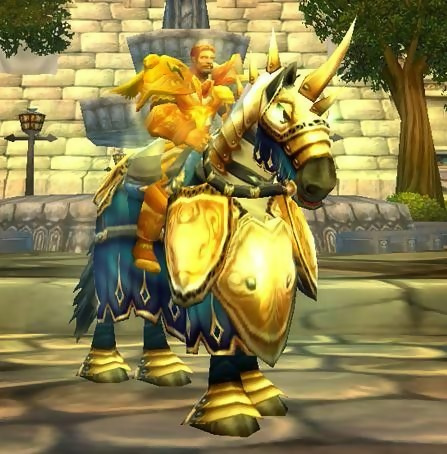
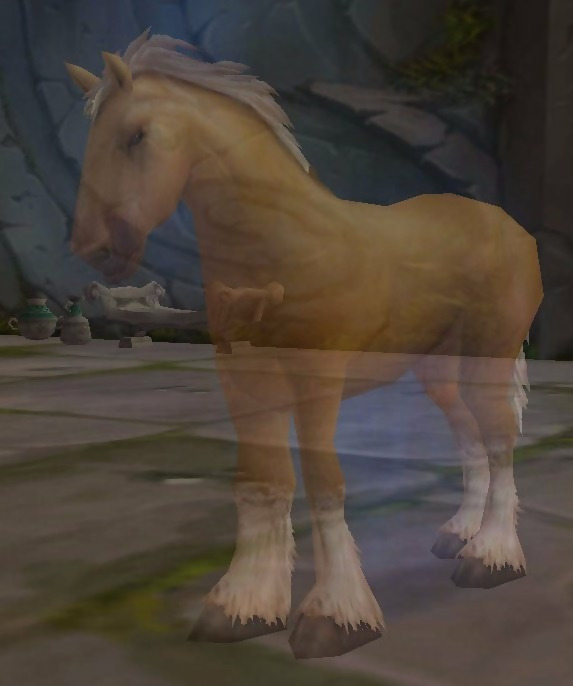
While you do get a unique charger as a paladin, it absolutely isn’t free as some might suggest and it requires completion of a fairly difficult quest line. You’ll need at least 350 gold and the help of allies to successfully acquire your mount. It’s definitely worth completing because it gets you style points and nobody other than a paladin can ride one!
The level 40 mount is extremely easy to obtain, simply requiring an 80 gold down payment to learn how to cast Summon Warhorse (60% speed). Because of that, we’ll only cover the requirements needed to acquire your epic mount (100% speed) in this guide. Let’s get started so you can work towards learning Summon Charger to ride your flashy class mount!
Shopping Lists
There are multiple quests that require the collection of items for completion. Some also require gold. In total, you will need 350 gold in addition to all of the items listed below. Opting to purchase everything can easily make the total price reach 400-500g depending on your server’s economy.
Emphasis on Sacrifice
 150 Gold
Collection of Goods
- 150 Gold
- Arcanite Bar x6
- Arthas’ Tears x10
- Runecloth x40
- Stratholme Holy Water x5
The Ancient Equine Spirit
- 50 Gold
- Enriched Manna Biscuit x20
The Divination Scryer
FAQ
Where can I start the quests?
The questline begins with Duthorian Rall, found within the Cathedral of Stormwind City.
Can I solo the questline?
No, you will need a group for Dire Maul, Scholomance, and Stratholme if you don’t already have the holy waters.
Do I need to learn riding skills?
No, both the level 40 and 60 mount quests give you the necessary skills to ride them.
Is there any way to bypass the gold requirements?
You can collect all necessary mats if you have Mining and Herbalism, but you’ll still need to find an alchemist to transmute the bars. The combined 350 gold requirement of Emphasis on Sacrifice, Collection of Goods, and The Ancient Equine Spirit cannot be skipped.
Can I fight Death Knight Darkreaver again after the final quest?
Yes, you’ll need to pick up another Divination Scryer from Lord Grayson Shadowbreaker in the SWC Cathedral. He will offer you the instantly completable quest: Again Into the Great Ossuary.
Advice
- Try to collect all of the necessary materials before starting the quest chain to save you time. You can stash them in the bank and pull them out just before you need them as you’ll already be near a bank. (We’ll mention when to pull your items out before leaving a convenient location).
- Make sure to use the correct judgment spells when fighting the waves leading up to Death Knight Darkreaver! They do significant damage and AoE stun all enemies in range.
- Take a strong and competent group with you when you run Dire Maul, Scholomance, and Stratholme for the holy water. Make sure they’re on the same page as you and that they’re ready to stop at the appropriate locations to help/allow you to do your quests.
- Make sure to have a rogue with you when you do Dire Maul and Scholomance. This will eliminate your need for specific keys. Otherwise, you’ll need to clear other parts of the dungeon to get the keys that allow you into the specific parts of the dungeon you need to be in.
Quest Walkthroughs
Without further ado, we’ll start on the quest walkthroughs. There are several quests to do in the questline, so we’ve split it up into four easily digestible sections. Make sure to fully read through them beforehand so you’re well prepared and have any necessary mats taken out of the bank.
Part One: Lord Grayson Shadowbreaker – To Show Due Judgement
- You’ll need 150 gold for this section.
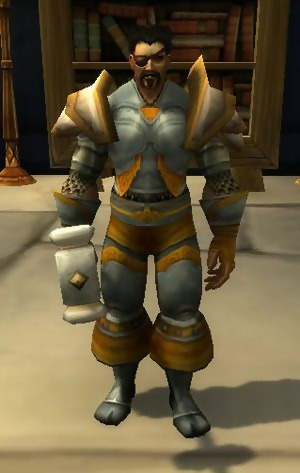
- Head to Duthorian Rall in the Cathedral of SWC and accept the quest: Lord Grayson Shadowbreaker.
- Speak to Lord Grayson Shadowbreaker nearby in the western portion of the Cathedral and immediately turn the quest in.
- Accept his next quest: Emphasis on Sacrifice.
- Head to the tram in the Dwarven District and ride it to Ironforge.
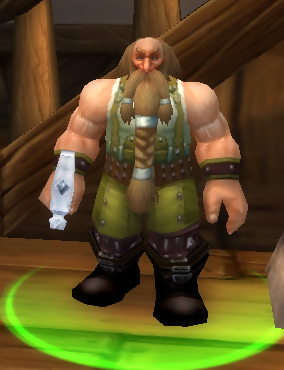
- Run to The Mystic Ward and head inside the Hall of Mysteries to find High Priest Rohan.
- To finish up the quest, you’ll need to exchange 150 gold with him for Rohan’s Exorcism Censer.
- Accept the follow up quest: To Show Due Judgment.
- Head back to the tram and take it to Stormwind.
- Return to the Cathedral and turn in your quest with Lord Grayson Shadowbreaker.
Part Two: Exorcising Terrordale – Grimand’s Finest Work
- Accept the next quest: Exorcising Terrordale.
- Now you’ll need to make your way to the Eastern Plaguelands.
- While you’re here, this is an excellent time to visit Light’s Hope Chapel and purchase your Enriched Manna Biscuits from the Argent Dawn Quartermaster. You need to be friendly with Argent Dawn to buy them.
- Head to the northwestern part of the zone, near where the entrance to Stratholme is found. Continue west past the entrance until you reach an area called Terrordale.
- Look for glowing green areas on the ground. Use the Exorcism Censor in these areas to reveal Terrordale Spirits. Each use can create between 1-3 spirits.
- Continue using the censer in green patches until 25 spirits have been killed.
- Head back to the Cathedral in Stormwind to turn in the quest.
- Accept the next quest: The Work of Grimand Elmore.
- Before finding him, make sure to visit the bank and take out your Arcanite Bars, Arthas’ Tears, Runecloth, and Stratholme Holy Waters. You will also need 150 gold.
- Run to the Dwarven District to find Grimand Elmore and hand in your quest.
- Accept his follow up quest: Collection of Goods.
- Immediately turn the quest in with 150 gold and using the items you just took out of the bank.
- Take the next quest: Grimand’s Finest Work.
- Head back to the Cathedral to hand the quest in with Lord Grayson Shadowbreaker.
Part Three: Ancient Equine Spirit – Blessed Arcanite Barding
- Pick up the next quest: Ancient Equine Spirit.
- Make sure you have your Enriched Manna Biscuits with you. Go buy them at Light’s Hope Chapel if you didn’t do it earlier. You will also need 50 gold.
- Now make your way to Hillsbrad Foothills and into Southshore. Find the horse breeder, Merideth Carlson.
- Accept her quest: Manna-Enriched Horse Feed.
- Immediately hand the quest in with your 50 gold and the biscuits you already have. This will give you the Manna-Enriched Horse Feed you need in the next step.
- Get a group together for Dire Maul and fight your way through the west wing. Bring a rogue along to skip the need for a key.
- Once you kill Tendris Warpwood, the Ancient Equine Spirit will appear.
- Speak to the horse spirit and hand your quest in.
- Accept the next quest: Blessed Arcanite Barding.
- Head back to Stormwind and head to the bank. Take out your Azerothian Diamond and Pristine Black Diamond.
- Now return to the Cathedral to hand the quest in.
Part Four: The Divination Scryer – Judgment and Redemption
- Accept the penultimate quest: The Divination Scryer.
- Using the diamonds you took out of the bank earlier, hand the quest in.
- Accept the final quest in the series: Judgment and Redemption.
- Get a group together for Scholomance. Make sure to bring a rogue and someone with a dispel.
- Fight your way through the dungeon and stop after killing Rattlegore.
- When the room is empty, open Lord Grayson’s Satchel to receive the Divination Scryer.
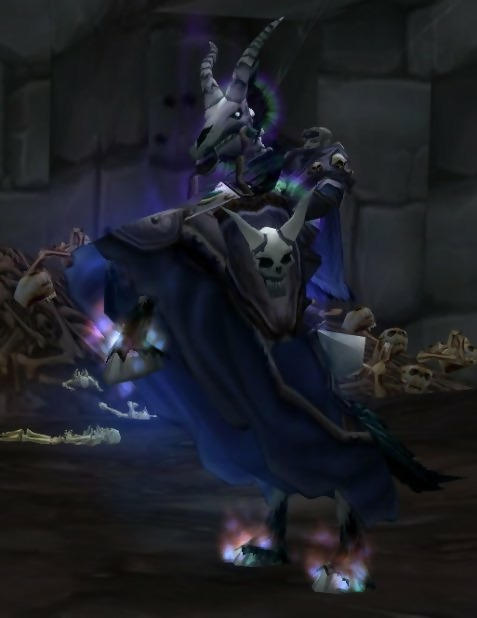
- Prepare to fight four waves of enemies. Each wave will also feature a mini-boss. Once all four waves are cleared, an actual boss, Death Knight Darkreaver, will appear.
- Each wave is weak to a specific paladin seal and corresponding judgement. Use the correct seals to deal AoE damage that does massive damage and stuns all targets.
- The first wave features Banal Spirits that are weak to the judgement of Seal of Wisdom.
- The second wave features Malicious Spirits that are weak to the judgement of Seal of Justice.
- The third wave features Corrupted Spirits that are weak to the judgement of Seal of Righteousness.
- The fourth wave features Shadowed Spirits that are weak to the judgement of Seal of Light.
- Head to the center of the room and use the Divination Scryer to start the event. Make sure to use the correct seal-judgement combos on each wave to make them easier.
- After all four waves are dealt with, you’ll need to kill Death Knight Darkreaver.
- Make sure to immediately dispel his mind control effect and the fight should be quite easy.
- Once he dies, loot his corpse to pick up the Charger’s Lost Soul.
- Use the soul on the Darkreaver’s Fallen Charger that appeared after killing the boss.
- Once this is finished, your quest will be complete so you can hand it in to the charger. You will finally learn the ability, Summon Charger!
- Congratulations on finishing your paladin epic mount quest and enjoy riding your fancy charger!
About the Author