- Author: Passion
- Date: April 9, 2024
- Updated: April 9, 2024
- Expansion: WoW Classic
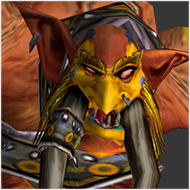


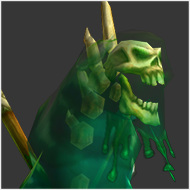
Once a consort to Ysera, Eranikus was sent to guard the ruins of Atal’Hakkar and prevent the Atal’ai from allowing Hakkar to return. Slowly but surely, the influence of the Emerald Nightmare corrupted Eranikus, trapping him between the physical and dream planes. Unable to discern reality, Eranikus will fight any intruders to prevent Hakkar’s return.
This guide will offer a detailed, step-by-step tutorial on how to deal with the Shade of Eranikus, guardian of the Temple of Atal’Hakkar.
TL;DR
- Dispel Lethargic Poison
- Interrupt Bellowing Roar
- Walk into a cloud during Waking Nightmare cast
- Dodge Acid Rain
- Always prioritize adds
- Except in the final Phase, where you will need to burn the boss.
Abilities
Raid Composition & Preparation
For this fight you will need 2-3 tanks to handle tank swaps and adds, as well as at least 4 healers. Any DPS with cleave damage will be a welcome addition during the later Phases.
The Pull
As you can no longer use the edges of the arena to simplify this fight, you there is nothing particularly noteworthy about pulling Eranikus.
The Fight
Phase 1
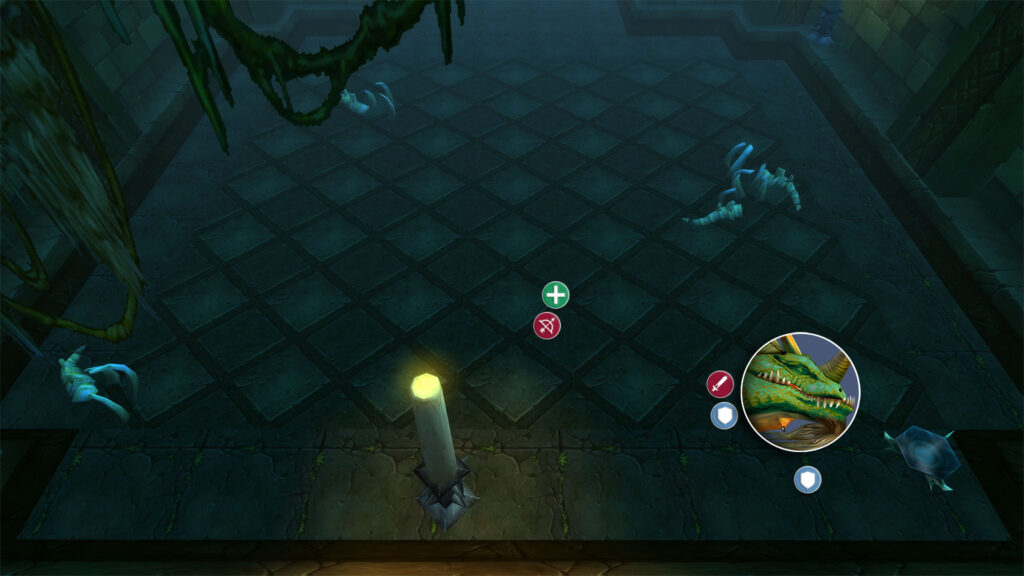
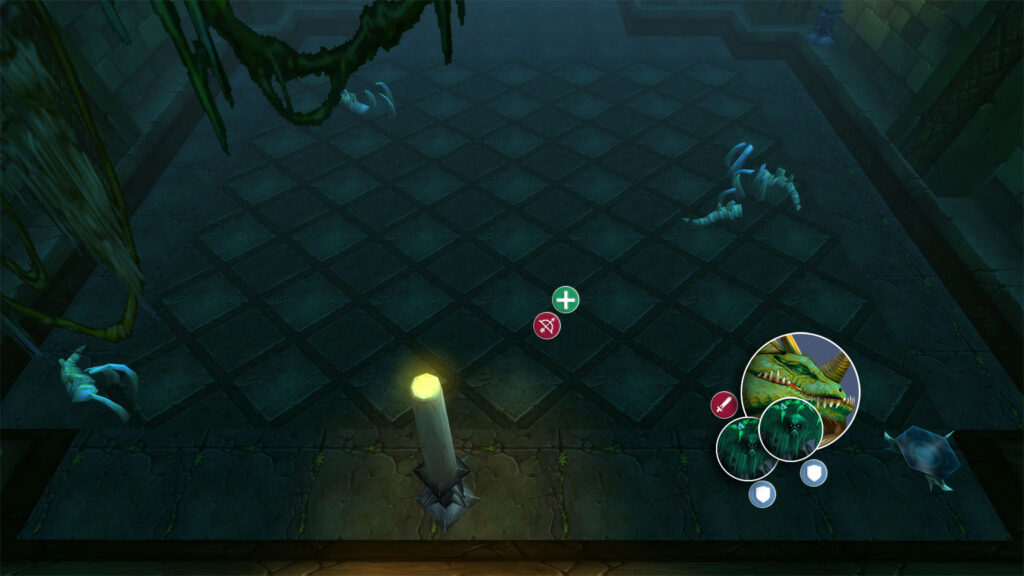
Phase 1 is fairly simple. The raid should stand in two stacks at the side of the dragon. One ranged stack farther away and one melee stack up close. Interrupt Bellowing Roar whenever it is being cast. Dispel Lethargic Poison on whoever it targets. Whenever a tank is hit by Corrosive Breath, they will want to swap with the second tank for a minimum of 12-seconds to allow the debuff to fall off.
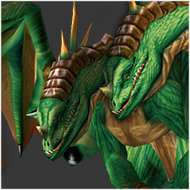
Avoid the clouds that are floating around until Eranikus begins casting Waking Nightmare. When he does, everyone should immediately move into a cloud, putting them to sleep. Anyone not asleep when Waking Nightmare finishes casting will be instantly killed.
Intermission
The intermissions begin at 70% and 40%. Eranikus will go to sleep, spawning two Lumbering Dreamwalkers for you to fight instead. These adds will need to be tanked, and can be grabbed by one tank each to minimize risk. These adds cast Lethargic Poison just like Eranikus, but can be interrupted, so make sure that they never get a cast off.
Phase 2
Phase 2 begins when the Lumbering Dreamwalkers are dead. Eranikus will wake up and continue to do everything he did in Phase 1. Along with that, he will also spawn a handful of Nightmare Whelps every 10 seconds. They are fairly squishy and will need to be killed as fast as possible, otherwise they will quickly overwhelm the raid.
Phase 3
Phase 3 begins after the second intermission. Eranikus will yet again continue everything he did from Phase 1, as well as spawning the same Whelps as Phase 2. He will also spawn 2 Nightmare Scalebanes, another type of add. These are tankier and hit harder than the Whelps. Killing the adds is your first and only priority for DPS in Phase 3. The boss will go down eventually, don’t stress.
In addition to the two different types of adds, in this Phase Eranikus will cast Acid Rain. This will spawn pulsating circles on the floor, marking where a bolt of acid will land shortly after. Avoid standing in these to minimize damage.
Phase 4
At 10% health, Eranikus enrages, dealing significantly more damage. He will continue to spawn adds, but at this point your priority is simply to kill the boss. Burn him down as much as possible while trying to cleave adds where possible to minimize damage taken. If you do not kill Eranikus fast enough, you will very quickly be overwhelmed.
Here are some of the main things that can typically go wrong in this fight:
- Bellowing Roar is not interrupted
- Players stay awake during Waking Nightmare and die
- Healers accidentally walk into clouds, going to sleep early
- Adds are not correctly handled, causing the raid to be overwhelmed
- Lethargic Poison is not dispelled
Congratulations on defeating Shade of Eranikus! While this could be called the last boss, there is still one more fight left if you want it.
About the Author
