- Author: Kurathis
- Date: October 21, 2021
- Updated: October 21, 2021
- Expansion: TBC Classic


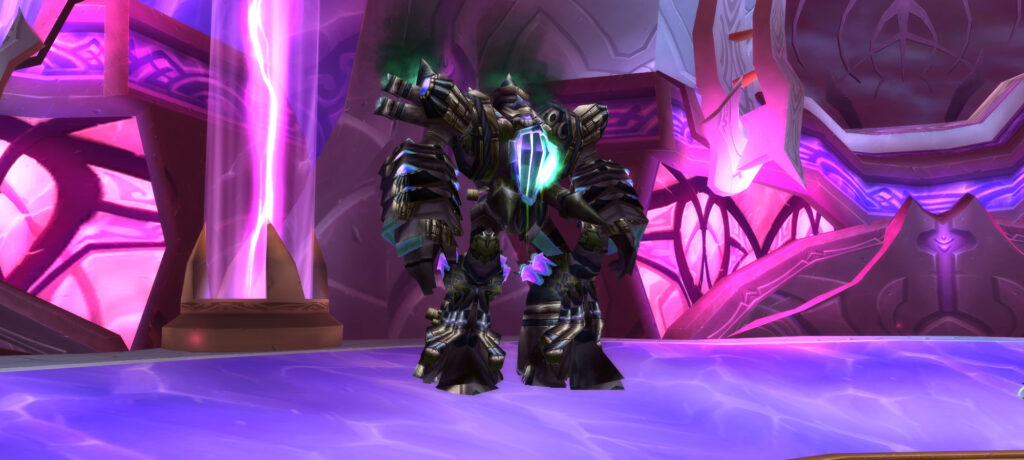
Void Reaver used to be known as “Loot Reaver” back in the day due to being exceptionally easy compared to the rest of the bosses in Tempest Keep or Serpentshrine Cavern. Many guilds that otherwise were not able to progress in those raids would pay Void Reaver a weekly visit for the tier 5 shoulder token.
That has largely remained the case in Classic TBC, as Void Reaver is the most killed boss of all in the tier by a landslide. To put the numbers in context, there are more Void Reaver logs than Kael’thas and Lady Vashj combined at the time of writing this article.
That doesn’t mean however that you can just fight him without a strategy and expect to win, and players have discovered some strategies that make this fight significantly easier.
This guide will offer your guild a step-by-step analysis of how to turn Void Reaver into scrap metal.
Role Summaries
- Stack with the raid right behind Void Reaver
- Use your Healthstone if your healers are struggling with Pounding damage
- Paladins: Use Judgement of Light to help with the raid damage coming in
- Use your DPS cooldowns during Heroism / Bloodlust for maximum DPS
- Be careful of your threat! Make sure you’re 3rd or below, else Knock Away will get you killed
- Use your DPS cooldowns during Heroism / Bloodlust for maximum DPS
- Be careful of your threat! Make sure you’re 3rd or below, else Knock Away will get you killed
- Warlocks: This fight will be very rough for you, threat-wise, so use your Soulshatter carefully
- Hunters: Use Misdirection on your assigned tank right at the start, then again on cooldown
- Main Tank healers: Take care to quickly heal the new tank after Knock Away
- AoE healers: Make sure everyone is at 100% HP after Pounding, save mana afterwards
- If a kiter comes close to the raid needing healing, heal them quickly so they can go back to their assigned spot
- Use DPS consumables for the highest threat output possible
- If you’re currently main tanking, move through the boss to get him to face away from the raid quickly
- Use a small defensive ability like Shield Block to help out your healers just as Pounding ends
- If you get hit by Knock Away and lose threat, quickly move behind the boss for maximum threat output
- Quickly go to your assigned spot before the pull
- If you get targeted by Arcane Orb, move 20 yards to the left or right to avoid it
- Move back to your previous spot the next time you get targeted, and repeat this dance throughout
- Use Healthstones and Heavy Netherweave Bandages if you get hit by an orb
- If you need to move towards the raid to get healed, make sure you don’t go within 20 yards of them
Abilities
Raid Composition & Preparation
The Pull
Void Reaver’s aggro range is relatively small so you can buff and prepare for the fight anywhere in his room, though it is recommended you do so at the entrance to his room.
The pull will be the most important part of this fight as long as you execute it correctly, so it is vital that all of your players are on the same page and you move in together.
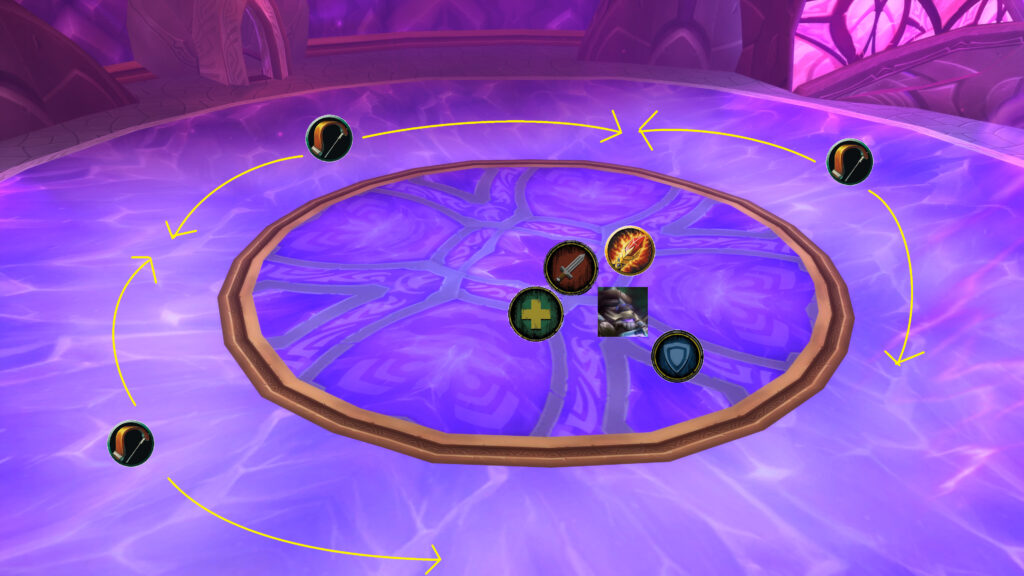
To begin with, you will want to assign 3-4 players to be “kiters”. These players will stand outside of Void Reaver’s melee range, in designated spots shown in the picture below, and run around to avoid Arcane Orb.
Beast Mastery and Survival Hunters make the best candidate for this spot, so it’s best that you assign them to this task, though in a pinch any player will do, but specs that use lots of instant casts like Restoration Druids will suffer the least from having to run around all the time.
It is possible to do this with just 1 or 2 kiters, but it is heavily recommended that you use more, else these 1-2 players will have to run around constantly and be virtually unable to do anything else. If you do run 1-2, make sure they are Soulstoned, else your raid will most definitely wipe in the event that they die.
Your warlocks should Soulstone the kiters as mentioned previously, because it will not be possible to have your druids Rebirth them if they die. If you trust your kiters to not die, the warlocks can instead Soulstone themselves, as it is fairly likely that they will rip threat and die on this fight.
Once your kiters are in position and you are ready to go in, the entire raid should stack in the middle of the room and run in together. It is imperative that nobody falls behind as you’re going in, as that person could get targeted by Arcane Orb and have it hit the raid, very likely causing a wipe.
Have your hunters use Misdirection on each of your tanks. If you have 4 or more hunters, you can use the extra Misdirections on your main tank, as he will really need the threat here.
The main tank turns the boss to face him away, towards where he was initially standing, while the rest of the raid minus the kiters stacks up right behind the boss. You will ultimately want your raid to be positioned like in the following picture.
The Fight
You should have one of your paladins use Judgement of Light, as it will greatly help with raid healing. If you don’t have a Retribution Paladin that can keep it up with Crusader Strike, that might be slightly rough, since you still want to use Judgement of Wisdom.
About 10 seconds in, you will get your first Pounding — this is the moment for your AoE healers to shine. They need to make sure that everyone is at 100% health before the next Pounding comes in. If they’re struggling with mana, they can auto attack the boss (if your raid is using Judgement of Wisdom) or just wait until the next Pounding, as that will be the main thing that your raid will have to worry about with this strategy.
Right after the first Pounding ends, you should use Heroism / Bloodlust and your single-target DPS players should use their damage cooldowns, while paying extra attention to their threat and using threat reduction abilities like Soulshatter and Vanish as necessary.
15-20 seconds in, you will get your first Knock Away. At that point the current main tank should move through the boss to have him face away, while the previous main tank joins the raid behind the boss in order to have maximum threat output without parries. Your single target healers will need to be quick with healing the new main tank, so it helps if someone calls out the new main tank’s name on voice.
Your kiters will be getting barraged by Arcane Orb at this point. They will need to repeat a little dance of sorts, wherein they move to one spot to avoid the orb, then go back to their previous spot in order to avoid the next orb.
They should never get hit if they do it correctly, but in the event that they do, they will need to use their Healthstone or Heavy Netherweave Bandage to heal themselves, as it might not be easy for any of your healers to heal them depending on how far they are. If they can’t heal themselves, they will need to move very slightly closer to your raid in order to get healed — if they get too close, they might have an Arcane Orb go off in the raid, likely wiping you.
And that is the entire fight. So long as your healers are on top of their game with keeping the raid alive and your kiters don’t get hit by too many Arcane Orb, you will kill this bad dude and get your raid some tier 5 shoulders to show for it, which will be very handy on your way towards Kael’thas Sunstrider!
About the Author