- Author: Furious
- Date: July 7, 2020
- Updated: July 28, 2021
- Expansion: TBC Classic


Thanks for taking a look at our strategy guide for Karazhan in The Burning Crusade Classic! The massive zone of Karazhan is found in Deadwind Pass and is the first large raid of the expansion. There are 11 fights of varying difficulty, although only 4 encounters are required to reach the “last” boss, Prince Malchezaar. The 7 optional fights include the hardest boss in the raid, Nightbane, who is deemed the true final boss of Karazhan.
While most of the fights are optional, they are highly recommended as the gear they drop are worth the time. Many drops serve as upgrades to dungeon-acquired and crafted gear. Most of the encounters are interesting and fun, which gives a lot of variety to the raid. This means there are several mechanics to learn and a lot to plan for.
Our guide aims to help you understand how to prepare for Karazhan and give you an overlay of what you’ll be expecting. We’ll cover the attunement process, how you can reach the entrance, recommended clearing routes, how to prepare for the raid, and overviews of each boss encounter. The attunement process and boss guides will be summaries, but link to in-depth guides for a more thorough explanation. You can also find a full list of Karazhan Drops and Loot over in our loot tool.
Without further ado, let’s get started on Burning Crusade Classic’s introductory in-depth raiding experience!
Attunement
Before entering Karazhan, at least one raid member will need to complete an attunement process to acquire The Master Key, which opens the front door. Unfortunately, it is quite long and requires completion of several quests and dungeons, a few of which have an attunement process of their own. It can be started near the entrance to the raid in Deadwind Pass and will unlock the Karazhan quest line after it is complete. Note that it is far more convenient to have all raid members complete attunement because whoever does have the key will need to constantly zone out and open the door for anyone stuck outside the raid.
For an in-depth explanation check out our full-length Karazhan Attunement Guide!
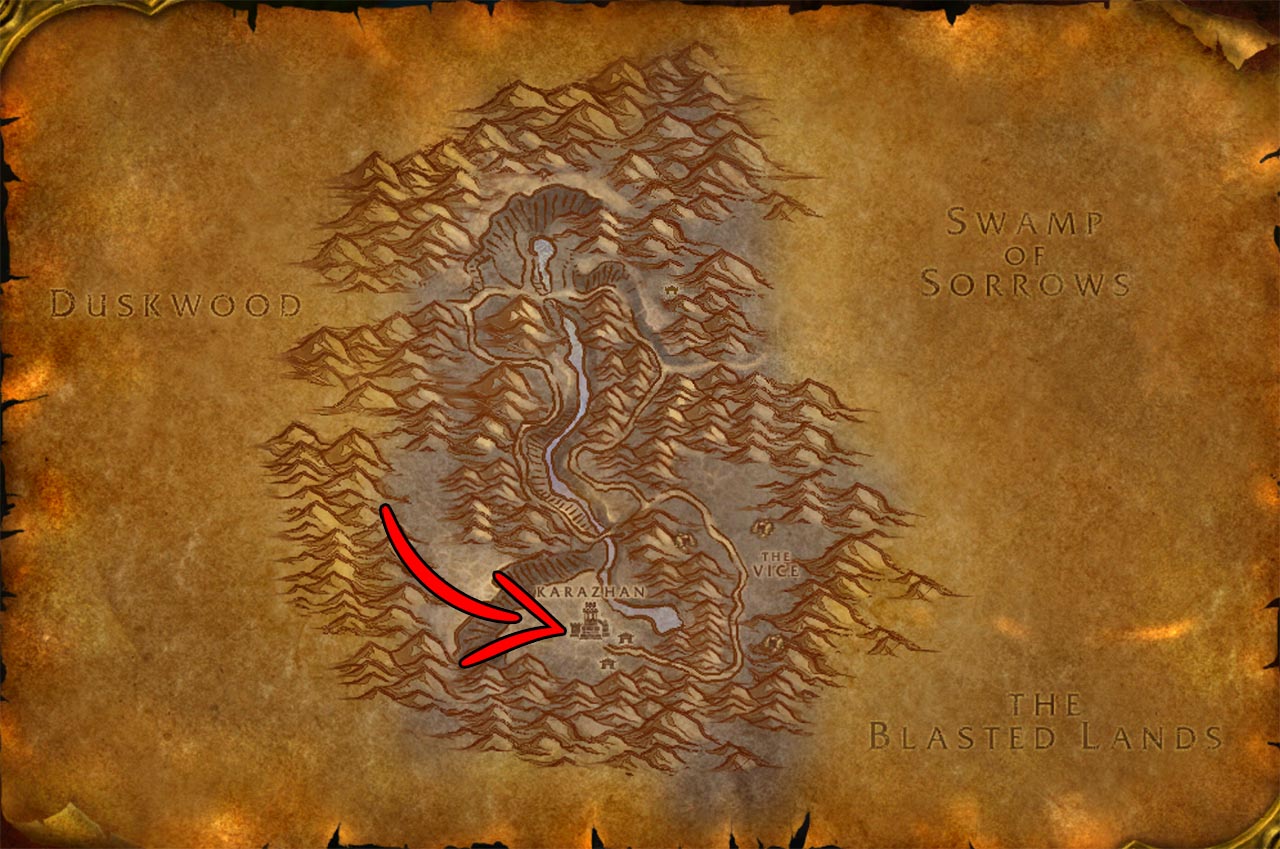
Accessing the Entrance
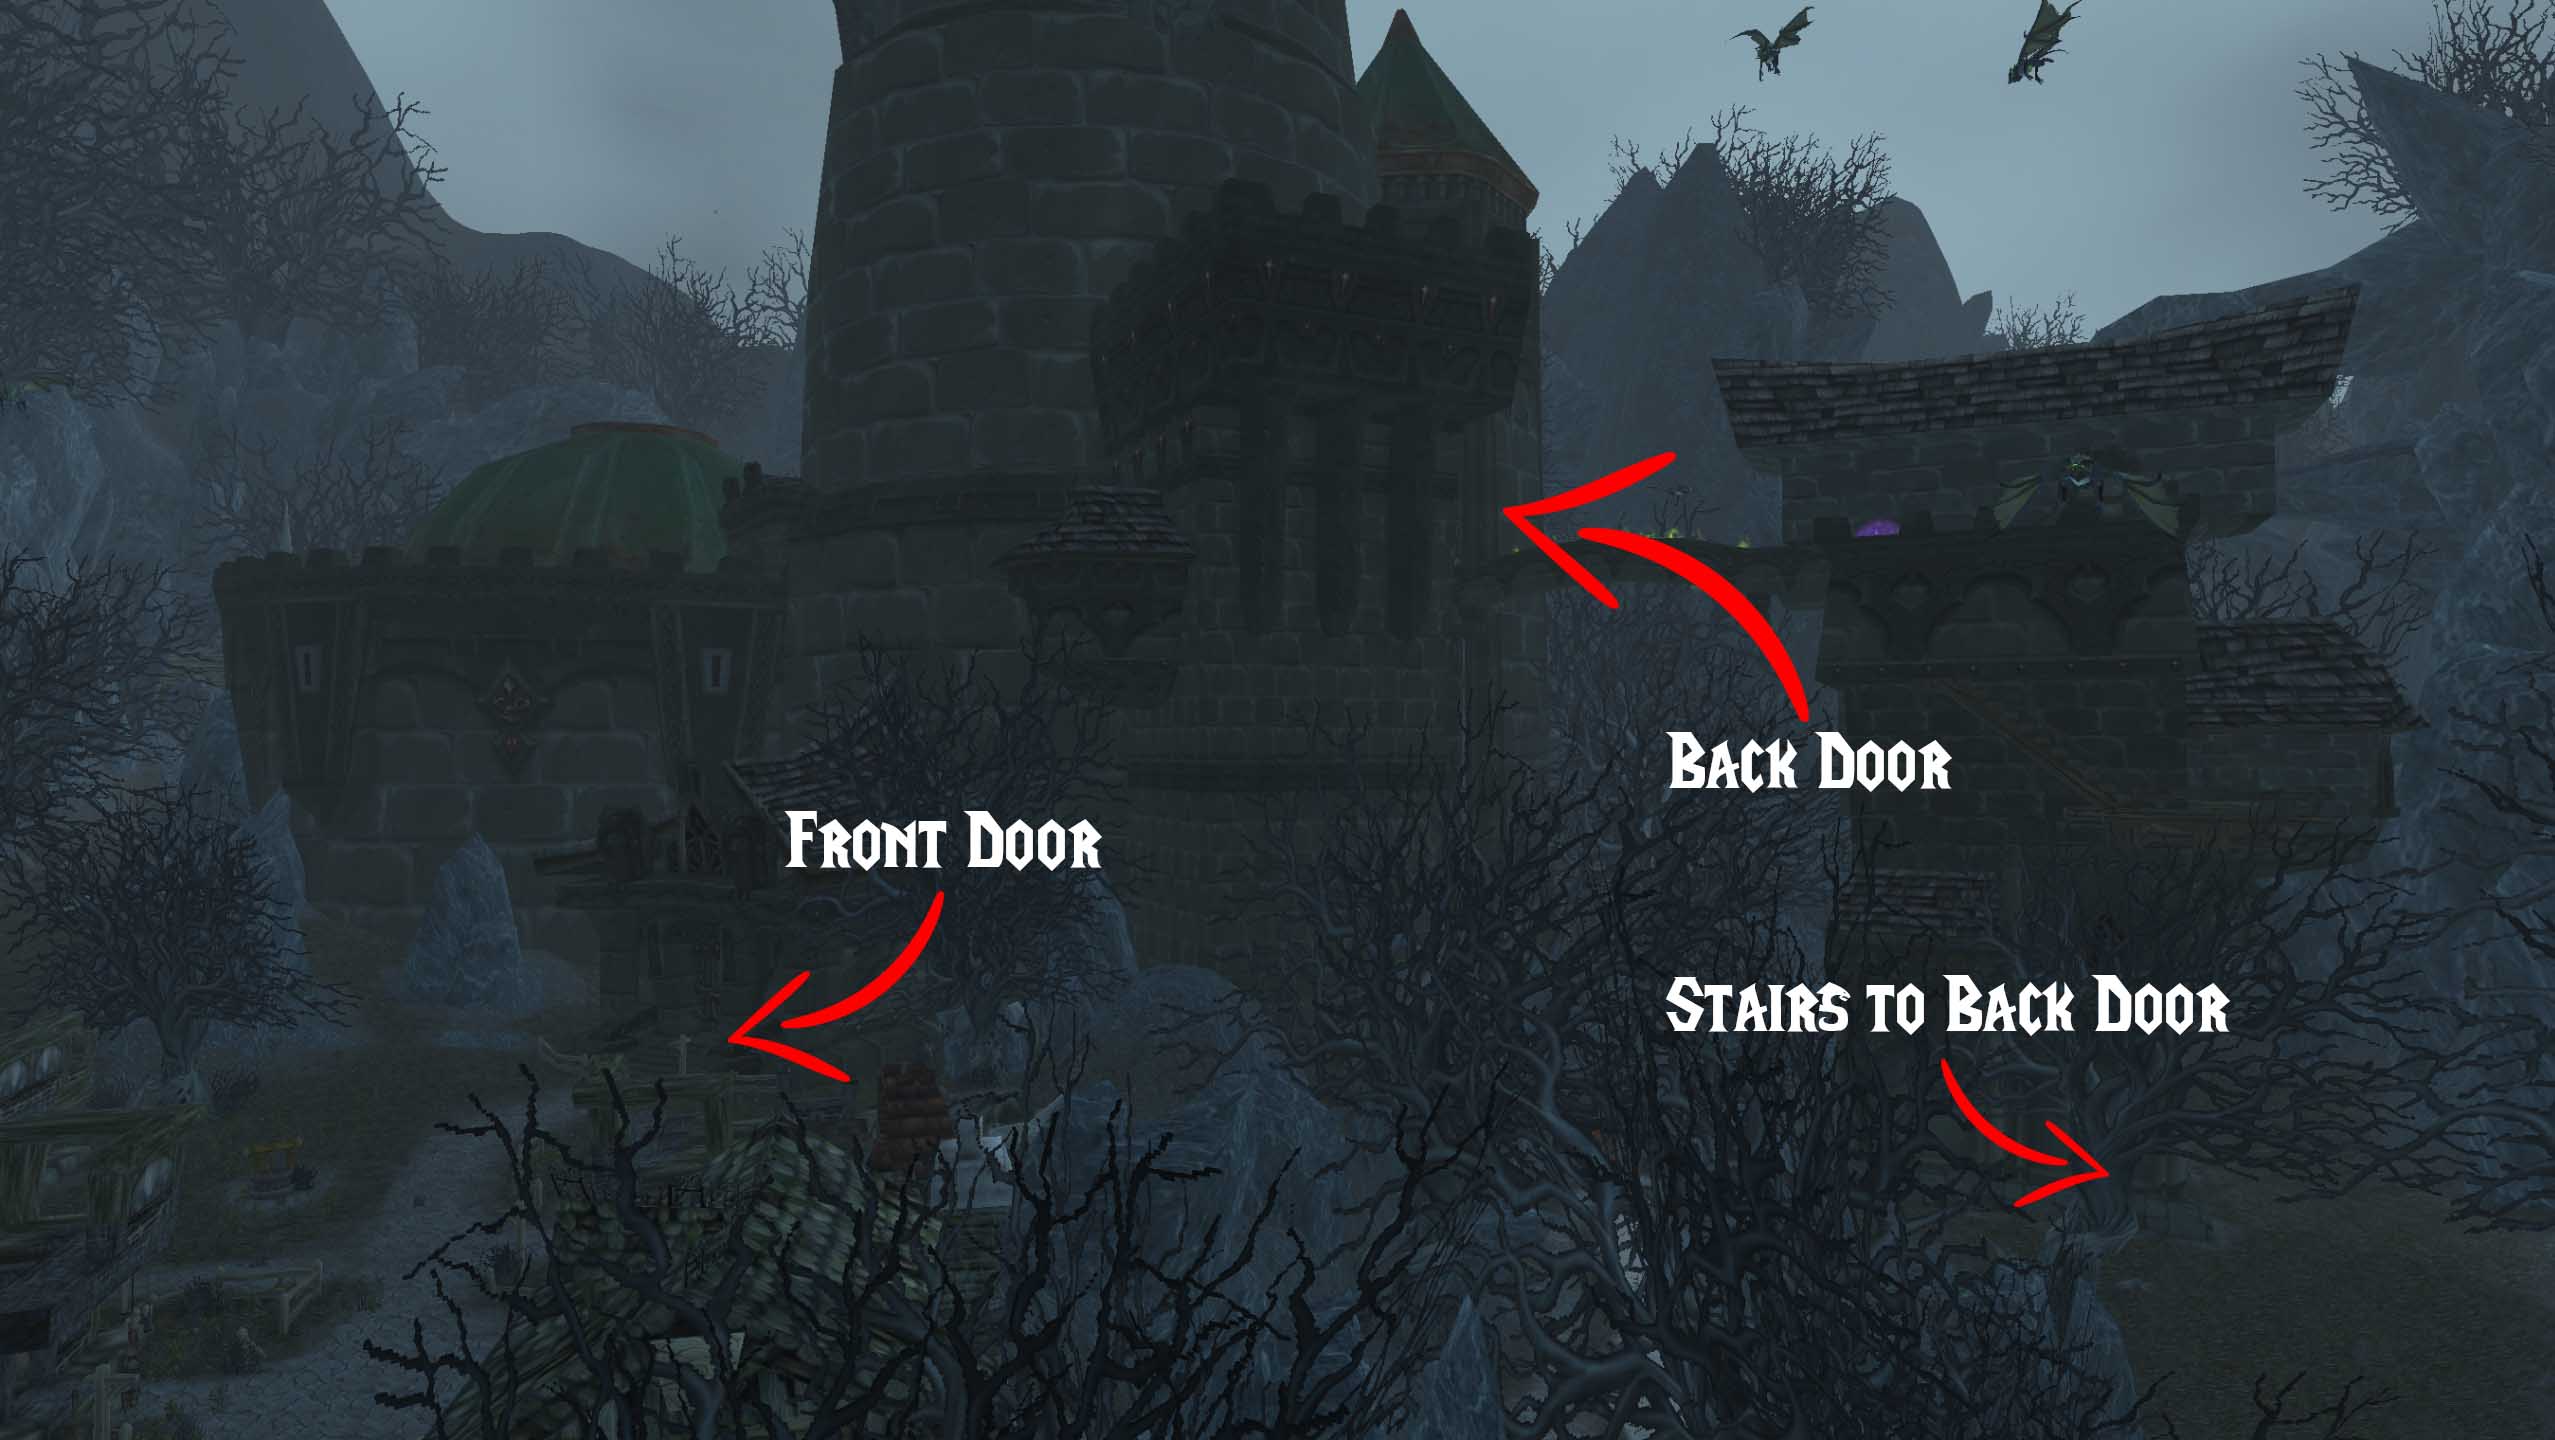
The entrance to Karazhan is located in the southern portion of Deadwind Pass, which offers little else in the area. The easiest way is to reach it through Duskwood, exiting through the east. From there, follow the curved green path to find the tower of Karazhan. You’ll find the front entrance as a gated crypt with the summoning stone nearby. There is also a side entrance you can access after the Opera Event is complete, which will provide a convenient shortcut for the rest of the encounters.
Navigating Karazhan
Karazhan is absolutely massive and has several rooms with different zone maps. It can be extremely confusing to navigate and easy to get lost. There’s also the fact that most of the bosses are optional, which can impact your clearing route. For simplicity, we’ve outlined two basic clearing routes with maps below that should serve as a good guideline.
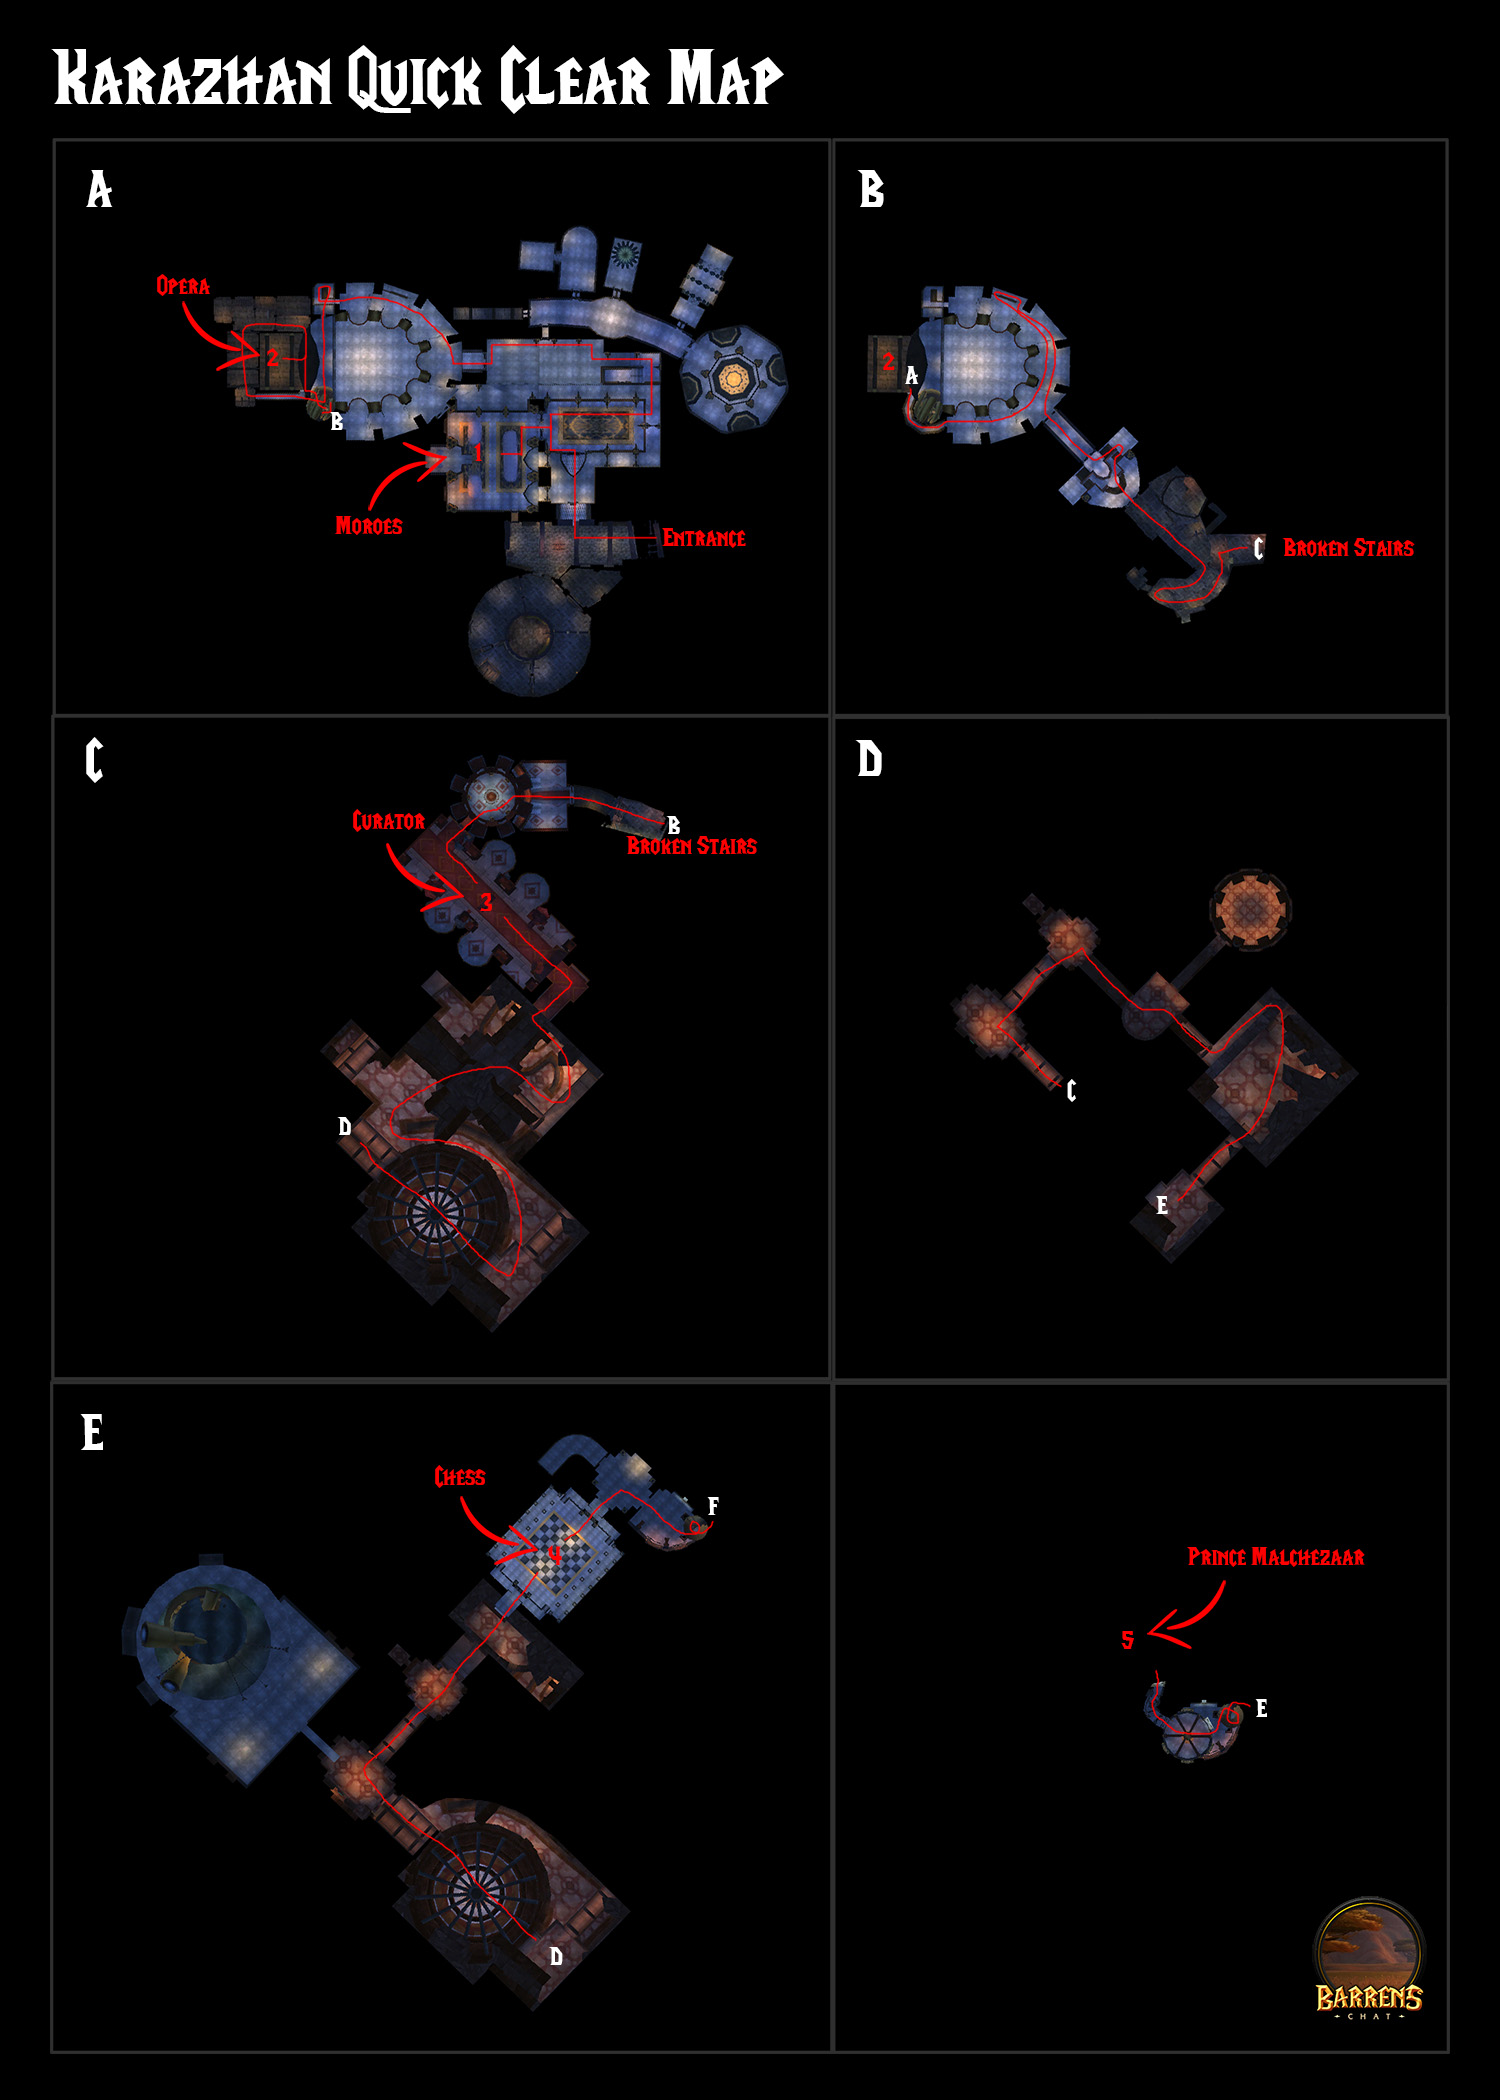
Quick Clear
Moroes > Opera > Curator > Chess > Prince
This is the quickest route through Karazhan. On this route, you’ll only kill the bosses required to access Prince Malchezaar and then the prince himself. You’ll begin with Moroes, complete the Opera Event next, take out The Curator, solve the Chess Event, and finish with Prince Malchezaar. This route greatly shortens the raid, but it also limits how much loot you receive.
Full Clear
Attumen > Moroes > Maiden > Opera > Nightbane* > Curator > Terestian > Shade > Netherspite > Chess > Prince
(*Assumes you’ve finished the Karazhan quest line so you can summon Nightbane and that your raid group is strong enough to kill him without issue. Otherwise, kill him as the final boss after Prince Malchezaar.)
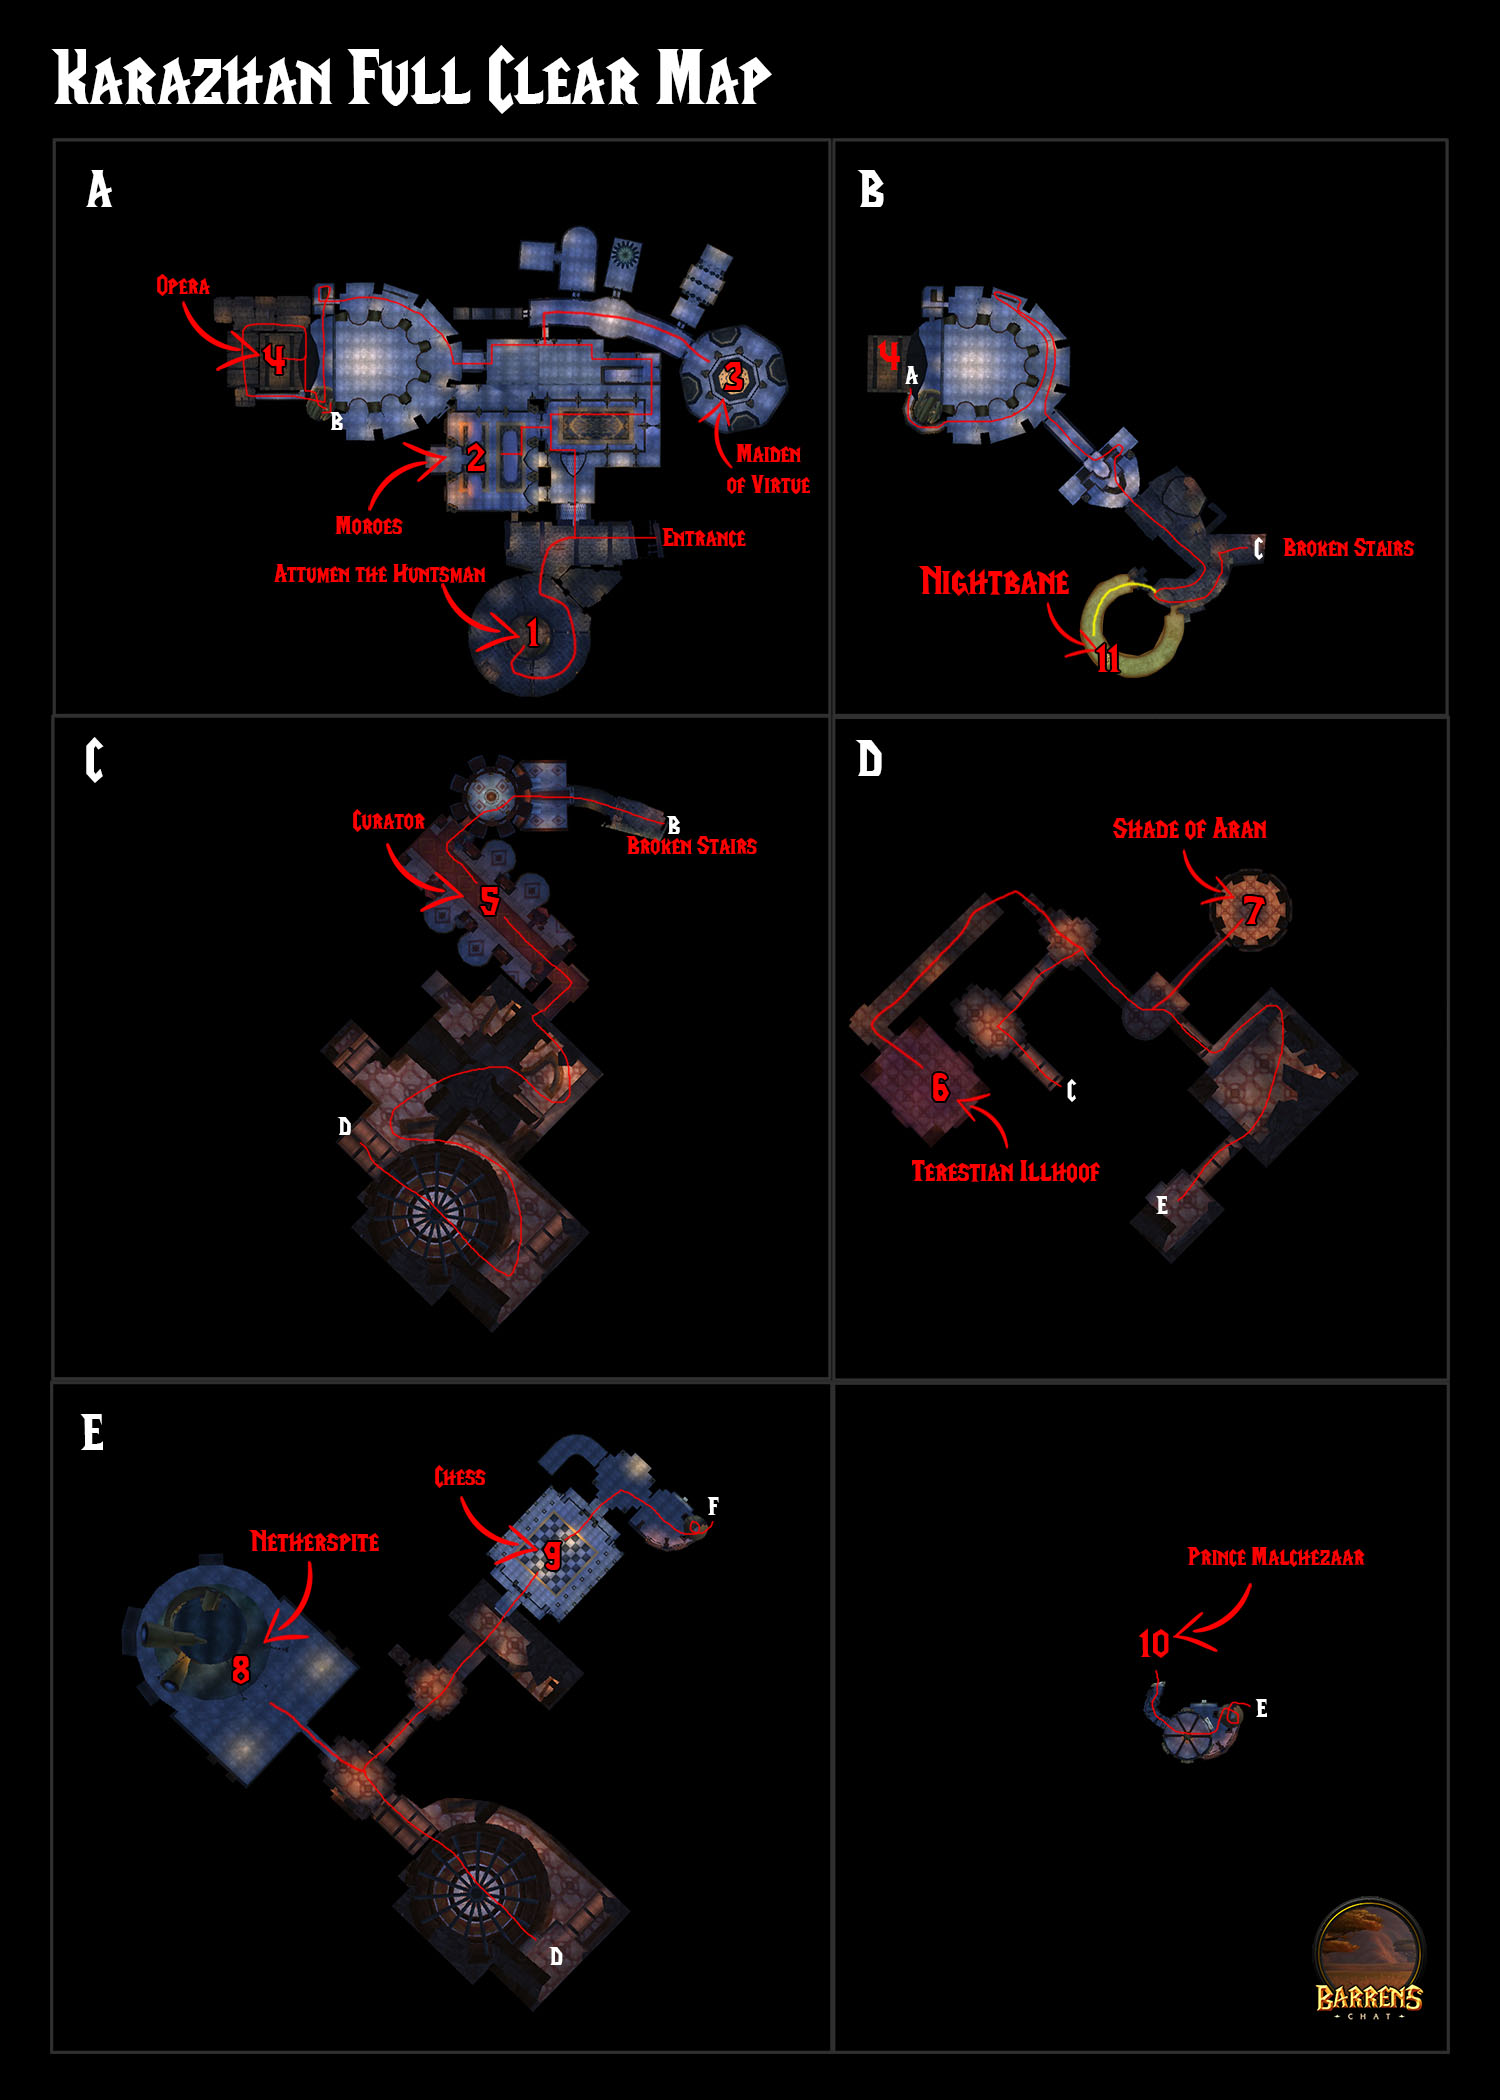
This route is much longer because it includes stopping at every boss throughout the raid. However, this is likely to be the route you take due to needing to unlock Nightbane and loot drops. Begin with killing Attumen, Moroes, Maiden, and the Opera Event in that order. Kill or ignore Nightbane on the yellow path. Resume the path up the Broken Stair and kill The Curator, Terestian, then Shade. Now head to Netherspite, The Chess Event, and finish at Prince Malchezaar. Note that killing Shade of Aran unlocks a teleport to his room from Berthold, reducing run time.
Raid Preparation
Karazhan is a 10-man raid with fights that vary in difficulty. Because of this, the requirements to kill an easier boss are much different from those needed to kill Nightbane. With this in mind, the requirements below are what you’ll need to clear most of the raid, or close to the bare minimum. Karazhan is the first expansive raid of the expansion, meaning that the requirements are fairly basic.
To start, you’ll need at least 1 attuned raid member. You’ll also want at least 2 tanks, 3-4 healers, and 4-5 DPS. You should aim for 3 healers, but 4 might be smart if you’re just learning the raid. Your DPS should be a balance of melee and ranged/casters with an extra DPS being ranged. Within your composition, you’ll want at least 1 priest and warlock. A druid and shaman/paladin are also heavily recommended, but not required.
Beyond this, you’ll want to have the best gear possible. This likely means max level dungeon gear and anything you pick up from Gruul’s Lair or Magtheridon’s Lair. As the raid only consists of 10 people, having consumables is much more important. Make sure to bring class-appropriate food, potions, flasks/elixirs, and bandages. Lastly, make sure to read up on all encounters so you’re prepared beforehand!
To summarize:
- Attunement: At least one raid member must complete the lengthy attunement process as indicated above.
- Composition: 2 tanks, 3-4 healers, 4-5 DPS (mix of ranged and melee). At least 1 priest and warlock. A druid and shaman/paladin are also helpful.
- Gear: Full level 70 dungeon gear and up. Drops from Gruul’s Lair/Magtheridon’s Lair will also help.
- Consumables: All basic raid consumables, including food, potions, flasks/elixirs, and bandages.
Trash Mobs
The trash mobs of Karazhan are not particularly challenging, but they can quickly become overwhelming in numbers. One important tip is that you should be using CC as much as possible, specifically Shackle Undead as many mobs in the raid are susceptible to it. As long as you use CC generously and pull packs one at a time, there is little you need to focus on.
A final consideration is that many trash packs reset until their associated boss is killed, usually after 30 minutes. Keep that in mind and try to quickly get in attempts at a boss to avoid needing to kill trash again.
Boss Encounters
Karazhan is home to 11 different boss encounters, each being a little different than the last. In terms of difficulty, the easiest boss is arguably Attumen while Nightbane is the hardest. This means that the raid generally progresses gradually in difficulty. For simplicity, we’ll separate each boss encounter into its own explanation to help you fully understand each fight. For more detailed explanations, be sure to check out the links in each section that direct to our in-depth guides for each boss!
Attumen the Huntsman
Attumen the Huntsman is the first encounter you’ll find, although he is optional. The fight involves his loyal steed and consists of three phases. With a designated soaker and proper target focus, this encounter is very straightforward.

Here is a quick breakdown for the encounter:
- DPS should always be behind Attumen. They should focus on one boss during phase two and stop attacking during phase changes. One DPS will need to soak Berserker Charge.
- Healers should save mana for phase three and stop casting during phase changes. Remove Intangible Presence and have a healer ready to keep the Berserker Charge soaker alive.
- Tanks should use Disarm on Attumen and try to Spell Reflection his Intangible Presence. Offtank should tank Midnight in phase one (main tank on adds, switch to Attumen on phase two) and keep him 10 yard away from Attumen in phase two. Remember to quickly build aggro during phase changes.
Check out an in-depth breakdown for the fight in our Attumen the Huntsman Strategy Guide!
Moroes
Moroes is the next fight and he is required. Not only will you face him, but you’ll also need to deal with 4 powerful adds that he summons. The fight requires constant add management via CC on 2 of them and killing the others to complete the fight.
Here is a quick breakdown for the encounter:
- DPS should interrupt healer and priest add spell casts. Follow the raid’s kill order and CC the adds that aren’t being hit. One DPS must soak Blind.
- Healers should maintain CC on adds. Keep the Garrote target alive. Heal the offtank when Moroes uses Gouge. Be ready for heavy damage when Moroes is under 30%.
- Tanks should have the main tank on Moroes while offtank grabs one add. Save defensive cooldowns for sub-30% health.
Check out an in-depth breakdown for the fight in our Moroes Strategy Guide!
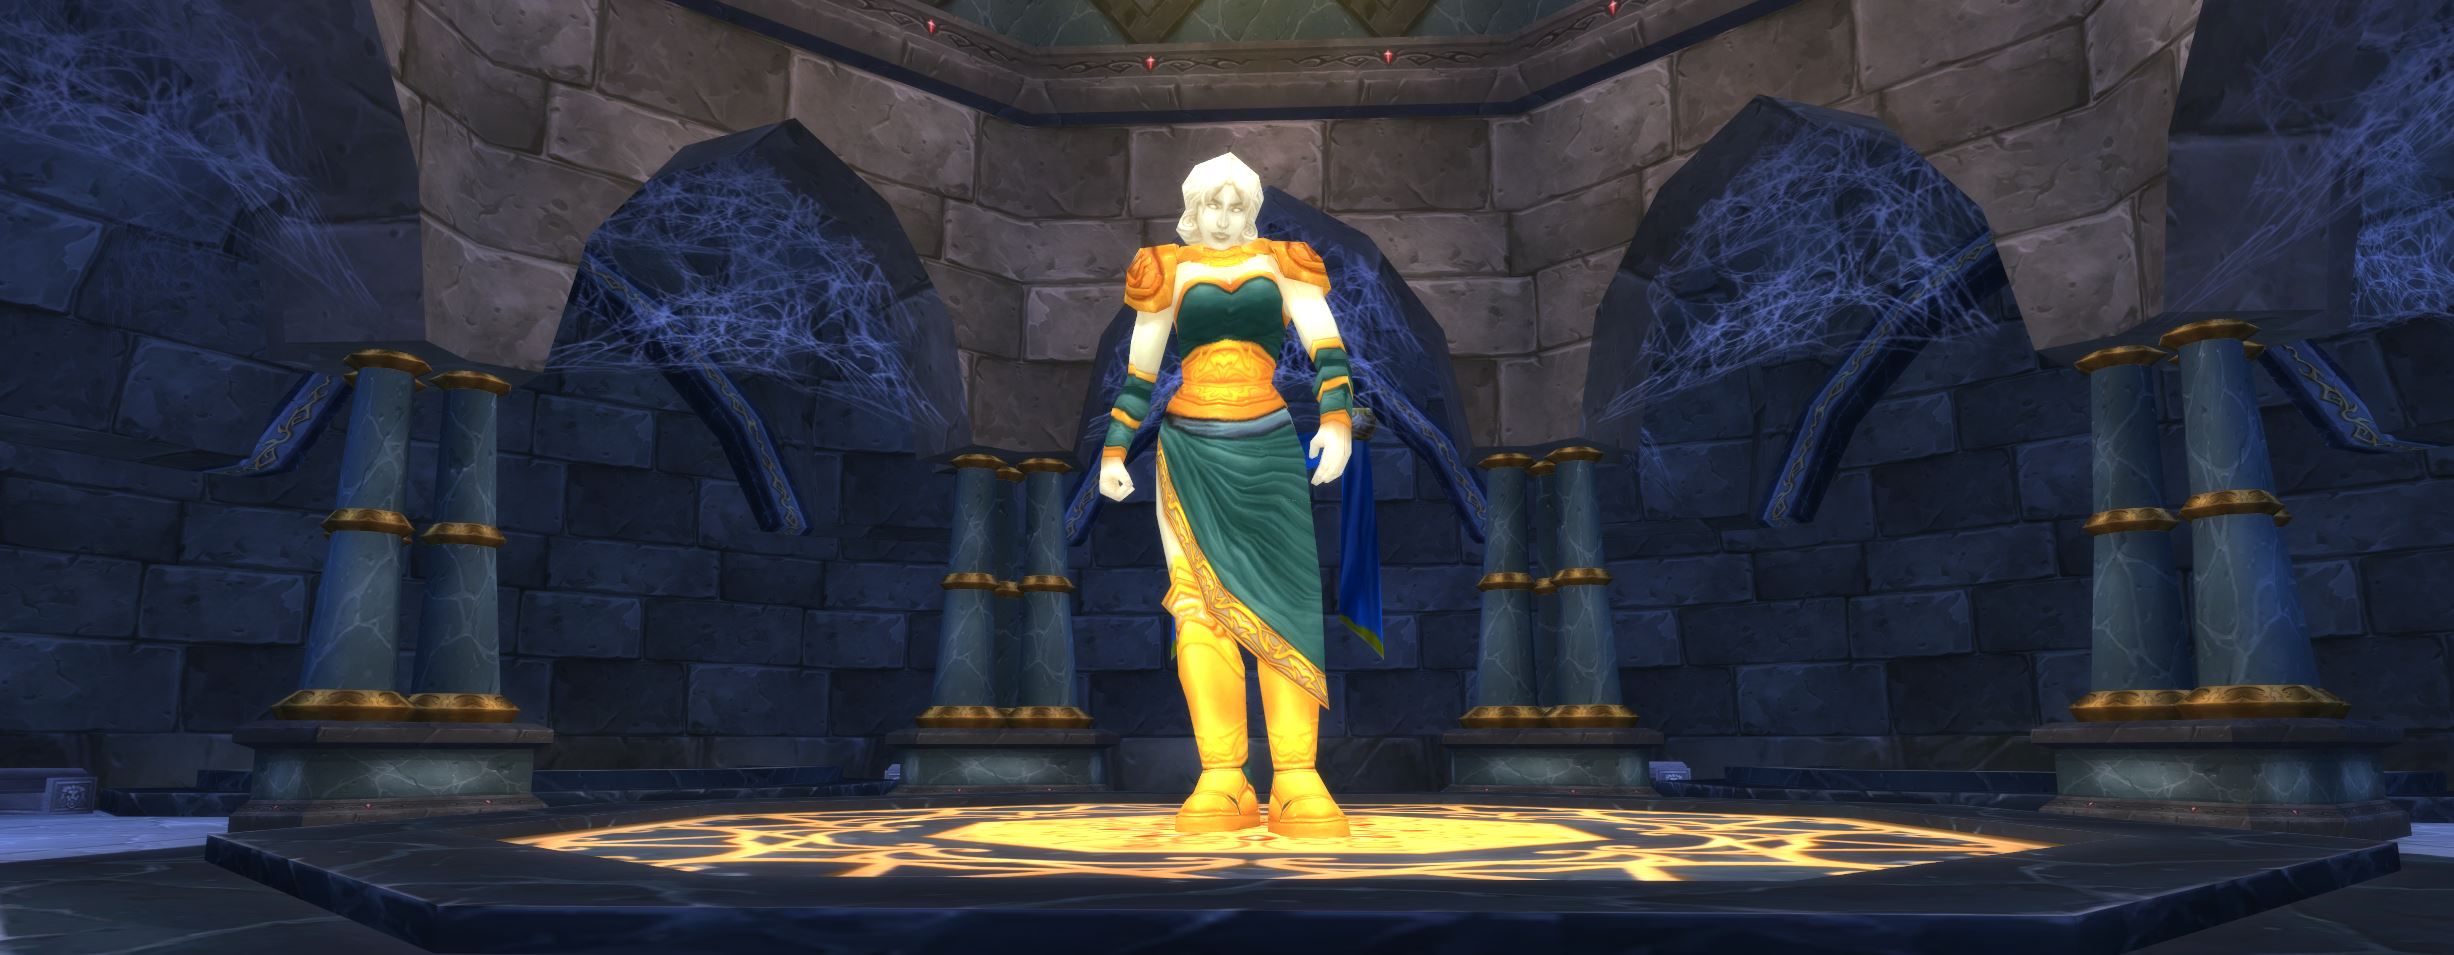
Maiden of Virtue
The Maiden of Virtue is the next encounter you’ll find and she is also optional. The fight has few mechanics and consists of a single phase that shouldn’t pose much of a challenge. Your focus should be on developing a strategy for Repentance that allows you to survive each cast.
Here is a quick breakdown for the encounter:
- DPS should help heal if they can after Repentance and stay spread out to avoid chaining Holy Fire.
- Healers should also stay spread out, remove Holy Fire, and have one healer standing near the boss before Repentance so they can continue healing.
- Tanks should save defensive cooldowns for when she casts Repentance.
Check out an in-depth breakdown for the fight in our Maiden of Virtue Strategy Guide!
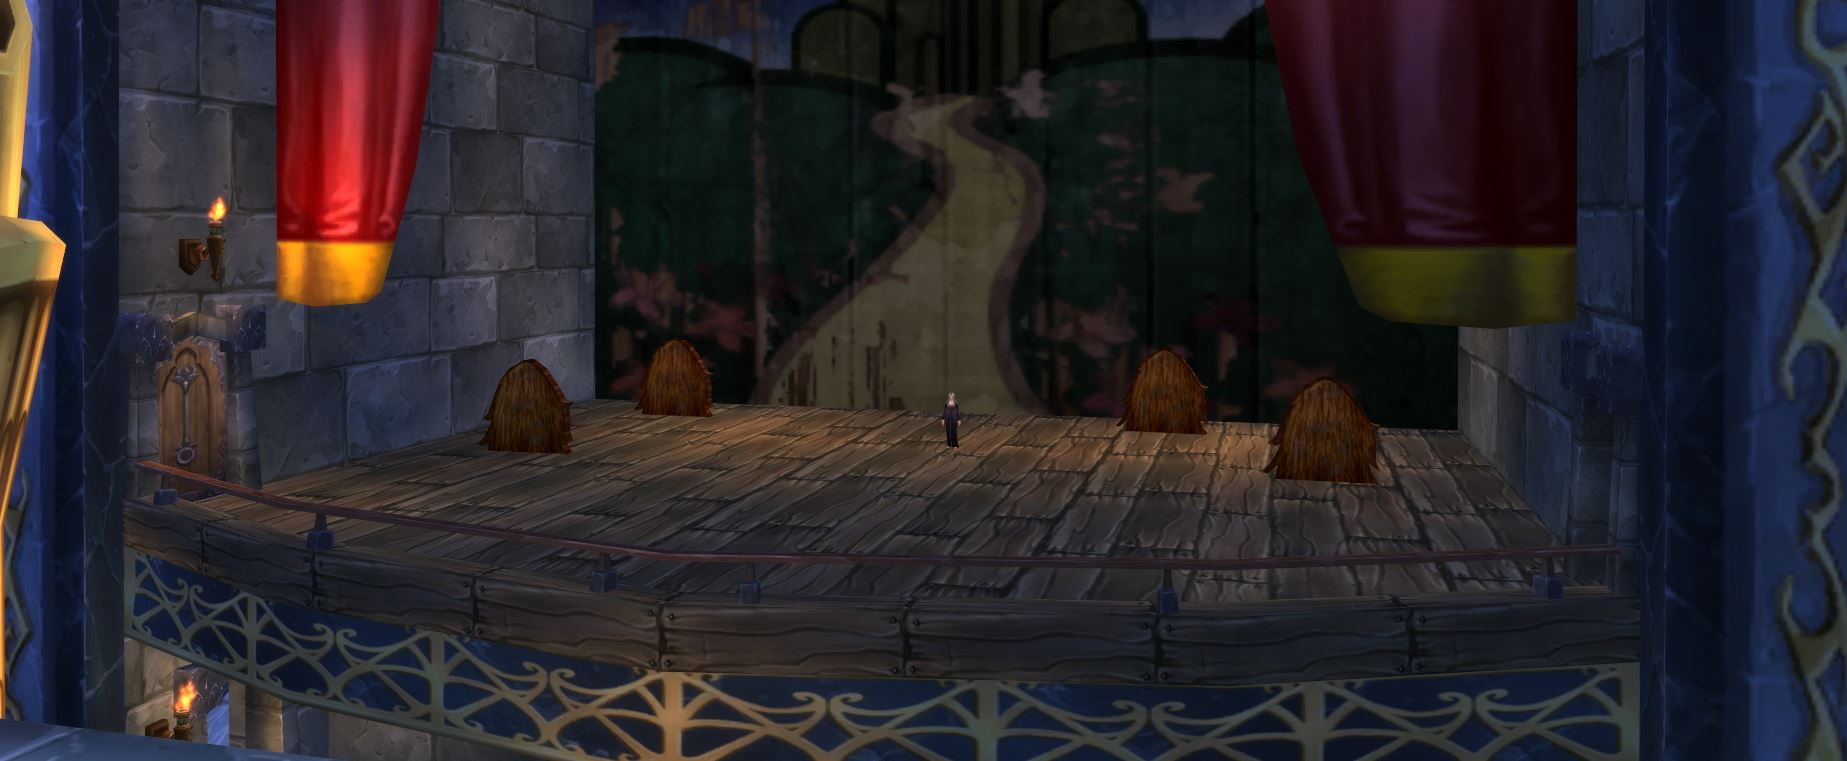
Opera Event
The Opera Event is next and it serves as the second required encounter of Karazhan. You’ll face either one of three different fights, each containing different bosses and required strategies. The Little Red Riding Hood and Romulo and Julianne fights focus on mechanics while the Wizard of Oz is more of a killfest.
Little Red Riding Hood
Here is a quick breakdown for the encounter:
- DPS: Run away from the Big Bad Wolf if transformed and slow DPS if not.
- Healers: Run away from the Big Bad Wolf if transformed, otherwise heal who is and anyone hit by Wide Swipe.
- Tanks: Keep the boss in the corner of the room and grab aggro as quickly as possible after transforms.
Romulo and Julianne
Here is a quick breakdown for the encounter:
- DPS: Interrupt Eternal Effection and Julianne’s other spells if you have plenty of interrupts. Stand behind Romulo and make sure they both die at the same time in phase three.
- Healers: Remove Poisoned Thrust and keep the target of Blinding Passion alive.
- Tanks: Keep Romula faced away from the raid and stand with your back to a wall. Remove Daring from Romulo and use Disarm.
Wizard of Oz
- DPS: Follow a kill order (Dorothee > Tito > Roar > Strawman > Tinhead > The Crone). Spread out in phase two and don’t get hit by Cyclone.
- Healers: Be prepared to heal the whole raid in phase one. Spread out in phase two and don’t get hit by Cyclone.
- Tanks: Tank Tinhead away from the raid. Spread out in phase two and don’t get hit by Cyclone.
Check out an in-depth breakdown for the fight in our Opera Event Strategy Guide!
The Curator
The Curator is next and it is another required fight. The encounter is fairly simple, but you’ll need a decent DPS output to effectively kill him before he wipes the raid. You’ll need to focus on killing flares during the first phase and bursting him during his Evocation phase to take him down.
Here is a quick breakdown for the encounter:
- DPS should avoid the travel paths of flares and focus on killing them. Cooldowns should be saved for Evocation phases.
- Healers should also avoid flares and conserve mana usage. Designate a healer to keep the offtank alive.
- Tanks should also avoid flares and have the offtank soak Hateful Bolt.
Check out an in-depth breakdown for the fight in our Curator Strategy Guide!
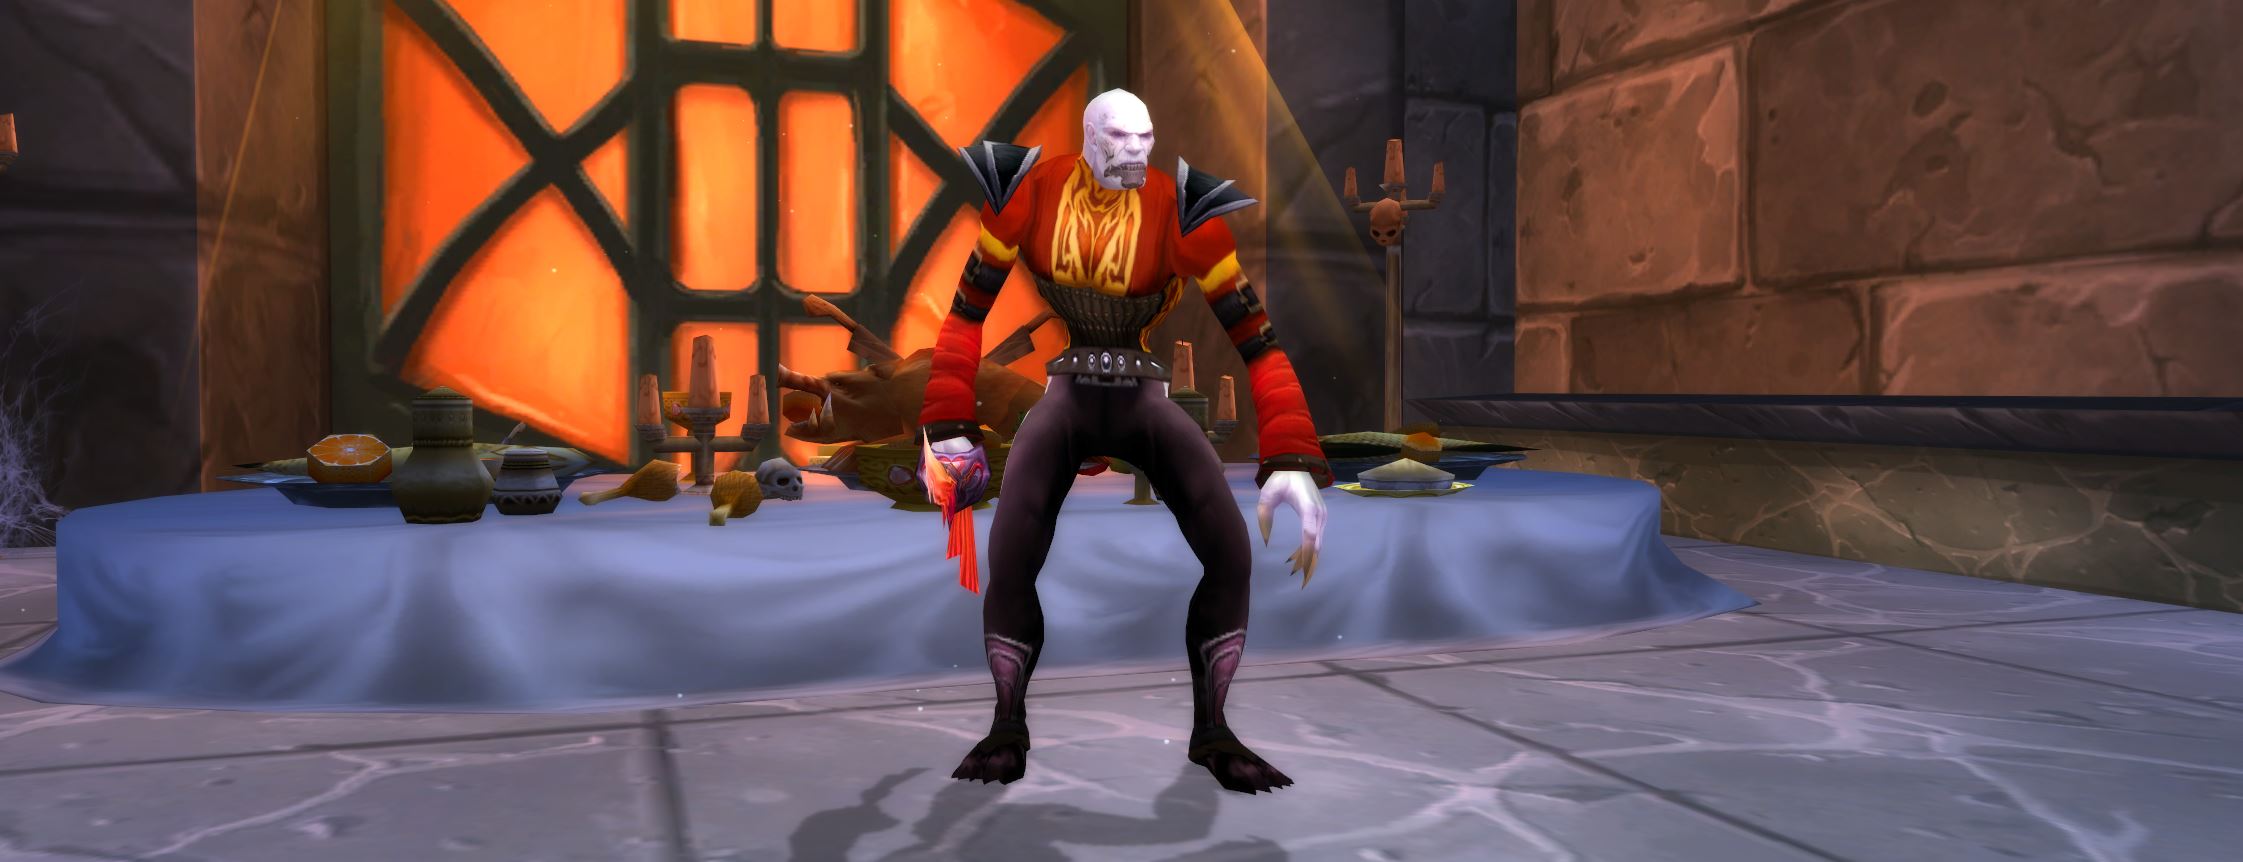
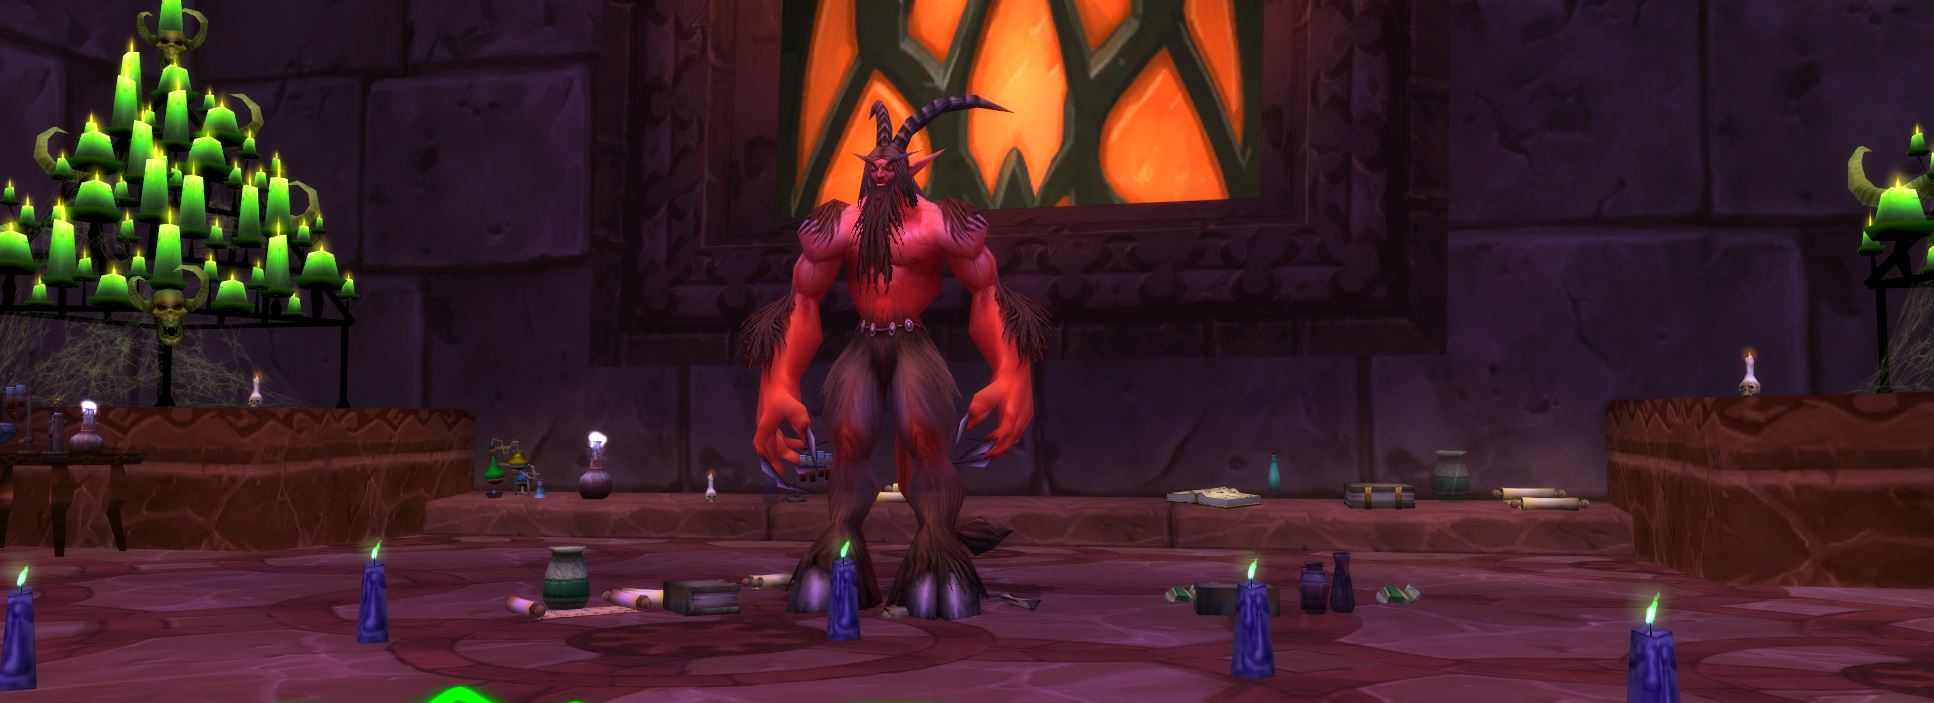
Terestian Illhoof
Terestian Illhoof is your next fight and he is also optional. The encounter is extremely easy if you have a warlock in the raid group for quick killing of add spawns. You’ll need to focus on saving the Sacrifice target and swifty killing imp swans to take out Terestian.
Here is a quick breakdown for the encounter:
- DPS should quickly focus Demon Chains when the boss uses Sacrifice. Have a warlock kill mini imp spawns and other DPS should use cleaves to kill Kil’rek.
- Healers should keep the Sacrifice target alive, top off the target of Amplifying Flames, and keep the warlock alive.
- Tanks should focus on DPSing and picking up Kil’rek if he doesn’t die quickly.
Check out an in-depth breakdown for the fight in our Terestian Illhoof Strategy Guide!
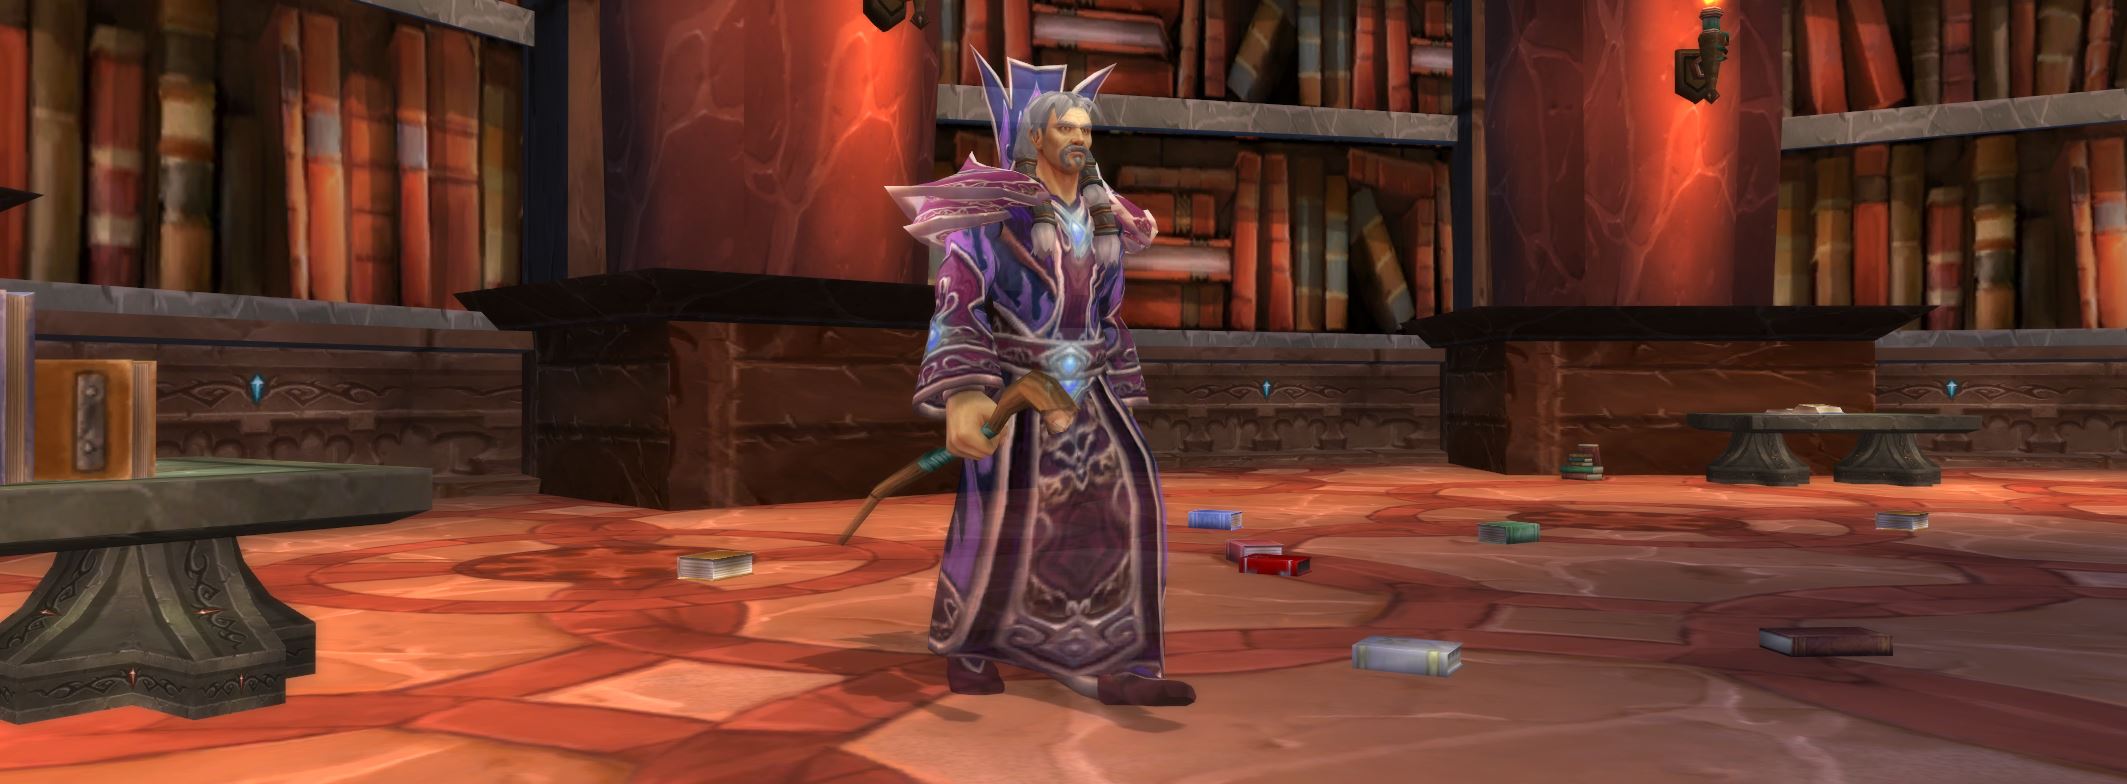
Shade of Aran
Your next fight is likely to be with Shade of Aran, who is also optional. However, killing him does unlock a shortcut teleport and the fight is not too challenging. He uses several different spells, which require coordination and planning to effectively manage for a kill.
Here is a quick breakdown for the encounter:
- DPS should interrupt Arcane Missiles until Shade is out of mana, then interrupt all spells. Focus water elementals when they appear. Run away from Magnetic Pull/Super Arcane Explosion and Circular Blizzard, but don’t move during Flame Wreath.
- Healers should remove Chains of Ice and stay away from the boss. Prepare for heavy healing after Pyroblast. Run away from Magnetic Pull/Super Arcane Explosion and Circular Blizzard, but don’t move during Flame Wreath.
- Tanks should focus on interrupts and DPSing. Run away from Magnetic Pull/Super Arcane Explosion and Circular Blizzard, but don’t move during Flame Wreath.
Check out an in-depth breakdown for the fight in our Shade of Aran Strategy Guide!
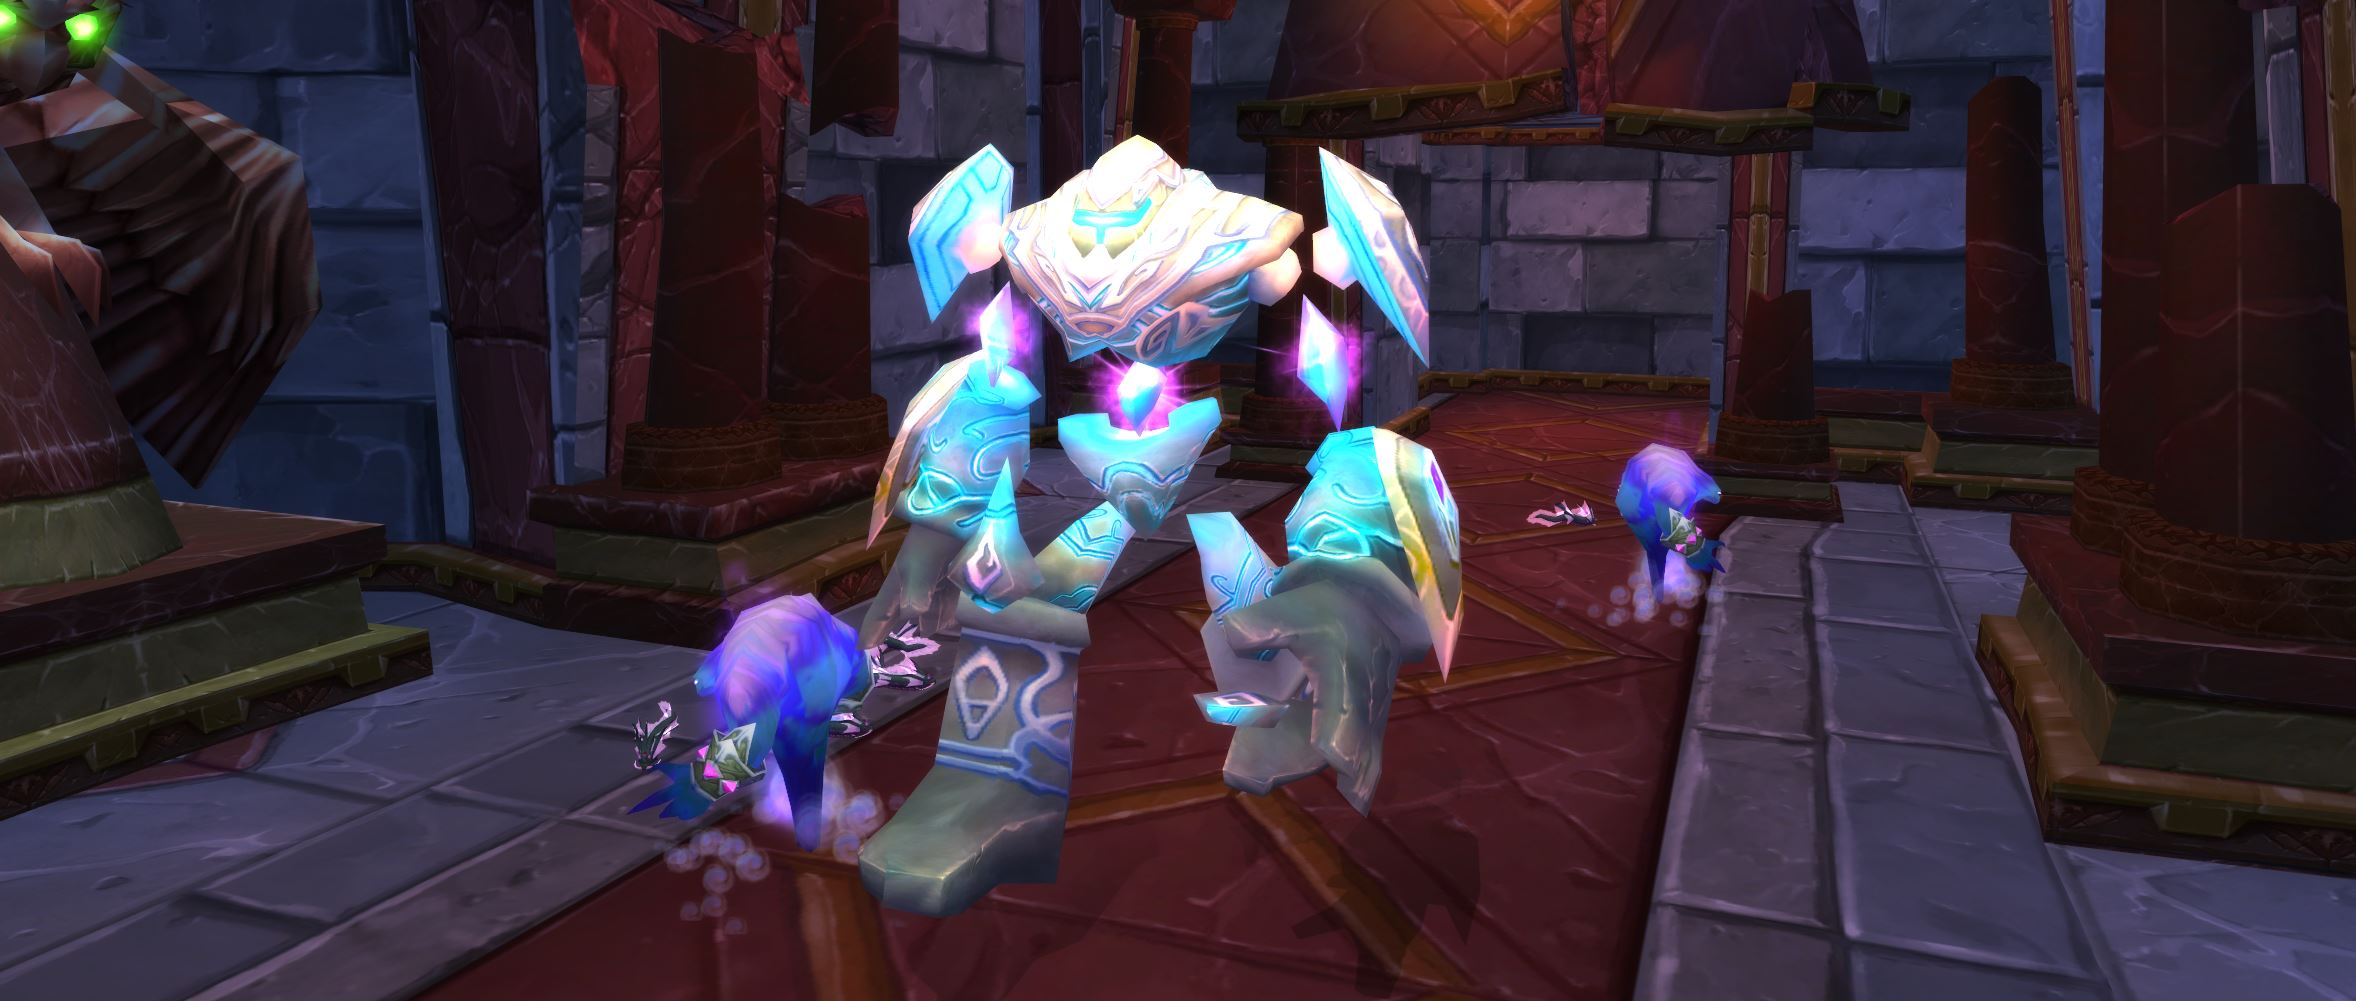
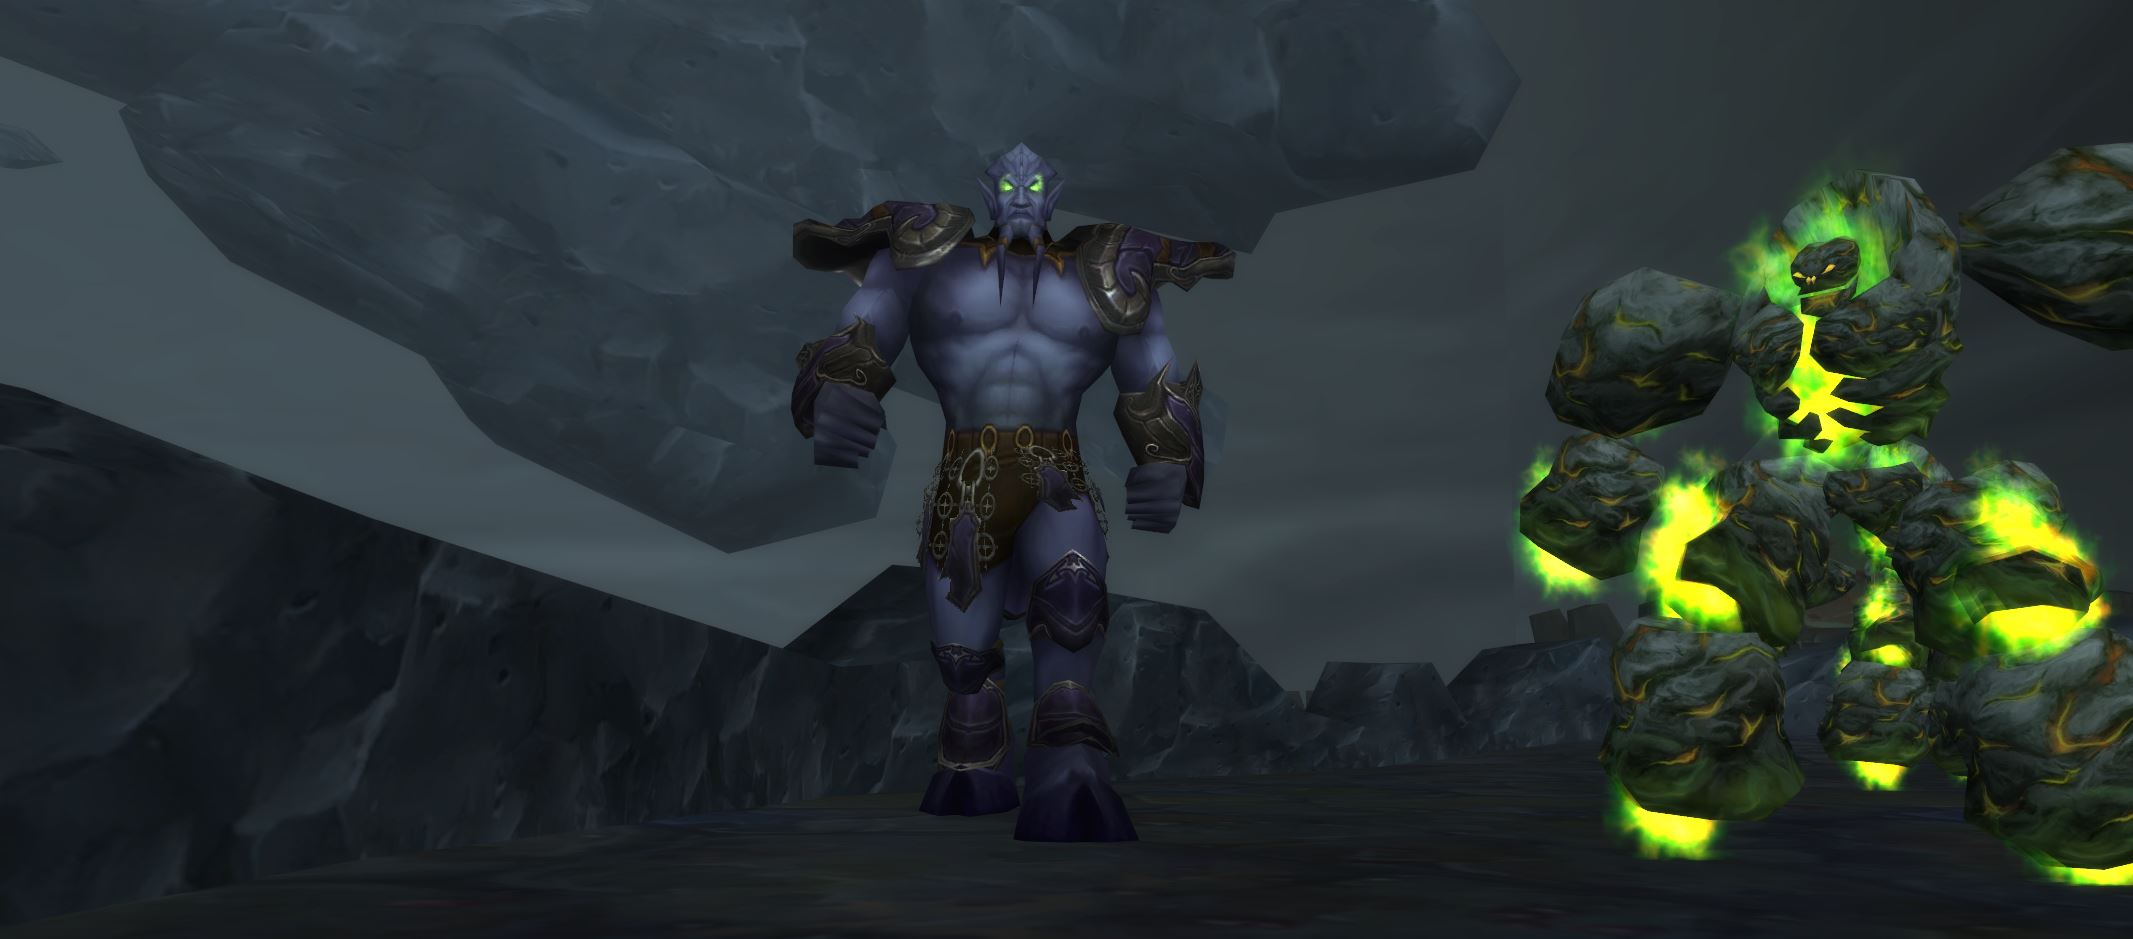
Netherspite
Netherspite is another fight in Karazhan that isn’t required for completion. The encounter is interesting and doesn’t require a high DPS output for completion. By focusing on mechanics, namely the beams he spawns, you can kill Netherspite.
Here is a quick breakdown for the encounter:
- DPS should avoid Void Zone, soak blue beams, and use DPS cooldowns while doing so. Hide during the banish phase to avoid Netherbreath.
- Healers should rotate soaking of green beams and avoid Void Zone. Hide during the banish phase to avoid Netherbreath.
- Tanks should soak the red beam and avoid Void Zone. Bring the boss the door before the banish phase and avoid Netherbreath.
Check out an in-depth breakdown for the fight in our Netherspite Strategy Guide!
Chess Event
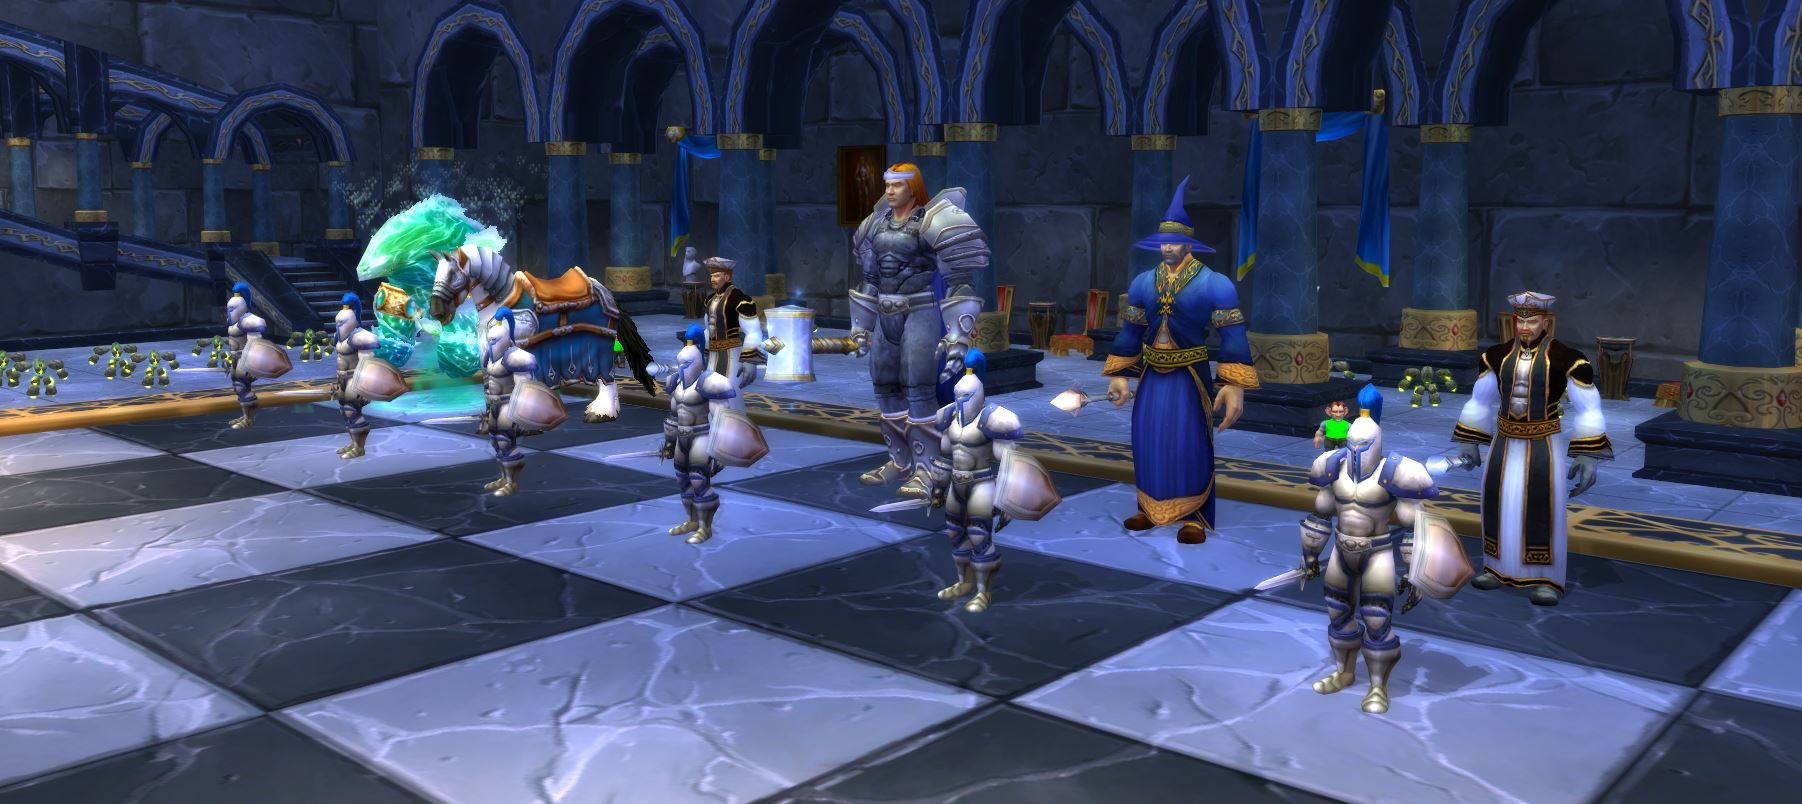
The Chess Event is a unique fight and is one of the final required encounters. It is quite simple as it involves no direct fighting and can be completed by just a few members. You’ll need to control chess pieces and take out the opposing King, similar to a real game of chess.
Here is a quick breakdown for the encounter:
- Anyone should start by moving the pawns. Prioritize enemy Bishops and the Queen. Respond to Medivh’s cheats if necessary and take out the opposing King.
Check out an in-depth breakdown for the fight in our Chess Event Strategy Guide!
Prince Malchezaar
Prince Malchezaar is technically the final fight of Karazhan. His encounter is one of the more difficult ones and involves three different phases. There are many sources of damage during the fight and avoiding as many as possible is key to taking him down.
Here is a quick breakdown for the encounter:
- DPS should avoid Netherspite Infernals and run from Shadow Nova. Use defensive cooldowns if targeted by axes in phase three.
- Healers should avoid Netherspite Infernals and run from Shadow Nova. Remove Shadow Word: Pain and always keep the tank at full health during phase two.
- Tanks should avoid Netherspite Infernals and run from Shadow Nova. Use defensive cooldowns generously in phase two. Keep the boss positioned so that there is always a safe spot for the melee.
Check out an in-depth breakdown for the fight in our Prince Malchezaar Strategy Guide!
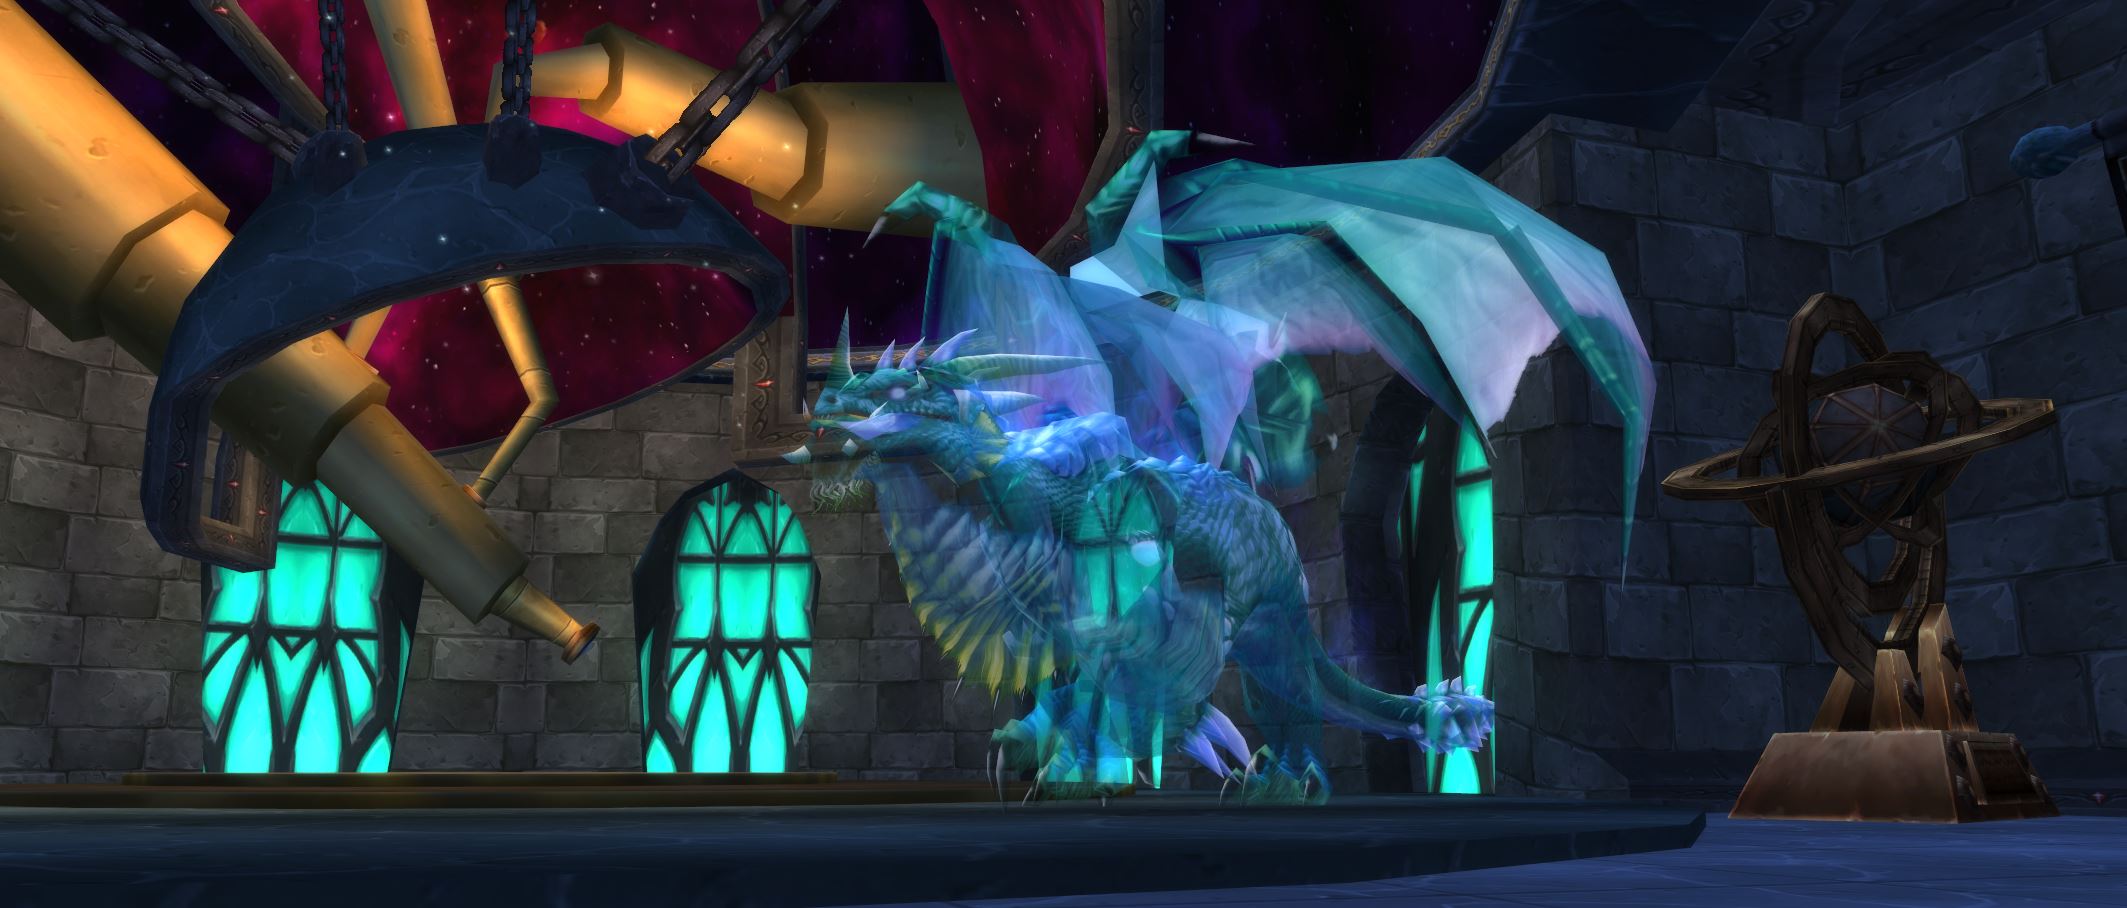
Nightbane
While Nightbane isn’t the last encounter, he is the hardest and requires a quest line to summon. The fight is highly difficult and requires a high DPS output while placing a heavy strain on your healers. The priorities of the fight are mitigating unnecessary damage and quickly killing adds, which is much harder than it sounds.

Here is a quick breakdown for the encounter:
- DPS should run away from Charred Earth. Ranged/casters should be at max range. Kill skeletons quickly during the air phase and give a few seconds for tanks to get aggro when Nightbane lands.
- Healers should run away from Charred Earth. Quickly remove Distracting Ash and focus healing on whoever is targeted by Rain of Bones and Smoking Blast.
- Tanks should face the boss away from the building and run away from Charred Earth. Use defensive cooldowns during fears. Quickly build aggro when Nightbane lands.
Check out an in-depth breakdown for the fight in our Nightbane Strategy Guide!
About the Author

Teh feels
Charred Earth tooltip – 21880-2813