- Author: Pride
- Date: May 23, 2022
- Updated: May 23, 2022
- Expansion: TBC Classic


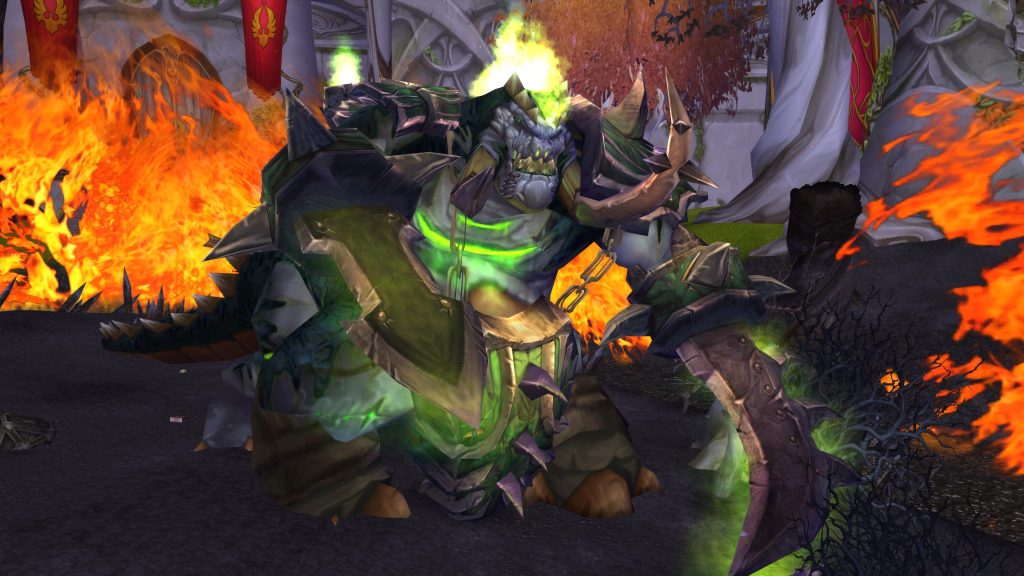
Brutallus
Brutallus, the Pit Lord, is the second boss players will encounter in the Sunwell Plateau raid. He is located in the Dread Scar part of the raid, a short distance away from the arena where players fought Kalecgos, with barely any trash in the way.
Brutallus may seem simple, due to his low number of abilities and the fact that there’s only one phase, but do not be deceived. This fight is a massive gear & DPS check which used to be seen as the biggest gatekeeper of the Sunwell Plateau raid, stopping raids with insufficient raid DPS right there. Your raid will need to come prepared, with everyone — and DPS players in particular — bringing their A game.
This guide will offer a detailed, step-by-step tutorial on how to put an end to the vile Pit Lord, before he burns you all alive.
Role Summaries
- Everyone should have potions, elixirs and flasks appropriate for their role in this fight — it is a very tight DPS race
- Quickly move to your designated spot at the start of the fight — if you don’t, the tank will die to Meteor Slash
- Immediately move to the designated spot if you get afflicted by Burn
- Make sure you never get close to other players while afflicted by Burn, as you will spread it to all players within 2 yards
- Use defensive cooldowns & Master Healthstone when necessary to survive, particularly if you have Burn
- Paladins, Mages, Rogues: You can remove Burn with Divine Shield, Ice Block & Cloak of Shadows
- Warriors: Keep Demoralizing Shout and Thunder Clap up on Brutallus at all times
- Always stay at the designated spot, either behind Brutallus or on his side, and never near a tank
- If you ever get hit by Meteor Slash or if Brutallus parries your attacks, that means you’re standing at the wrong spot
- You don’t have to move anywhere if you get Burn, but make sure you’re not within 2 yards of other players
- Use your cooldowns when your raid uses Heroism / Bloodlust for maximum damage output
- Watch your threat — you will wipe the raid if you get aggro
- People can die very quickly here which will likely cause your raid to wipe — you must stay focused for the full 6 minutes
- Burn deals increasing damage, with the last 10 seconds dealing 3200 damage per second — healers responsible for raid healing will need to pump heals into players afflicted by it at this time
- Tank healers need to pay attention; your tanks will taunt off each other every 3 stacks of Meteor Slash, so be ready to heal the new tank
- Use Super Mana Potions and Dark Runes as much as you can — this fight is long and taxing on your mana
- Use all of the avoidance / mitigation gear you can for this fight — Brutallus hits incredibly hard
- Quickly move Brutallus to the designated position at the start of the fight, and then never move from your spot
- After the opposite tank has 3 stacks of Meteor Slash, you must taunt Brutallus off them
- You can delay your taunt a little bit if Brutallus is about to use Stomp. Taunt right after he Stomps, but don’t delay it more than 4-5 seconds
- Call on voice chat when you’re about to taunt, so healers can react
- Use defensive cooldowns to survive if Brutallus happens to cast Burn on you — Stomp will remove it, so you have to survive until then
Abilities
Brutallus is a 1 phase encounter with only 3 abilities to worry about.
Raid Composition & Preparation
The Pull
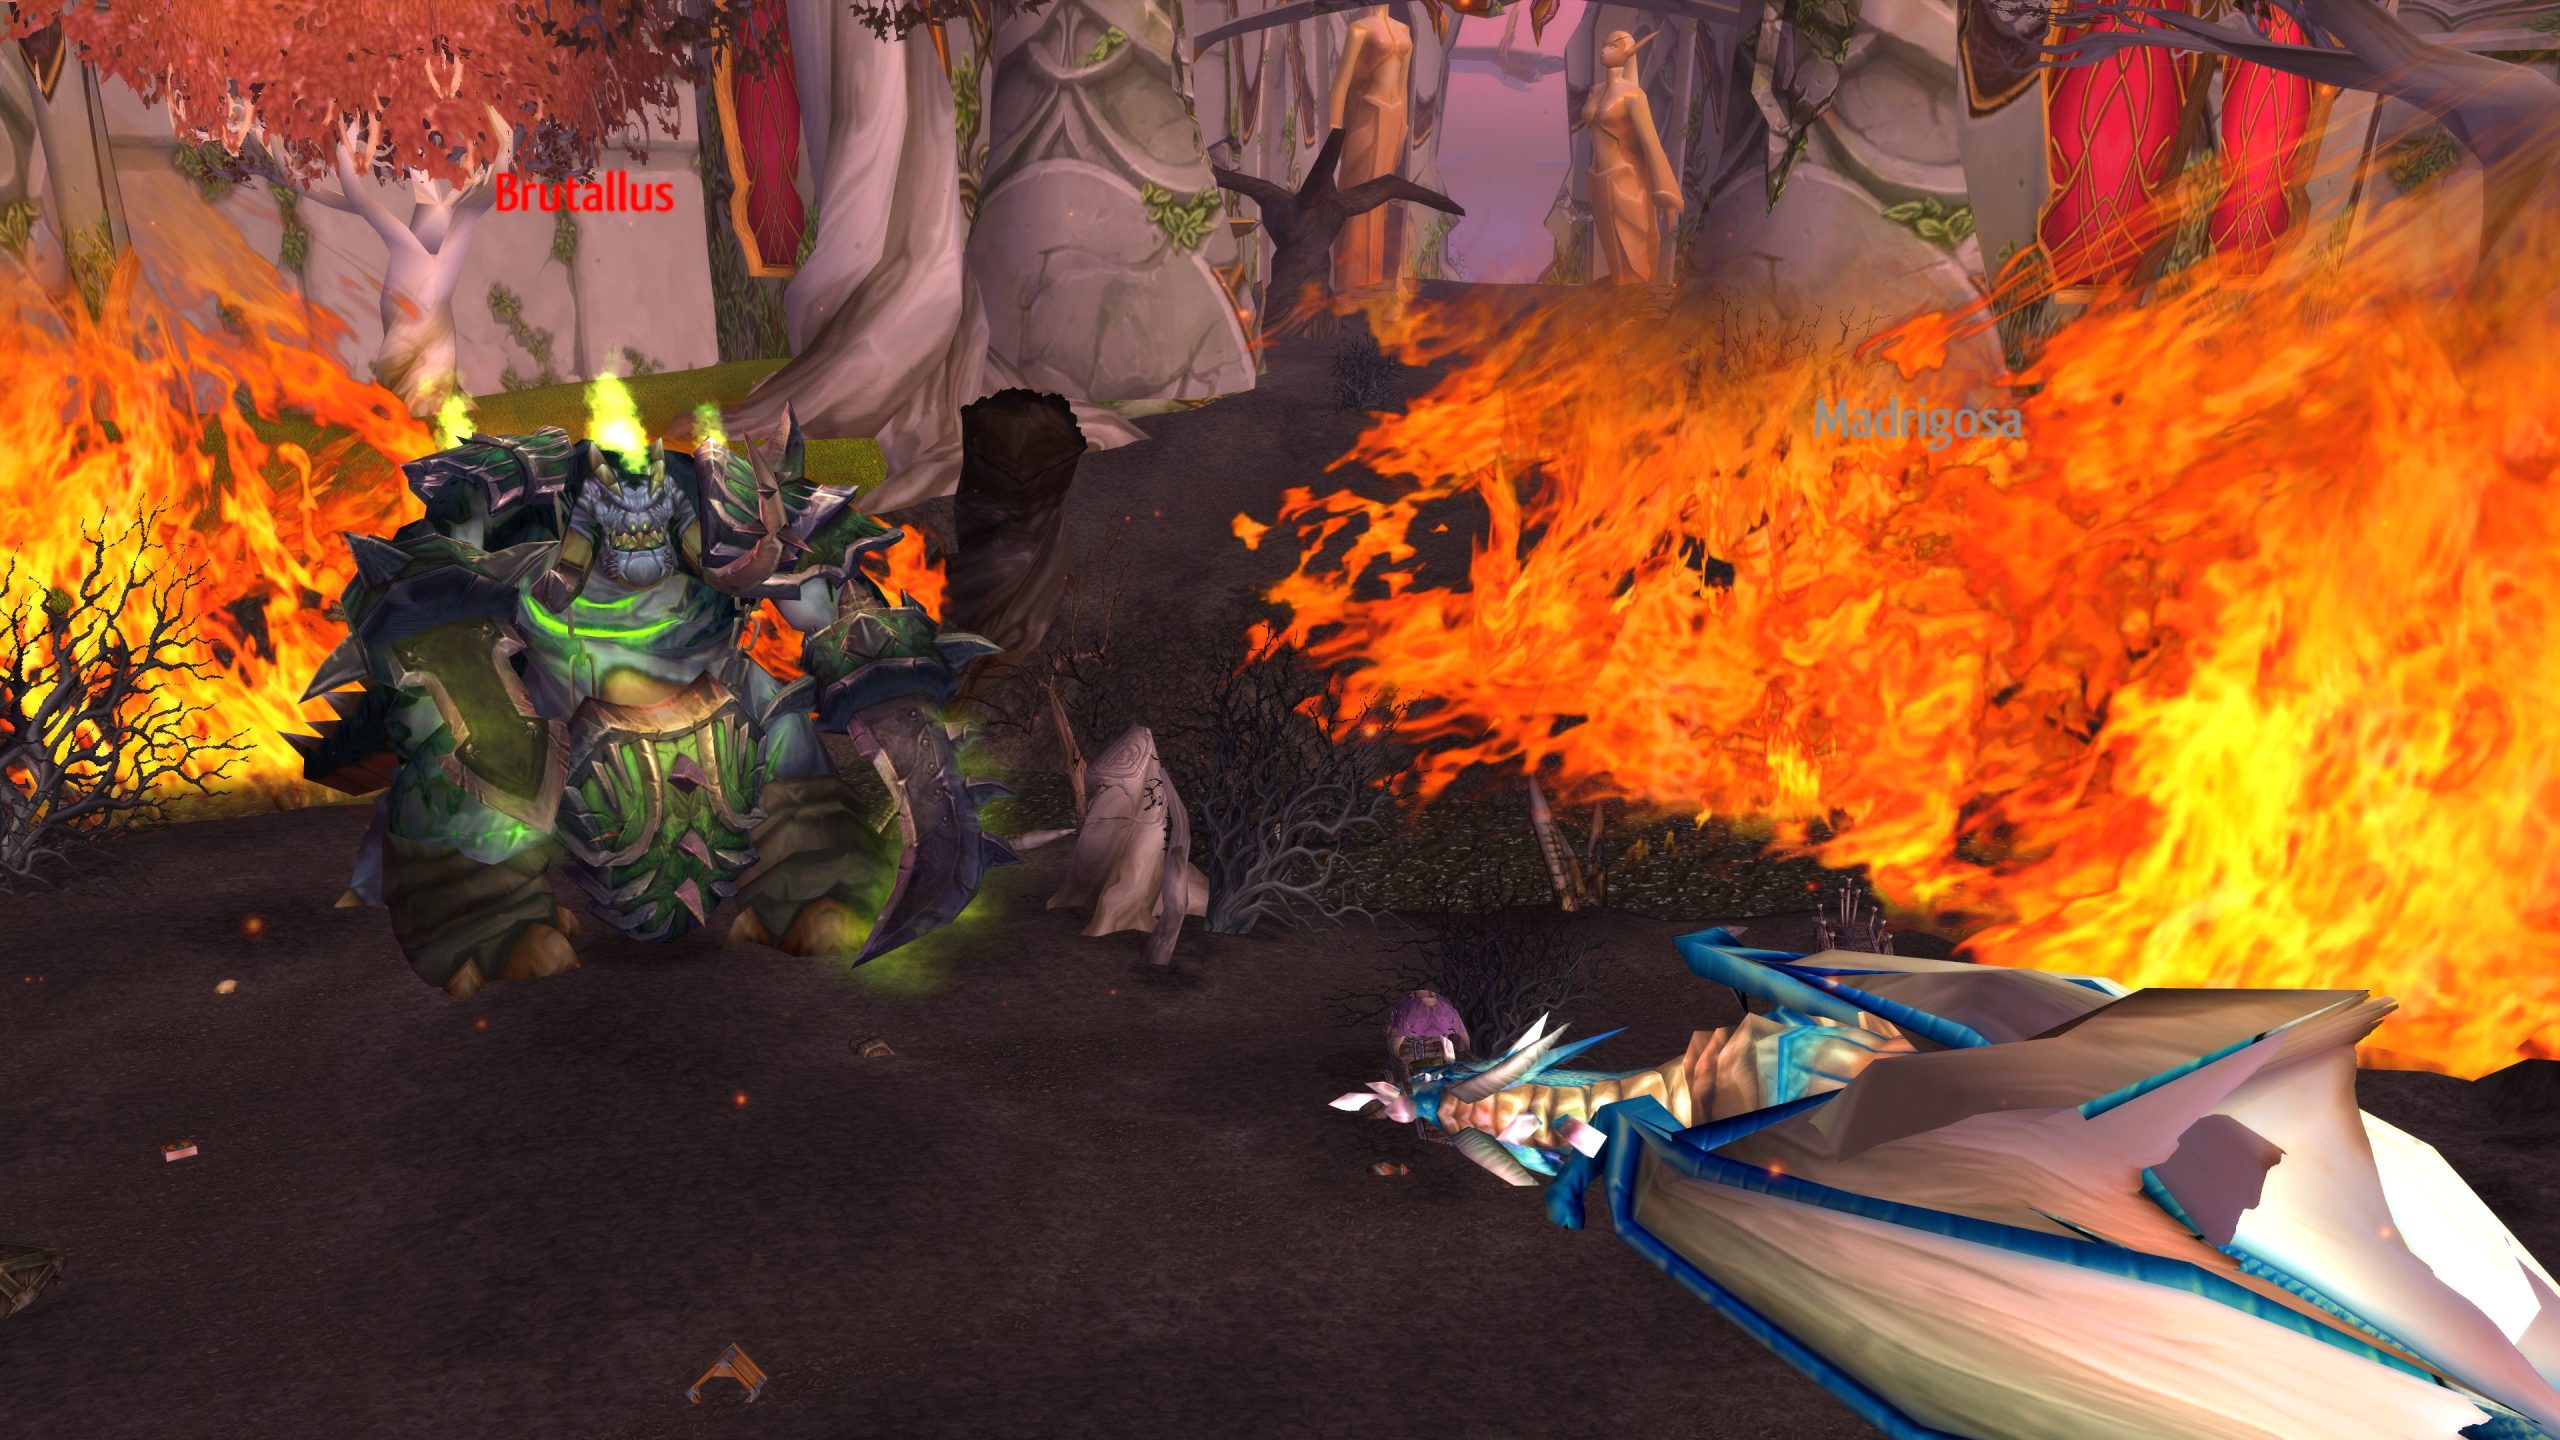
There is just one robot and a single pack of blood elf type enemies before Brutallus. After your raid has killed those, move ahead, and you’re forced to watch a lengthy roleplay interaction between Brutallus and Madrigosa, Felmyst’s original self.
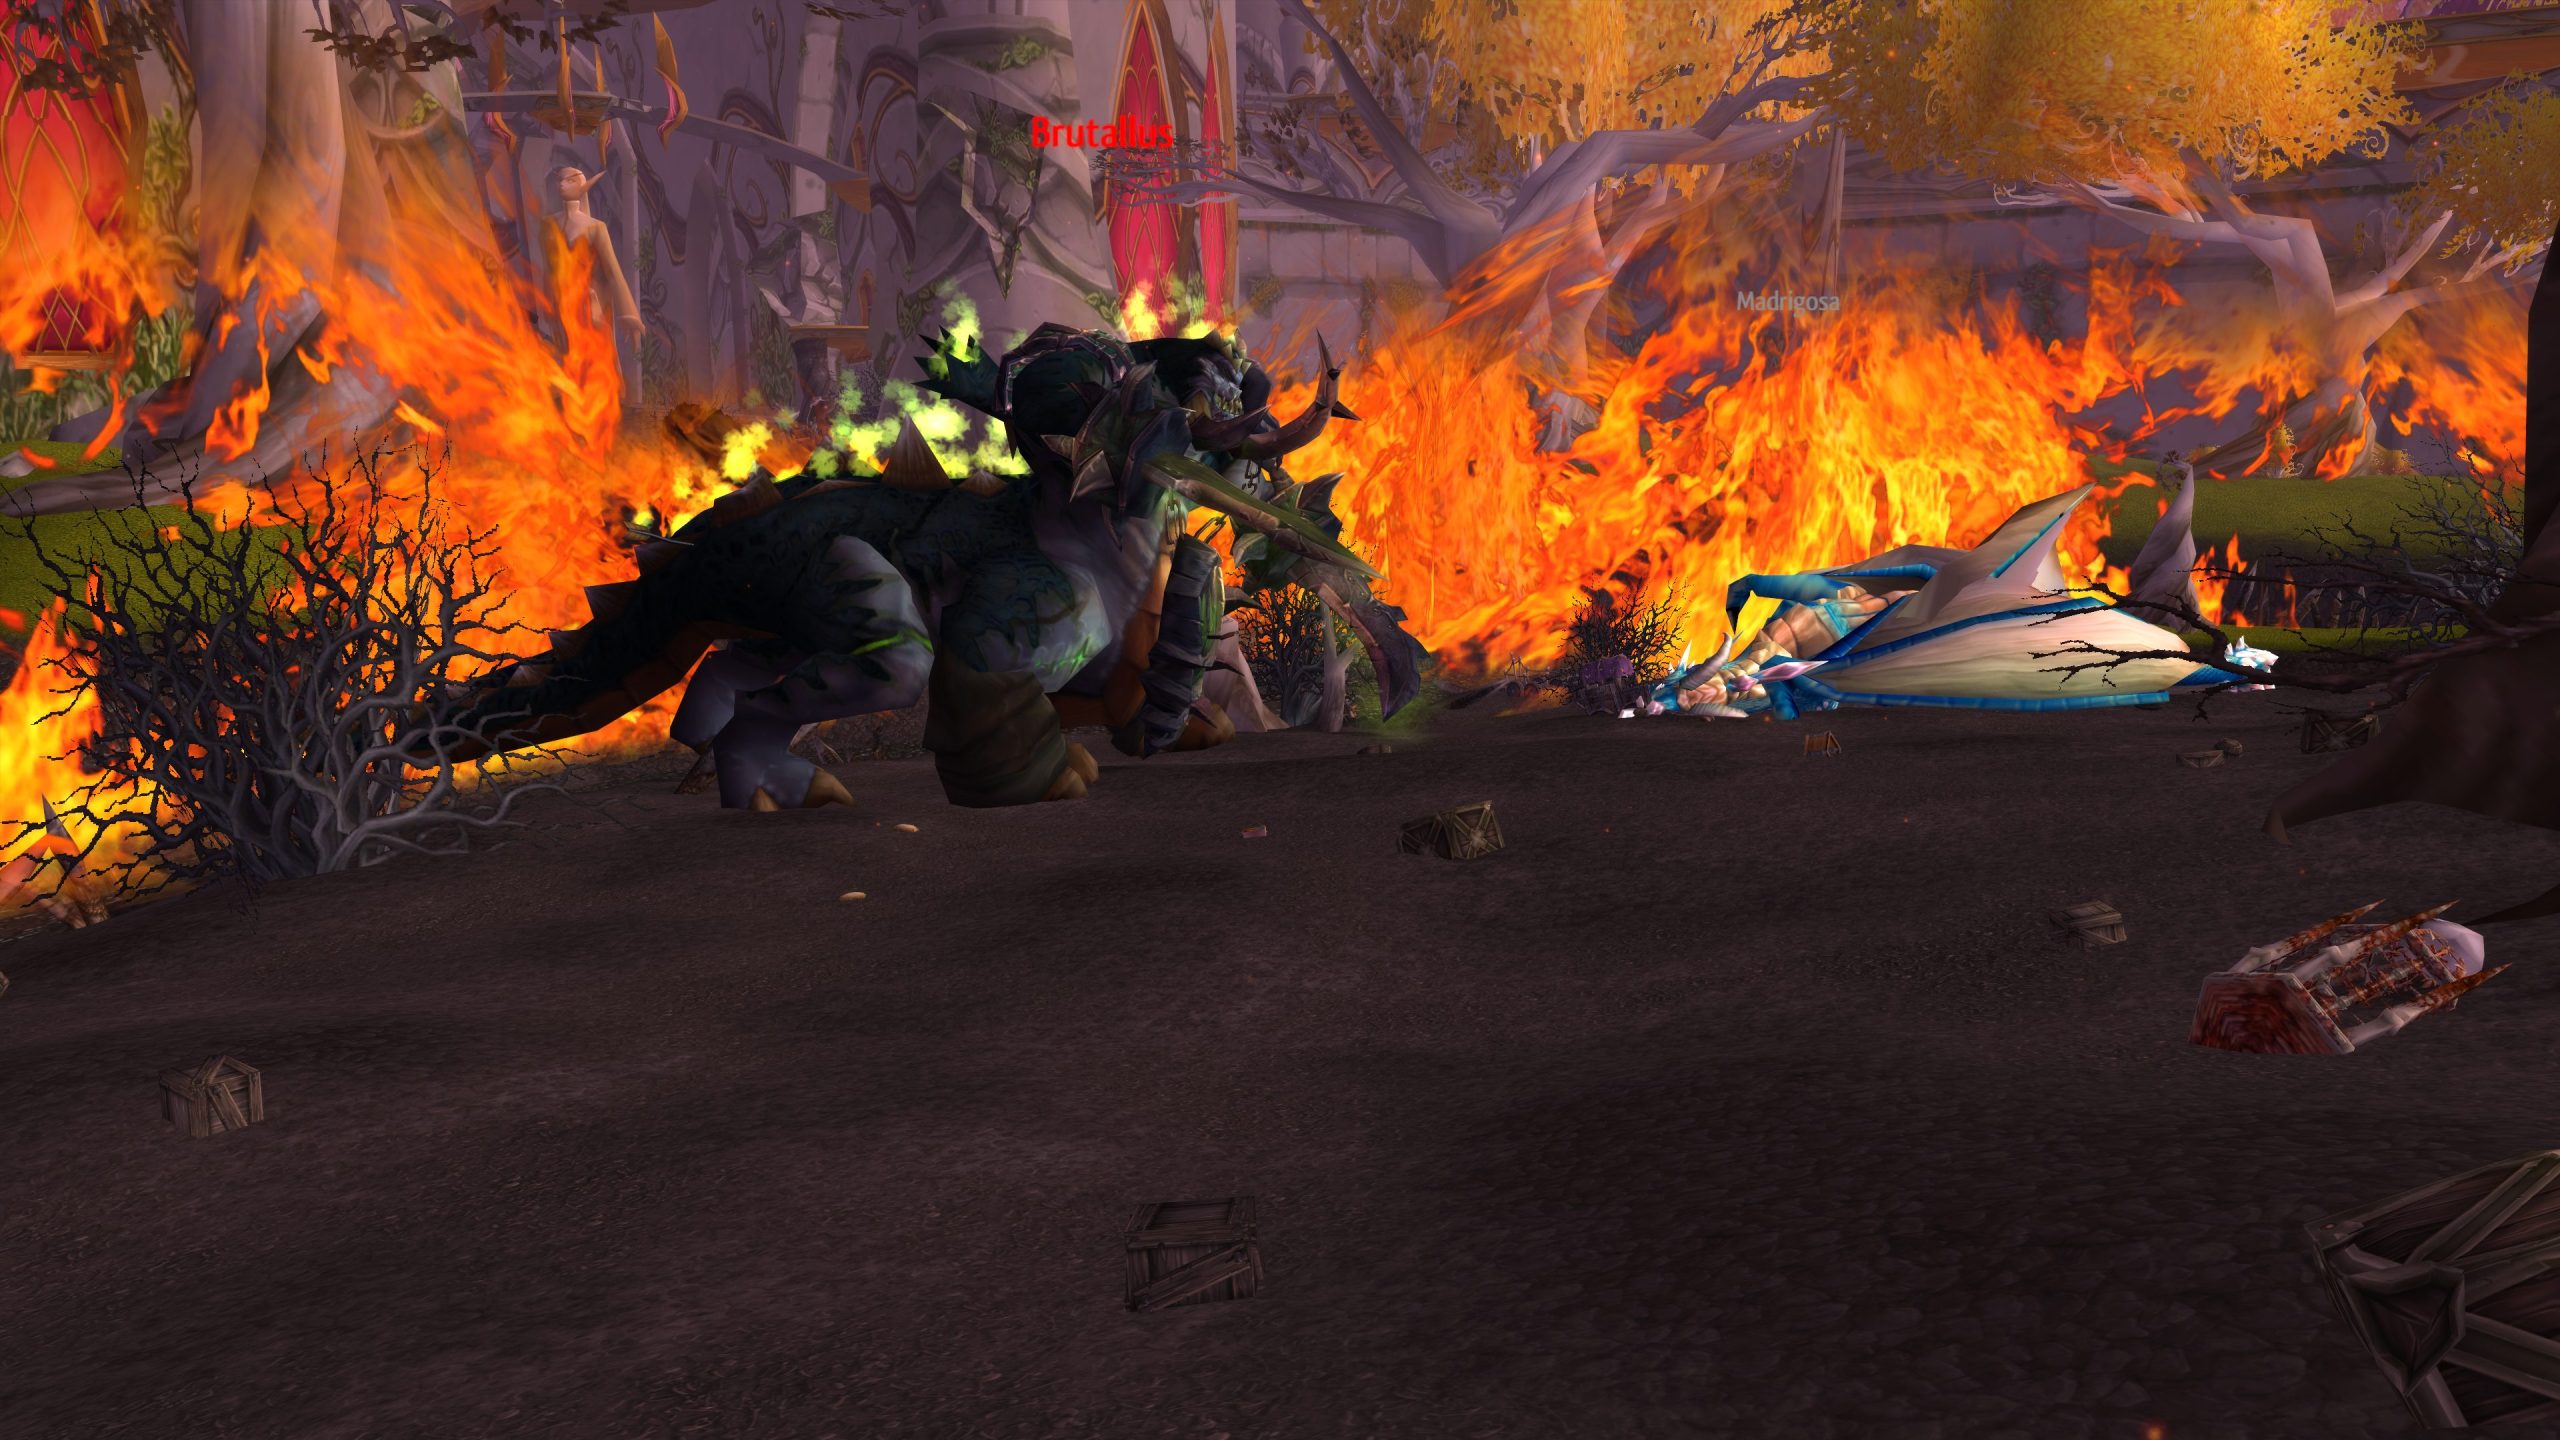
After the roleplaying is over and Madrigosa is violently murdered, your raid should jump down from the ledge overlooking Brutallus and start moving towards the left (as you jump down), to the east side of the room, so you’re looking at Brutallus’ right side. This will be where you pull him to.
When your raid is fully buffed up and ready to take on this absolute beast of a boss, have your raid position as follows:
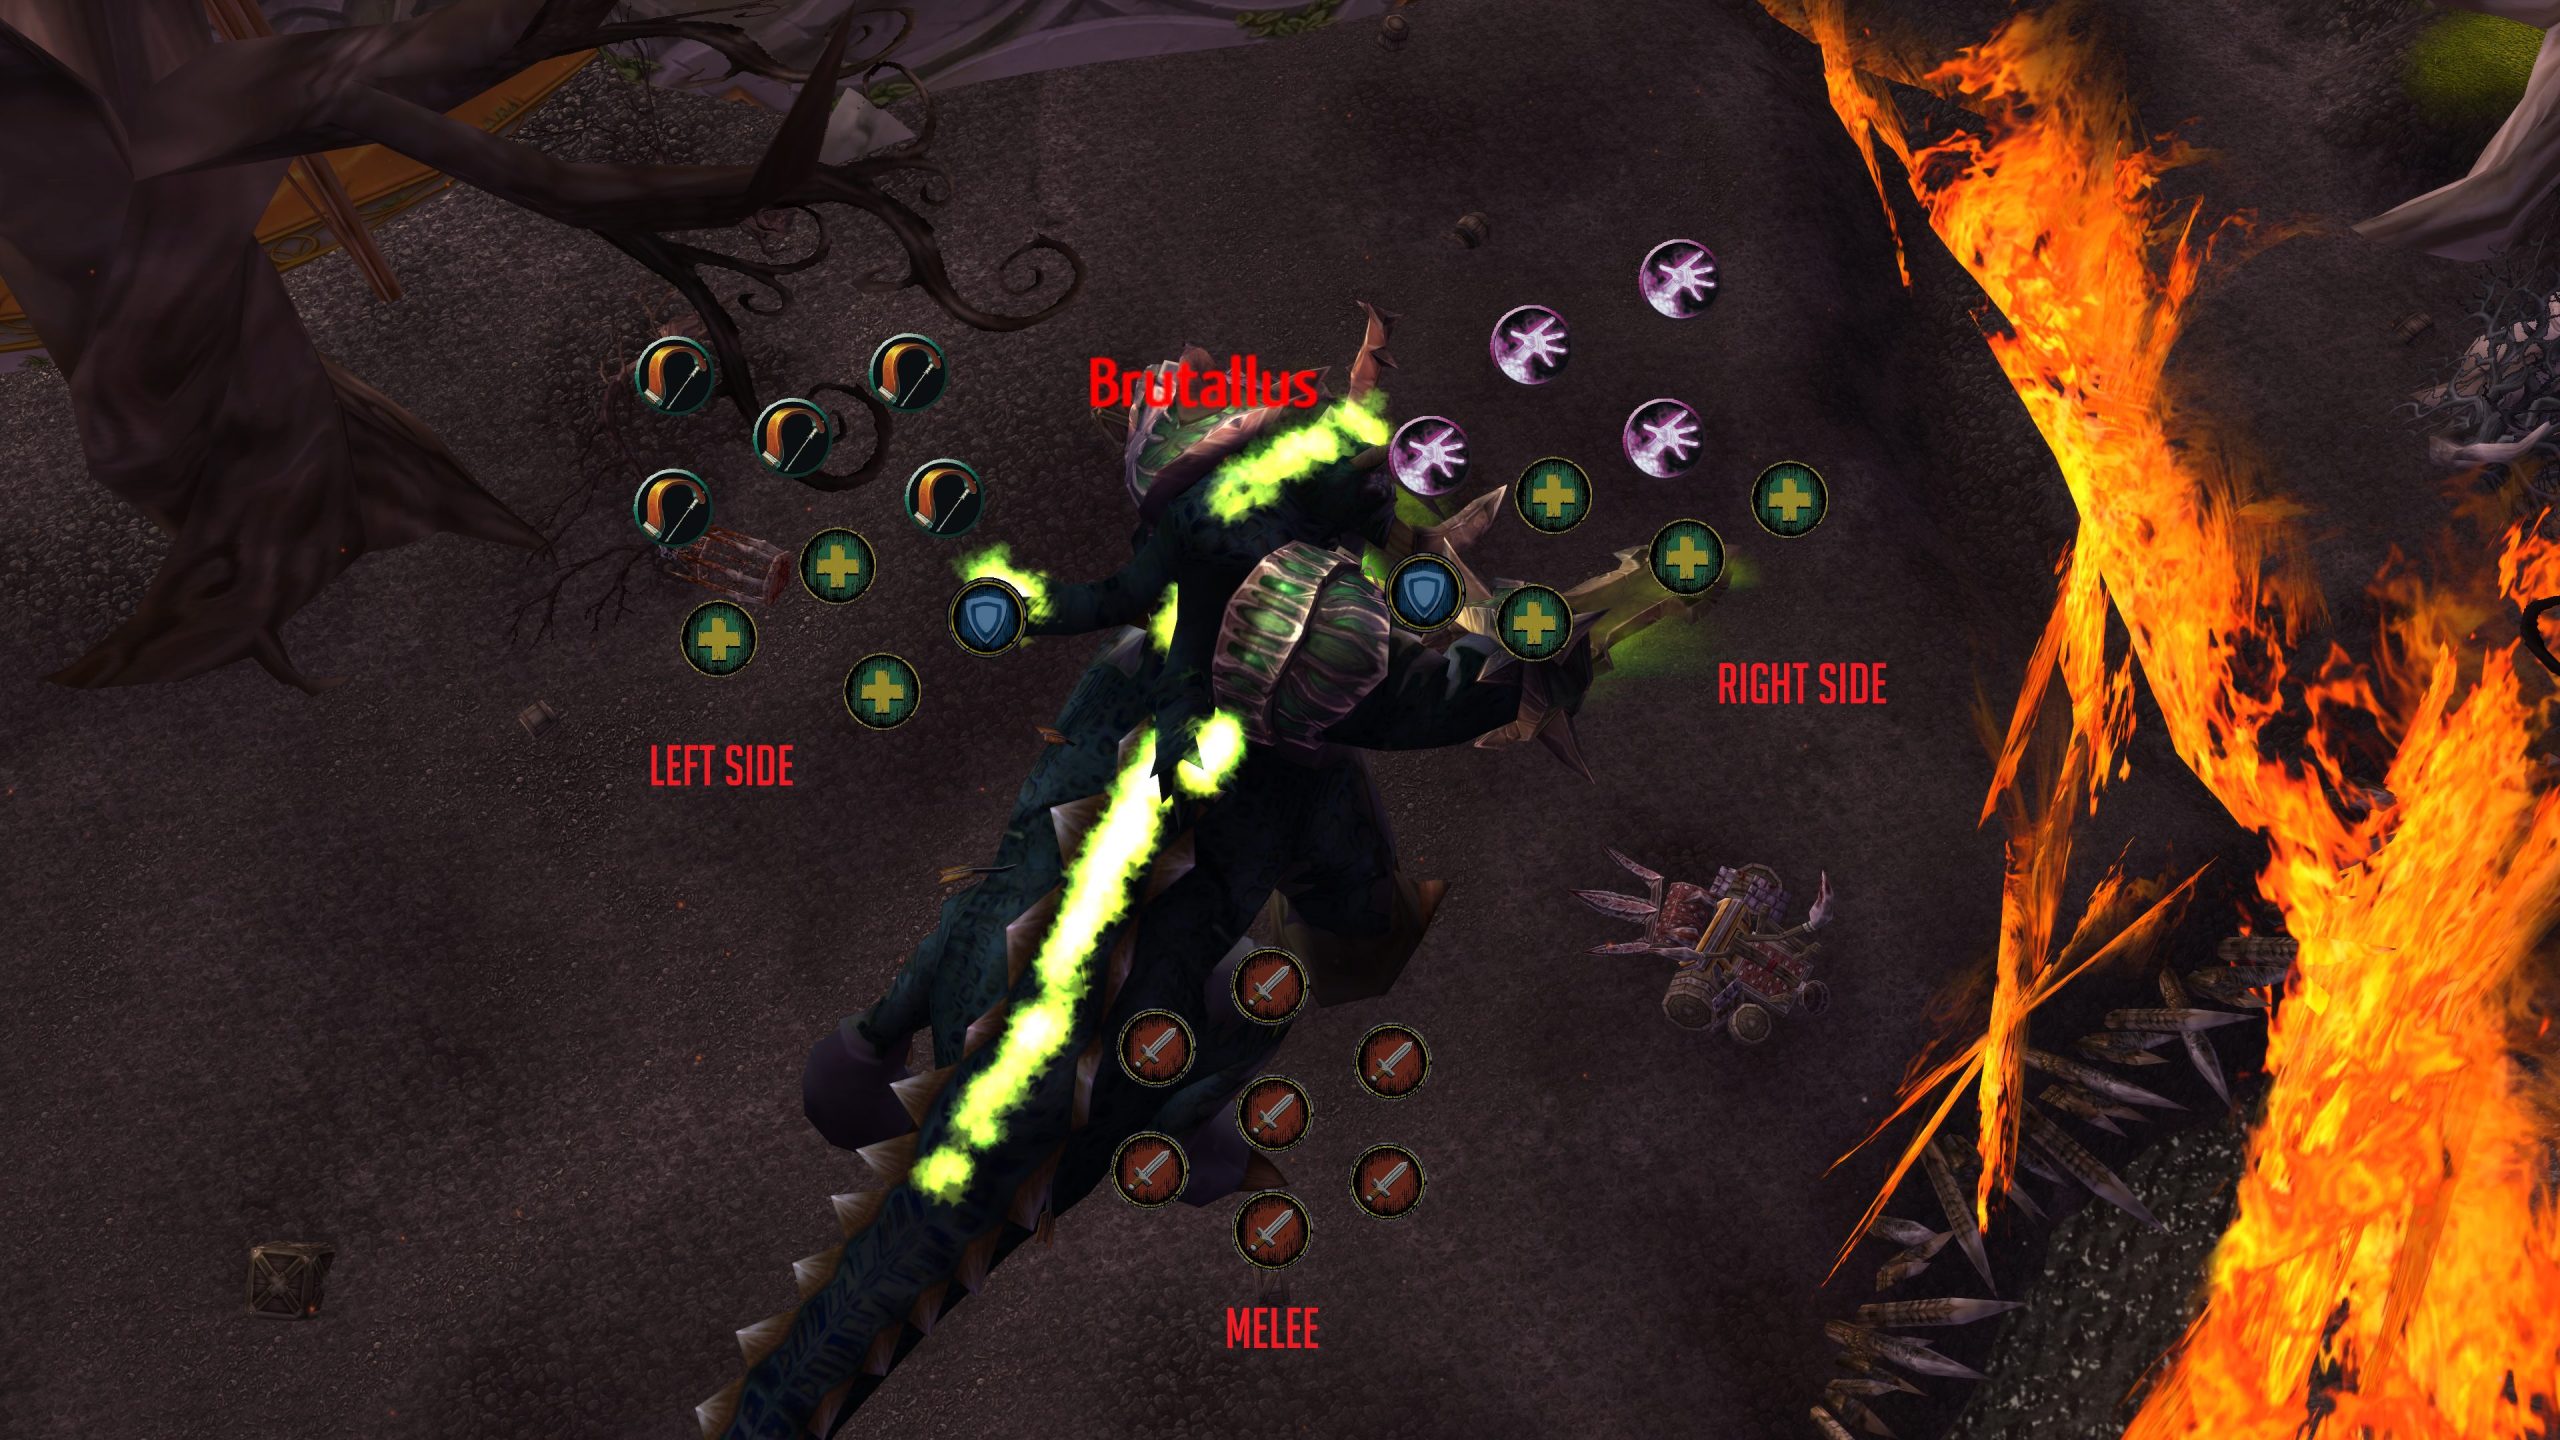
You will be pulling Brutallus to this position by having a Hunter use Misdirection on the tank on the right side, who will be tanking first. Ranged DPS and healers on the right side can be positioned behind the tank in advance, but the left side players & melee will need to reposition once Brutallus is in position.
The reasoning behind this positioning is simple: ranged DPS & healers form a camp behind each of the 2 tanks so as to evenly split Meteor Slash damage. Tanks are on opposite sides so they can taunt off each other when one of the sides has 3 stacks of Meteor Slash, allowing the stacks to fall off. By having the raid in this V shape, with melee in the vertex of the V, you ensure that your melee DPS won’t be getting parried, thus dealing maximum DPS. Healers are positioned on the south side of their respective stacks, so they can reach melee & players afflicted by Burn.
It’s important to note that everyone needs to be at least 3 yards away from other players in order to avoid spreading Burn, though in reality you should aim for slightly bigger gaps as players will be sloppy when running to the designated spot in a panic. Typing /range 6 on an addon like DeadlyBossMods will allow you to see that you have enough distance from other players — unfortunately most addons don’t allow you to have a lower range check than 6.
The Fight
After the fight starts, your group has 12 seconds before Brutallus uses his first ability — Meteor Slash. Use that time to position correctly, and start nuking Brutallus. When your tanks have enough of a thread lead, your raid should use Heroism / Bloodlust along with personal DPS cooldowns.
The first thing you will notice, before Brutallus uses any abilities, is that he hits very hard. Your tanks’ HP will be bouncing up and down like crazy throughout the entire time. To make his damage slightly more manageable, one Warrior should be assigned to keeping up Demoralizing Shout and Thunder Clap on Brutallus for the entire fight, while a single Hunter does the same with Scorpid Sting. There’s no way around it though, his damage is just insane and your healers must be focused on pumping heals on the tanks at all times.
Then 12 seconds in, Brutallus will use Meteor Slash for the first time, so the real fight finally starts. If you’ve positioned correctly, the first one won’t hurt too much — dealing only 2,000 Fire damage player if you have 10 players stacked up per side. However, everyone hit will take a stacking debuff, increasing their Fire damage taken by 75% for 40 seconds. The damage will be too much at 4 stacks, so your tanks should taunt off each other when the opposite side has 3 stacks — allowing for their stacks to reset before they need to take over tanking again.
The tanks will repeat this dance throughout the entire fight, with Meteor Slash coming on a fixed timer of 11-12 seconds. It will be very beneficial if they call out on voice chat that they’re about to taunt, so healers can switch to the new tank quickly.
The next ability you will see is Burn, 20 seconds into the fight. A random player is afflicted by this 60 second damage-over-time spell, dealing light damage at first, but ramping up to 3200 Fire damage per second during the last 10 seconds. Players cannot survive the last 20 seconds of Burn if they have the Meteor Slash debuff on them, so they must quickly move to a designated spot, right next to the melee, as shown in the picture below.
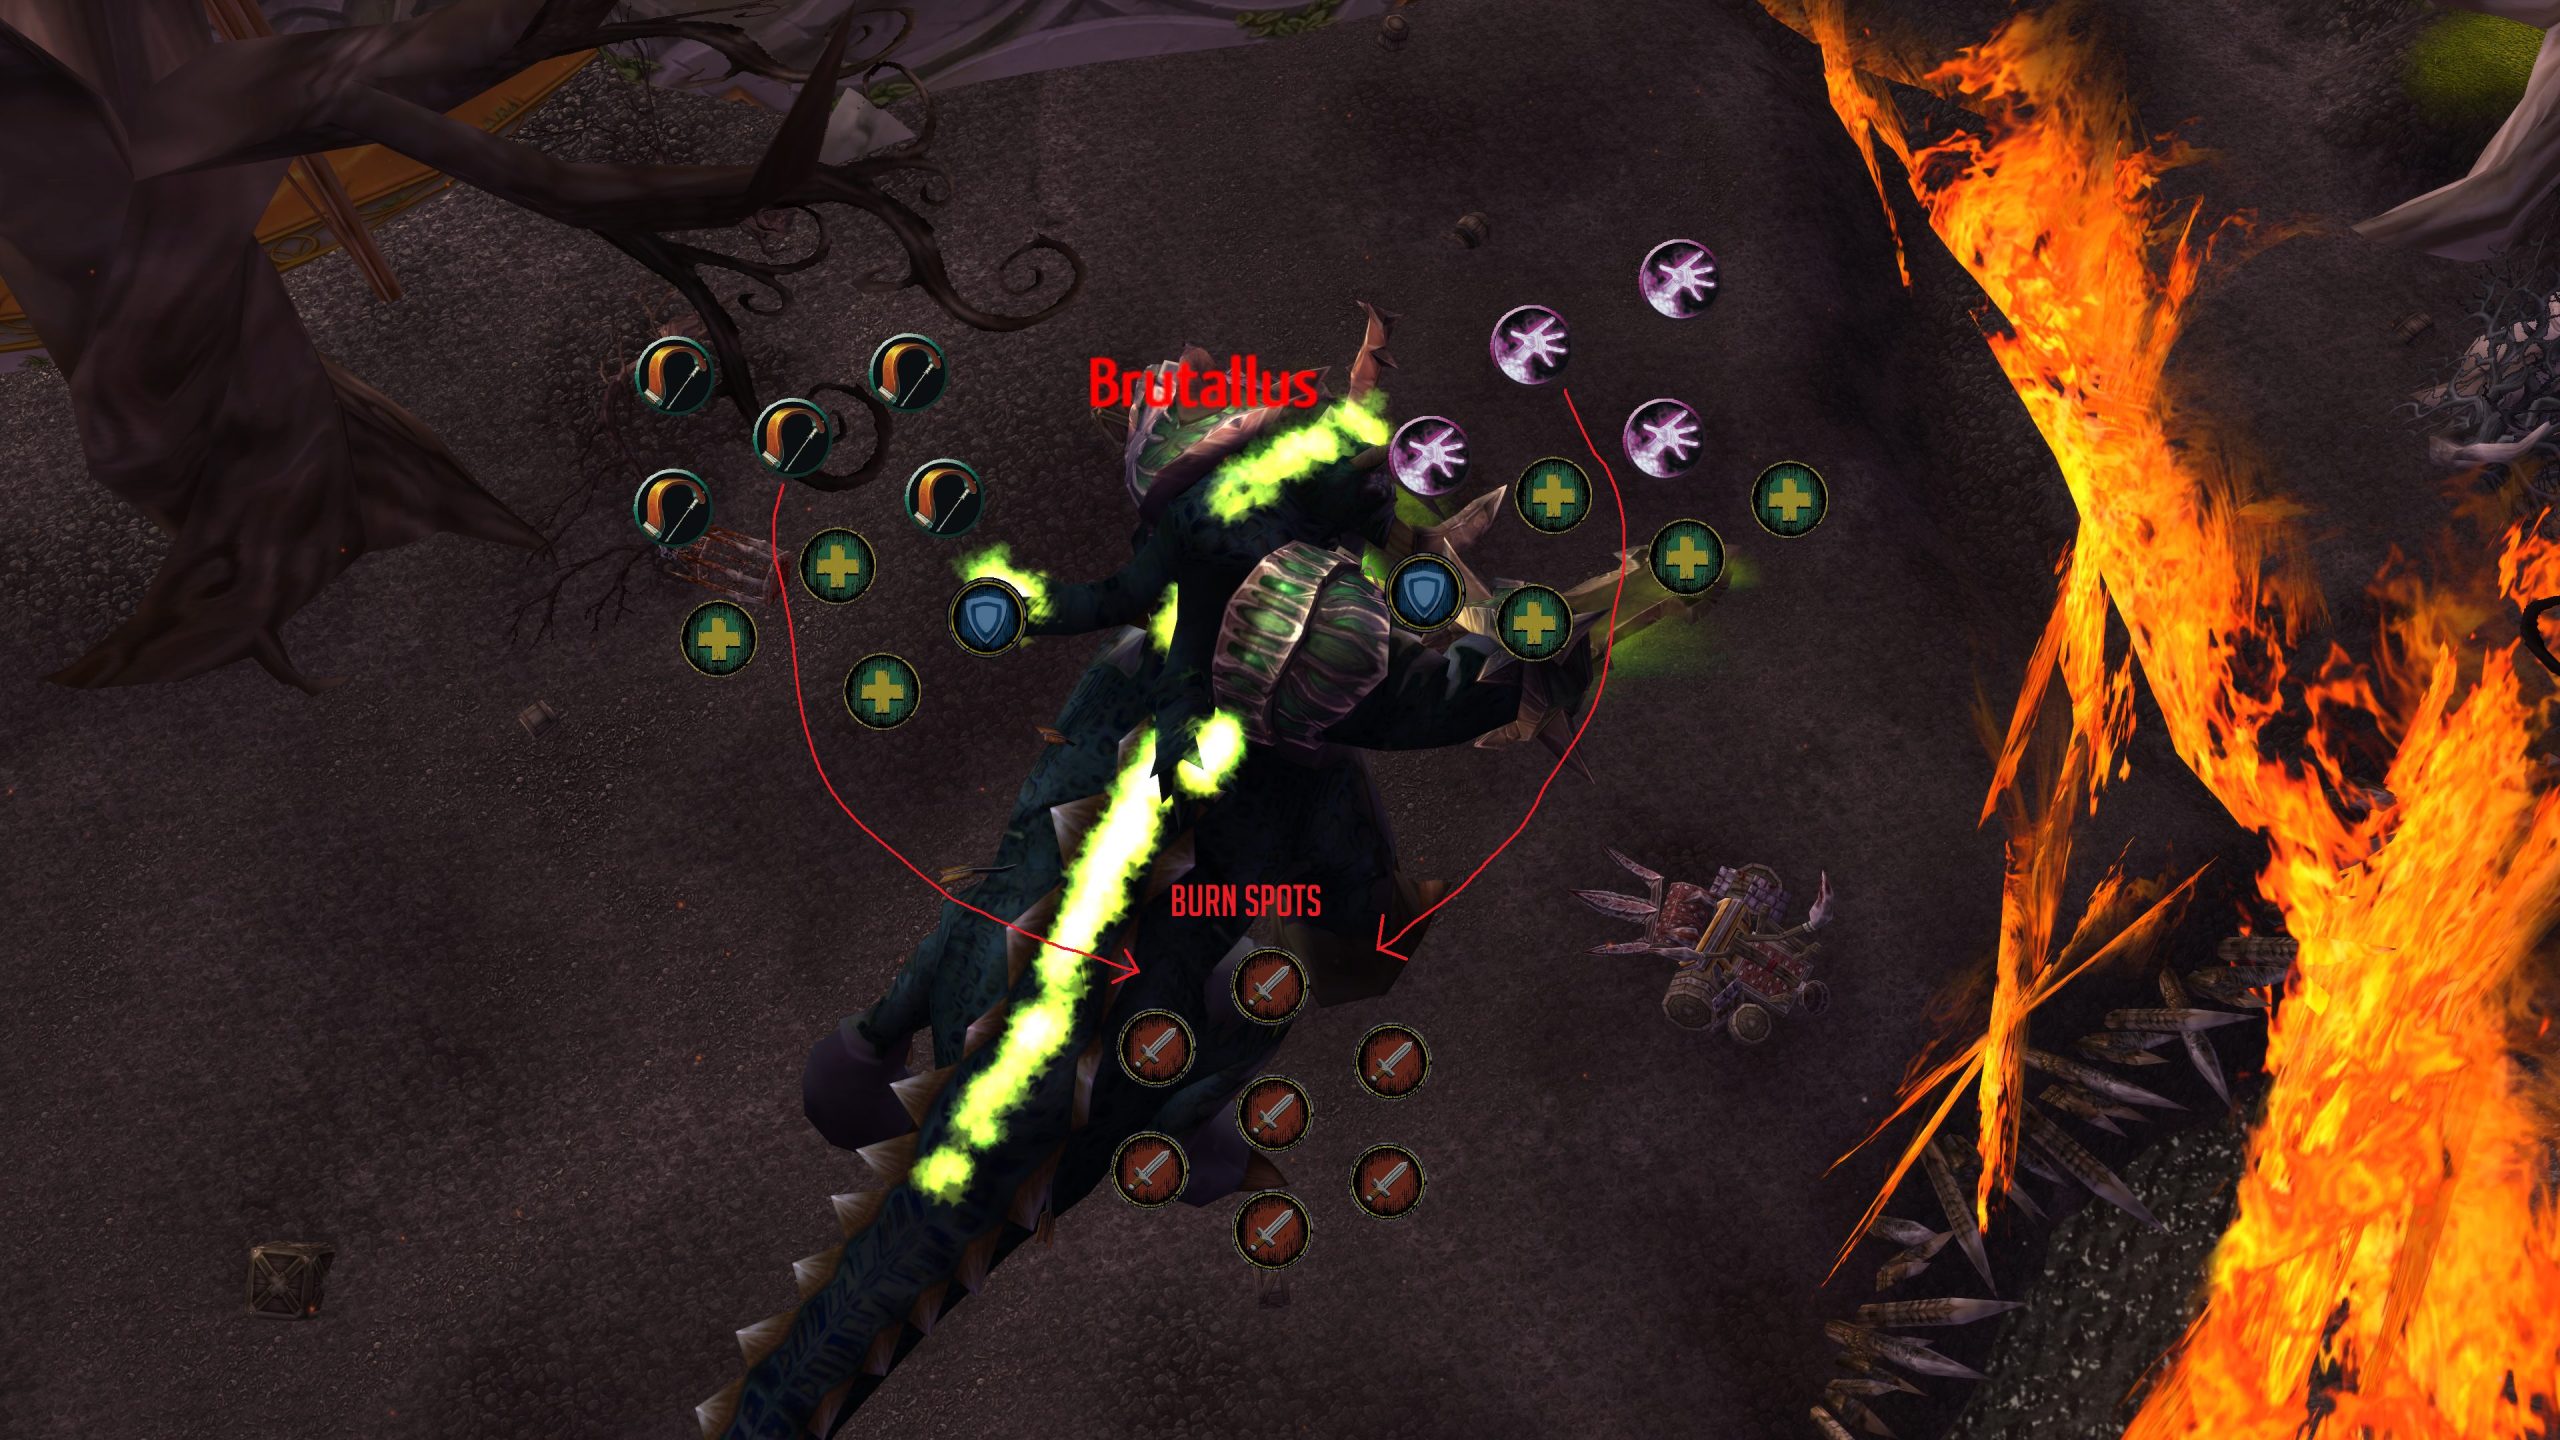
The idea here is that you need to be behind the Brutallus, so you aren’t getting hit by Meteor Slash, while also staying close to healers. For that reason, it will be imperative that players move behind the boss, but close to the front of the melee stack — move too far away and you’ll likely die at a lack of healing. Furthermore, the targeted players should be careful with how they move — you need to be quick with moving, so run between people, but don’t get too close to them; you will spread Burn to any player that gets within 2 yards of you.
Brutallus will be using Burn every 20 seconds, but at least Paladins, Mages and Rogues can remove Burn with Divine Shield, Ice Block & Cloak of Shadows respectively. Given how scary its damage is, having one of these classes get targeted will be extremely fortunate for your raid. Everyone else will need to get pumped with heals, particularly during the last 20 seconds.
The final mechanic that your raid will need to deal with is Stomp, which Brutallus will use 30 seconds in and then every 30 seconds on the dot. This is what’s commonly known as a “tank buster” in MMOs: it deals a lofty amount of damage (5-6k on tanks, will 1-shot anyone else) to Brutallus’ current target and applies a debuff to the target, reducing their armor by 50% for 10 seconds. Yes, that’s right, 50% reduced armor, on a boss that’s already hitting like a truck. Your tank healers and tanks must be aware of Stomp‘s timer at all times and be ready to pump heals / use defensive cooldowns if necessary.
Thankfully, there is one way you can make dealing with Stomp a bit easier. Your tanks are taunting off one another to deal with Meteor Slash anyway — there is no reason why they can’t work Stomp into the rotation. This won’t always be possible due to the timing of these 2 abilities, but it can help a good bit where possible. If the opposite tank just got the 3rd stack of Meteor Slash with Stomp coming up in 3-4 seconds, just wait and taunt the boss AFTER it has used Stomp on the opposite tank — that way, you completely circumvent that Stomp!
And that is all there is to this fight. It is a very harsh healing check, with a strict DPS timer attached to it, as Brutallus will go Berserk after 6 minutes. In practice this means that your raid needs to deal at least 29k DPS as a collective, with each player doing about 1950 DPS each. To make meeting the DPS check a bit easier, you should save your 2nd set of Heroism / Bloodlust casts until your DPS players have access to their cooldowns again, allowing them to do the maximum amount of damage possible for them — this can definitely make the difference between a kill at 5:55, or a wipe at 6:15.
Congratulations on defeating the Pit Lord! You can take a breath — one of the most significant roadblocks is now out of the way, and your raid can proceed further into the Plateau!
About the Author
