Sinestra Raid Guide

cataclysm twilight highlands 2
  • Author: Passion
  • Date: June 10, 2024
  • Updated: June 12, 2024
  • Expansion: Cataclysm

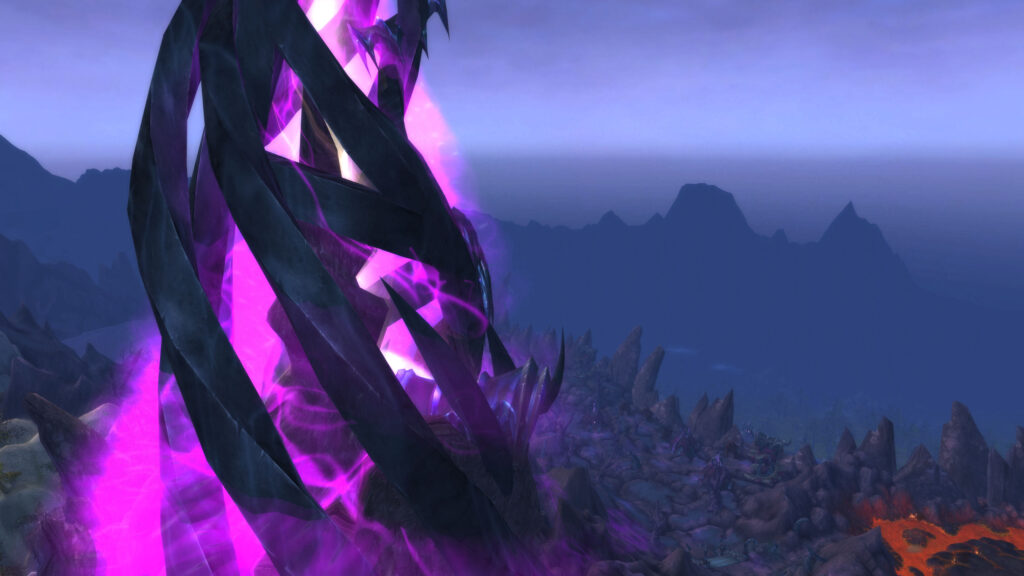
Creator of the twilight dragonflight, and Deathwing’s prime consort, Sinestra has been resurrected as a husk of her former self in order to create new twilight dragons.

Sinestra is only available if you cleared the other Bastion of Twilight bosses on Heroic first.

Role Summaries

  • Do not dispel Wrack early
  • Coordinate defensives for Flame Breath
  • Move together if targeted by Shadow Orbs
  • Interrupt Twilight Spitecallers with disorients and incapacitates
  • Keep Calen alive in Phase 2
  • Face Twilight Drakes away from the raid
  • Tank swap when Twilight Spit becomes too much to handle

Abilities

Phase 1 – 60% Health

Periodically, Sinestra will debuff a random player with Wrack. This lasts for 1 minute and deals Shadow damage every 2 seconds. Every tick will deal more damage than the last tick, making this very quickly ramp up in damage.

Wrack is dispellable, but dispelling it causes it to bounce to two nearby players. This resets the damage, but maintains the time left on the duration. It is vital that this debuff is dispelled before it kills the host, but it is also vital that you do not dispel it early, as having this on too many players can quickly snowball.

Wait until the damage is becoming too much to handle and then dispel this.

Every 20 seconds, Sinestra will breathe fire, dealing heavy Fire damage to the entire raid. This is unavoidable and will need to be mitigated with coordinated defensive cooldowns such as Power Word: Barrier and Spirit Link Totem.

Every 30 seconds, Sinestra will spawn two shadowy orbs that fixate on a random player each. These orbs create a laser tripwire between them, dealing heavy Shadow damage to everyone unfortunate enough to be in its path. Additionally, the orbs themselves deal pulsing Shadow damage around them. The targeted players will want to get close to each other, minimizing the length of the laser, and kite the orbs away from the raid.

Sinestra is fixed in place, and any time she is unable to reach anyone in melee range, she will blast a random player for massive Shadow damage.

Periodically during the fight, Twilight Whelps will hatch from the eggs around the arena. The off tank will need to pick these up. These Whelps will cast Twilight Spit, dealing Shadow damage and debuffing the target with a stacking debuff, increasing Shadow damage taken. This will require the tanks to swap between Sinestra and the Twilight Whelps at high stacks.

When a Twilight Whelp dies for the first time, they leave an expanding puddle behind. If this puddle touches a dead Twilight Whelp, it will revive it. To handle these adds, the off tank will need to hold on to them for the entirety of the Phase, tanking them toward the back of the room. During the transition between Phase 1 and Phase 2, the raid should AoE down the Whelps. If they all die together, they will also all revive together. AoE them down one more time and they will stay dead.

Phase 2 – 30% Health

To initiate Phase 2, Sinestra will protect herself with a Mana Barrier and begin casting Twilight Extinction, killing the entire raid after an 8 second cast.

Just in time, Calen, a red dragon will swoop in, protecting us from Twilight Extinction with Fiery Barrier.

For the rest of the Phase, Calen will aid us against Sinestra. This comes in the form of using Fiery Resolve to fight Sinestra’s Mana Barrier. Calen will need to have mana for this, and to keep his mana sustained he will cast Pyrrhic Focus. This restores his mana at the cost of health, but causes him to take increased healing. Healers will want to stay on top of Calens health to make sure he never dies.

Once Sinestra feels significant enough pressure, she will remove the Twilight Carapace from her eggs, making them vulnerable to players. Players will need to kill the Pulsing Twilight Eggs at this time.

Every 30 seconds, a Twilight Spitecaller will spawn. These will try to cast Unleash Essence, dealing percentage based damage to all players (and Calen). This needs to be “interrupted”, but that cannot be done with interrupts. Instead, they require crowd control.

Using crowd control that does not break on damage, such as Stuns and Fears will grant the Twilight Spitecaller Indomitable, breaking the crowd control and enraging. This is an Enrage and can be dispelled. To avoid this, use crowd control spells that break on damage, such as Incapacitates and Disorients.

Every 50 seconds, a Twilight Drake will swoop into the arena. These will cast Twilight Breath in a frontal cone, dealing heavy Shadow damage. Because of this, it is important to position them facing away from the raid.

If a Twilight Drake touches one of the pools left behind by dead Twilight Whelps, it will absorb the pool, increasing the Drakes damage and health, but removing the pool entirely.

Phase 3 – Scrambled Eggs

Calen was not longed for this world, and is immediately decimated upon entering Phase 3. In a last ditch effort to grant us victory, he buffs the raid with Essence of the Red. This massively increases Haste and mana regeneration for the raid for the next 3 minutes.

Periodically, Sinestra will debuff a random player with Wrack. This lasts for 1 minute and deals Shadow damage every 2 seconds. Every tick will deal more damage than the last tick, making this very quickly ramp up in damage.

Wrack is dispellable, but dispelling it causes it to bounce to two nearby players. This resets the damage, but maintains the time left on the duration. It is vital that this debuff is dispelled before it kills the host, but it is also vital that you do not dispel it early, as having this on too many players can quickly snowball.

Wait until the damage is becoming too much to handle and then dispel this.

Every 20 seconds, Sinestra will breathe fire, dealing heavy Fire damage to the entire raid. This is unavoidable and will need to be mitigated with coordinated defensive cooldowns such as Power Word: Barrier and Spirit Link Totem.

Every 30 seconds, Sinestra will spawn two shadowy orbs that fixate on a random player each. These orbs create a laser tripwire between them, dealing heavy Shadow damage to everyone unfortunate enough to be in its path. Additionally, the orbs themselves deal pulsing Shadow damage around them. The targeted players will want to get close to each other, minimizing the length of the laser, and kite the orbs away from the raid.

Sinestra is fixed in place, and any time she is unable to reach anyone in melee range, she will blast a random player for massive Shadow damage.

Periodically during the fight, Twilight Whelps will hatch from the eggs around the arena. The off tank will need to pick these up. These Whelps will cast Twilight Spit, dealing Shadow damage and debuffing the target with a stacking debuff, increasing Shadow damage taken.

When a Twilight Whelp dies for the first time, they leave an expanding puddle behind. If this puddle touches a dead Twilight Whelp, it will revive it. To handle these adds, the off tank will need to hold on to them for the entirety of the Phase, tanking them toward the back of the room.

Once there are 10 Whelps alive, the raid should AoE down the Whelps. If they all die together, they will also all revive together. AoE them down one more time and they will stay dead.

Raid Composition & Preparation

This is a healing intensive fight, but is also a DPS race. Bring as few healers as you can get away with, ideally no more than 5.

There are no preferred classes or specializations for this fight.

You will need 2 tanks, one for Sinestra and one for the adds.

Strategy

Phase 1

The fight begins with Sinestra already at 60% health, dealing 40% reduced damage. This Phase is fairly relaxed as far as Sinestra is considered.

Sinestra will regularly use Flame Breath on the raid, dealing heavy Fire damage to all raid members. Sinestra is fixed in position for this fight, so there is no avoiding this by getting behind her or to her sides, meaning players are forced to handle this with defensives and active mitigation.

Sinestra will also cast Wrack fairly early, debuffing a random player. This lasts for 1 minute and deals Shadow damage every 2 seconds. Every tick will deal more damage than the last tick, making this very quickly ramp up in damage. Wrack is dispellable, but dispelling it causes it to bounce to two nearby players. This resets the damage, but maintains the time left on the duration. It is vital that this debuff is dispelled before it kills the host, but it is also vital that you do not dispel it early, as having this on too many players can quickly snowball. Wait until the damage is becoming too much to handle and then dispel this. This will be recast again 10 seconds after expiring, making it a constant factor during Phase 1 and 3.

Players will also have to deal with Shadow Orbs. Two players will be fixated on by Shadow Orbs. These orbs are linked with a laser, dealing damage to anyone that comes into contact with it. The two targeted players will want to get close to each other and kite the orbs away from the raid. After 15 seconds, the orbs will disappear.

The final and most difficult mechanic is Twilight Whelps. 10 of these will spawn in Phase 1, and should be stacked and tanked away from the raid. During the transition between Phase 1 & 2, players should AoE these down, focusing on having them all die at the same time.

Phase 2

Once Sinestra reaches 30% health, Phase 2 begins. The first portion is roleplay between Calen and Sinestra, use this time to clear the Twilight Whelps from Phase 1. Once the two have done their dance, the Phase begins proper.

Healers will need to keep track of Calens health, as it is vital that he is always kept healthy. The rest of the raid will want to focus on DPSing down Sinestras Mana Barrier. Once she reaches 40% mana, her Pulsing Twilight Eggs will become vulnerable. You will have 30 seconds to kill these eggs, or you will have to get Sinestra back down to 40% mana all over again.

Unfortunately, the eggs are not the only worry at this point, as adds will be swarming in. To handle this, ranged DPS should be focusing on the eggs, while melee DPS focus on the adds. The adds should all be tanked in one stack, with the Twilight Drakes facing away from the raid. Twilight Spitecallers will need to be disoriented or incapacitated each time they try to cast Unleash Essence.

Once the eggs are destroyed, Phase 3 begins.

Phase 3

Phase 3 starts with Sinestra annihilating Calen in a scripted segment. Use this time to clear any adds left alive, you don’t want them to be here for this Phase! As Calen dies, he will buff the raid with Essence of the Red, granting massive haste and mana regeneration. This does not stack with Bloodlust, so make sure to not waste Bloodlust!

Phase 3 has all the same abilities as Phase 1, only this time Sinestra is not holding back and does not deal reduced damage. This means Flame Breath, Wrack, Shadow Orbs, and Twilight Whelps. This time the Twilight Whelps will have to be killed once 10 have gathered.

This Phase will hurt, and any mistake will be heavily punished. Good luck!


About the Author

Passion

I love MMOs of all shades, especially the nitty gritty numbers parts of them. You might recognize me from the Shadow Priest discord, otherwise I play a little bit of everything, especially games with support roles available.
Subscribe
Notify of
guest

0 Comments
Inline Feedbacks
View all comments
Scroll to Top